
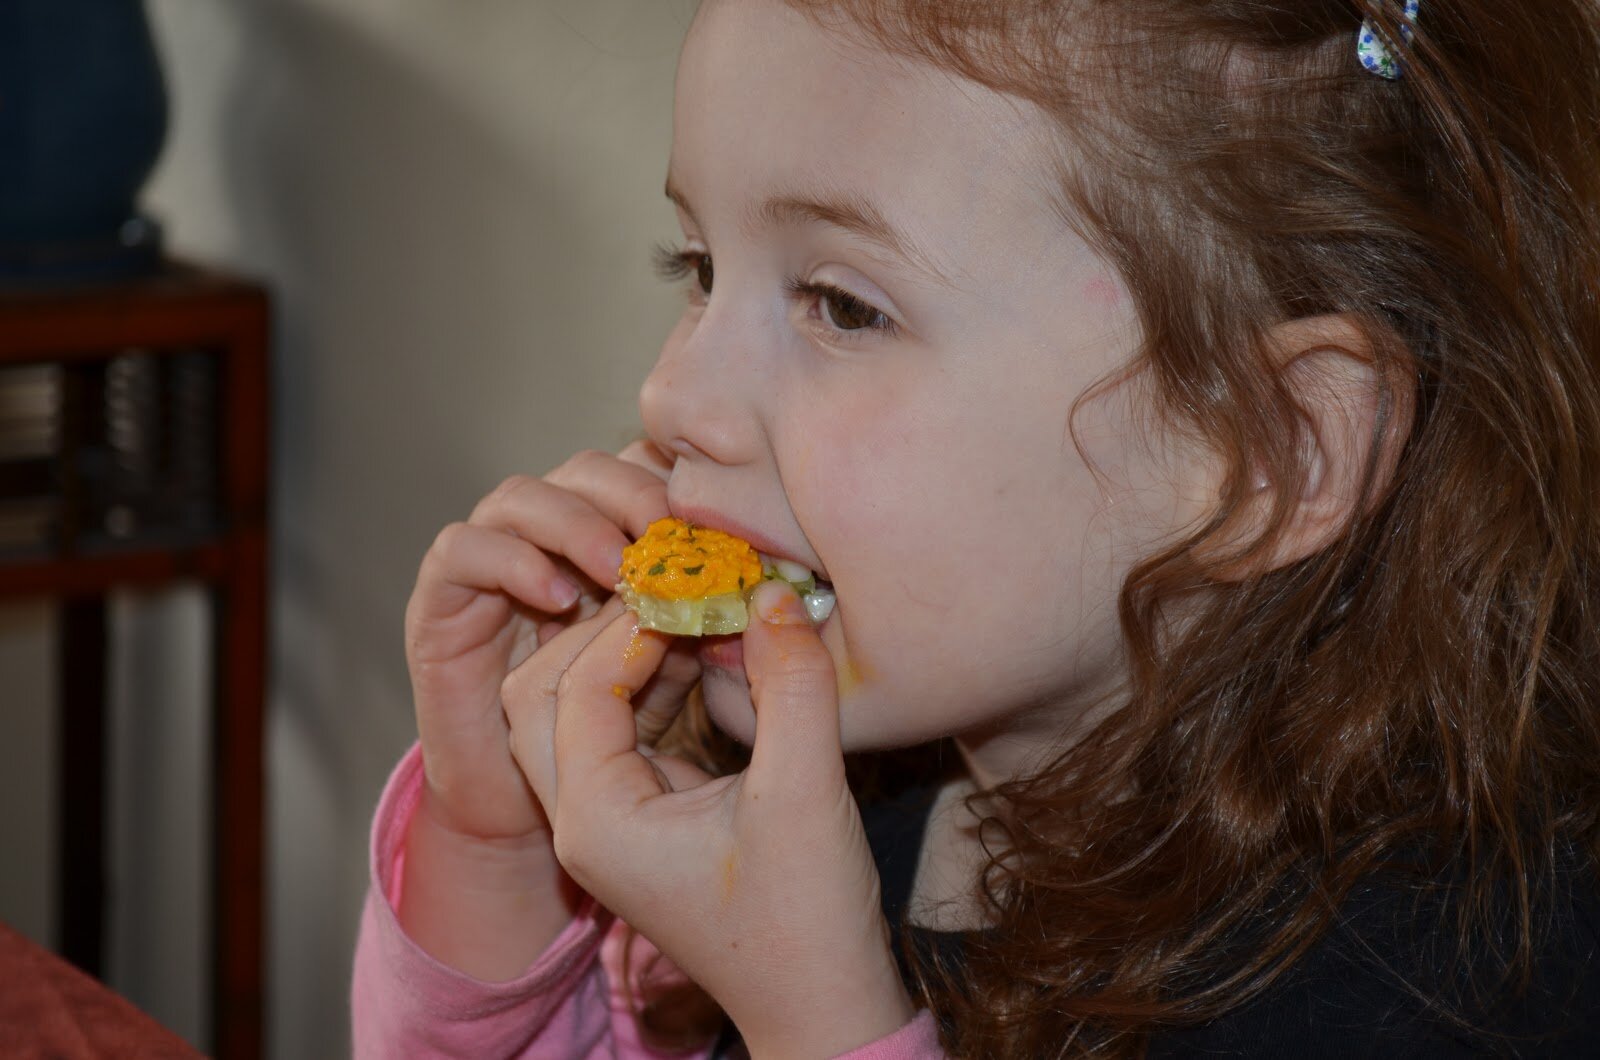
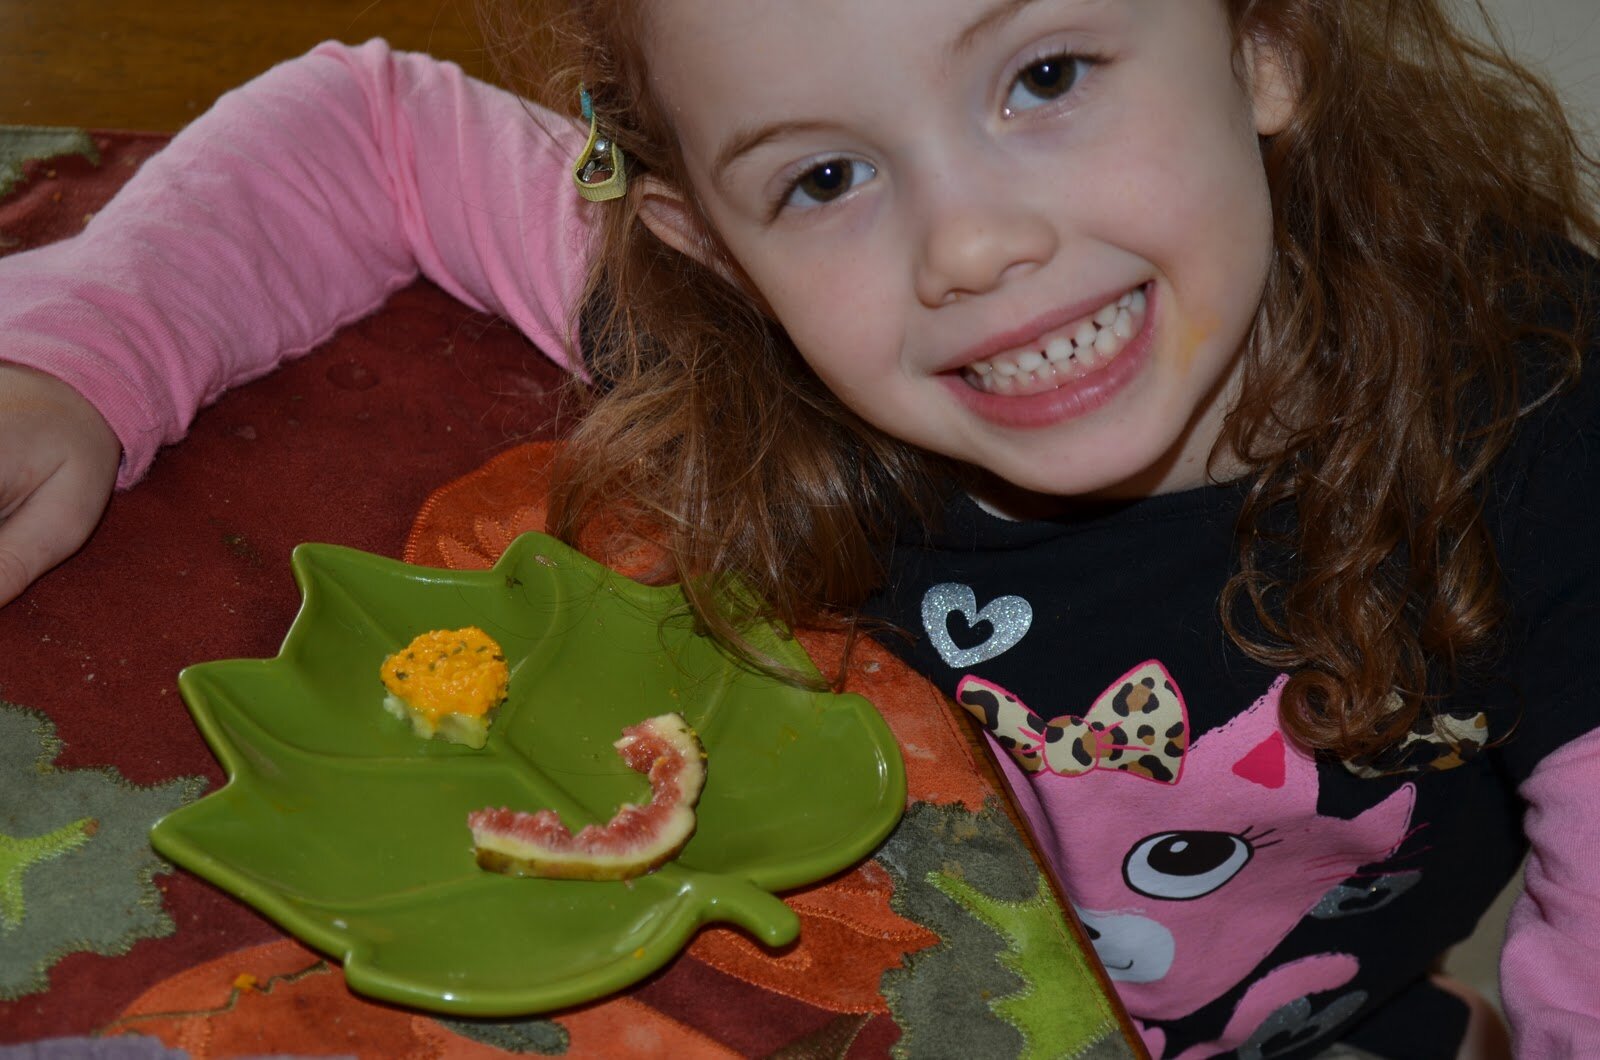
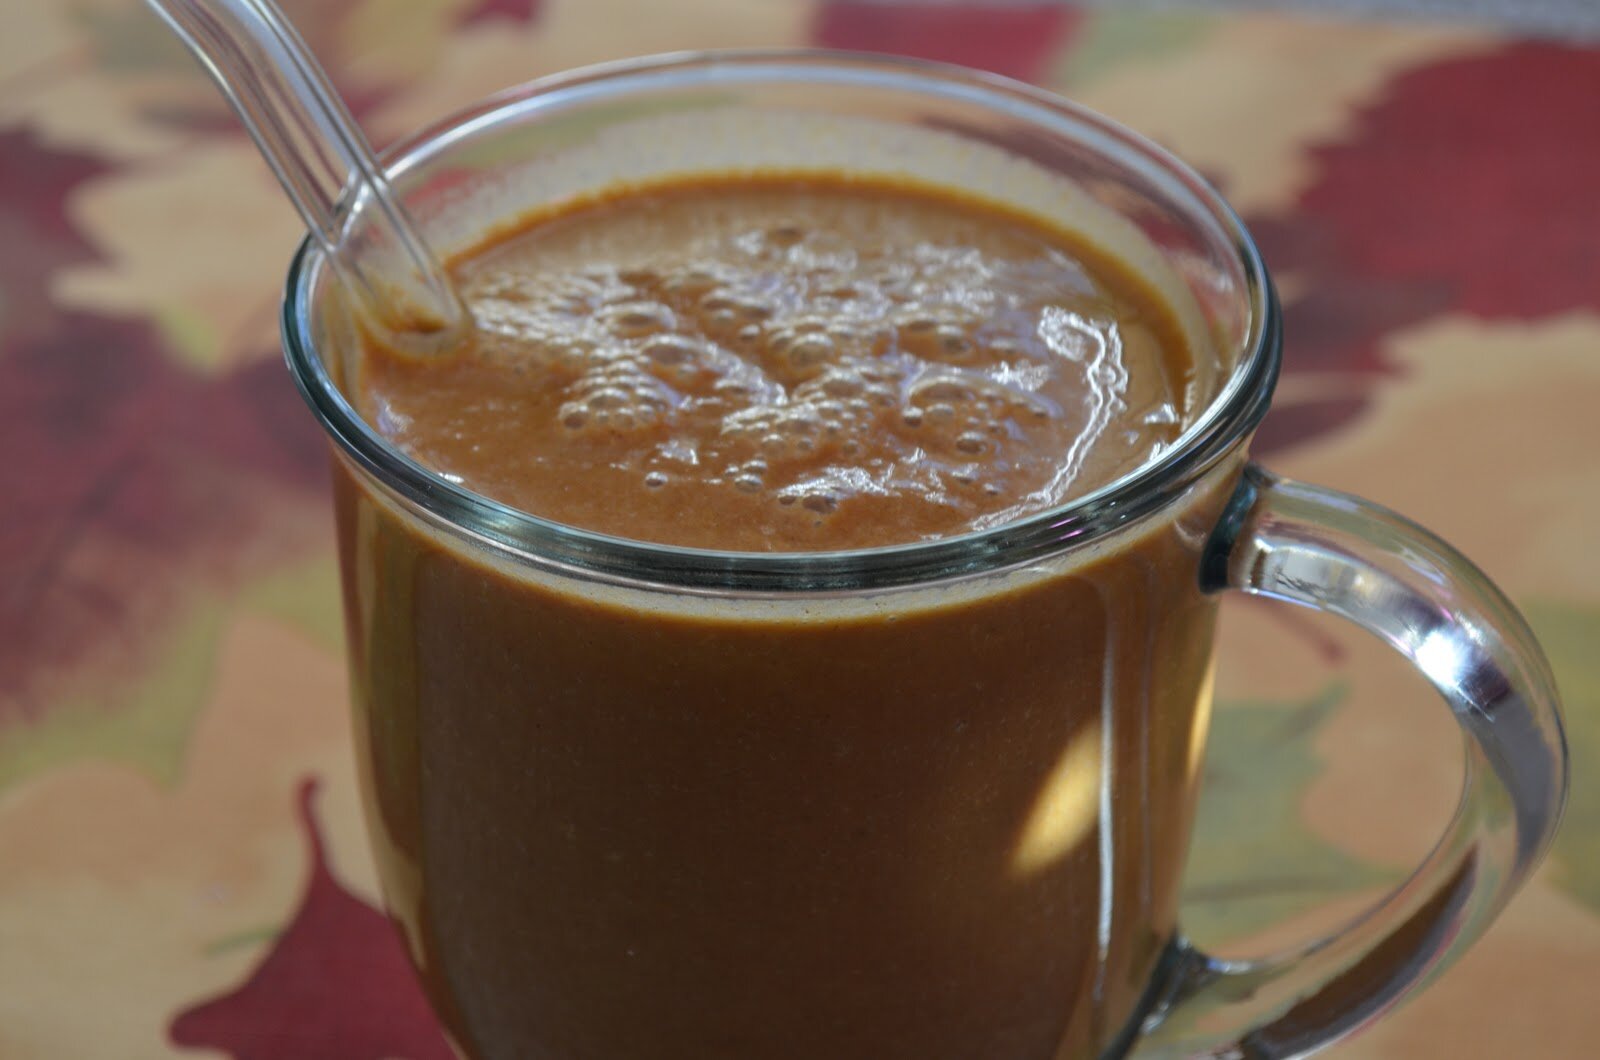
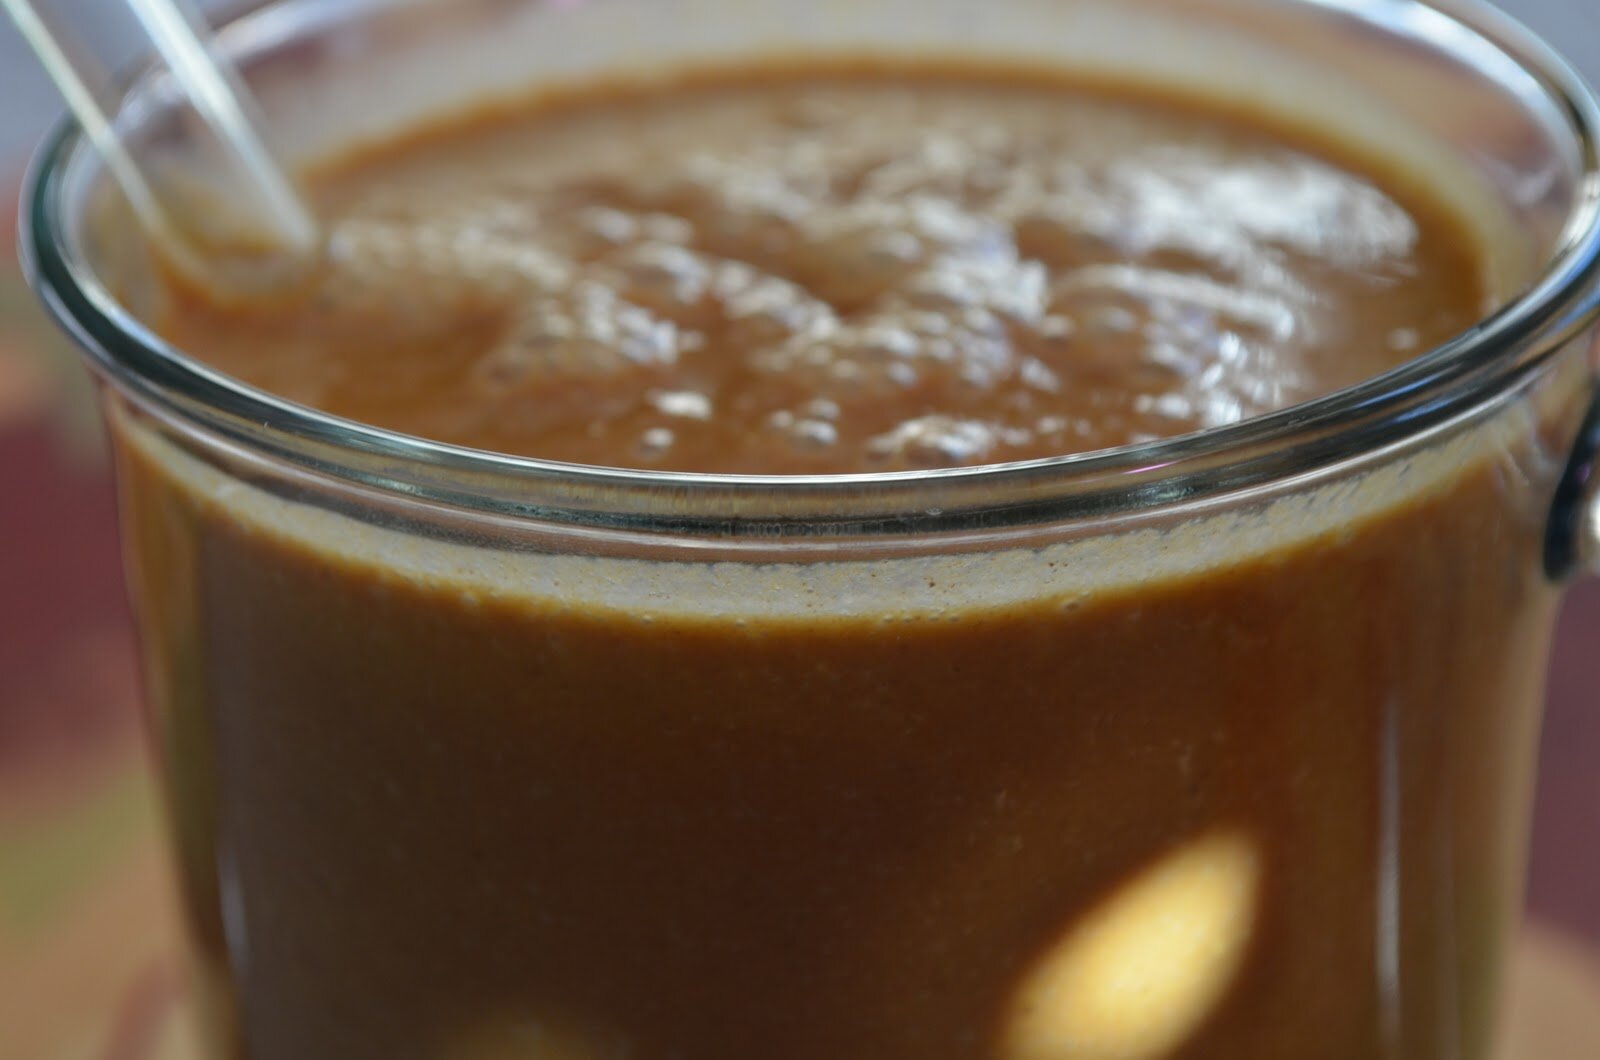
What to do with all that pumpkin puree in my fridge? Ah ha! Give it to the kids in a super healthy drink. Did it work? I’m tipping my imaginary hat as we speak! Hubby loved this drink too. Seriously though, drink your pumpkin – it’s super yummy.
Ingredients
-1 cup plain homemade pumpkin puree
-1 cup full fat coconut milk (BPA free)
-1 cup filtered water
-1 teaspoon vanilla
-2 tablespoons almond butter
-2 tablespoons honey (vegans, use maple syrup) add more if needed
-2 tablespoons carob powder
-1 teaspoon cinnamon (or just top smoothie with a pinch)
How To
1. Add all ingredients to blender (high speed or otherwise)
2. Blend until smooth
Notes
*My kiddos drank this straight from the blender (okay not literally – but I did when no one was looking) so it wasn’t chilled and still a hit
*Place smoothie in the fridge for a few hours if desired (no separation will occur)
*I used carob in this recipe. I gave this drink to my kiddos today as a late afternoon pick-me up…didn’t want to give my daughter stimulating cacao this late and my son can’t eat cacao due to his eczema. I would just omit this completely if you don’t like carob or thinking about substituting with cacao, as if you add cacao it essentially becomes this drink – which is all good too…but this coconut pumpkin smoothie is so awesome without the very overpowering taste of chocolate.

Shared on: Pennywise Platter Thursdays, Slightly Indulgent Tuesdays, Wellness Weekend,


not sure how I missed this one…have to have it…NOW! maybe dessert tonight if I can muster the energy to messy another dish?!
Oh yes, you’re a big pumpkin girl too. This is a very fun drink. And I’m giving you a high-five right now – I totally hear you with the dishes (sometimes I shed a little tear when I look at the disasters I make in the kitchen). Luckily my husband does them quite a bit, but he’s super slow, where I can get them done in a flash (so we can watch that Netflix). Left to him we would be up until midnight. I like to give Scott a hard time about how s.l.o.w. and meticulous he is. But we make a perfect match and I wouldn’t have it any other way!
Have a great night.
Mike is the dish boy in our house…that’s the rule, whoever cooks doesn’t clean. I am grateful for that…even when a few of the hand-washed dishes has food remnants stuck on them!! Creating good food in the kitchen is never a clean endeavor…and even if i manage to clean up everything after myself along the way…feeding 5 bodies inevitably makes it messy again! Some days I just want to leave it, I REALLY hate doing dishes. But I REALLY hate the mess more!!
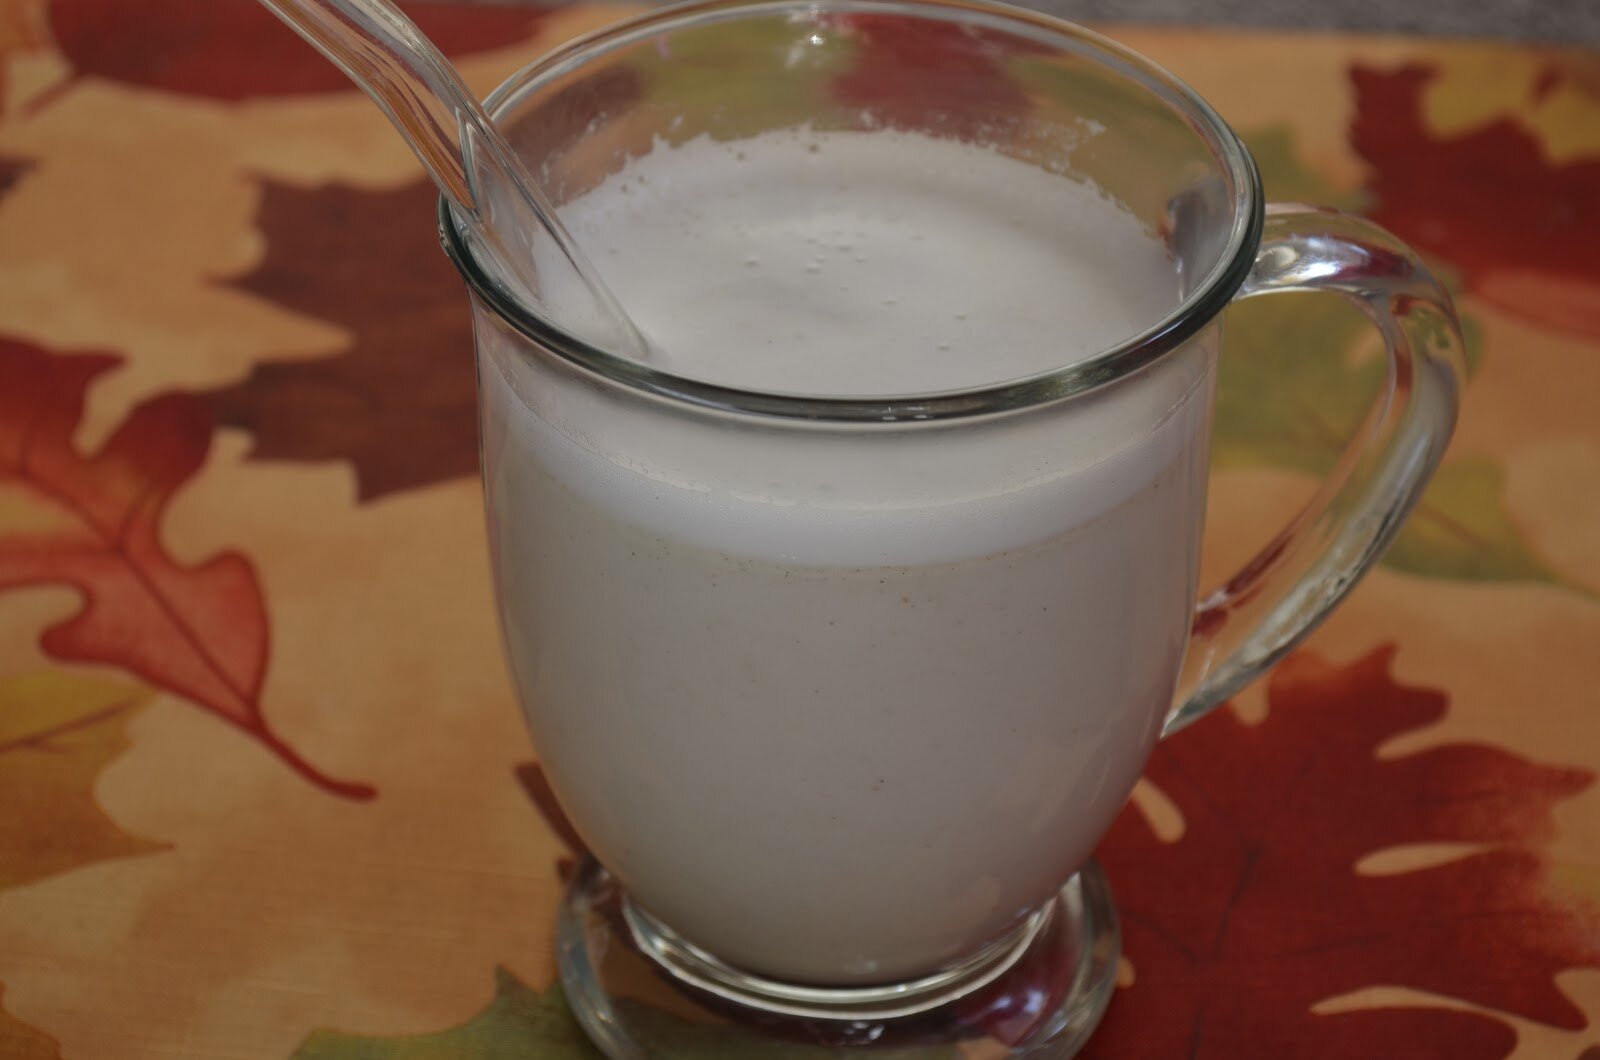
breakfast….delicious…I left the water out to make it thicker, cut w/ half Coconut Dream Milk, and added 2T chia seeds!