Category Archives: allergy-friendly

Monday, August 3, 2015

Southwestern Quinoa Salad

Thetastyalternative.com

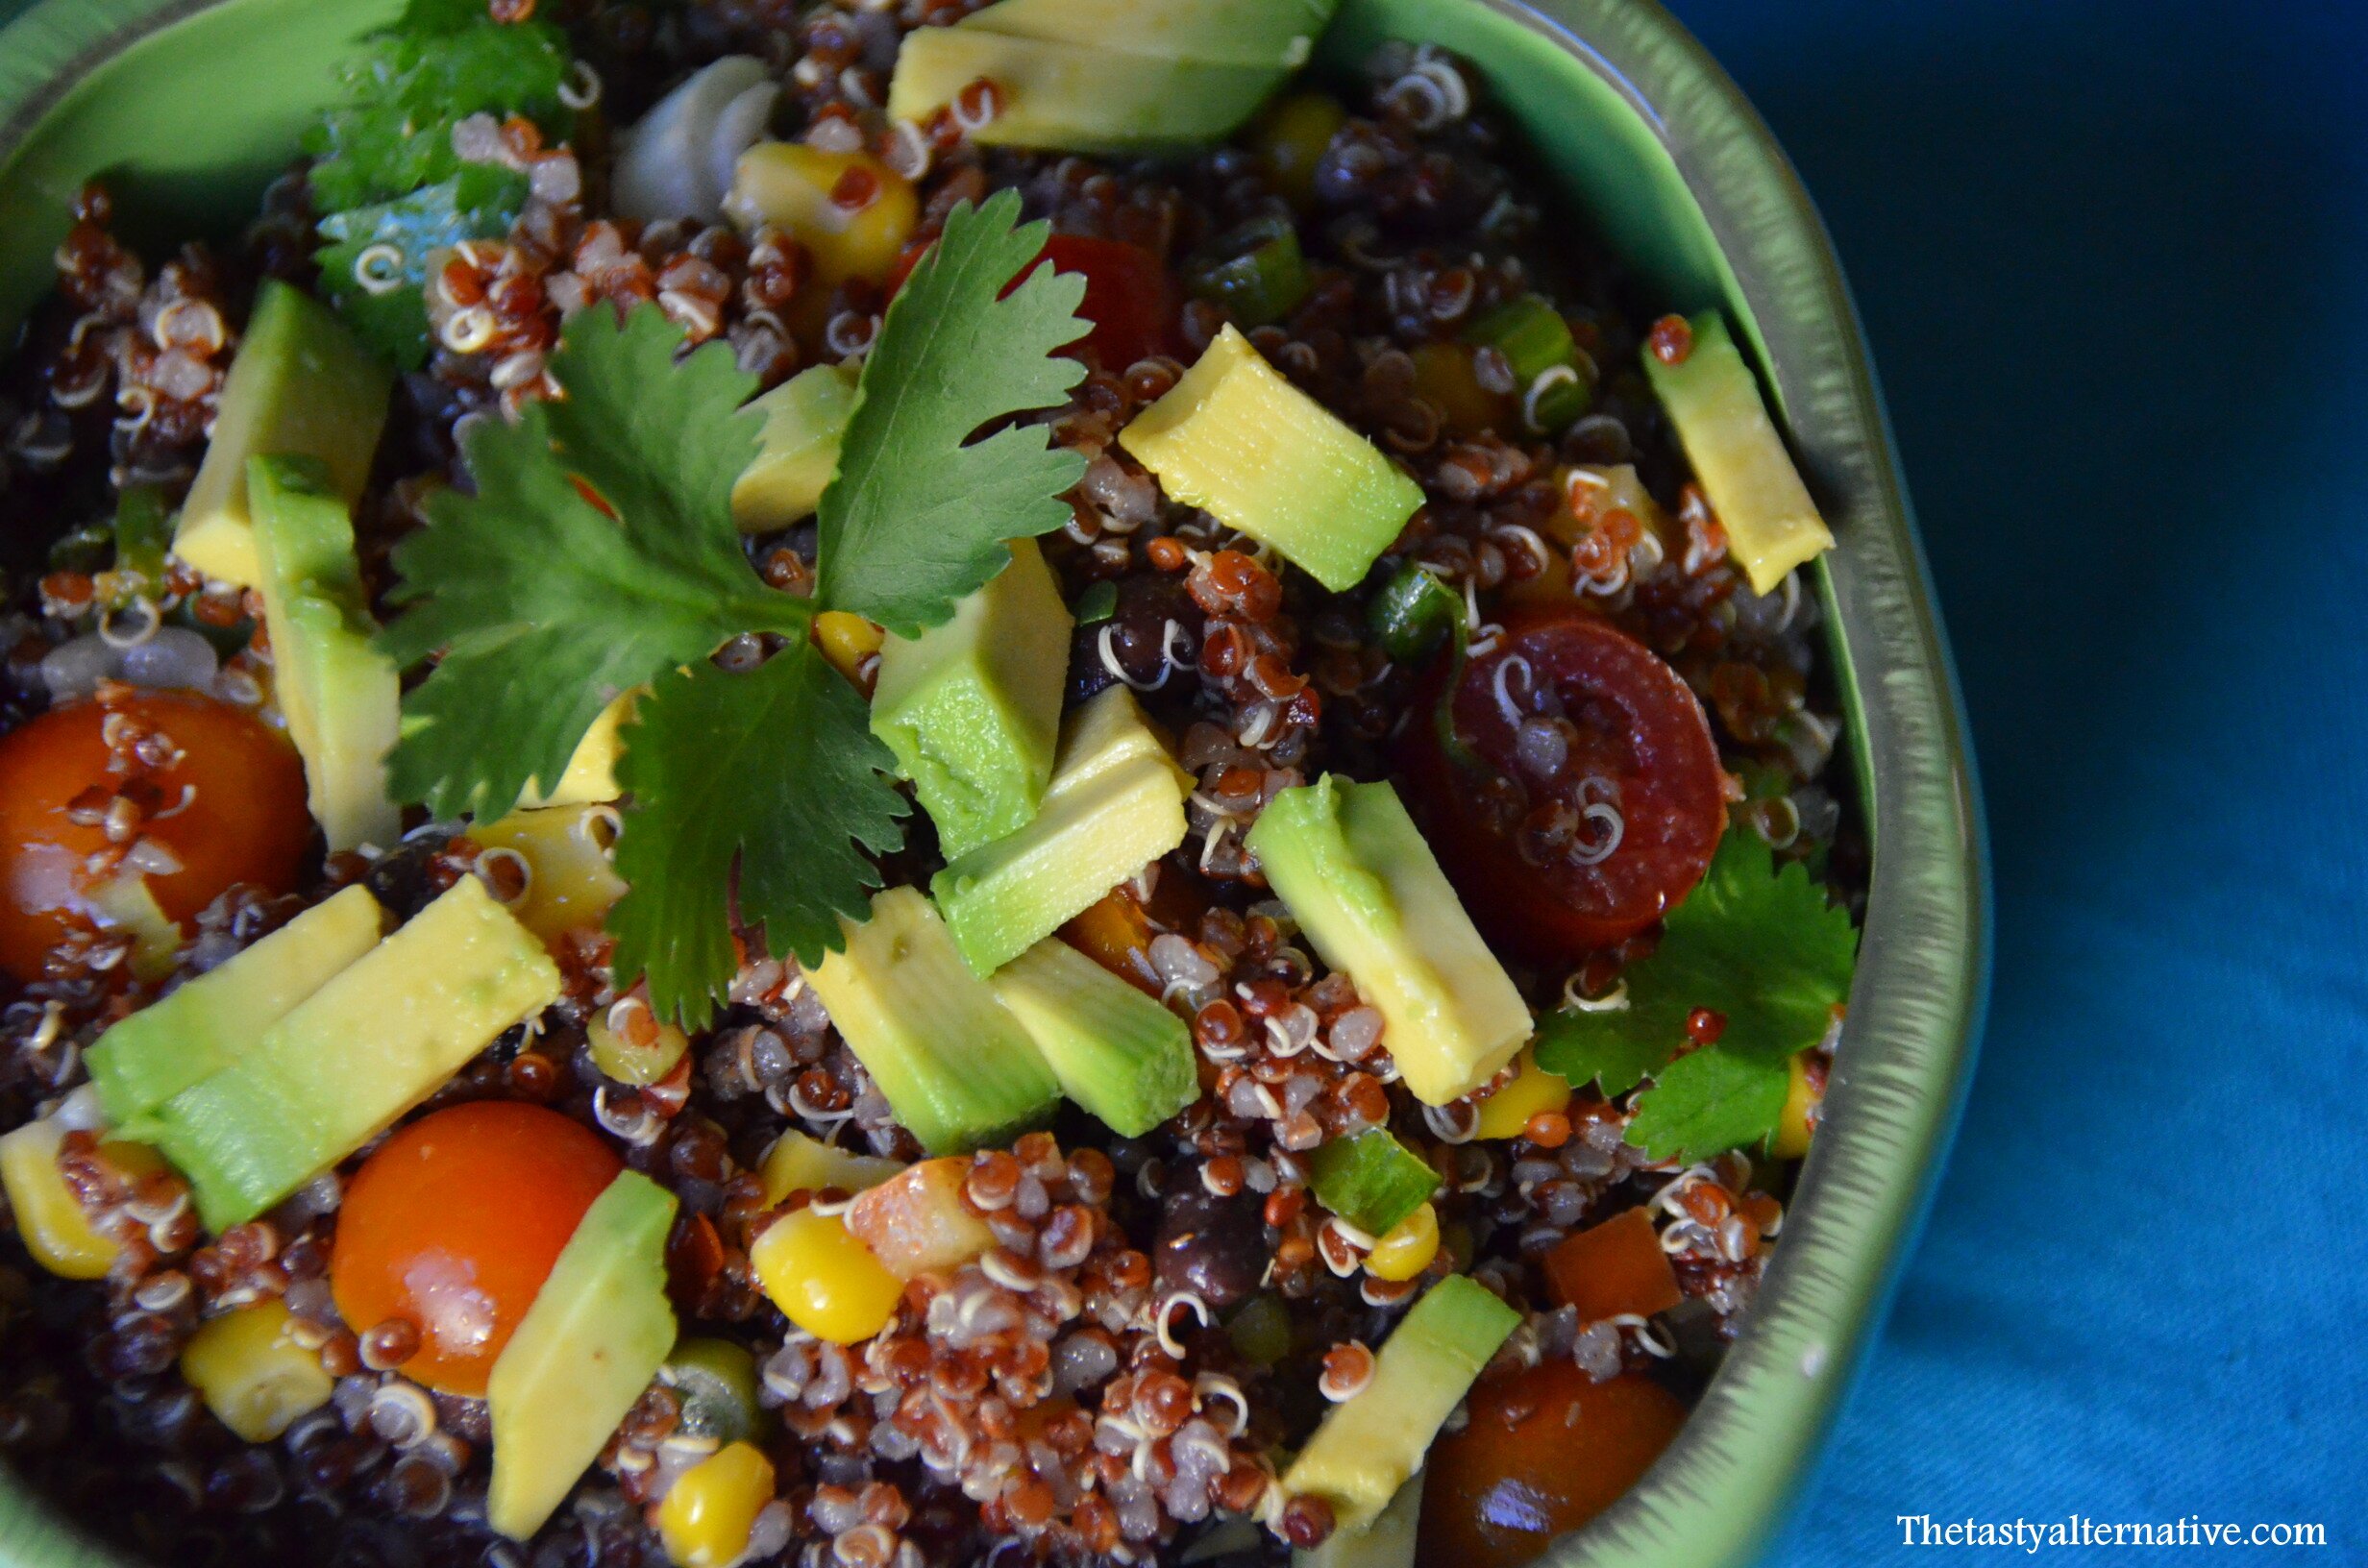
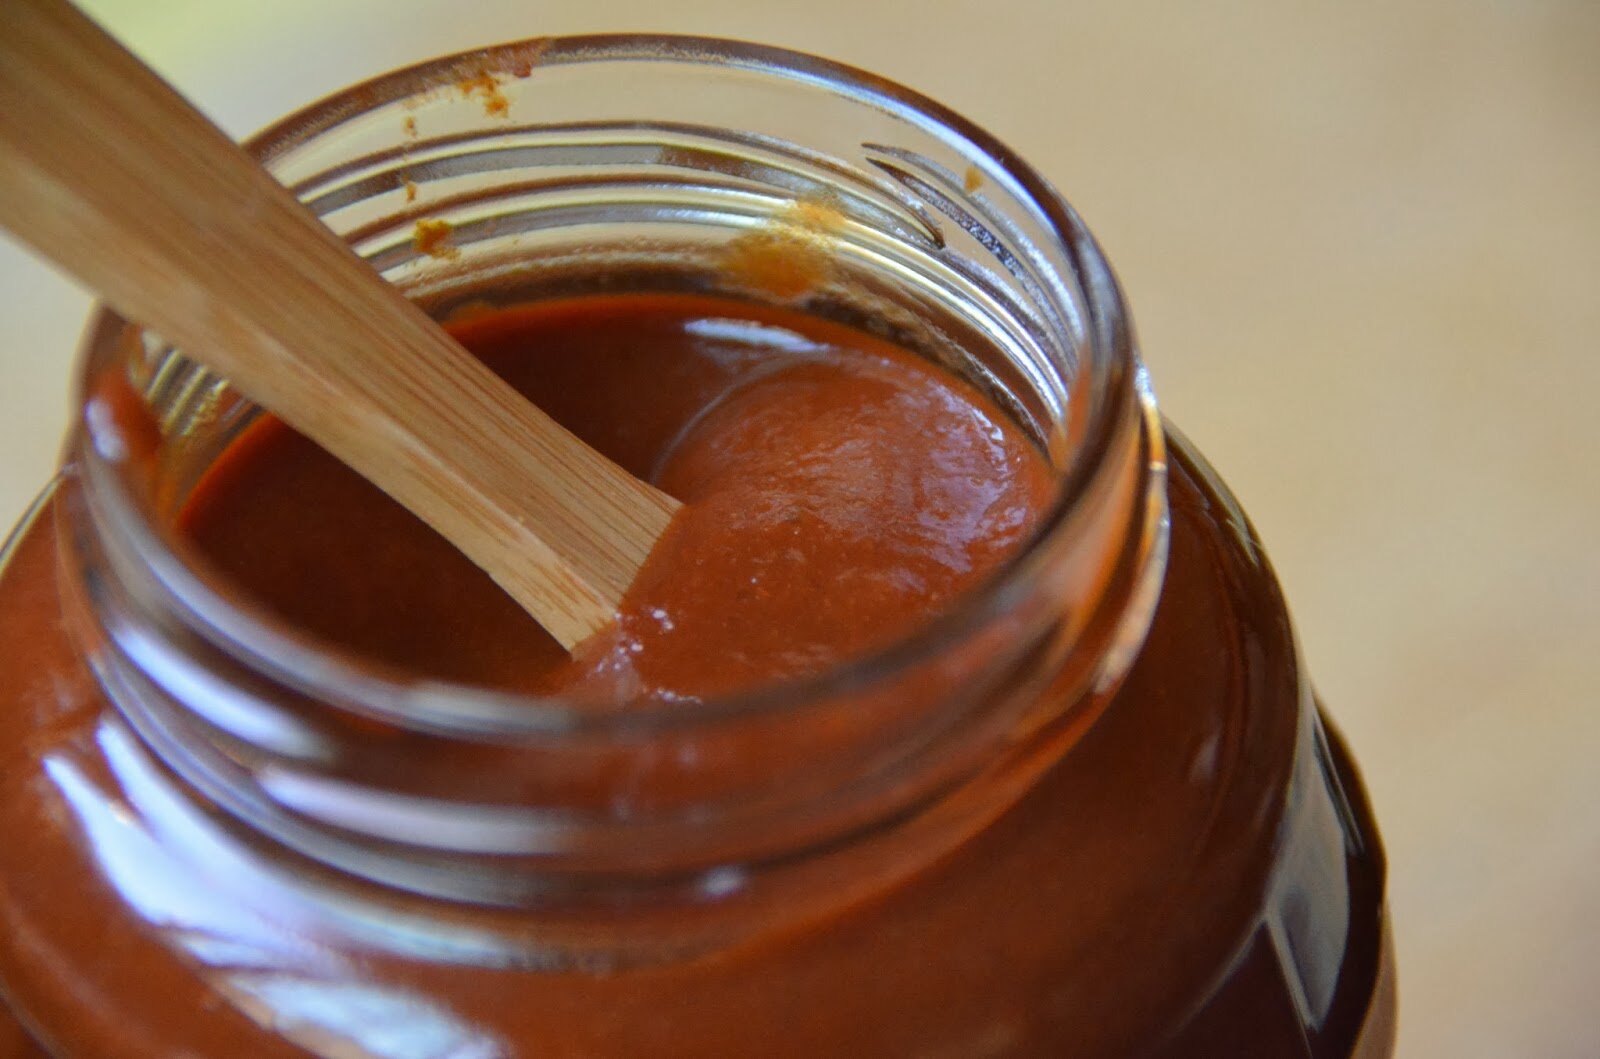
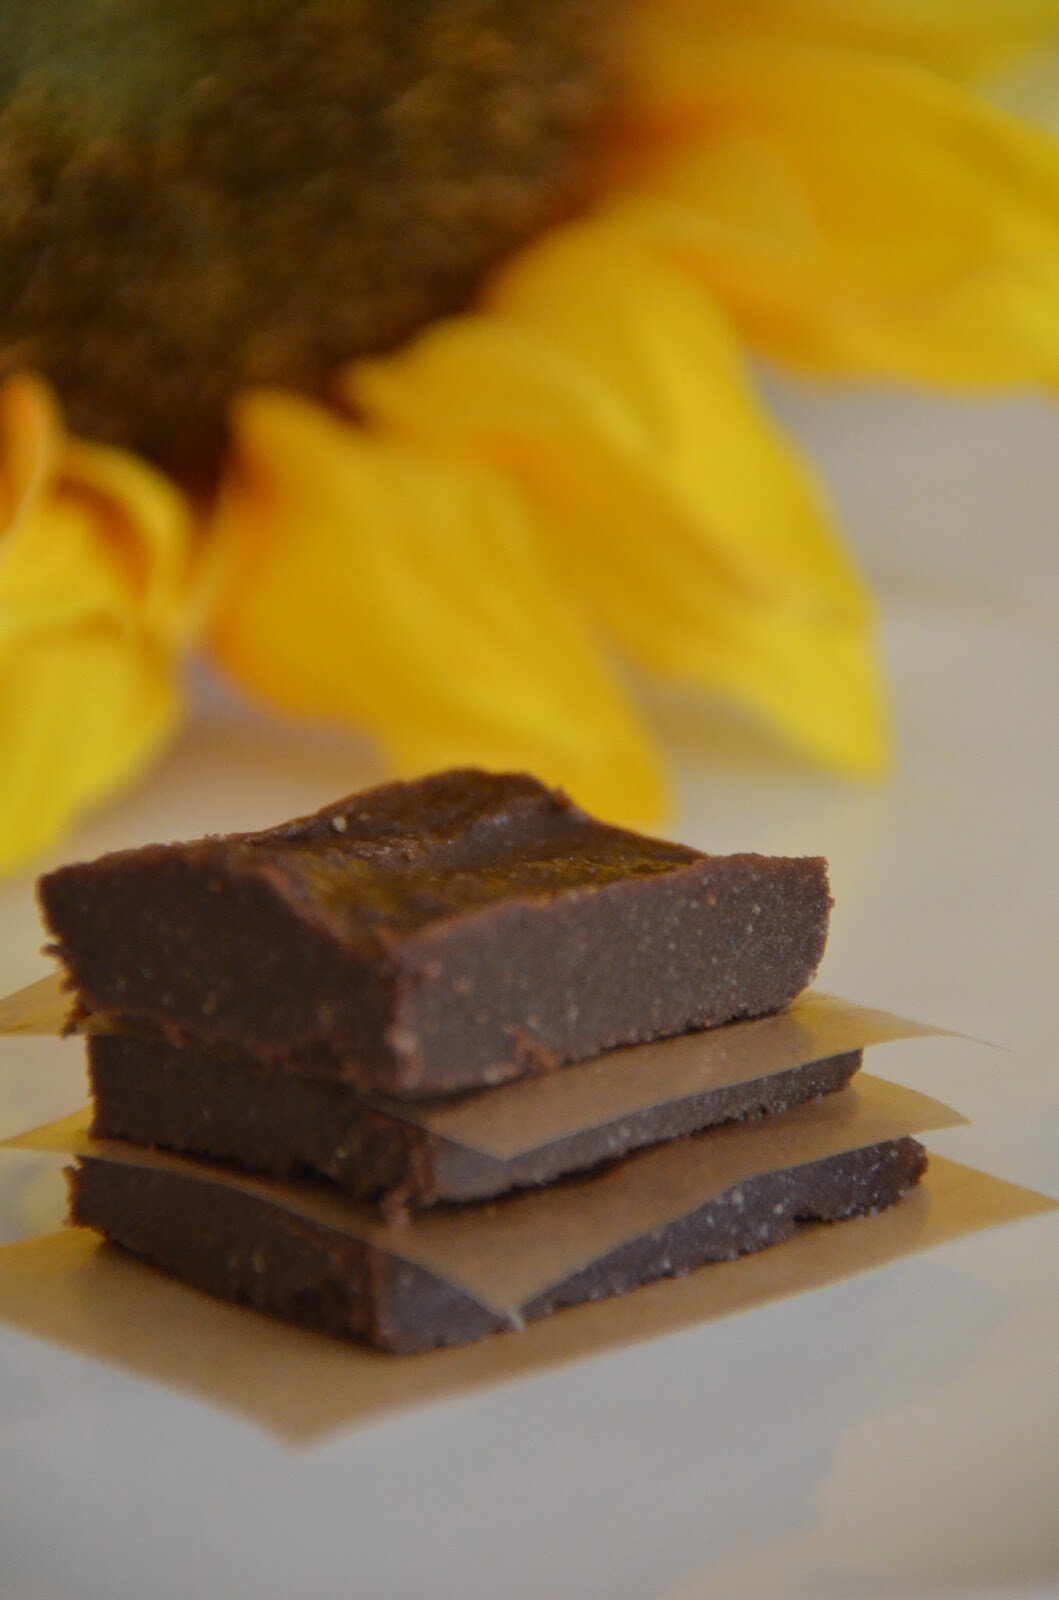
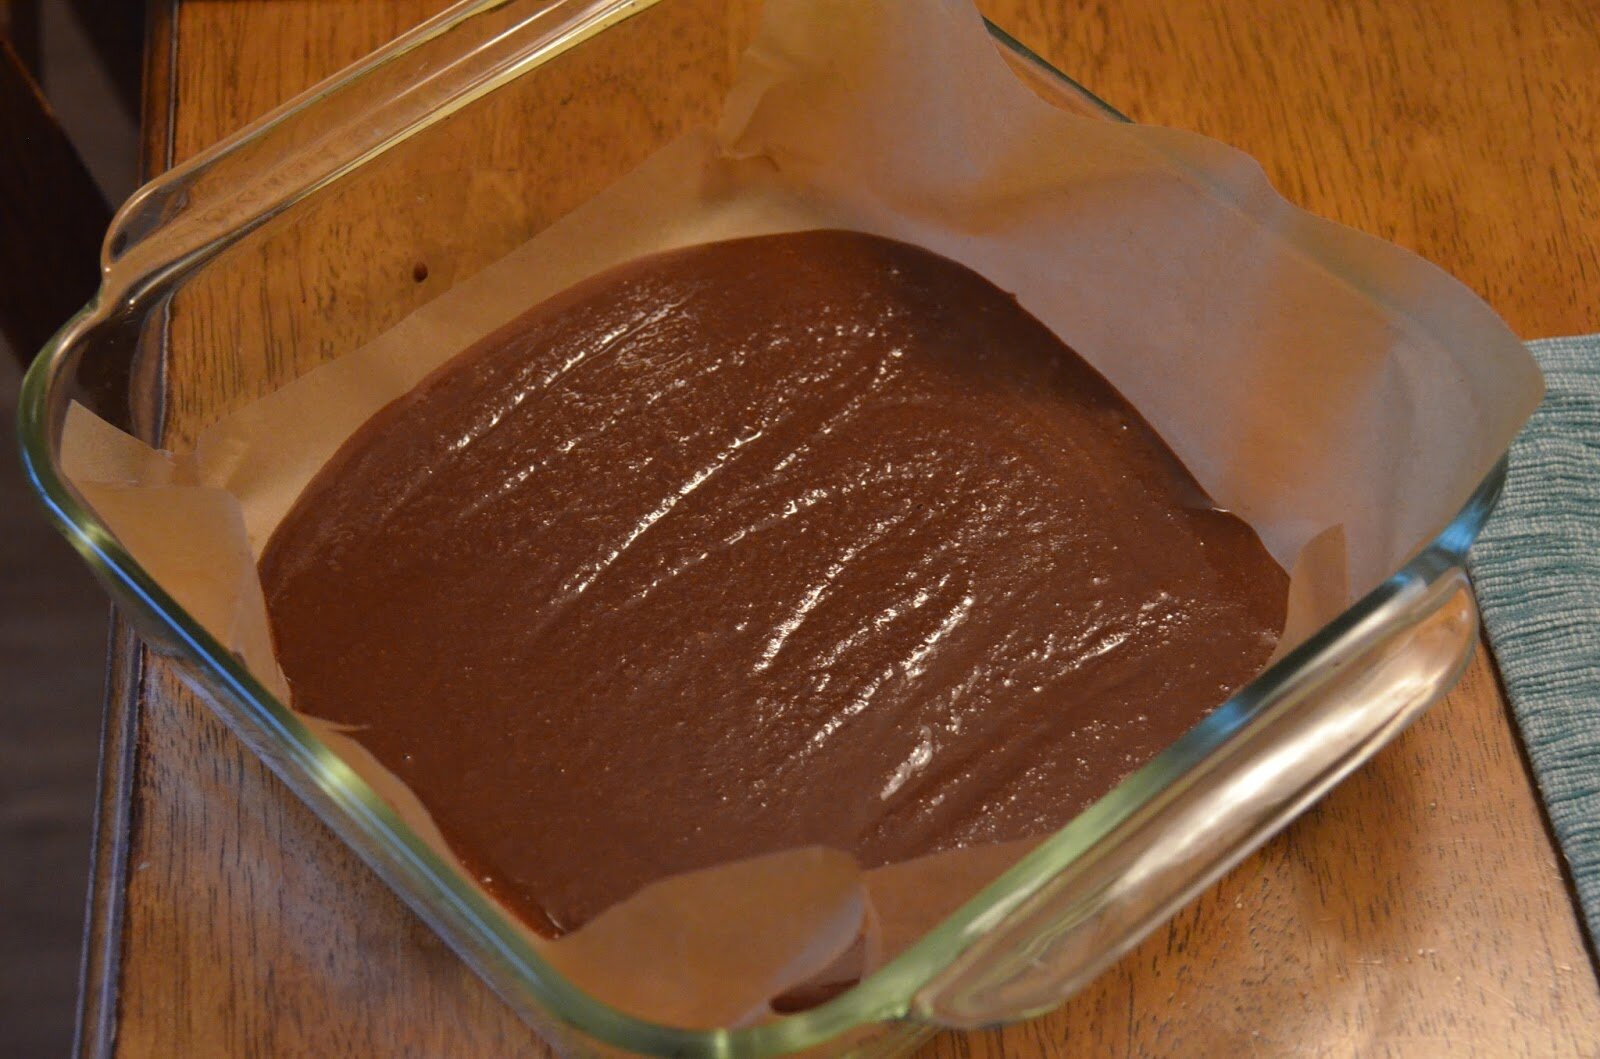
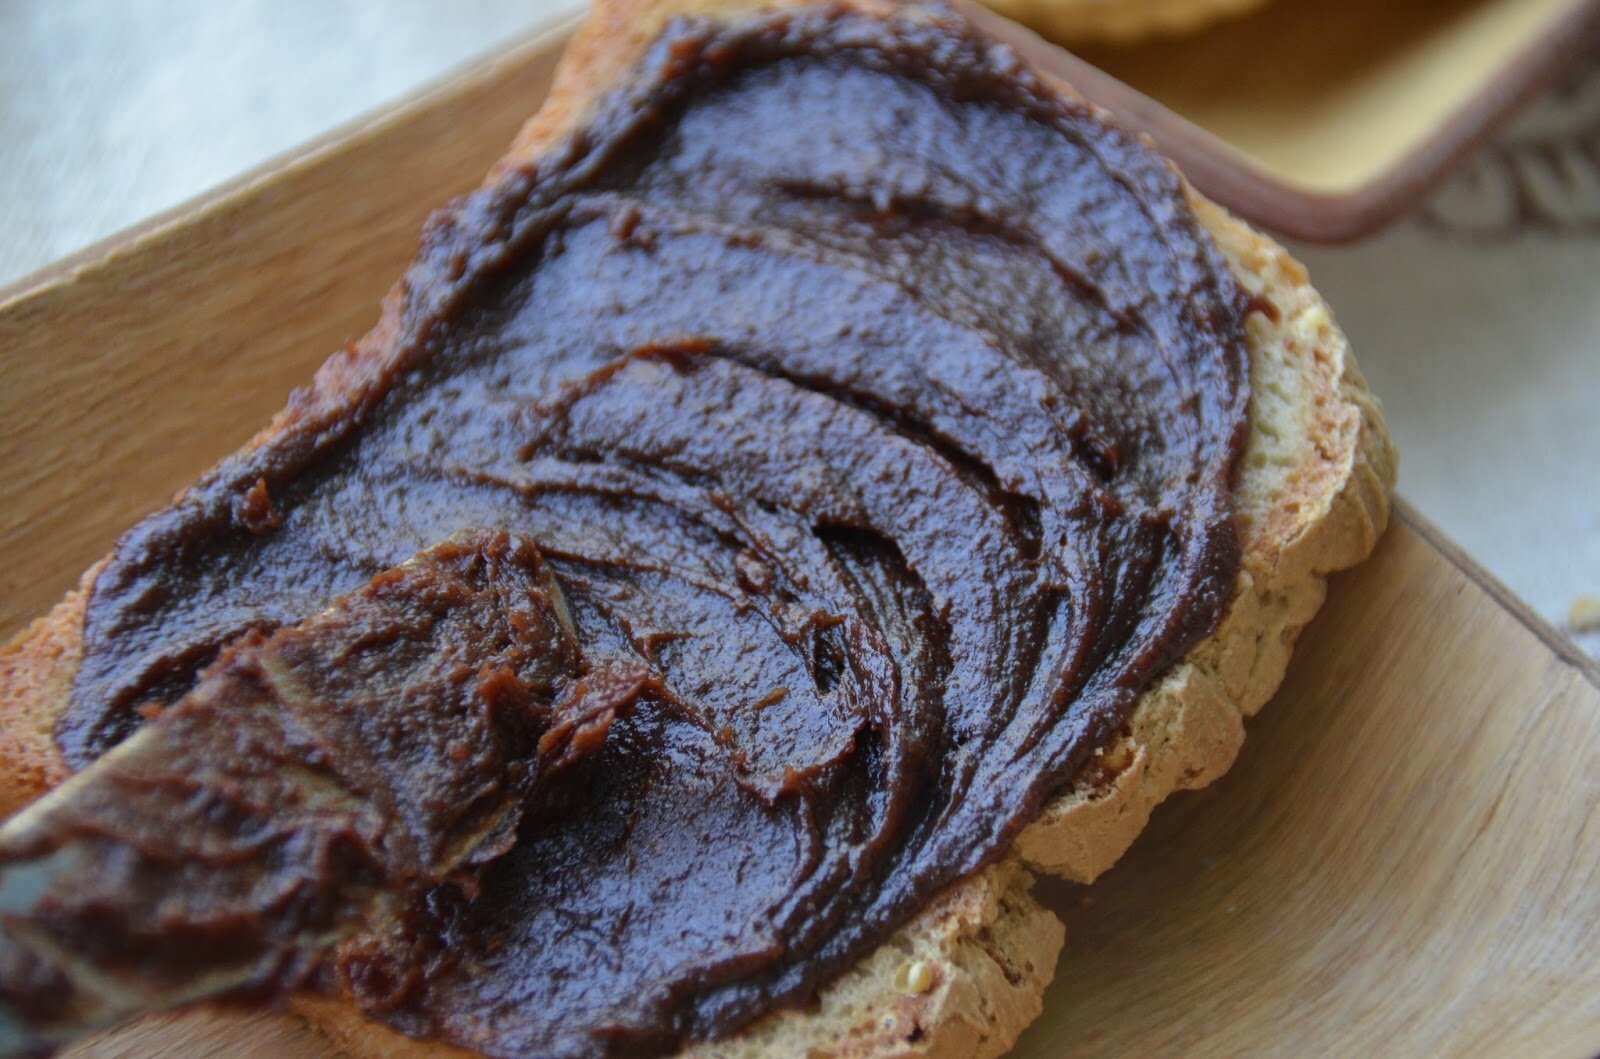
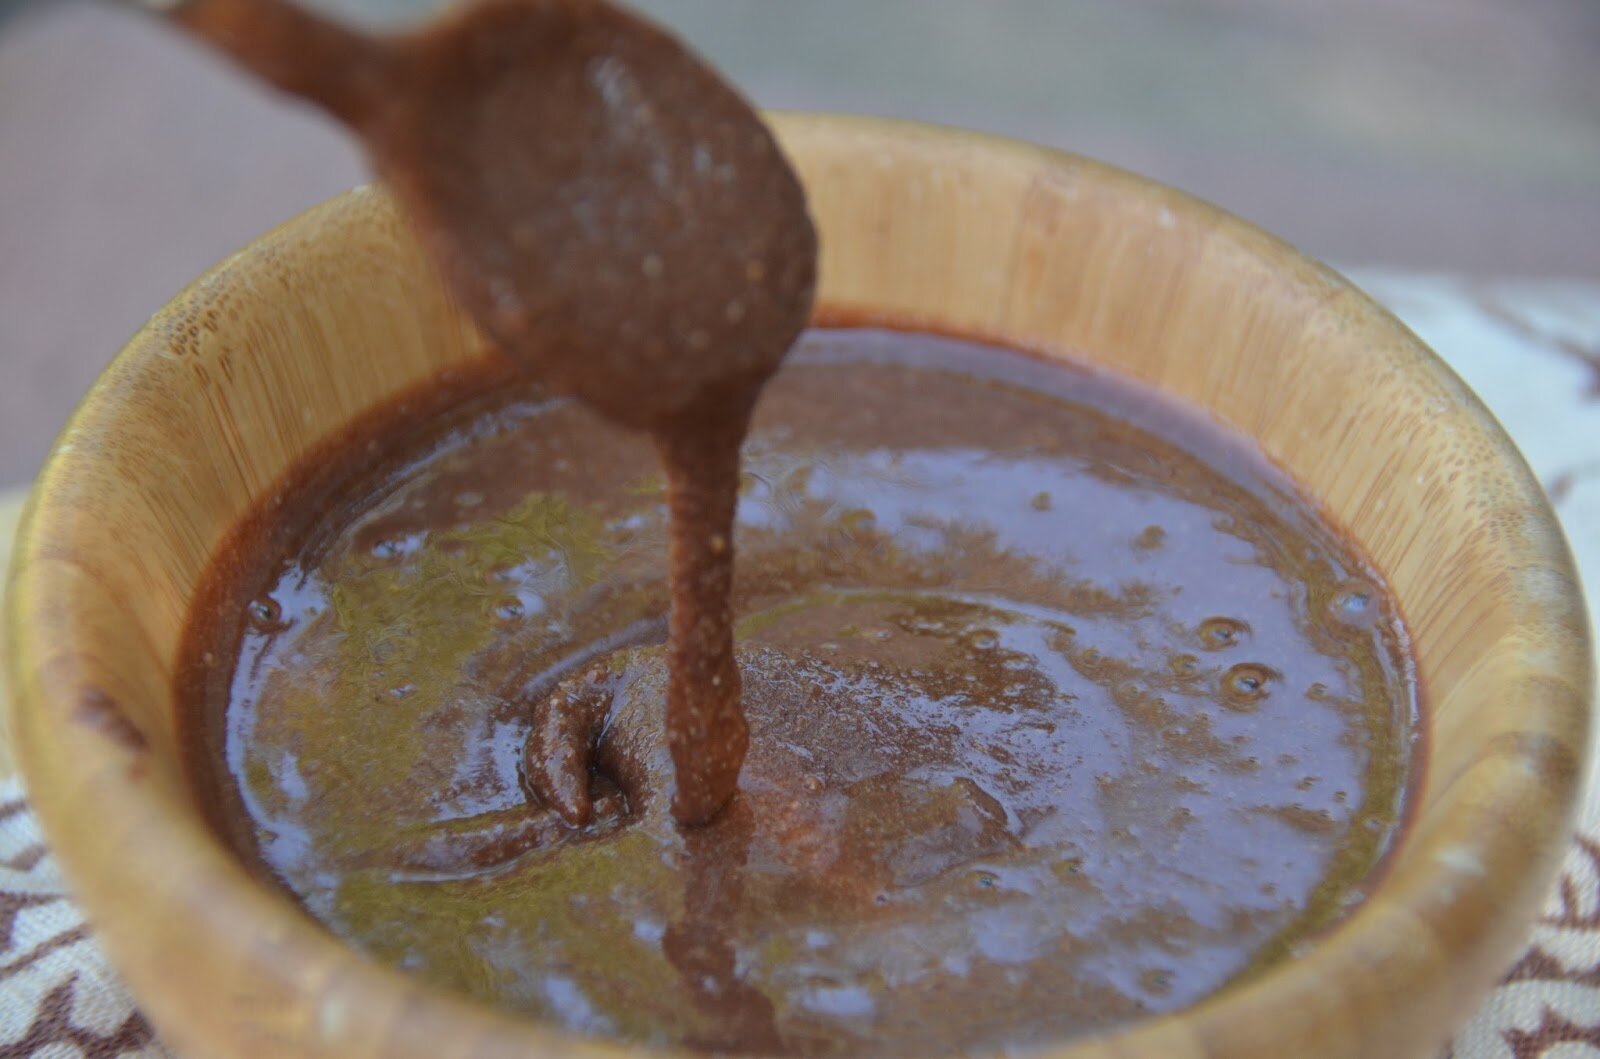
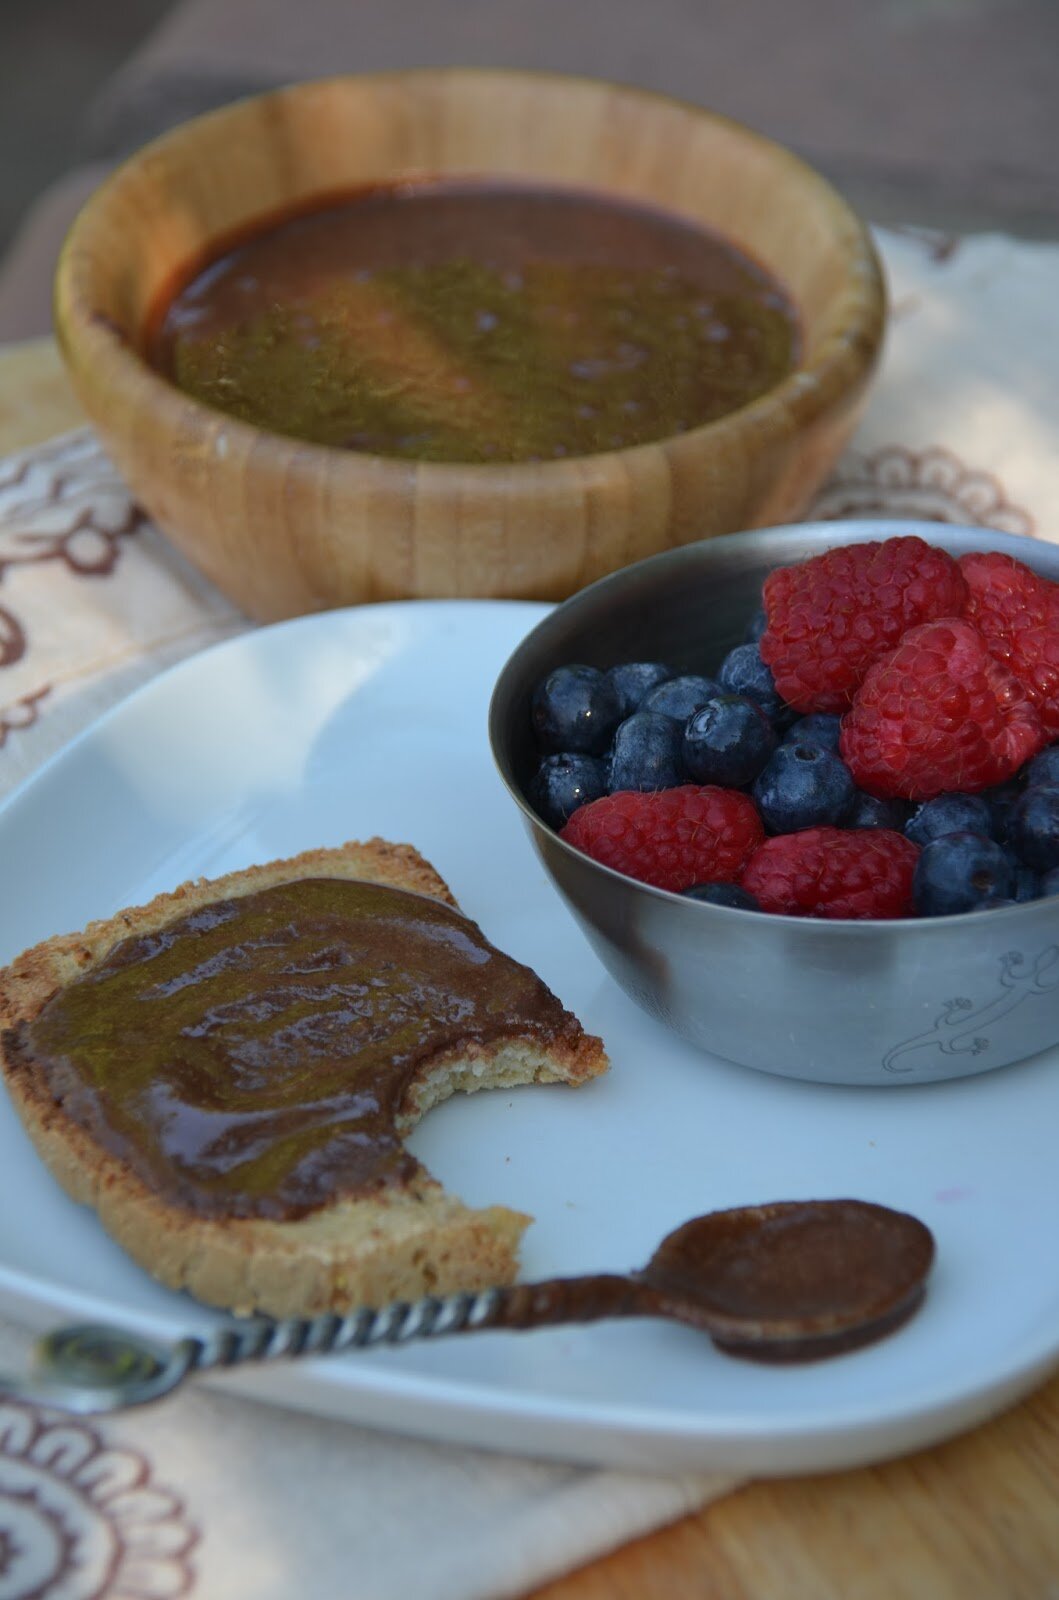
My local Natural Food Coop has been making a fiesta quinoa salad for years (10+).  I ate it like crazy when it first showed up in the deli and would also pick some up for potlucks or for dinner.  A few years ago I started making it myself.  I remember it was a blistering hot summer, and for weeks it was over 100 degrees and I refused to turn on my oven for most of it.  Like most summers, we live off of cool meals such as avocado mint soup, salads galore, raw treats and homemade ice cream. This quinoa salad is super refreshing and it’s a favorite among my family and friends. Maybe this dish will make an appearance at your next party…or for dinner one hot summer night.  xo, –Amber  Continue reading

Posted by Amber at

Labels: allergy-friendly, grain free, salads, summer cuisine, vegan, vegetarian.

6 Comments

Leave a Reply

Your email address will not be published. Required fields are marked *

Rate this recipe:  

Sunday, January 4, 2015

Orange Kissed Apple Pie

DSC_0012-25282-2529

When I was a little girl I loved helping my Gramie make apple pie.  She did not play around when it came to the apples. She piled them apples a mile high in a huge mound and placed the crust on top.  When the pie cooked the apples settled and there was at least a 4 inch space from apples to the top of the crust.  I will always remember how cool it looked.  When she broke into the pie, the crust fell nicely onto the apples.  What I loved most about her apple pie, however, was the filling.  She made it thick and gooey. The liquid ran all over the place.  The apples were tart yet sharp with sweet cinnamon flavor.  I loved extra scoops of the apple pie liquid on my ice cream which was the ultimate flavor combo.  We remember those we love through food.  When I taste my apple pie it takes me right back to her kitchen – standing there next to her oven, smelling the cinnamon and drooling for that flaky crust.  I’m happy to say I’ve perfected my version of her apple pie with a dairy, gluten, and cane sugar free spin. It’s comforting to smell, taste, and physically enjoy a memory.  Food has a way of bringing us closer to those we have lost, and really, then, suddenly they don’t feel so far away. Continue reading

Posted by Amber at

Labels: allergy-friendly, dessert, fall cuisine, holidays, pie, summer treats.

16 Comments

Leave a Reply

Your email address will not be published. Required fields are marked *

Rate this recipe:  

Friday, May 16, 2014

5 -Ingredient Chocolate Free & Sugar Free Frosting

DSC_0111

My son turned 5 years old yesterday!  My kids are starting to look VERY BIG to me these days. I’m loving the independence each year brings, but I would love to hold them each again as a baby (until they start crying and pooping – the fantasy ends there).  The teenage years will be here before we know it so I am ever reminding myself to treasure small moments and not let the silly stuff feel so big.     Continue reading

Posted by Amber at

Labels: allergy-friendly, cake, carob, dessert, frosting, Paleo.

8 Comments

Leave a Reply

Your email address will not be published. Required fields are marked *

Rate this recipe:  

Monday, February 3, 2014

Gluten Free Chocolate Chip Cookies (dairy free, cane-sugar free, nut free)

This chocolate chip cookie is a grand baking success for me!  Woot-woot.  I’ve been trying to capture that traditional chocolate chip cookie flavor in tasty alternative form for years.  Finally, last week, I did it.  If you’re gluten free, or new to gluten free, this is must recipe in your repertoire.  
Enjoy my friends, enjoy!
Posted by Amber at

Labels: allergy-friendly, chocolate, cookies, dessert, nut free, snacks.

8 Comments

Leave a Reply

Your email address will not be published. Required fields are marked *

Thursday, January 23, 2014

Fresh Cabbage & Herb Spring Rolls with Sunbutter Honey Dipping Sauce

 About a month after I started blogging I posted a recipe for baked spring rolls and they were my favorite food for months.  I made them over and over againuntil like most things I make over and over againI became satiated (and over it).  I haven’t really made spring rolls in a while.  Last month (in December) I was looking for a recipe to bring to a holiday party.  I thought, “What would everyone like, carnivores and vegetarians alike?”  So I made some raw spring rolls and wowza they are fun to make and super yummy.  I forgot how much I enjoy stuffing those little rice wrappers.  And the sauce, oh the sauce!  The sunbutter honey dipping sauce that accompanies these little rolls has such a delightfully complex flavor.  Sunbutter is a great sub for peanut butter in traditional peanut-based sauces.  Definitely give it a try.

Continue reading

Posted by Amber at

Labels: allergy-friendly, appetizer, sauces, spring cuisine, summer cuisine, vegetarian.

22 Comments

Leave a Reply

Your email address will not be published. Required fields are marked *

Rate this recipe:  

Monday, December 23, 2013

Cinnamon & Coconut Sugar Dried Apples

I absolutely adore making homemade holiday gifts for friends and family.  They are always well received and appreciated.  Dried apples were on my list this year to make as gifts and the addition of cinnamon and coconut sugar makes these dried apples so festive and delicious.  You could certainly leave the apples plain, but I just love the added spice.  As gifts I also like to make homemade greeting cards, coconut ginger granola, homemade almond butter, and homemade lotions (and other beauty products such as facial toner and body spray).  Another favorite is the gift of tea.  You can get so creative with tea, purchasing loose leaf and fun tea paraphernalia (check out my All Things Tea Pinterest board for more tea ideas).   
 
Happy Holidays to all.  I’m signing off until January.  Until then, wishing you a restful and peaceful holiday filled with love and laughter.    
-Amber & The Tasty Alternative Family 
CinnamonCoconut Sugar Dried Apples 
 
Ingredients:
-4 pounds of apples (any variety will do, I used Fuji)
-1 1/2 teaspoons ground cinnamon 
-1/4 cup coconut sugar
 
Equipment:
–A good knife or mandoline
–Dehydrator 
 
How To:
1.  Wash, peel and slice apples (slice thick for chewy dried apples, slice thin for crispy dried apples).  I like to cut out center seeds and the core.  
2.  Add apples to a large bowl and using hands, toss the apples with the cinnamon and coconut sugar, making sure all the apples are well covered.
3.  Transfer apples (in one layer) onto a dehydrator with mesh screens.
4.  Dehydrate on 95 degrees for 8 -10 hours  (basically, overnight). I encourage you to test out different drying times.  For another method, dehydrate on high (140 degrees) for 3 hours, then turn down to 95 degrees and dehydrate until your desired texture.  
 
Notes:
*Yes you can make these in the oven set at a low temperature, however, I have not tried this, so I cannot give any specific directions.  If you try it in the oven, please report back and let us know how it goes.  I suspect they will be more like apple chips, but you never know.
*If you use a mandoline, the slices will be very thin and almost crispy.  Hand slice thicker pieces for that nice chewy fruit dried texture.
The cut apples tossed in the cinnamon and coconut sugar 
Here are the apples all dried and ready for the jars
Good morning you pretty little apples.  
These dried overnight.  

{affiliate links in post}
This recipe was shared on: Wellness Weekend, Paleo Link Party, Whole Food Fridays

Posted by Amber at

Labels: AIP, allergy-friendly, fall treats, Paleo, raw, snacks.

8 Comments

Leave a Reply

Your email address will not be published. Required fields are marked *

Friday, September 27, 2013

Slow Cooker Pulled Pork with Homemade Barbecue Sauce

One of my favorite farm to fork restaurants here in Davis serves a great pulled pork sandwich.  It’s a rotation meal (not always on the menu) but when it’s there, I love to treat myself to lunch once in a while.  It comes with a very mild barbecue sauce and if I could change just one thing, I would definitely make it heavier on the sauce both in taste and quantity.  So I decided make my own version.  I am a gal who likes a messy pulled pork sammi – dripping with sauce thank you very much.  I planned on buying sauce, but found they were all loaded with with cane-sugar (or corn syrup, or something else nasty I didn’t want to ingest).  So I just made my own.  I found a recipe online that looked pretty painless and made a few adjustments.  The verdict: success!  It’s everything I love about barbecue sauce – thick, sweet, and tangy.  And oh man, did it go great with the pulled pork.  Fabulous!
Slow Cooker Pulled Pork 
with Homemade Barbecue Sauce 

Ingredients:

Pork
-2 1/2 pounds of boneless pork leg*
-2 teaspoons salt
-2 teaspoons garlic granules
-2 teaspoon onion granules 
-1 tablespoon coconut sugar
-1/2 cup water

Barbecue Sauce 
-1/2 cup diced red onion
-2 teaspoons oil + dash of salt
-1 teaspoon garlic granules, or 1 tsp minced fresh garlic
-2 tablespoons tomato paste
-1 teaspoon cumin
-2 cups tomato sauce*
-1/2 cup water
-2 tablespoons black strip molasses*
-1/4 cup + 3 tablespoons coconut sugar
-1 tablespoon Worcestershire sauce
-2 teaspoons Dijon mustard
-1 teaspoon salt
-Freshly ground pepper to taste

How To

For the pork
1.  Remove any twine around the meat.  Place the pork in the slow cooker.  In a small bowl, mix together the spices.  Then sprinkle the spices over the pork and rub it in all around.  
2.  Add the water to the bottom of the pork. 
3.  Cover and cook for 4 to 6 hours (or longer).  
4.  When the pork is finished, remove it from the slow cooker.  Trim off large pieces of fat.  Cut the pork in 4 sections against the grain, then with a fork, pull it apart against the grain.  
5.  Remove leftover contents in the slow cooker (water and any large pieces of fat).  
6.  Place the meat back into the slow cooker with 1 1/2 cups of barbecue sauce.  Or add as much or as little as you want.  
7.  Set the slow cooker to warm and cover until you serve.
Serves 5

For the sauce
1.  In a medium sauce pan add the diced onions, oil, and dash of salt.  Saute until tender (4 – 5 minutes).
2.  Add the garlic and saute another minute.  
3.  To the pan now add in the tomato paste, cumin, tomato sauce, water, molasses, coconut sugar, Worcestershire sauce, Dijon, salt, and a turn off the pepper grinder.  
4.  Bring to a gentle boil.  Immediately turn the heat down to a gentle simmer for about 15 minutes.  Stir occasionally. 
5.  Remove from heat and allow to cool bit.  Then you can either add it to a blender or use an immersion blender to incorporate and thicken (I use the latter – so easy).  
6.  I then transfer to glass jar and set it at room temp until I combine it with the pork.  The sauce will keep for weeks in the fridge. 

Notes:
*You can use any cut of meat including loin or butt.  The leg is my favorite cut if you can find it – nice marbling with way less fat. 
*I found a great salt free organic tomato sauce in a glass jar that was cheaper than purchasing fresh tomatoes and making my own.
*Honey or maple syrup can be used in place of the molasses. 

Posted by Amber at

Labels: allergy-friendly, condiments, main dish, slow cooker recipes.

7 Comments

Leave a Reply

Your email address will not be published. Required fields are marked *

Saturday, September 14, 2013

Melt In Your Mouth Carob Sunbutter Fudge – and pictures of gorgeous sunflower fields

This carob fudge came about when I was experimenting with my nut-free nutella.  One batch became very fudge-like after a few hours in the fridge.  I shared a little teaser about this recipe on Facebook last week.  I don’t know about you, but I don’t do a lot of chocolate for my kiddos.  It’s highly stimulating.  For us, chocolate is really a once in a while treat.  But carobcarob we eat often.  And I like that I can give a “chocolate” treat after dinner for dessert.  This recipe really does melt in your mouth and actually tastes (I kid you not) like chocolate.  Give it a try and let me know what you think.

  Melt In Your Mouth Carob Sunbutter Fudge 

Ingredients
-1/2 cup room temp homemade sunflower seed butter
-1/4 melted cup coconut oil
-1 teaspoon vanilla extract
-2 tablespoons honey (vegans use grade B maple syrup)
-5 drops stevia
-3 tablespoons raw carob poweder  
-Pinch of salt 

How To:
1.  To a food processor add the sunflower seed butter, coconut oil, vanilla extract, honey, stevia and blend until smooth.  Add in the carob and blend until well incorporated.  
2.  Set some wax paper into an 8×8 Pytex dish and spoon the mixture in.  Don’t spread it around to all sides too thin, just give it little smooth over.  Refrigerate for at least 2 hours.
3.  Cut into pieces and enjoy.  Store in fridge.  

I freaking LOVE sunflowers.  Love, love, LOVE them.  I love them so much, I had one tattooed on my back!  Sunflowers are my happy place.  They are my go-to calming visual.  I wanted to share these gorgeous pictures with you.  I took them back in June (on Father’s Day actually) after a trip from those there hills you see in the background (went for a hike with the kiddos).  We are surrounded by sunflower fields here in Davis.  This field pictured below is like two miles from my house.  If you’re not familiar with whereabouts we are located, we are roughly 15 minutes west of Sacramento (the capital of California), and about an hour away from San Francisco.  Even though we are only 15 minutes from Sacramento, we are quite isolated here in Davis and surrounded by agriculture.  It’s sorta nice.  Like best of both worlds.  When I want to meet up with my girlfriends for some city action, they are just a few minutes away.  Anyway, very rural here in our smallish town.  It may be rural, but proudly liberal/progressive (thankfully), and houses one of the finest Universities in the State (UC Davis).  And might I add, we are surrounded by some of the best organic farms around.  Damn, I am such a Northern California snob,  My husband and I worked so, SO very hard to land here in this wonderful town, so yes, I am proud.  And I could not be happier with all these comforting, warm and lovely sunflower fields embracing me every summer.  
Swoon.  
Shared on:  Allergy Free Wednesdays, Wellness Weekend, Allergy Free Alaska, Healthy Vegan Fridays, 
Posted by Amber at

Labels: allergy-friendly, dessert, nut free, snacks.

14 Comments

Leave a Reply

Your email address will not be published. Required fields are marked *

Saturday, August 24, 2013

Homemade NUT-Free Nutella

 
The Nutella you’ll find in the store is made up of 55% refined sugar.  Yep.  There’s dairy in there too, along with soy and yes a few hazelnuts   I wouldn’t call this a health food…or even a healthy choice for breakfast (or any time of the day).  Okay, let’s put this into perspective…eating Nutella is like eating a milk chocolate bar for, what some would agree, is the most important meal of the day.  Now if that’s your thing, than you go for it, but you know how I feel about cane-sugar, so I say boo to Nutella.  They were actually sued for mislabeling as a “health food.”  Ha ha, I think they considered it healthy because it had a few hazelnuts in there.  I love indulgences as much as the next gal, but I try REALLY hard to make good choices when it comes to food, especially when it comes to my kiddos.  If something can be made at home, I give it a go.  Now Nutella, what is the appeal here really?  It’s the CHOCOLATE! It spreads.  It’s sweet.  It’s different…okay, so it’s clearly appealing.  Agreed.  I mean, it’s chocolate in a jar!  So I’ve created a chocolaty, sweet, spreadable, and nut free version that is quite a tasty alternative.  I actually use carob when I make this, as it’s better for our inflammatory issues.  Whether you use carob or chocolate, it’s fun to mix it up for snack time.  Give it a go and let me know what you think.  
Homemade NUT-Free Nutella 
Ingredients:
-6 large dates
-2 tablespoons melted coconut oil
-1/3 cup homemade sunflower seed butter or this brand is good too.
-3 tablespoons raw cacao powder  or carob powder.
-2 tablespoons honey (vegans use grade B maple syrup, coconut nectar, or yacon syrup)
-2 teaspoons vanilla extract 
-Tiny pinch of salt
How To:
1.  Seed the dates and soak them in water for 2 to 3 hours.
2.  Drain the dates (save the date water for smoothies) and add the dates to a food processor with all the other above ingredients.
3.  Blend until well incorporated.
4.  Store spread in fridge.  Allow it to sit at room temperature for a bit so it softens up.  Makes it easier to spread.
Notes:
*This recipe is also fabulous with carob powder (instead of the cacao)
*Can’t do dates?  Try the same amount of figs or 1 cup of raisins – soak as you would the dates.
Here is a date free version I tried that’s not as creamy, but still delicious and spreadable:
-1/4 cup coconut oil, liquid state
-1/2 cup homemade sunflower seed butter or cashew butter
-3 tablespoons raw cacao
-2 tablespoons honey (vegans use grade B maple syrup, coconut nectar, or yacon syrup)
-2 teaspoons vanilla extract
-Tiny pinch of salt
(Blend everything in a food processor)
Here is a picture of this date-free version at room temp.
It gets really firm in the fridge – sort of tastes like fudge!
*
Shared on: My Meatless Monday, Fat Tuesdays, Slightly Indulgent Tuesdays. Allergy-Free Wednesdays, Wellness Weekend, 
Posted by Amber at

Labels: allergy-friendly, dessert, dips and spreads, nut free, Paleo, snacks.

21 Comments

Leave a Reply

Your email address will not be published. Required fields are marked *

Tuesday, August 20, 2013

Zucchini Chai Spiced Muffins (gluten free, dairy free, cane-sugar free)

Looking for ways to use up that summer garden zucchini?  Try using them in baked goods.  These muffins are my latest baking conquest.  With multiple attempts to get the texture and chai spice just right, they are ready to share.  If you follow my blog, you know that I’m on a gluten free baking adventure and teaching myself how to bake and create no fuss, tasty recipes that are easy to replicate.  So far, so good.  My friend Jen has been making my chocolate chip banana muffins for months now and her family gobbles them up.  Another friend enjoys my coconut blueberry muffins for her newly gluten and dairy free family.  These chai spiced muffins have been taste tested by traditional eaters (about 6 different children on traditional diets) with thumbs up all around.  So as always, a great stamp of approval.  
Zucchini Chai Spiced Muffins
(gluten free, dairy free, cane-sugar free)

Ingredients:
Wet
-2 eggs room temperature (weighing 4.5 ounces in the shells)
-1/2 cup coconut sugar
-1/2 cup non dairy milk
-1/2 cup unsweetened applesauce 
-1 cup peeled and grated zuchhini
-1/2 cup melted coconut oil
-1 teaspoon vanilla extract
-1/2 teaspoon vanilla or plain stevia
Dry
-100 grams sorghum flour (3/4 cup + 2 level tablespoons)
-100 grams brown rice flour (3/4 cup)
-60 grams tapioca starch/flour (1/2 cup)
-1 teaspoon baking powder 
-1/2 teaspoon baking soda
-1/4 teaspoon xanthan gum 
-1/2 teaspoon salt 
Chai spices
-1 teaspoon ground cinnamon

-1/2 teaspoon ground cardamom

-1/4 teaspoon ground allspice 

-1/8 teaspoon ground cloves

-1/2 teaspoon ground ginger 


How To:
Preheat oven to 350 degrees 
1. In a medium bowl, mix together all your dry ingredients including the chai spices.  
2. Next, in a large bowl, add in the eggs, coconut sugar, coconut oil, milk, applesauce, vanilla, and stevia (please make sure everything is room temperature).  Beat on medium with a hand mixer for 30 seconds.  
3.  Add in the dry ingredients.  Mix gently to incorporate then beat on medium with hand mixer for 15 seconds.  
4.  Add in the zucchini and gently mix by hand until incorporated. 
5.  Fill batter to near the top of the muffin cups, sprinkle with coconut sugar, and add a little square of zucchini.  
6.  Bake for 18 minutes.  
7.  Remove muffins from tin and cool on rack.  
Makes 12 – 15 muffins

Notes:
*Try homemade non-dairy milks for great results: Almond, Walnut, HazelnutMacadamia, Hemp.  
*For baking, I suggest following the weight of the ingredients exactly. This might mean investing in a small kitchen scale.  I cannot guarantee results if the recipe is not followed as specified and measurements are not accuratejust sayin’.
*For wet ingredients use only a 1 cup glass Pyrex for measuring. *For dry, use metal measuring cups.  And when measuring flours, spoon the flours into the measuring cup, then level off with a knife.  Never pack in the flour. 
*The muffins will stay moist for 3 or 4 full days at room temp in a container.  
*Oh, and I use these large baking muffin cups.


Here are my other baking recipes
(all gluten free, dairy free, cane-sugar free)

Strawberry Coconut Cake 

And stayed tuned for these chocolate cupcakes comin’ atcha soon

Shared on: Fat Tuesdays, Slightly Indulgent Tuesdays, Allergy Free Wednesdays, My Meatless Monday, 

Posted by Amber at

Labels: allergy-friendly, breakfast, muffins, snacks.

7 Comments

Leave a Reply

Your email address will not be published. Required fields are marked *