
-2 cups shredded coconut (any brand will do, I purchase mine in the bulk section)
-1 cup almond flour (I used Bob’s)
-2 teaspoons lemon zest
-2 tablespoons honey (vegans, use maple syrup or coconut nectar)
-2 tablespoons melted coconut oil
-2 tablespoons fresh squeezed lemon juice
-1/2 teaspoon vanilla extract
-1/4 teaspoon lemon oil (optional, or use an extra tablespoon of lemon juice)
-1/2 teaspoon salt
How To:
1. In a food processor add the 2 cups of shredded coconut. Blend for 30 seconds. Then add in the almond flour. Blend together for 10 seconds.
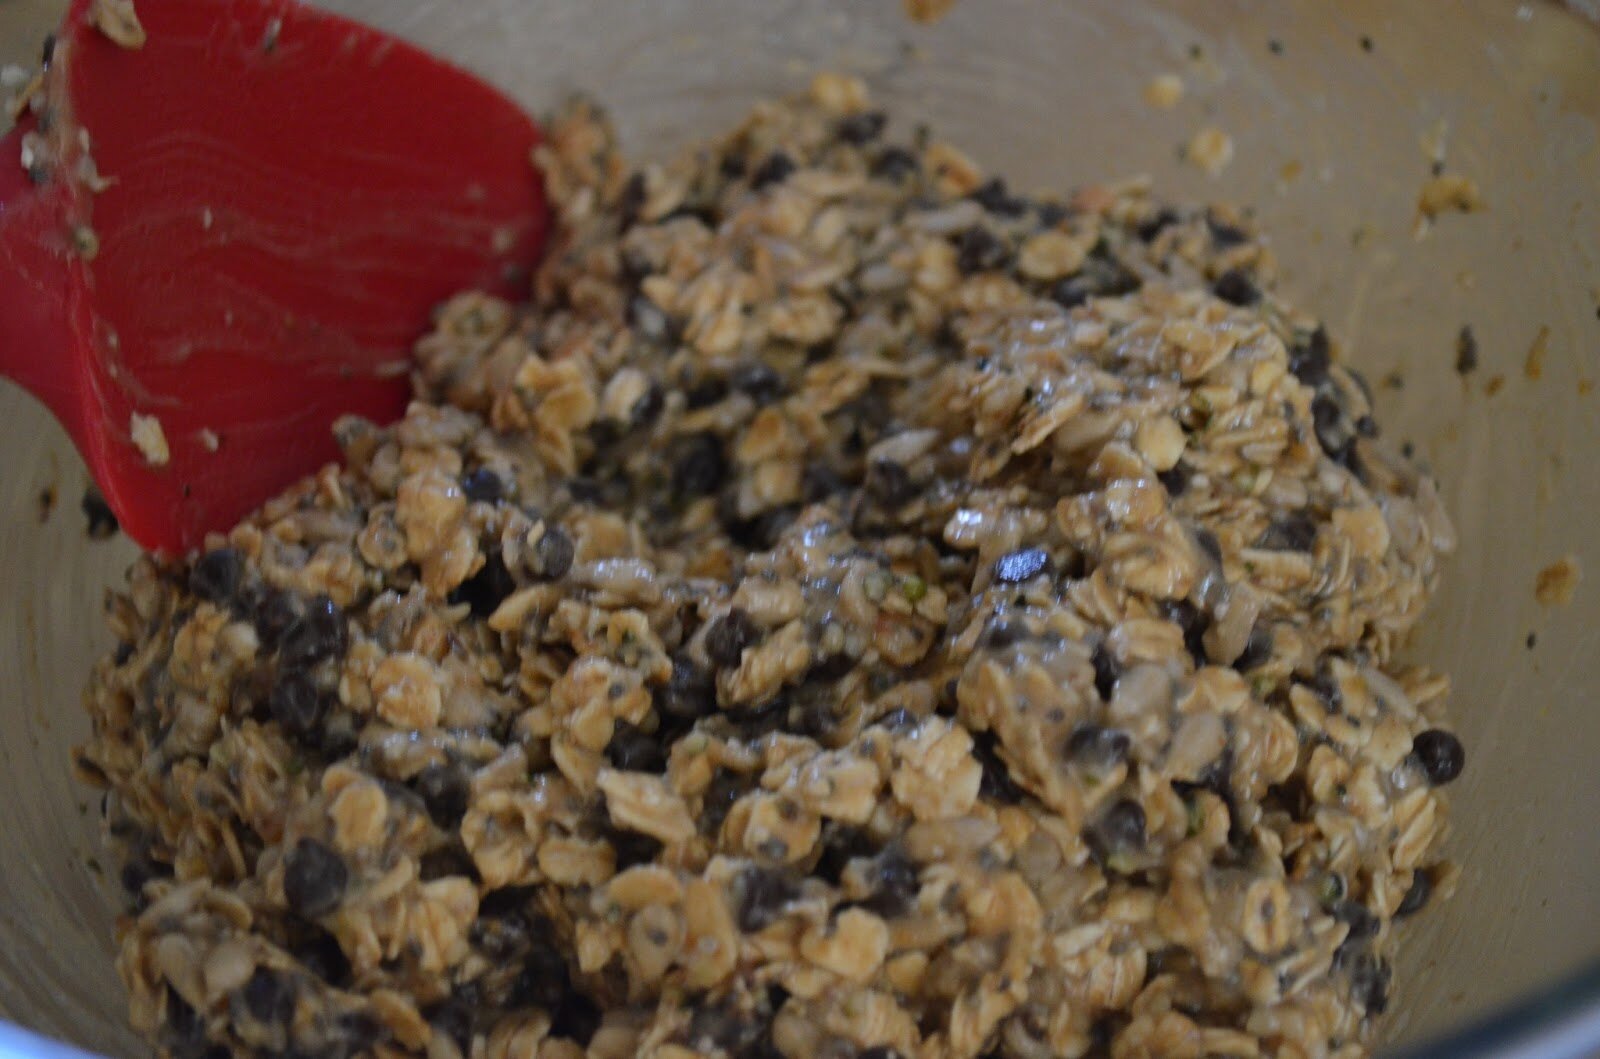
2. With the food processor running, add in the lemon zest, honey, coconut oil, lemon juice, salt and lemon oil (optional). Blend together for 15 seconds.
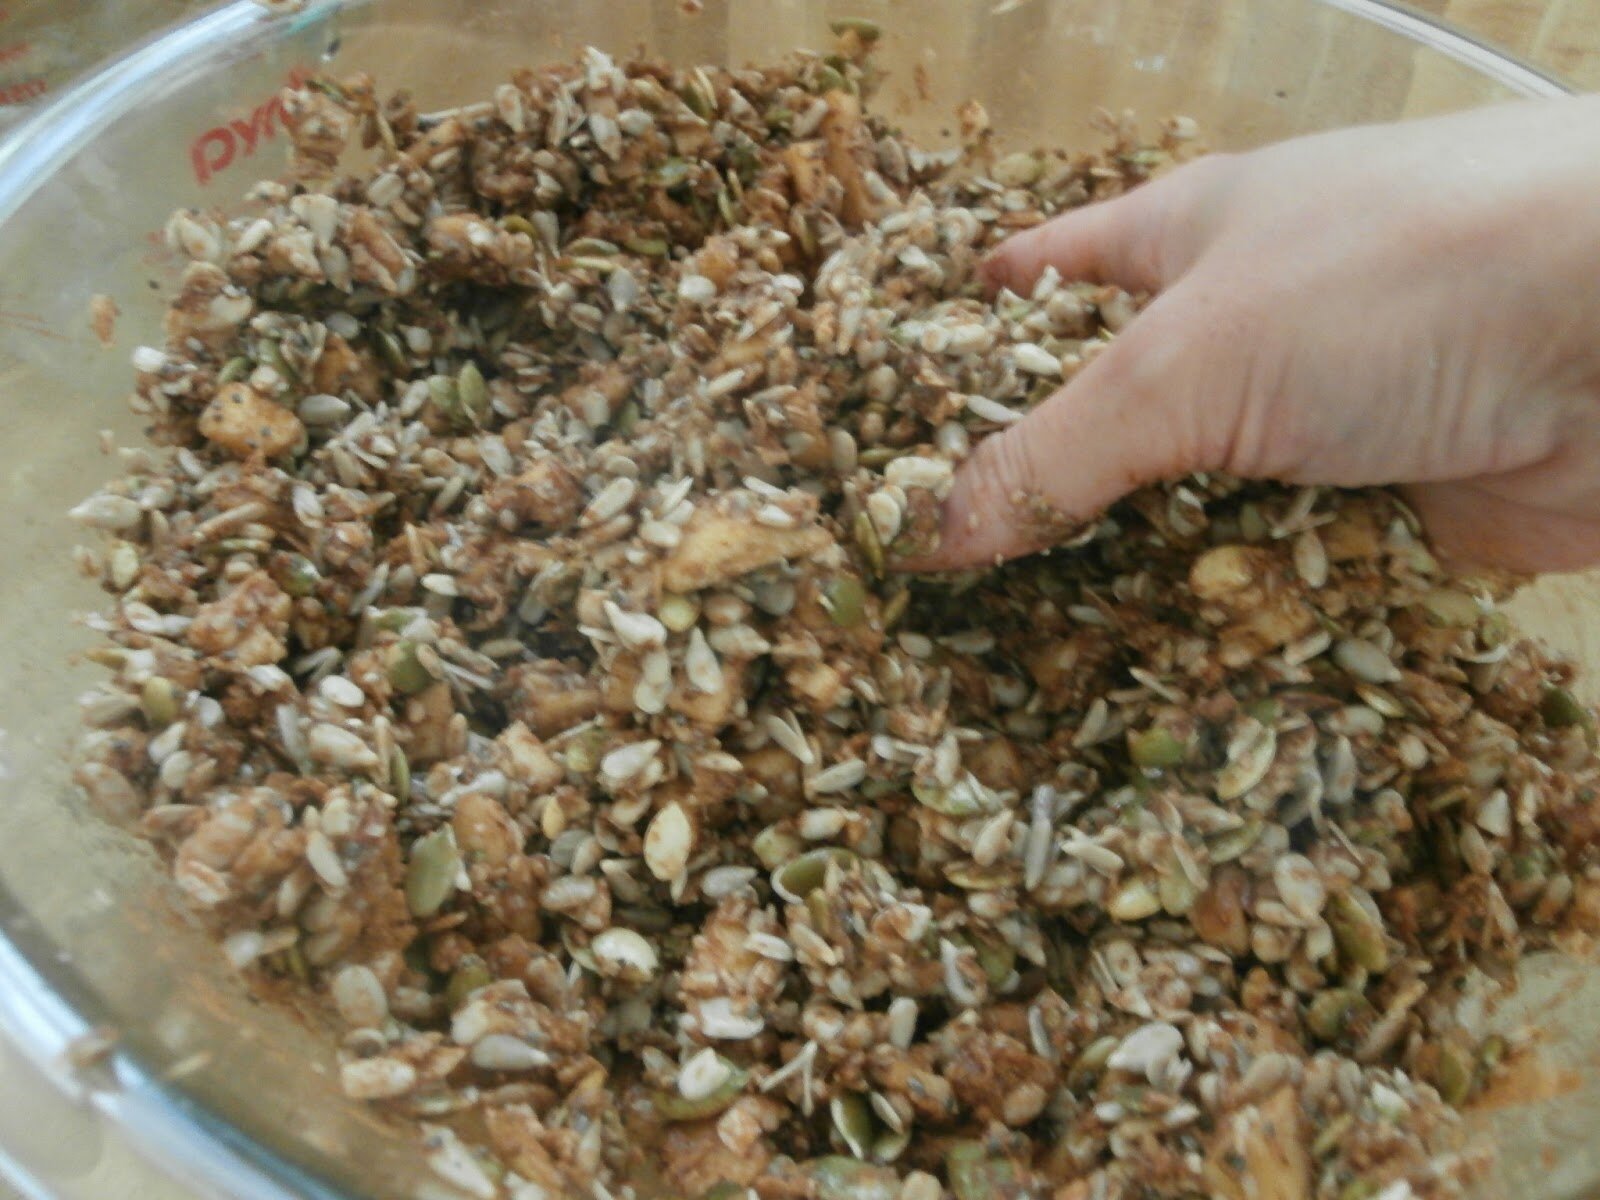
3. The mixture will feel wet and oily. That’s okay.
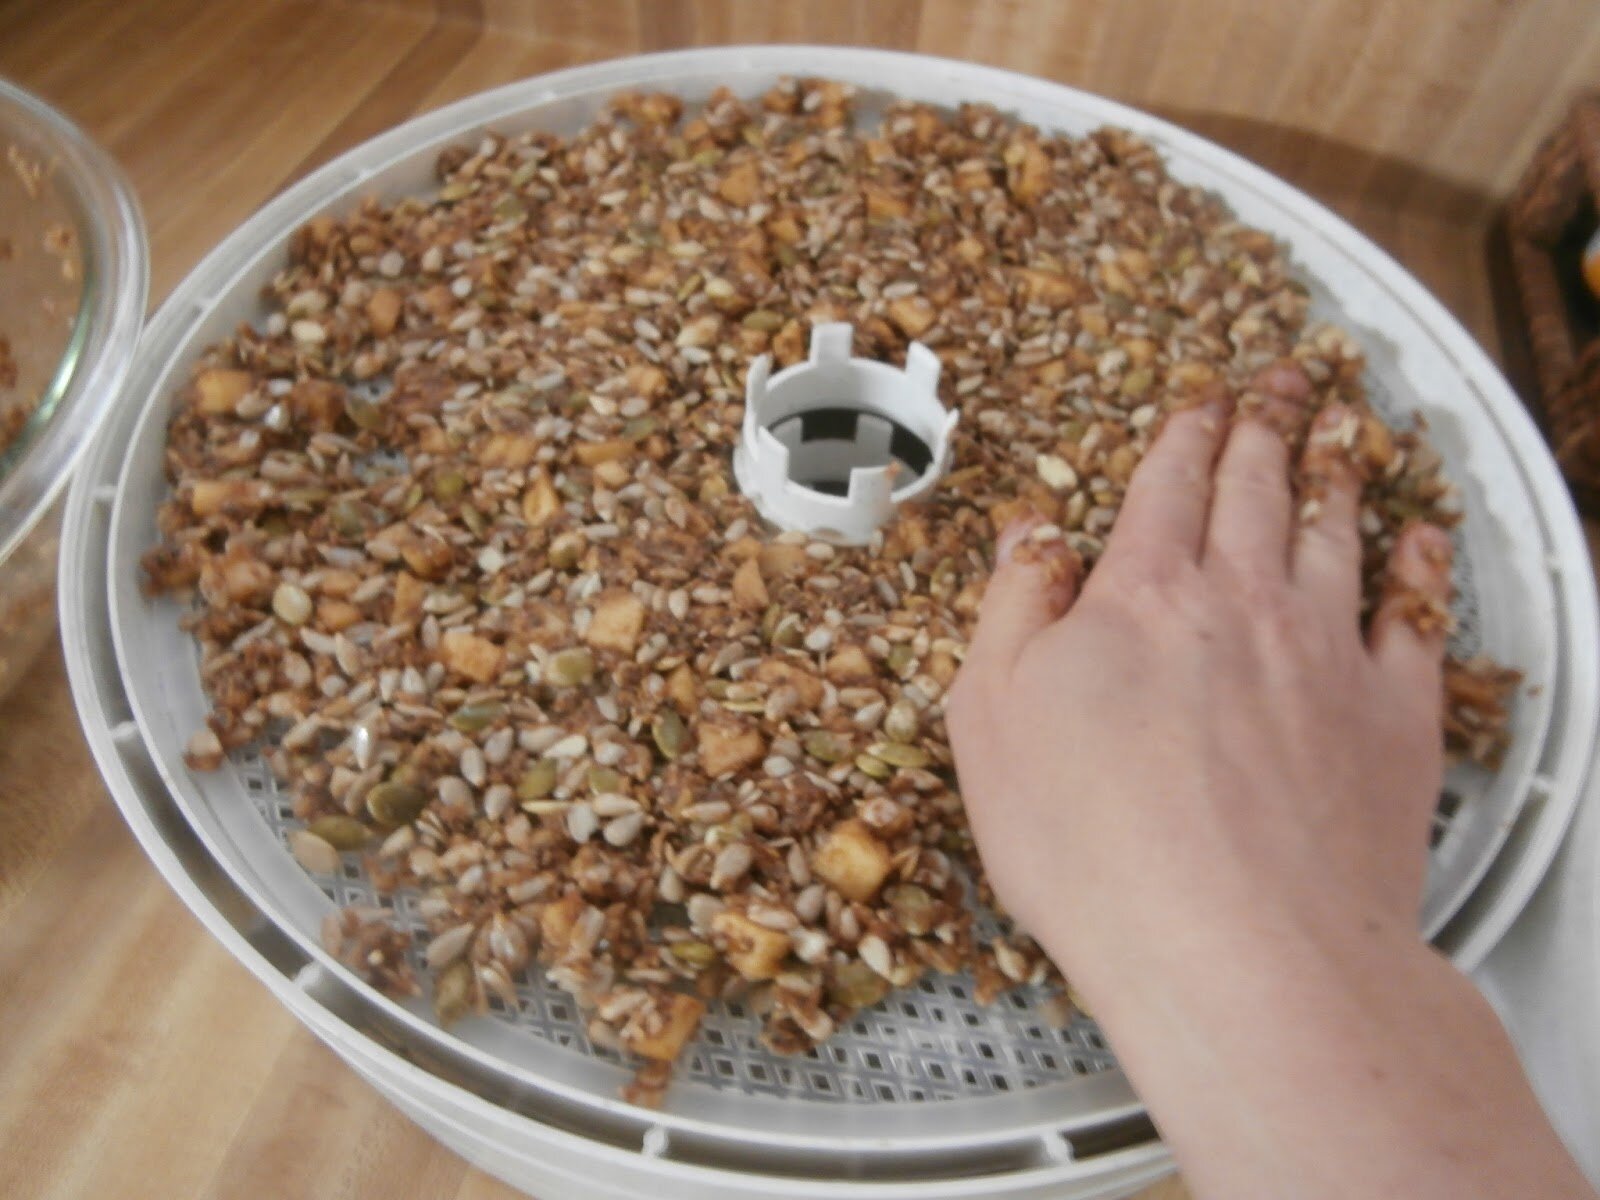
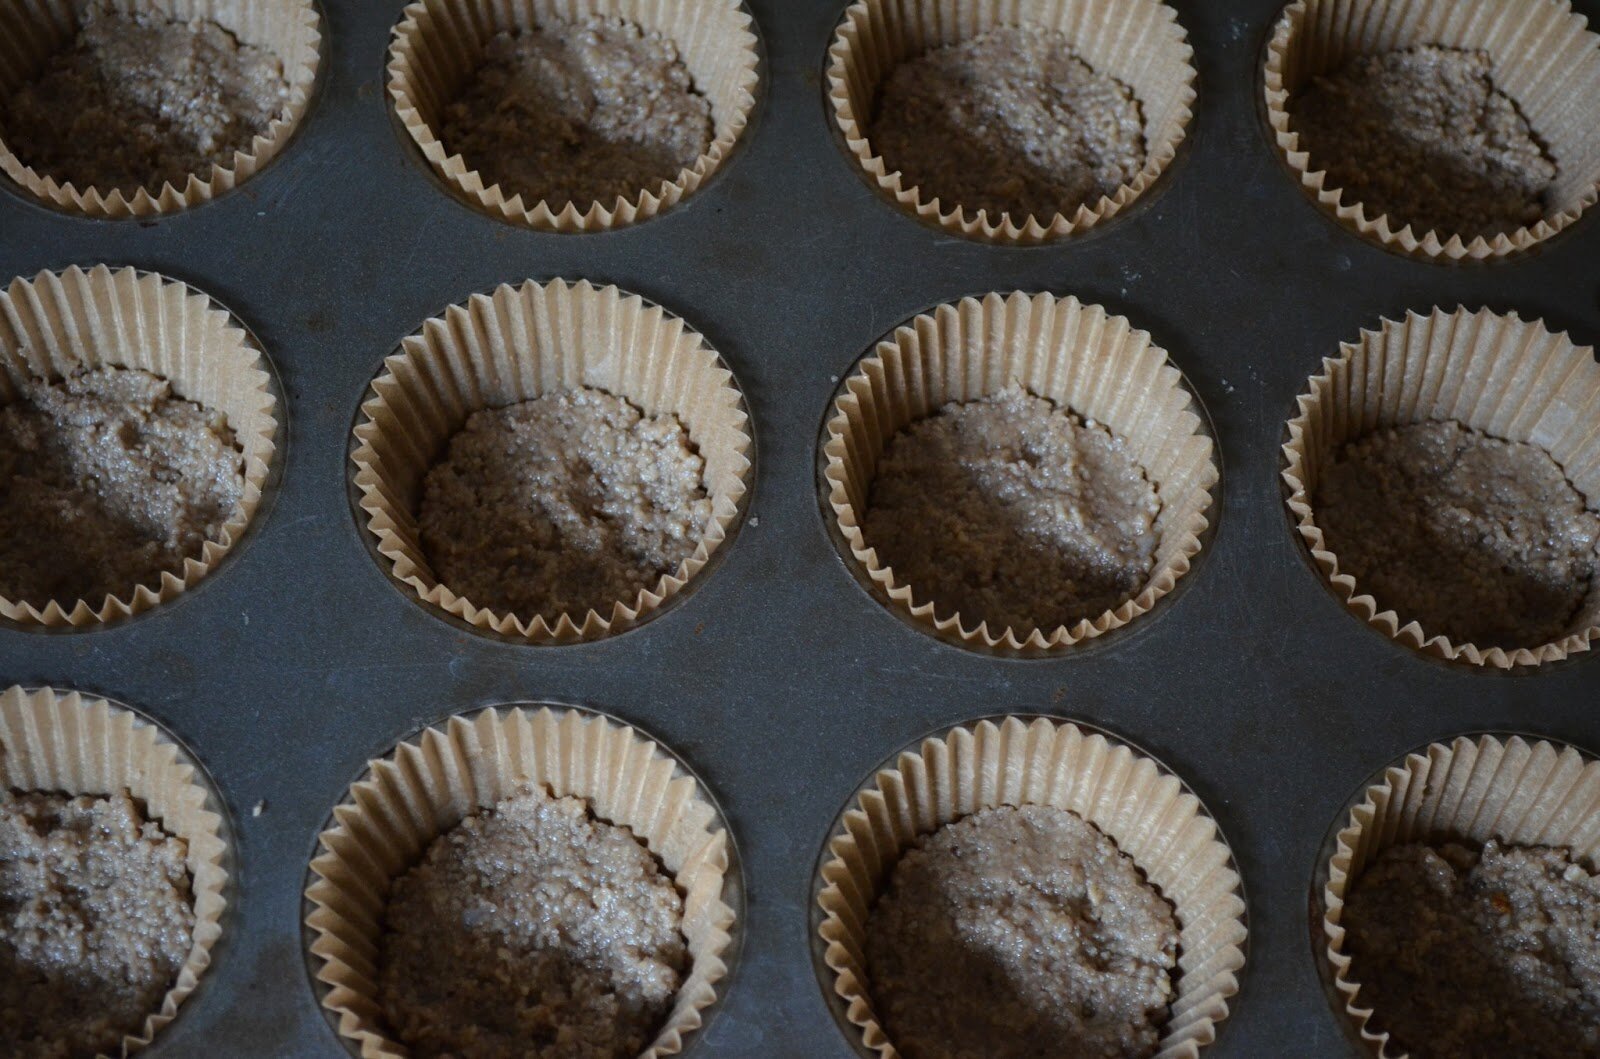
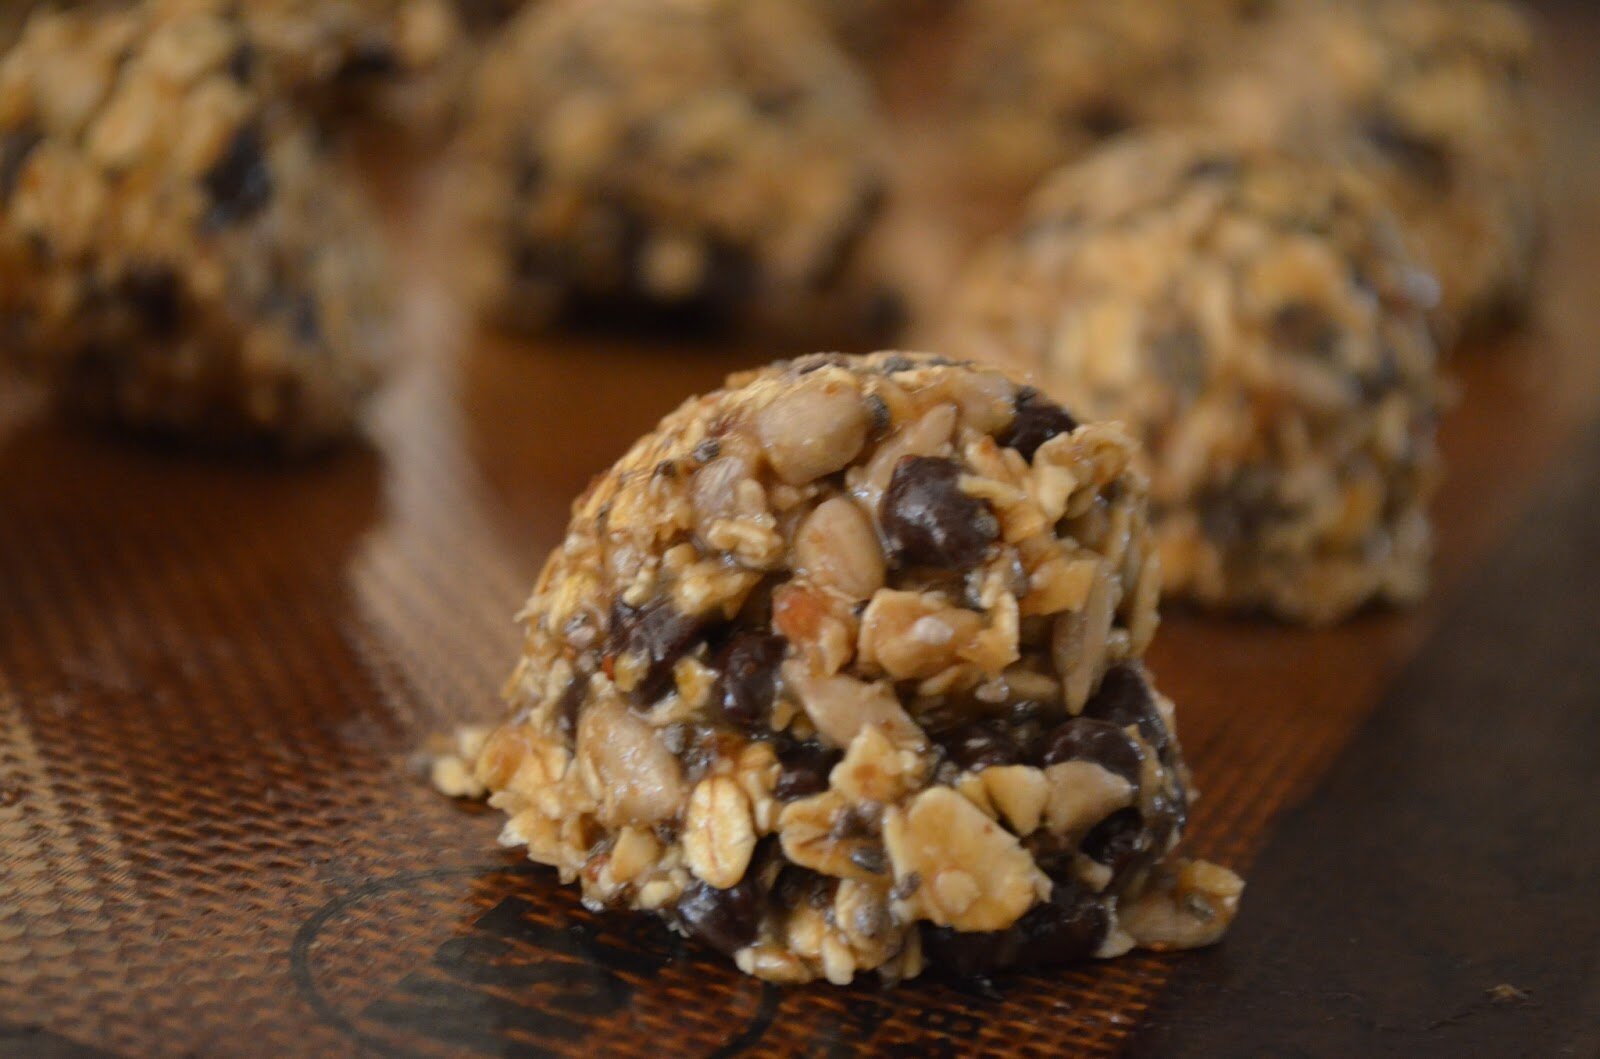
4. Scoop out the mixture with a 1-ounce ice cream scoop and place directly on the dehydrator tray (no screens). This is the dehydrator I use.
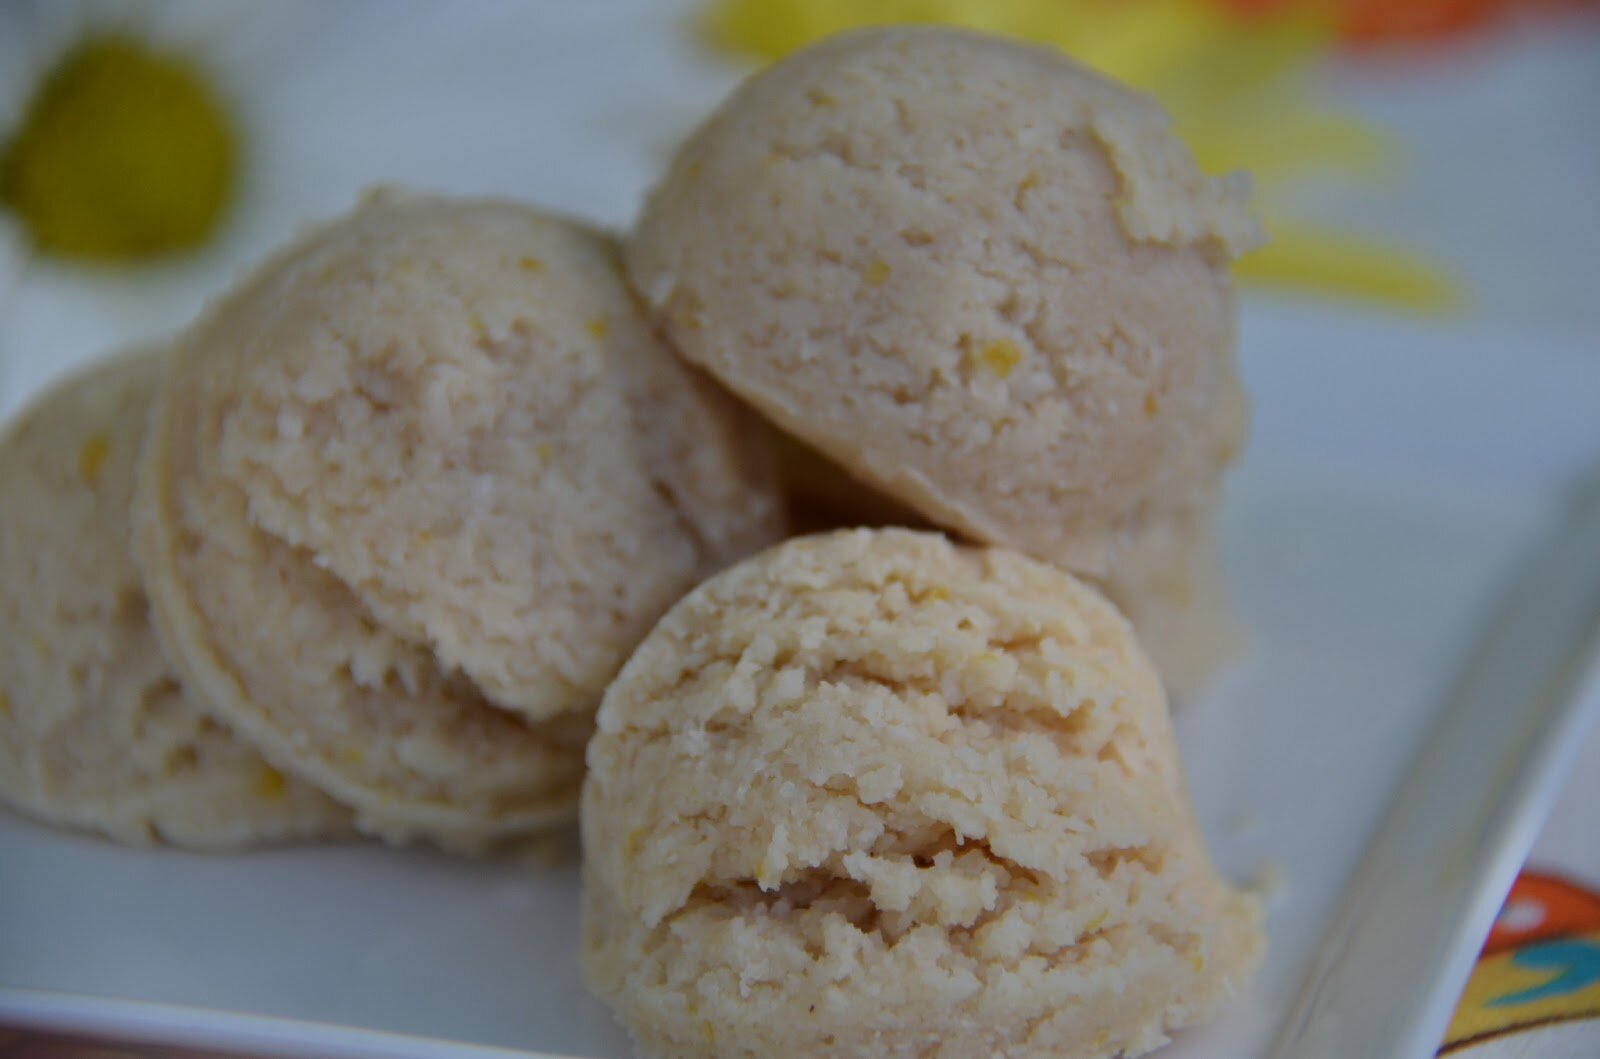
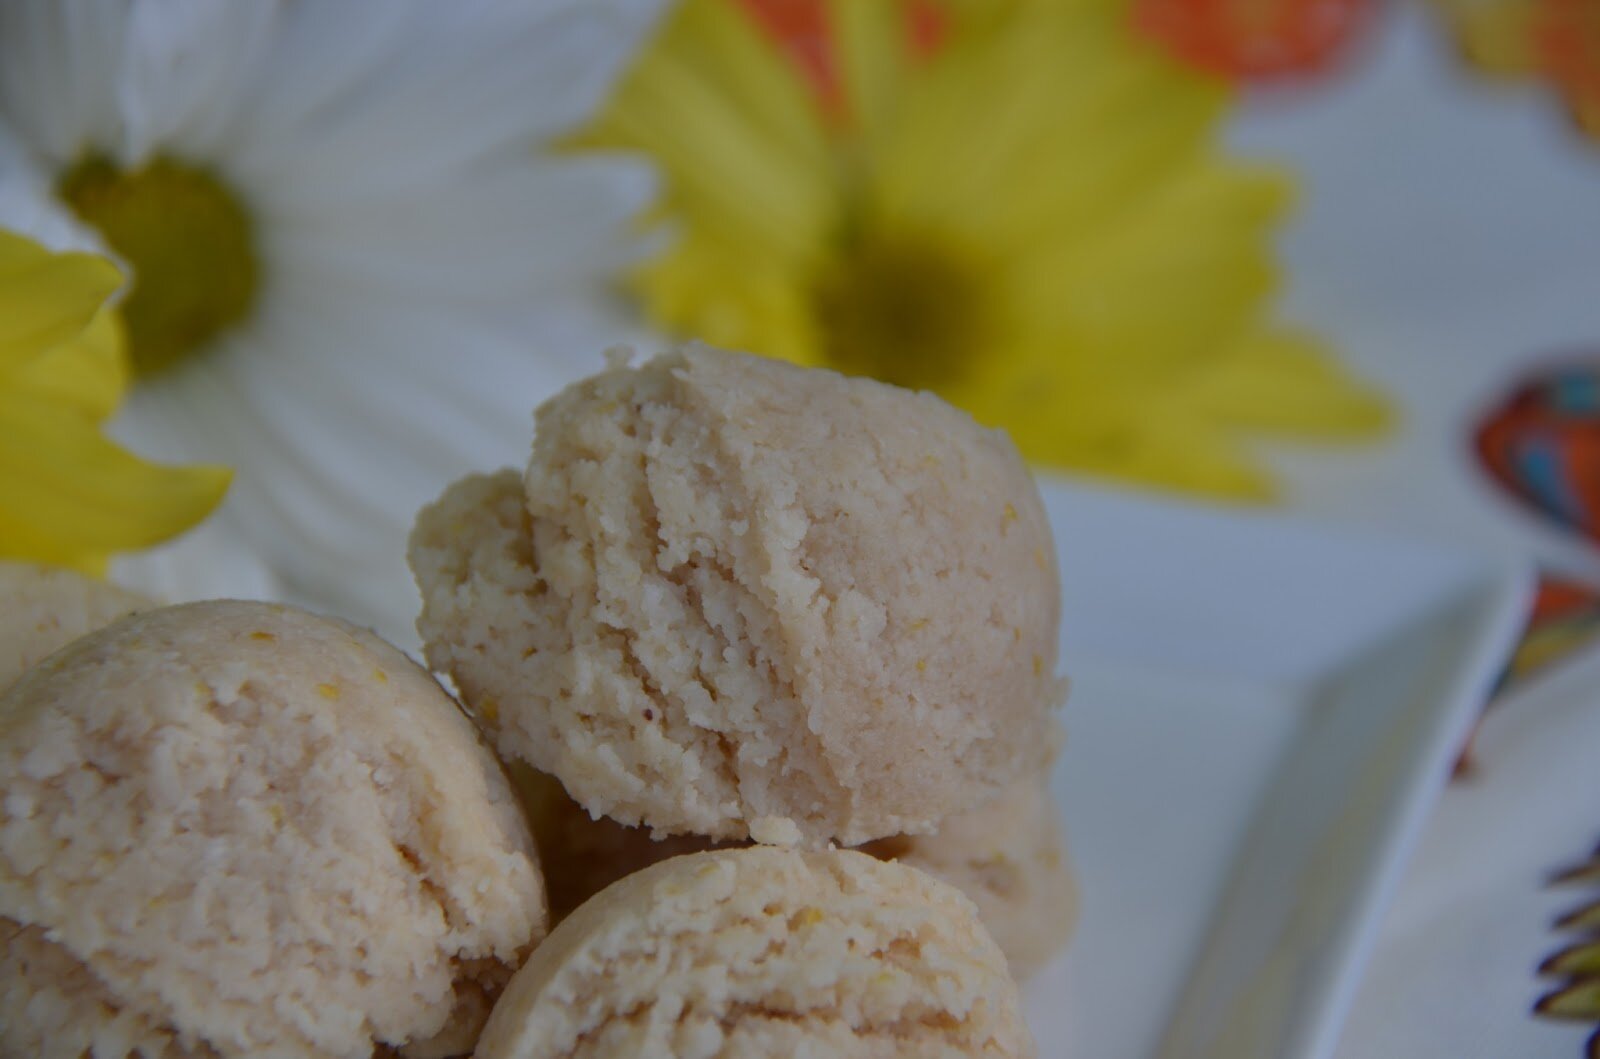
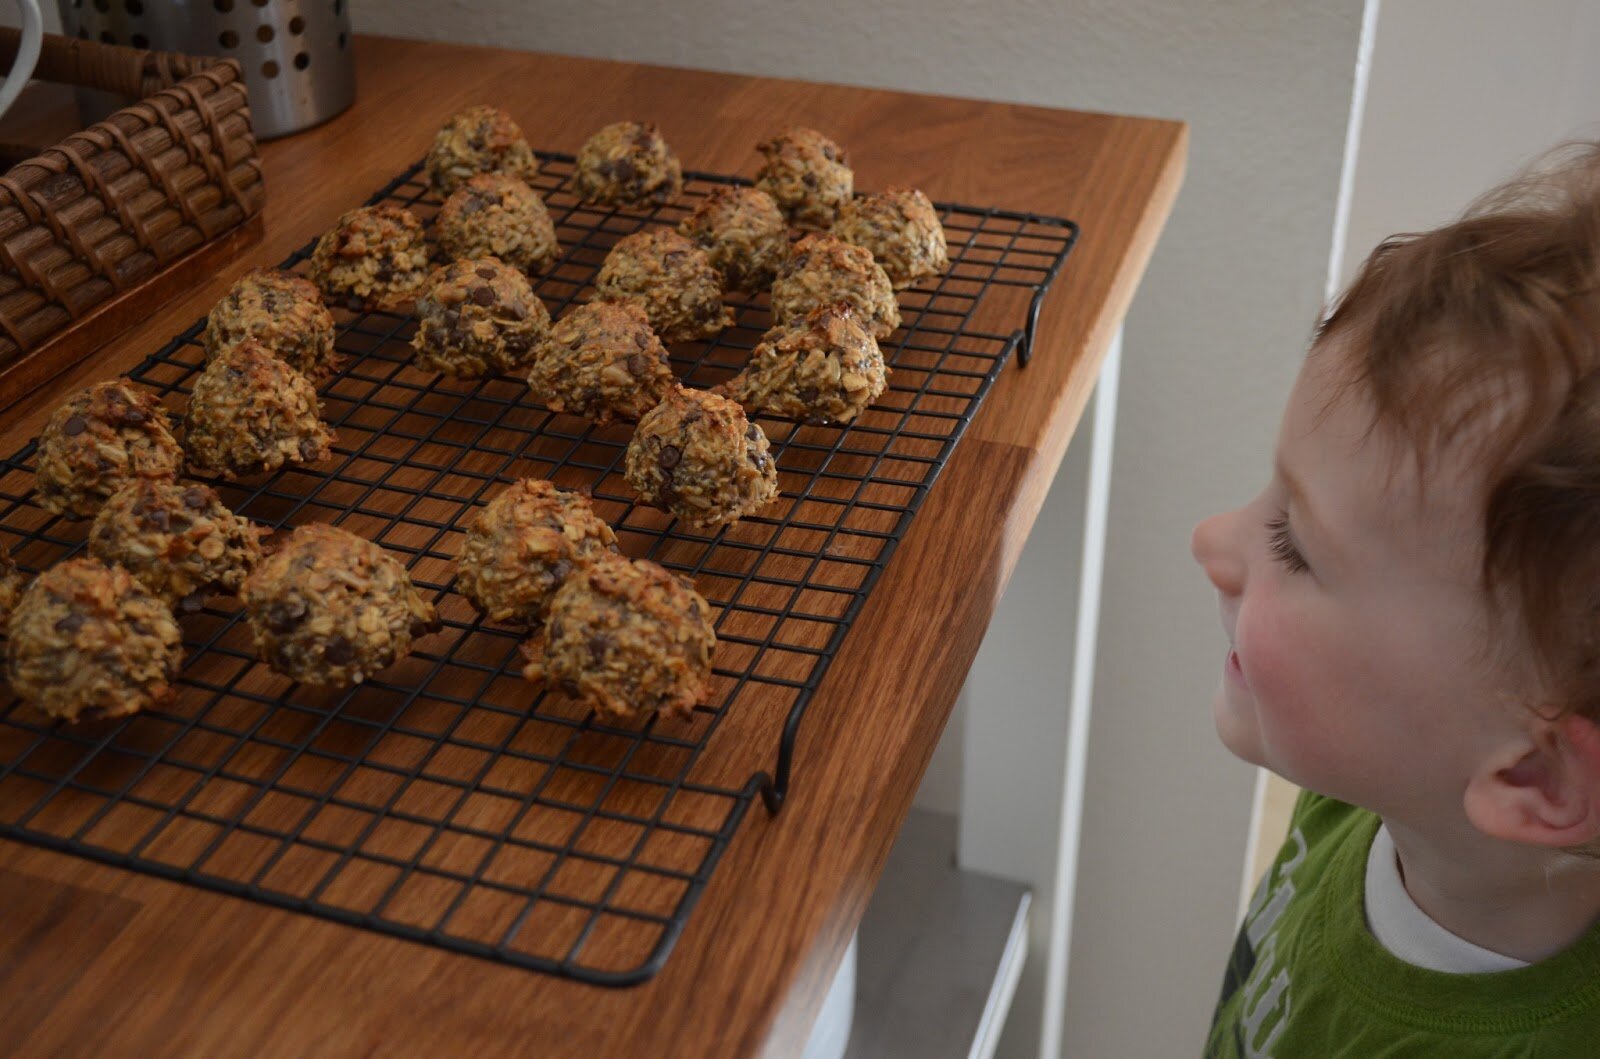
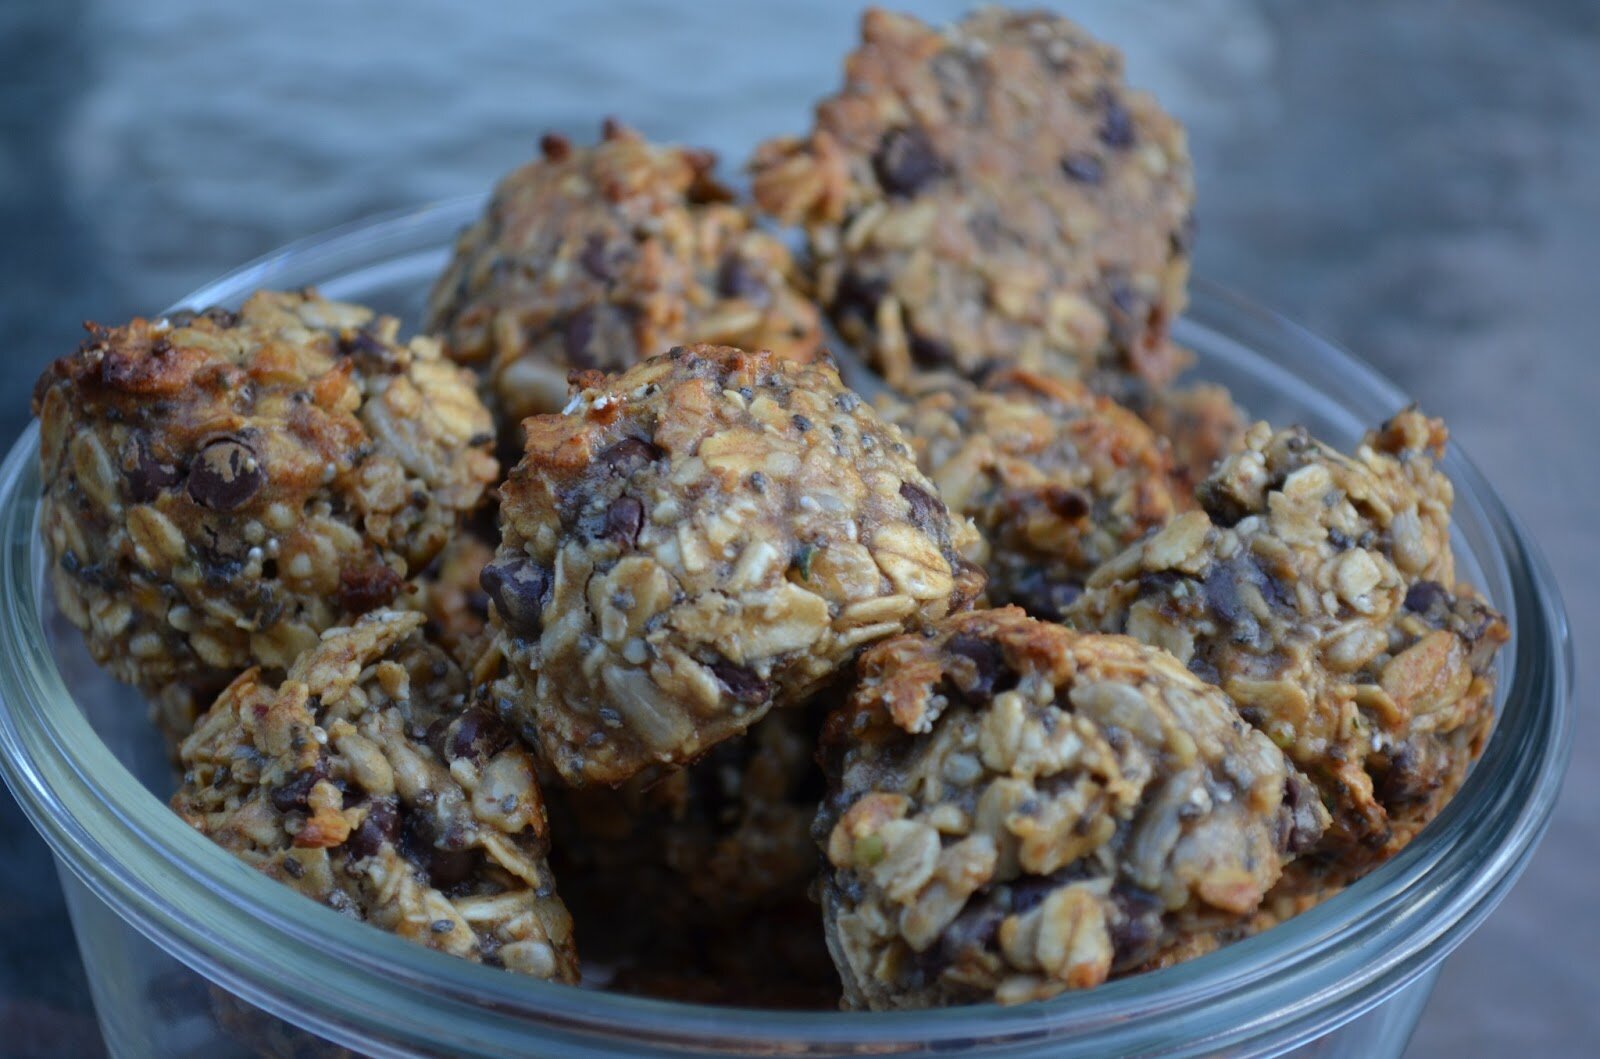
5. Dehydrate for at least 6 hours on 110 degrees. These dry nicely on the outside (leaving no oily residue) and stay moist on the inside. Makes about 12 macaroons.


Oh Amber, these look soooooo delicious! I needed something lemony for this hot summer weather. What gorgeous pictures too. Love the yellow flowers!!! Hope you’re bringing these to RFT because they’ll be a HIT!
xoxo,
Heather
Thank Heather. They are! They are my new favorite. In making my own, I was able to control the lemon flavor and added much more than the store bought contains. So fun. Just shared over on RFT. Have a great weekend.
–Amber
AM – SISTA FREN! I’ma want these right now! If one does not own a dehydrator, can one use the oven on a low temp? My oven’s lowest temp goes to 170F.
Once I can do almond flour (I hope) I MUST have these. You know lemon is my favorite by now girl.
Thanks for a great post and great, mouth-watering pics!
Jen
PS – I’ve pinned this to “Grain Free Gaga” on Pinterest…
I thought these would catch your eye, Jen. I know you likey the lemon. You will get to enjoy these on day soon. I can’t imagine how hard it is to see all these recipes you cannot eat. I’m so impressed with you!
Whoops, I forgot to address the dehydrator. I would bake these at 170 degrees for 1 hour and then do 15 minutes after that until you have a dry outside with soft inside – or to your texture preference. Girlfriend, you NEED to get a dehydrator. They are much fun!! 🙂
YUMMO Miss Amber!! These sound right up my alley! I wonder how they would do without the honey, but with more stevia? What do you think?
I agree with Heather – love the gorgeous photos!
Hugs!
Megan
Hi Meg,
I think stevia would be fine. Use lemon stevia if you have it. 🙂 Not sure how many drops. I would do 7 – 10 to start. Hope that helps girl.
These look absolutely fabulous!! I, too, love the photos with the flowers. 🙂
xoxo,
Shirley
Thanks sweet Shirley. 🙂
Ahh lemon treats-YES please! These babies look incredible Amber and perfect for a hot day like today. And yes your photos are gorgeous as always 🙂
Lemon sisters! 🙂
This is just the kind of cookie I love. Coconut, lemon, almond. . .what a great mix. Yum!
It’s a great mix indeed, Ricki. Thanks. 🙂
What if you don’t have a dehydrater? Can the oven be used?
Hi There,
Please see above comment regarding oven use and temp times.
Thank you.
Oh wow, these look so melt-in-your-mouth delicious! I don’t think I’d be able to stop myself from eating 10!
Thanks Gabby. They are quite addictive.
Wow these were awesome! I just got a dehydrator and have been playing with recipes. These are my favorite! Super moist with a nice lemon flavor! Thanks for the tip!!
Thanks so much, Michelle. Glad you like enjoy them as much as we do!
Hi Amber! I featured your macaroons on Lunchbox Love today 🙂 Now I just need to get a dehydrator so I can try them!
Be well,
Lisa
Many Thanks Lisa!! Sorry I’m getting to you so late.
I can’t wait to try these! Would coconut flour work as well?
Coconut flour in place of the almond? Yes, I think that would work just fine. Coconut flour is used often in macaroons. Be sure to use less – about 1/2 cup.
I don’t think I could wait for these to be dehydrated. I’d eat them right out of the mixer.
Lori
Ha ha. I know what you mean. But the heat really makes them – love the texture it creates. 🙂
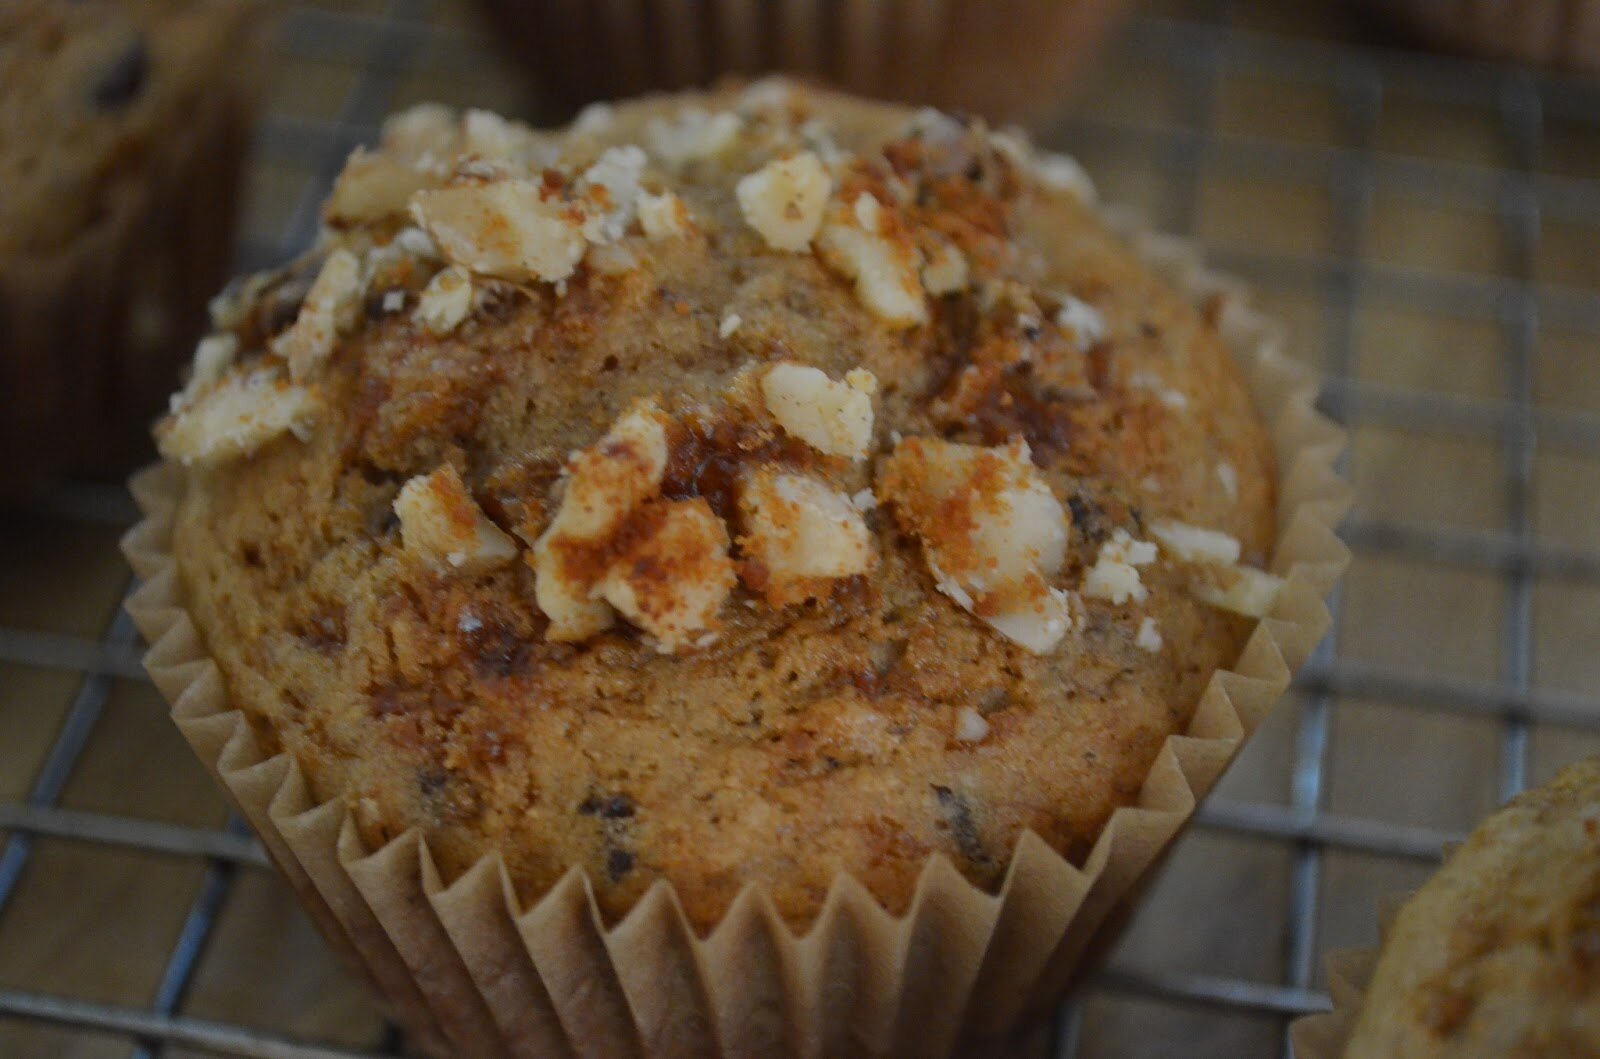
Awesome, do you have an alternative for the Apple Pie ones?
Oooo, I have yet to try those! I’m on it. Check back in the near future. I’ve had my eye on those apples ones – just waiting for them to go on sale!! :- )
Hello, could you use regular gluten free flour instead of the almond flour?