Monday, October 7, 2013

Harvest Your Health Bundle Sale – Don’t pass on this opportunity ($1,000 value for only $37 = 71 ebooks)

That’s right!  
71 ebooks for only $37 
To purchase click here
Buy Now
*
For one week only, this incredible collection is available for 97% off retail value! You pay just $37!
DETAILS: 
  • -These sale prices are ONLY for one week, so take advantage NOW!
  • -All books are emailed to your inbox.  You can download the PDF files on to your computer, or into any e-reader like Kindle, Nook, etc.
  • -You can click on each book title to learn more about the book.
  • -You will also receive a PDF file with all your coupon codes and directions to sign up for the e-magazines included!

_______________________________

Please take a moment to scroll through ALL the items included in this offer.  Below is a list of all the ebooks, meal plans, online magazine subscriptions and discount codes included in this once in a lifetime offer. 

Here is what you’ll get:


*
Use the links to obtain more detailed information on each specific category or book.  

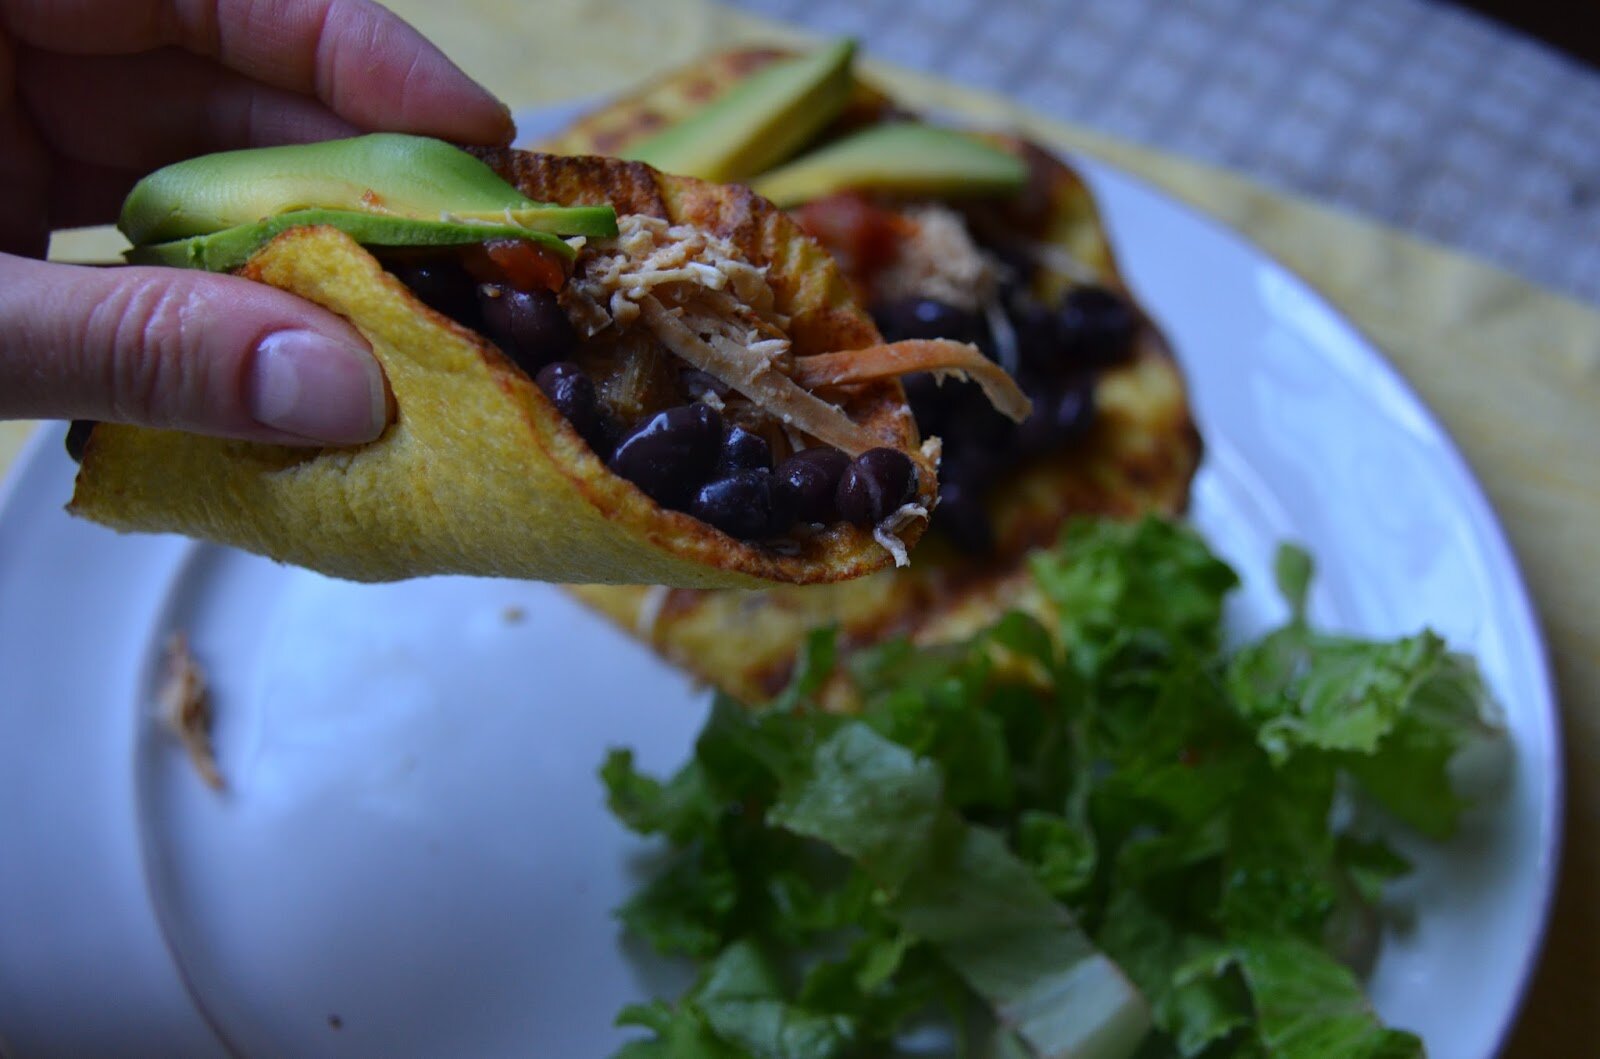
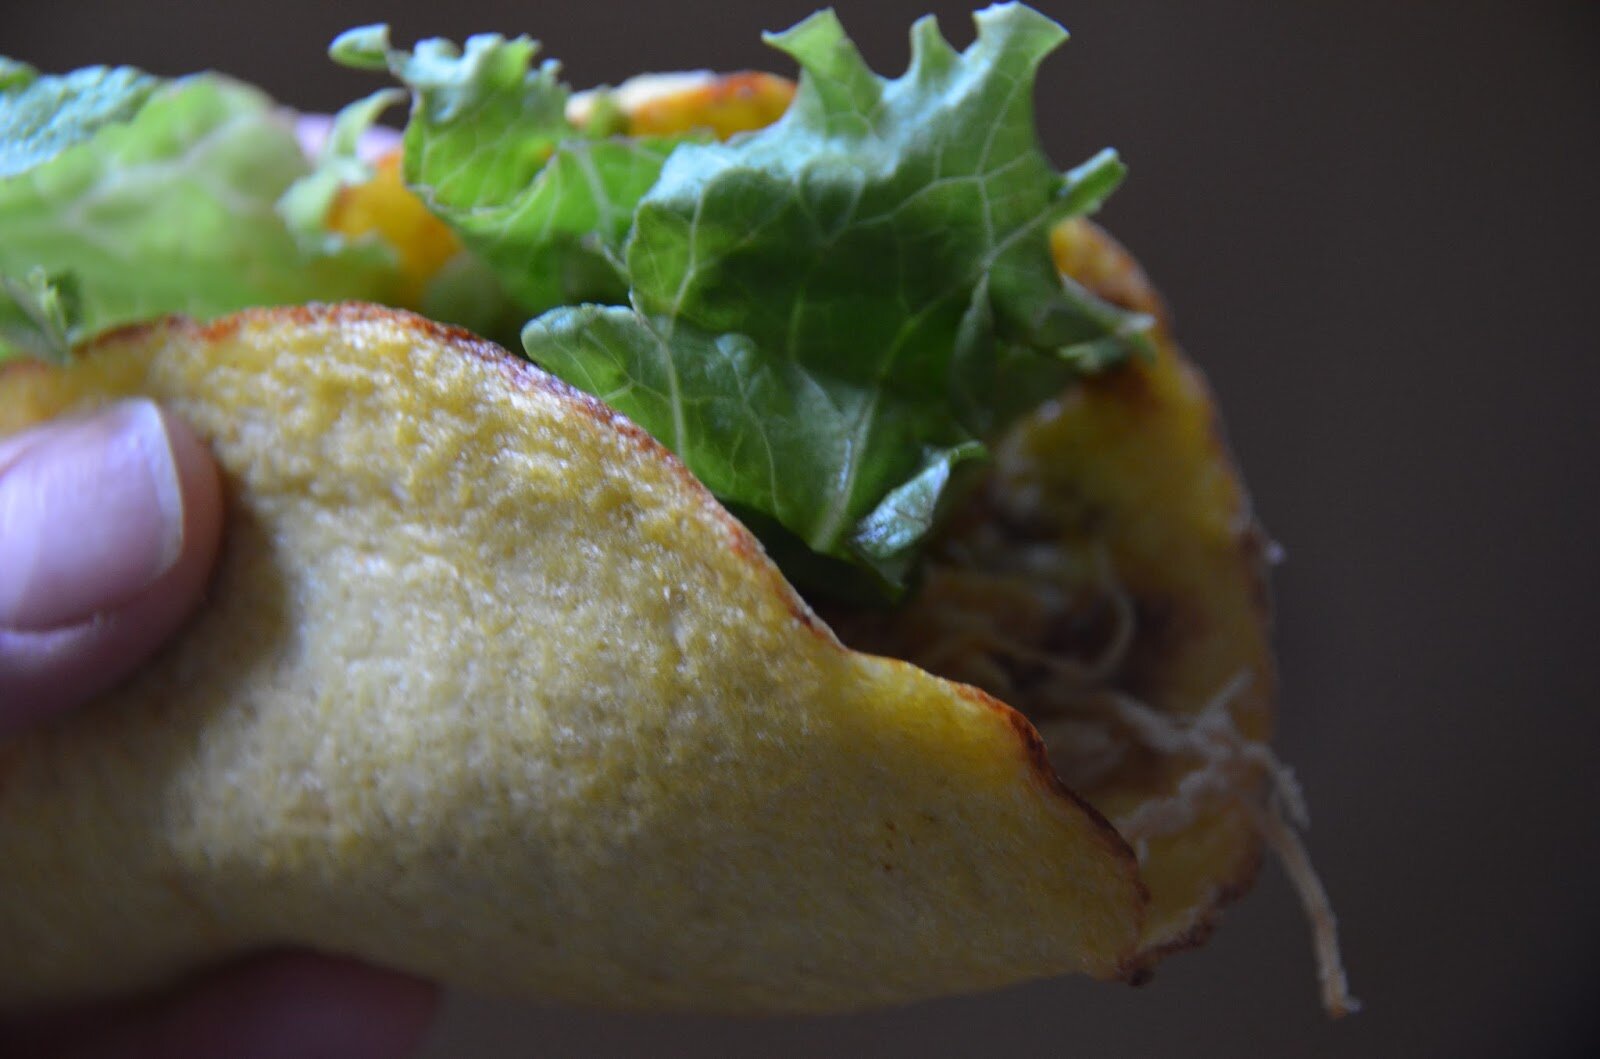
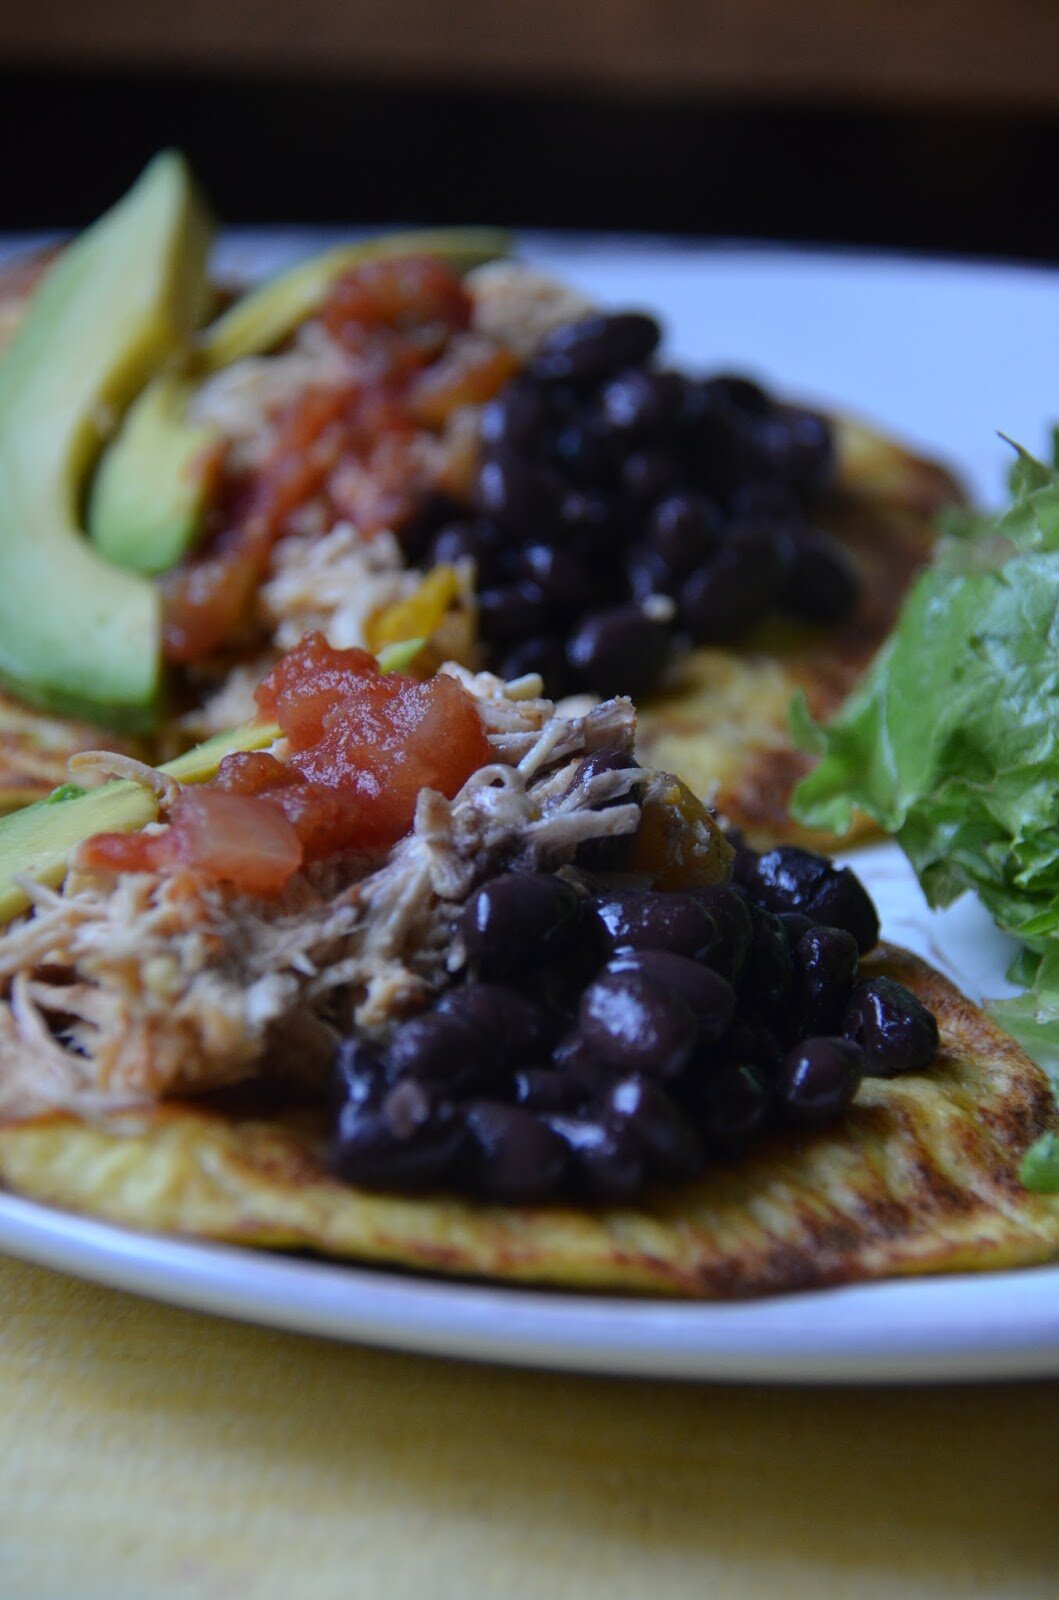
Cooking/Preparing Paleo Food
  • Paleo Everyday ($8.99) by Heather
  • Paleogasm ($30) by Camille Macres
  • Paleo Snack Recipes ($17) by Suz Crawt
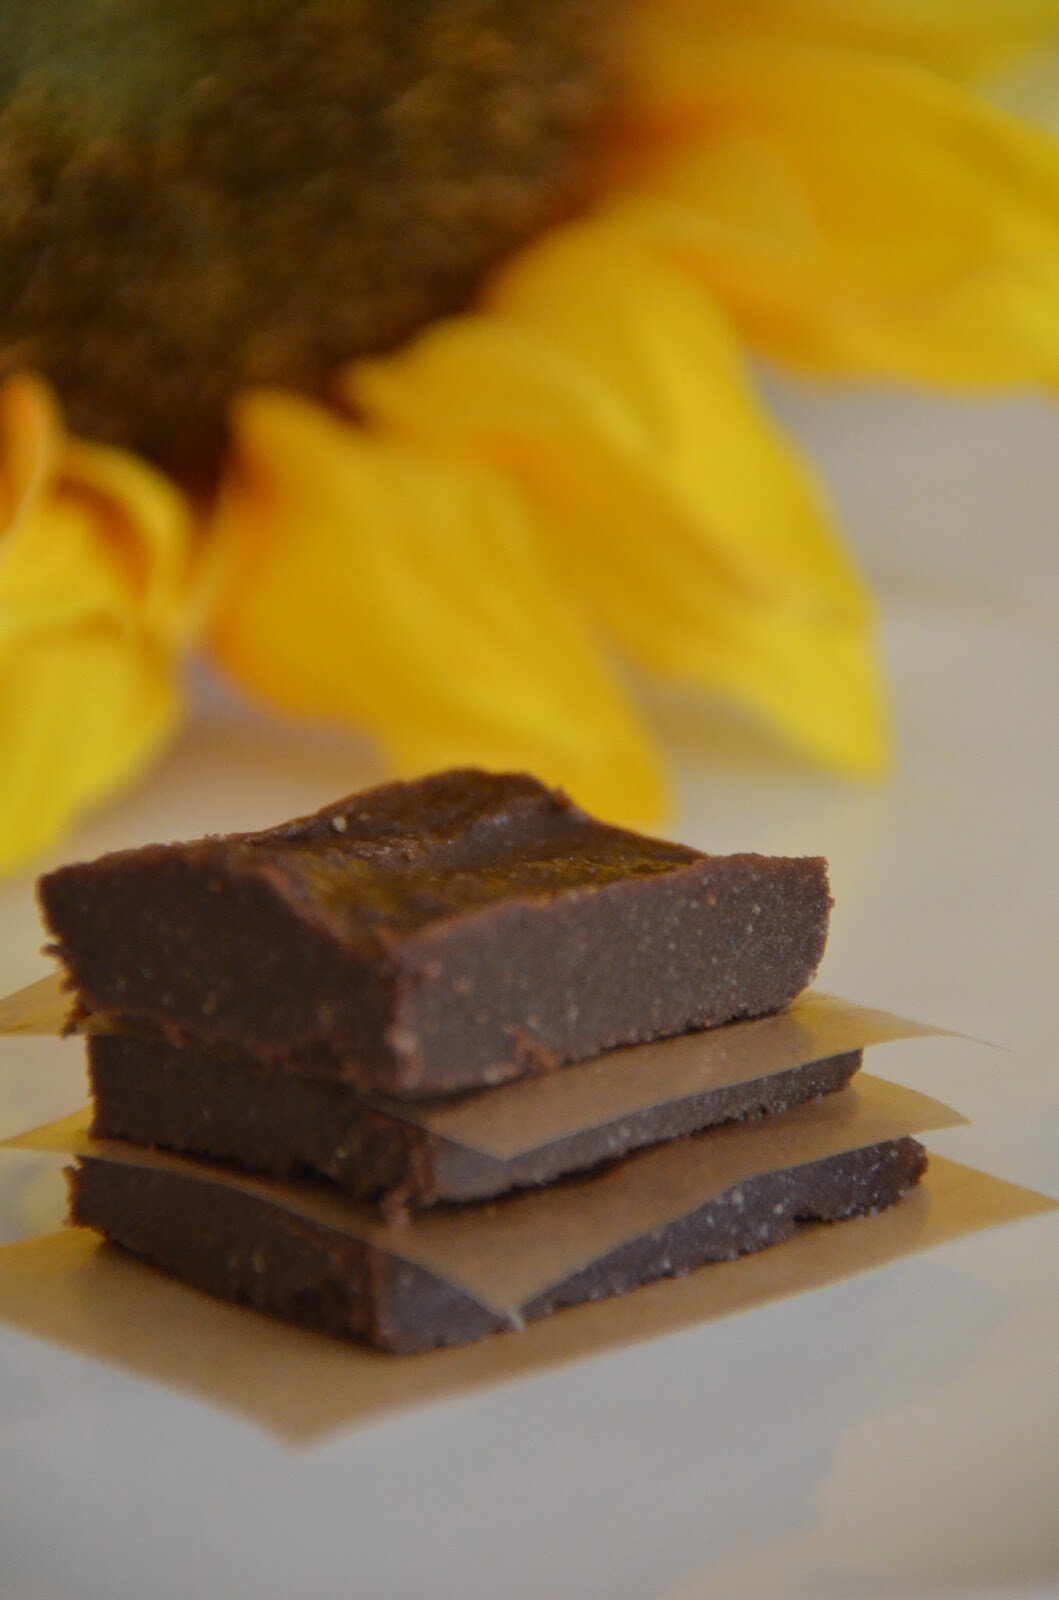
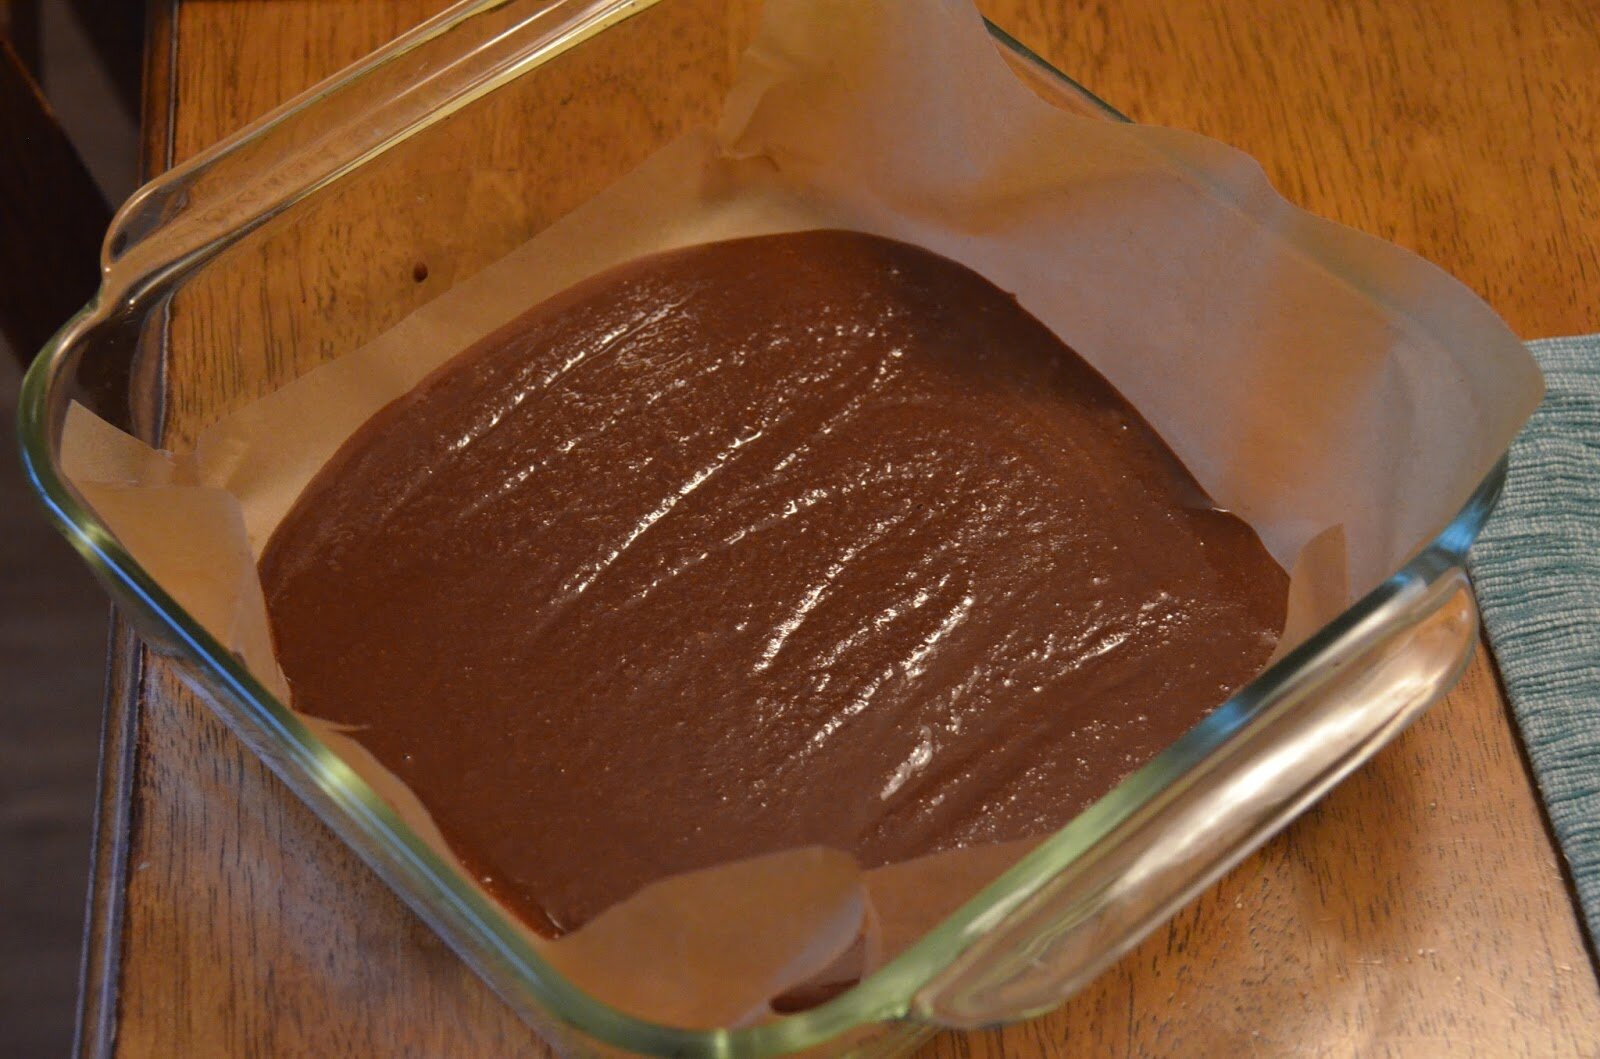
  • Paleo Chocolate ($4.99) by Ben Hirshberg
  • Paleo Ice Cream ($5.99) by Ben Hirshberg
  • Gluten Free Pancakes ($4.99) by Jolene Sloam
  • The Grain Free Lunchbox ($9.95) by Jolene Sloam
  • 30 Day Intro to Paleo ($20) by Bill & Hayley Staley
  • A Paleo Pumpkin Thanksgiving ($5) by George Bryant
  • Toadally Primal Smoothies ($9.99) by Todd Dosenberry
  • Baking with Coconut Flour ($18.95) by Starlene Stewart
  • Well Fed: Paleo Recipes For People Who Love To Eat ($14.95) by Melissa Joulwan
  • FastPaleo Top 100 of 2012 with bonuses ($14.97) by James Gregory and Ute Mitchell
  • Primal Tightwad: Maximizing Your Health On a Minimal Budget ($14.95) by Carolyn Rush
  • The Modern No-Nonsense Guide to Paleo: Shopping, Kitchens, Lunches ($10) by Alison Golden

Cooking/Preparing Real Food

  • Crock On Cookbook ($5) by Stacy
  • Crazy for Kale ($5.99) by Hallie Klecker
  • Super Cruciferous ($6) by Stormy Sweitzer
  • Real Food Hits the Road ($14.95) by Millie
  • Apartment Gardening ($5.95) by Jami Leigh
  • Restocking the Pantry ($10) by Kresha Faber
  • Just Making Ice Cream ($12) by Marillyn Beard
  • Broth: Elixir of Life ($12.97) by Patricia Lacoss – Arnold
  • Raw Fed Cats: Feeding Cats a Diet of Whole Raw Foods ($9.99) by Linda Zurich
  • Back to School Slow Cooker Freezer Recipes ($4.99) by Stephanie Brandt Cornais
  • The Veggie Book: How to Pick, Prepare and Plate ($9.95) by Danielle Tate, Debra Worth, Sara Shay and Kayla Grey

Meal Plans

  • 3 months of Paleo Meal Plans ($29.97) by Deliciously Organic
  • 4 months of Plan to Eat Meal Planner ($19.80) by the Plan to Eat team
  • 2 months of PrimalPal Membership ($9.99) by Chad and Chris (with several contributors)

Personal/Home Care (Skin, Hair, Teeth, Cleaning)

  • Clear for Life ($27) by Seppo Puusa
  • Salve Made Simple ($7.95) by Jennifer
  • My Buttered Life: Gift Edition ($5) by Renee Harris
  • Cure Your Skin Compulsions ($19.95) by Tracy Raftl
  • Natural Cleaning ($15) by Katie – The Wellness Mama
  • Ultimate Secrets to Acne Freedom ($29) by Tracy Raftl
  • My Buttered Life: Summer Edition ($5) by Renee Harris
  • Simple Scrubs to Make and Give ($3.99) by Stacey Karen
  • Homemade Health and Beauty ($4.99) by Sandra Calixto
  • My Buttered Life: Personal Care Edition ($5) by Renee Harris
  • Questions to Ask Your Dentist Handbook ($29) by Will & Susan Revak
  • The Holistic Mama’s Guide to Homemade Skincare ($19) by Roxanne King
  • Tips and Tricks to Remineralize and Repair Your Teeth ($12.95) by Ramiel Nagel
  • Awaken Your Roots: Secrets of a Master Hair Shaman ($29.95) by Anthony Morrocco

Fertility, Pregnancy, Babies, Children, Motherhood

  • First Bites ($9.99) by Hilary Kimes Bernstein
  • Birth Control Unlocked ($14) by Stefani Ruper
  • Fertilise Yourself ($19.95) by Natalie Kringoudis
  • Fertility Yoga Program ($9.99) by Hethir Rodriguez
  • Eat Your Way to Parenthood ($35) by Gabriela Rosa
  • My Buttered Life: Baby Edition ($5) by Renee Harris
  • A Practical Guide to Children’s Health ($17.95) by Kate Tietje
  • From Maiden to Motherhood ($6.99) by Stephanie Brandt Cornais
  • Mother’s Little Herbal Helper and Home Remedies ($12.50) by Natalie Vickery
  • Real Food Kids: In the Kitchen plus videos! ($30) by Wardee Harmon & Jami Delgado
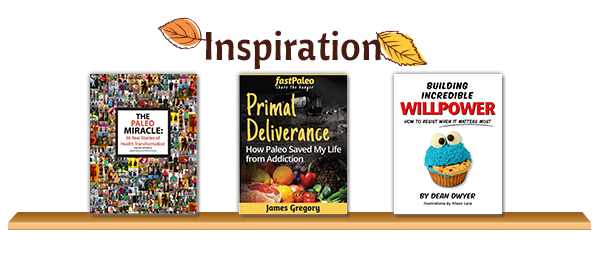
Inspiration

  • The Paleo Miracle ($19.99) by Joe Salama
  • Primal Deliverance ($14.97) by James Gregory
  • Building Incredible Willpower by Dean Dwyer ($25) by Dean Dwyer

Fitness

  • Bodyweight Overload ($19.99) by Todd
  • Run with No Pain ($17) by Ben Greenfield
  • Sandbag Training ($6.99?) by Ben Hirshberg
  • Dog Yoga with The Lightfoot Way ($10) by Allison Culver
  • Everyday Paleo Lifestyle and Fitness $20 (1 month for 1 penny) by Sarah & John Fragoso and Jason Seib

Intentional/Simple Living

  • 25 Intentional Days ($25) by Andrew Miller
  • Inside-Out Simplicity ($2.99) by Joshua Becker
  • One Bite at a Time: 52 Projects for Making Life Simpler ($5) by Tsh
  • Simple Living: 30 Days to Less Stuff and More Life ($2.99) by Lorilee Lippincott
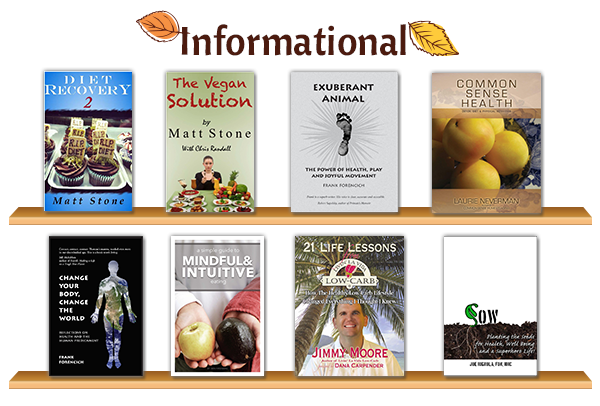
Informational

  • Diet Recovery 2 ($9.99) by Matt Stone
  • The Vegan Solution ($9.99) by Matt Stone
  • Exuberant Animal ($9.99) by Frank Forencich
  • Common Sense Health ($8.95) by Laurie Neverman
  • Change Your Body, Change the World ($9.99) by Frank Forencich
  • A Brief Guide to Intuitive and Mindful Eating ($2.99?) by Ben Hirshberg
  • 21 Life Lessons from Livin’ La Vida Low Carb ($15) by Jimmy Moore
  • Sow, Planting the Seeds for Health, Well Being and a Superhero Life ($5.55) by Joe Rignola

Detoxify

  • 21 Day Paleo Cleanse ($25) by Neely Quinn
  • Detoxification: 70 Ways to Cleanse, Clear & Purify Your Body, Space & Life ($9.99) by Linda Zurich

Online Magazine Subscriptions

  • Paleo Magazine (12 months – 6 issues) ($29.95) by Cain
  • Paleo Living Magazine (3 months – 7 issues) by Jeremy Hendon
  • Healthy Recipes Magazine 3 Month Trial (7 issues) by Jeremy Hendon

Discounts

  • The Bos Life – Meat (explanation coming soon)
  • 10% off OraWellness
  • 25% off Squatty Potty
  • 20% off Chomp Sticks
  • 15% off Louise’s Foods
  • 10% off Culture for Health
  • 10% off Paleo on the Go
  • 20% off Primal Pit Paste
  • 20% off Tisano Chocolate
  • 20% off Vintage Tradition
  • 30% off Kasandrinos olive oil
  • 15% off Nikki’s Coconut Butter
  • 50% off PrimalPal for 6 or 12 months
  • $65 off PaleoFit/PaleoPlan for 12 months
  • $100 off 12 month package from Dietitian Cassie
  • 20% off Wild Mountain Paleo Store – Seafood isle
  • 15% off Redmong Trading (real salt, earthpaste, etc)
  • $30 off a $100+ purchase from PrimalBlueprint.com

Print Friendly
Posted by Amber at

Labels: Uncategorized.

Wednesday, October 2, 2013

Allergy-Free Wednesdays Week 87: October 2, 2013

Hello and welcome to Allergy-Free Wednesdays (AFW).
AFW is a weekly blog hop where folks can share their allergy-free cuisine, gain knowledge about allergy-related topics/issues, and connect with others living or caring for someone with food allergies.  Continue reading
Print Friendly
Posted by Amber at

Labels: Allergy-Free Wednesdays.

Friday, September 27, 2013

Slow Cooker Pulled Pork with Homemade Barbecue Sauce

One of my favorite farm to fork restaurants here in Davis serves a great pulled pork sandwich.  It’s a rotation meal (not always on the menu) but when it’s there, I love to treat myself to lunch once in a while.  It comes with a very mild barbecue sauce and if I could change just one thing, I would definitely make it heavier on the sauce both in taste and quantity.  So I decided make my own version.  I am a gal who likes a messy pulled pork sammi – dripping with sauce thank you very much.  I planned on buying sauce, but found they were all loaded with with cane-sugar (or corn syrup, or something else nasty I didn’t want to ingest).  So I just made my own.  I found a recipe online that looked pretty painless and made a few adjustments.  The verdict: success!  It’s everything I love about barbecue sauce – thick, sweet, and tangy.  And oh man, did it go great with the pulled pork.  Fabulous!
Slow Cooker Pulled Pork 
with Homemade Barbecue Sauce 

Ingredients:

Pork
-2 1/2 pounds of boneless pork leg*
-2 teaspoons salt
-2 teaspoons garlic granules
-2 teaspoon onion granules 
-1 tablespoon coconut sugar
-1/2 cup water

Barbecue Sauce 
-1/2 cup diced red onion
-2 teaspoons oil + dash of salt
-1 teaspoon garlic granules, or 1 tsp minced fresh garlic
-2 tablespoons tomato paste
-1 teaspoon cumin
-2 cups tomato sauce*
-1/2 cup water
-2 tablespoons black strip molasses*
-1/4 cup + 3 tablespoons coconut sugar
-1 tablespoon Worcestershire sauce
-2 teaspoons Dijon mustard
-1 teaspoon salt
-Freshly ground pepper to taste

How To

For the pork
1.  Remove any twine around the meat.  Place the pork in the slow cooker.  In a small bowl, mix together the spices.  Then sprinkle the spices over the pork and rub it in all around.  
2.  Add the water to the bottom of the pork. 
3.  Cover and cook for 4 to 6 hours (or longer).  
4.  When the pork is finished, remove it from the slow cooker.  Trim off large pieces of fat.  Cut the pork in 4 sections against the grain, then with a fork, pull it apart against the grain.  
5.  Remove leftover contents in the slow cooker (water and any large pieces of fat).  
6.  Place the meat back into the slow cooker with 1 1/2 cups of barbecue sauce.  Or add as much or as little as you want.  
7.  Set the slow cooker to warm and cover until you serve.
Serves 5

For the sauce
1.  In a medium sauce pan add the diced onions, oil, and dash of salt.  Saute until tender (4 – 5 minutes).
2.  Add the garlic and saute another minute.  
3.  To the pan now add in the tomato paste, cumin, tomato sauce, water, molasses, coconut sugar, Worcestershire sauce, Dijon, salt, and a turn off the pepper grinder.  
4.  Bring to a gentle boil.  Immediately turn the heat down to a gentle simmer for about 15 minutes.  Stir occasionally. 
5.  Remove from heat and allow to cool bit.  Then you can either add it to a blender or use an immersion blender to incorporate and thicken (I use the latter – so easy).  
6.  I then transfer to glass jar and set it at room temp until I combine it with the pork.  The sauce will keep for weeks in the fridge. 

Notes:
*You can use any cut of meat including loin or butt.  The leg is my favorite cut if you can find it – nice marbling with way less fat. 
*I found a great salt free organic tomato sauce in a glass jar that was cheaper than purchasing fresh tomatoes and making my own.
*Honey or maple syrup can be used in place of the molasses. 

Print Friendly
Posted by Amber at

Labels: allergy-friendly, condiments, main dish, slow cooker recipes.

Tuesday, September 24, 2013

Allergy Free Wednesday Week 86: September 25, 2013

Hello and welcome to Allergy-Free Wednesdays (AFW).
  AFW is a weekly blog hop where folks can share their allergy-free cuisine, gain knowledge about allergy-related topics/issues, and connect with others living or caring for someone with food allergies.

This is a weekly blog hop hosted by myself and six other fabulous allergy-free bloggers.  Your weekly submissions will be shared on all 7 blogs!  Check back each week for reader favorites and recipe highlights.  

What can I link-up on AFW?
  • We welcome allergy-free cuisine in any shape or form
  • Tips & allergy related articles/information are welcome
  • Food allergies, intolerances, and sensitivities all welcome
  • Rules & Guidelines *Please provide a link directly to your post (not your homepage).
  • Please provide a link back to our weekly blog hop somewhere in your post.
  • Please provide a description of your recipe, such as DF (dairy free), GF (gluten free), SF (sugar free), V (vegan), etc.
  • Recipes do not have to be free of all common allergens, just allergy-free in some way.
  • TWO weekly submissions max please.
  • Grab yourself a badge and help support Allergy-Free Wednesdays and the allergy-free community.
  • Entries that don’t comply with stated rules and guidelines will be respectfully removed.
Please leave a comment after you link-up and tell us about your weekly submission(s). We love to hear from you!
By linking up, you agree that I may make use of any applicable pictures in my Allergy-Free Wednesday posts, and that, by your entering, you are giving permission to use them and/or re-pin them via Pinterest. You also, by entering, guarantee that the picture is not someone else’s work , or else has a broad license (for example with stock photography put in public domain).

_________________________________

Featured Recipes & Highlights

Each week AFW features the most most popular recipe from the previous week, and the six AFW hostesses will highlight their favorites.  Please note that your submission must contain a link back to our Allergy-Free Wednesday’s Blog Hop in order to be featured.  

So without further ado

May I present you with the most popular submission (most viewed by readers):

Beware of Chia Seeds
From: Politically Incorrect Health


And here are my favorite recipes/posts from last week:

Raw Hazelnut “Coffee” Ice Cream
From: Sweetly Raw

Healthy Chocolate Chip Pizookie
From: Oatmeal With a Fork

Healthy Pumpkin Donuts
From: Tessa The Domestic Diva

  *

Thanks for visiting Allergy-Free Wednesdays!
And thanks for being awesome and reading through our guidelines before linking up!
_________________________________

Print Friendly
Posted by Amber at

Labels: Allergy-Free Wednesdays.

Thursday, September 19, 2013

Pulled Pineapple Chicken with Cauliflower Tortillas ~ Guest Post for "The Seasonal REAL Food Blog Series" @ Recipes To Nourish

The lovely Emily from Recipes to Nourish is hosting “The Seasonal REAL Food Blog Series” showcasing a diverse collection of recipes from guest bloggers for the month of September.  I’m so honored to be part of this series.  I adore Emily, her blog, and her philosophy on food.  Emily is passionate about healthy, whole, REAL food, and also shares holistic healing and herbal remedies.  Be sure to visit Recipes to Nourish.  You can also connect with Emily on Facebook and Pinterest. 
Put your slow cooker to good use with this 
Pulled Pineapple Chicken recipe. 

Join me today over at Recipes to Nourish for the entire recipe.
Print Friendly
Posted by Amber at

Labels: GAPS, guest post, main dish, Paleo, SCD.

Fighting The Colds. Cherry-Hemp Morning Smoothie, and Other Foods We Eat to Heal

We’ve all been feeling pretty blah.  Viruses and colds have been making their way around school and homes, certainly to be expected this time of year.  And allergy season is just a few weeks away as it warms up here in Northern California.  Lets be real.  I hate it when my kids get sick, I hate being sick, but I’m not opposed to my children getting sick…because I seriosuly used to be.  I’ve really, REALLY backed off the hand sanitizer over the last year.  I was getting a wee bit obsessed with their hands ALWAYS being clean.  And I’ve made the decision to chill out.  There’s a time when it’s more reasonable to be more obssesed about the germs, for example, if your family has a big even or trip coming up and enilating all possible germs is actually 

2 cups filtered water
2 cups frozen cherries
1/4 cup hemp
1 banana
2 T lucima powder

Print Friendly
Posted by Amber at

Labels: Uncategorized.

Cauliflower Tortillas

Once upon a time (not too long ago) I received an email from a sweet girl named Lauren informing me about her new blog: Empowered Sustenance.  Like me, Lauren has been diagnosed with IBD (Inflammatory Bowel Disease).  I was thrilled to learn that Lauren followed a SCD/Paleo diet, used real food to heal and had some awesome nut-free recipes.  Well, I’m am sure you’ve heard of Lauren by now.  Her blog has rightfully become a powerful source in the grain free, holistic healing blogosphere.  I am so very thankful she started blogging.  I reference her blog constantly regarding the many topics she covers and recipes she shares.  And speaking of recipes, I wanted to share a recipe of hers that I have been making since, well, she published the post: Cauliflower Wraps.  Literally the day after her post came out I made her cauliflower wraps and I’ve been making them ever since.  Over the months I’ve tried to make my own version, but it became clear that I didn’t need to reinvent the wheel here.  Her recipe is perfect and I love it.  See below for my slight modifications to the process.  I started making smaller versions of her wraps to use as “tortillas.”  We are big fans of taqueria night and when I can, I try to follow a grain free diet.  Her wraps work absolutely perfect as little tortillas and I actually pile on the ingredientsand they do great.  So my friends, take all the “OMG my kitchen smells like a garbage can now from the cauliflower” comments with a grain of salt.  It’s not that terrible.  So go for it, and be sure to thank Lauren for this awesome recipe.  
Cauliflower Tortillas 
Recipe inspired by: Lauren from Empowered Sustenance 
Ingredients:
-1 head of cauliflower 
-4 eggs
-1/2 teaspoon salt
-3/4 teaspoon garlic granules 
-1/2 teaspoon Mexican seasoning/spices (optional)

How To:
1.  Cut the cauliflower into florets
2.  Add 1/2 of the florets to a food processor and pulse until they are a crumb like texture, then pulse a little further until a fine texture is achieved.  Remove the cauliflower and add it to a steamer basket.  Add the remaining florets to the food processor and repeat, adding this batch now to the steamer.  Add in 3/4 cup water to the pot and steam for 8 minutes.  
3.  After steaming, the cauliflower will be HOT, so I like to spread it out on a plate to cool.
Preheat the oven to 375 degrees 
4.  After it has cooled, I use my nut milk bag to squeeze out ALL the water from the cauliflower.  THIS STEP WILL MAKE OR BREAK THE TORTILLAS!  You must squeeze all the water out as much as your can.  I’ve found the less moisture, the better results.
5.  Add the cauliflower to a bowl.  To the bowl also add in the eggs and spices.  Mix well.  It will look like a batter.  Somewhat thick.
6.  Fit some parchment paper on top of two baking pans.  
7.  Spoon the batter onto the parchment paper.  I get about 6 out of this recipe, so three on each pan. 
8.  The trick is to evenly spread the batter in a circle.  And as Lauren states, keep the batter compact – there should be no parchment showing through any area of the tortilla.
9.  Bake for 17 minutes.  After they bake, I flip mine over and give them another 2 minutes.  
10.  Remove from parchment and transfer to a cooling rack.  

Notes:
*I prefer to make these earlier in the day.  I store them in the fridge and simply heat on a pan before I serve.
*I cannot offer any subs for the eggs, and I’ve only made these with eggs.  
*The cauliflower is not overwhelming and they don’t taste to “eggy” either.   
Shared on: Allergy Free Alaska 
Print Friendly
Posted by Amber at

Labels: GAPS, grain free, main dish, Paleo, SCD.

Wednesday, September 18, 2013

Allergy Free Wednesdays Week 85: September 18, 2013

Hello and welcome to Allergy-Free Wednesdays (AFW).
  AFW is a weekly blog hop where folks can share their allergy-free cuisine, gain knowledge about allergy-related topics/issues, and connect with others living or caring for someone with food allergies.

This is a weekly blog hop hosted by myself and six other fabulous allergy-free bloggers.  Your weekly submissions will be shared on all 7 blogs!  Check back each week for reader favorites and recipe highlights.  

What can I link-up on AFW?
  • We welcome allergy-free cuisine in any shape or form
  • Tips & allergy related articles/information are welcome
  • Food allergies, intolerances, and sensitivities all welcome
  • Rules & Guidelines *Please provide a link directly to your post (not your homepage).
  • Please provide a link back to our weekly blog hop somewhere in your post.
  • Please provide a description of your recipe, such as DF (dairy free), GF (gluten free), SF (sugar free), V (vegan), etc.
  • Recipes do not have to be free of all common allergens, just allergy-free in some way.
  • TWO weekly submissions max please.
  • Grab yourself a badge and help support Allergy-Free Wednesdays and the allergy-free community.
  • Entries that don’t comply with stated rules and guidelines will be respectfully removed.
Please leave a comment after you link-up and tell us about your weekly submission(s). We love to hear from you!
By linking up, you agree that I may make use of any applicable pictures in my Allergy-Free Wednesday posts, and that, by your entering, you are giving permission to use them and/or re-pin them via Pinterest. You also, by entering, guarantee that the picture is not someone else’s work , or else has a broad license (for example with stock photography put in public domain).

_________________________________

Featured Recipes & Highlights

Each week AFW features the most most popular recipe from the previous week, and the six AFW hostesses will highlight their favorites.  Please note that your submission must contain a link back to our Allergy-Free Wednesday’s Blog Hop in order to be featured.  

So without further ado

May I present you with the most popular submission (most viewed by readers):

Protein Packed Monster Breakfast Cookies
From: Allergy Free Alaska

And here are my favorite recipes/posts from last week:

Tomato Black Bean Tart
From: Pure Ella

Banana Ice Cream
From: Gluten Free Easily

Light & Fluffy Gluten Free Whole Grain Pancakes
From: Nourish 

  *

Thanks for visiting Allergy-Free Wednesdays!
And thanks for being awesome and reading through our guidelines before linking up!
_________________________________

Print Friendly
Posted by Amber at

Labels: Allergy-Free Wednesdays.

Saturday, September 14, 2013

Melt In Your Mouth Carob Sunbutter Fudge – and pictures of gorgeous sunflower fields

This carob fudge came about when I was experimenting with my nut-free nutella.  One batch became very fudge-like after a few hours in the fridge.  I shared a little teaser about this recipe on Facebook last week.  I don’t know about you, but I don’t do a lot of chocolate for my kiddos.  It’s highly stimulating.  For us, chocolate is really a once in a while treat.  But carobcarob we eat often.  And I like that I can give a “chocolate” treat after dinner for dessert.  This recipe really does melt in your mouth and actually tastes (I kid you not) like chocolate.  Give it a try and let me know what you think.

  Melt In Your Mouth Carob Sunbutter Fudge 

Ingredients
-1/2 cup room temp homemade sunflower seed butter
-1/4 melted cup coconut oil
-1 teaspoon vanilla extract
-2 tablespoons honey (vegans use grade B maple syrup)
-5 drops stevia
-3 tablespoons raw carob poweder  
-Pinch of salt 

How To:
1.  To a food processor add the sunflower seed butter, coconut oil, vanilla extract, honey, stevia and blend until smooth.  Add in the carob and blend until well incorporated.  
2.  Set some wax paper into an 8×8 Pytex dish and spoon the mixture in.  Don’t spread it around to all sides too thin, just give it little smooth over.  Refrigerate for at least 2 hours.
3.  Cut into pieces and enjoy.  Store in fridge.  

I freaking LOVE sunflowers.  Love, love, LOVE them.  I love them so much, I had one tattooed on my back!  Sunflowers are my happy place.  They are my go-to calming visual.  I wanted to share these gorgeous pictures with you.  I took them back in June (on Father’s Day actually) after a trip from those there hills you see in the background (went for a hike with the kiddos).  We are surrounded by sunflower fields here in Davis.  This field pictured below is like two miles from my house.  If you’re not familiar with whereabouts we are located, we are roughly 15 minutes west of Sacramento (the capital of California), and about an hour away from San Francisco.  Even though we are only 15 minutes from Sacramento, we are quite isolated here in Davis and surrounded by agriculture.  It’s sorta nice.  Like best of both worlds.  When I want to meet up with my girlfriends for some city action, they are just a few minutes away.  Anyway, very rural here in our smallish town.  It may be rural, but proudly liberal/progressive (thankfully), and houses one of the finest Universities in the State (UC Davis).  And might I add, we are surrounded by some of the best organic farms around.  Damn, I am such a Northern California snob,  My husband and I worked so, SO very hard to land here in this wonderful town, so yes, I am proud.  And I could not be happier with all these comforting, warm and lovely sunflower fields embracing me every summer.  
Swoon.  
Shared on:  Allergy Free Wednesdays, Wellness Weekend, Allergy Free Alaska, Healthy Vegan Fridays, 
Print Friendly
Posted by Amber at

Labels: allergy-friendly, dessert, nut free, snacks.

Thursday, September 12, 2013

Lemon Garlic Baked Chicken w/ Lemon Garlic Gravy (Paleo, SCD, GAPS)

Any gravy lovers out there?  Mmmmm, I LOVE the stuff.  I like it thick, creamy, and bursting with flavor.  I don’t reserve gravy for JUST the holidays.  No ma’am.  I like it all year round.  I’ve been making this recipe for over a year now and finally sharing it.  It’s super easy and adds a little panache to the usual weeknight dinner.  Anyone else enjoy gravy year round?  I have made this with turkey drippings before and it as fabulous (just a FYI with turkey day right around the corner)….what!  Man, I can’t believe it’s already September.  
Lemon Garlic Roasted Chicken w/ Lemon Garlic Gravy


Ingredients:

Chicken
-2 pounds boneless skinless chicken breasts
-1 cup chopped yellow onions
-3 tablespoons oil
-1/4 cup filtered water
-2 teaspoons garlic granules (or 2 chopped garlic cloves)
-1 teaspoon salt
-6 to 8 lemon slices
-0.3 ounces fresh thyme with stems (about 7 small stems)

How To: 
1.  Preheat the oven to 400 degrees 
2.  Arrange the chicken in a large glass Pyrex baking dish.  Add the oil, water, salt, garlic granules, sprinkle the onions around, top with two lemon slices per chicken breast, and fresh thyme. 
3.  Cover and bake for 35 minutes.  Make sure internal temp is at least 180 degrees.  I use my stainless steel baking sheet as a cover (I don’t use foil in my kitchen).
4.  When the chicken is done, remove each breast from the baking dish and let rest on a plate
5.  Now make the gravy

Gravy
-All the liquid from baked chicken (just over 1 cup)
-2 of the baked lemon slices
-1/2 teaspoon garlic grans (or 1/2 teaspoon chopped fresh)
-1/3 cup + 2 tablespoons raw cashews 
-Salt and pepper to taste 


How To:
1.  Remove all the thyme and baked lemons from the baking dish (reserve 2 lemon slices).
2.  Pour all the liquid, including all the onions, and the 2 baked lemon slices from the baking dish into a blender.  
3.  To the liquid add the cashews, garlic, and salt/pepper (if needed).
4  Blend on high for 20 seconds and until smooth and creamy.
5. Add more cashews for thicker gravy, add some water to thin it out.  

Notes:
*I use a lot of garlic granules because garlic is not always in season at my Coop.  I rely on garlic granules (which I purchase in bulk).  

Shown below with the chicken and gravy is 
roasted and pureed butternut squash
This gravy also goes GREAT with my
Shared on:  Allergy Free Wednesdays Allergy Free Alaska 

Print Friendly
Posted by Amber at

Labels: GAPS, main dish, Paleo, SCD.