
(grain free, gluten free, dairy free, cane-sugar free, egg free, soy free, gum free…but oh so flavor-FULL)
The other day I was really wanting some pumpkin pie and thought, could I possibly make something a little easier that would satisfy this pumpkin pie craving?
And yes I did, and yes it did!
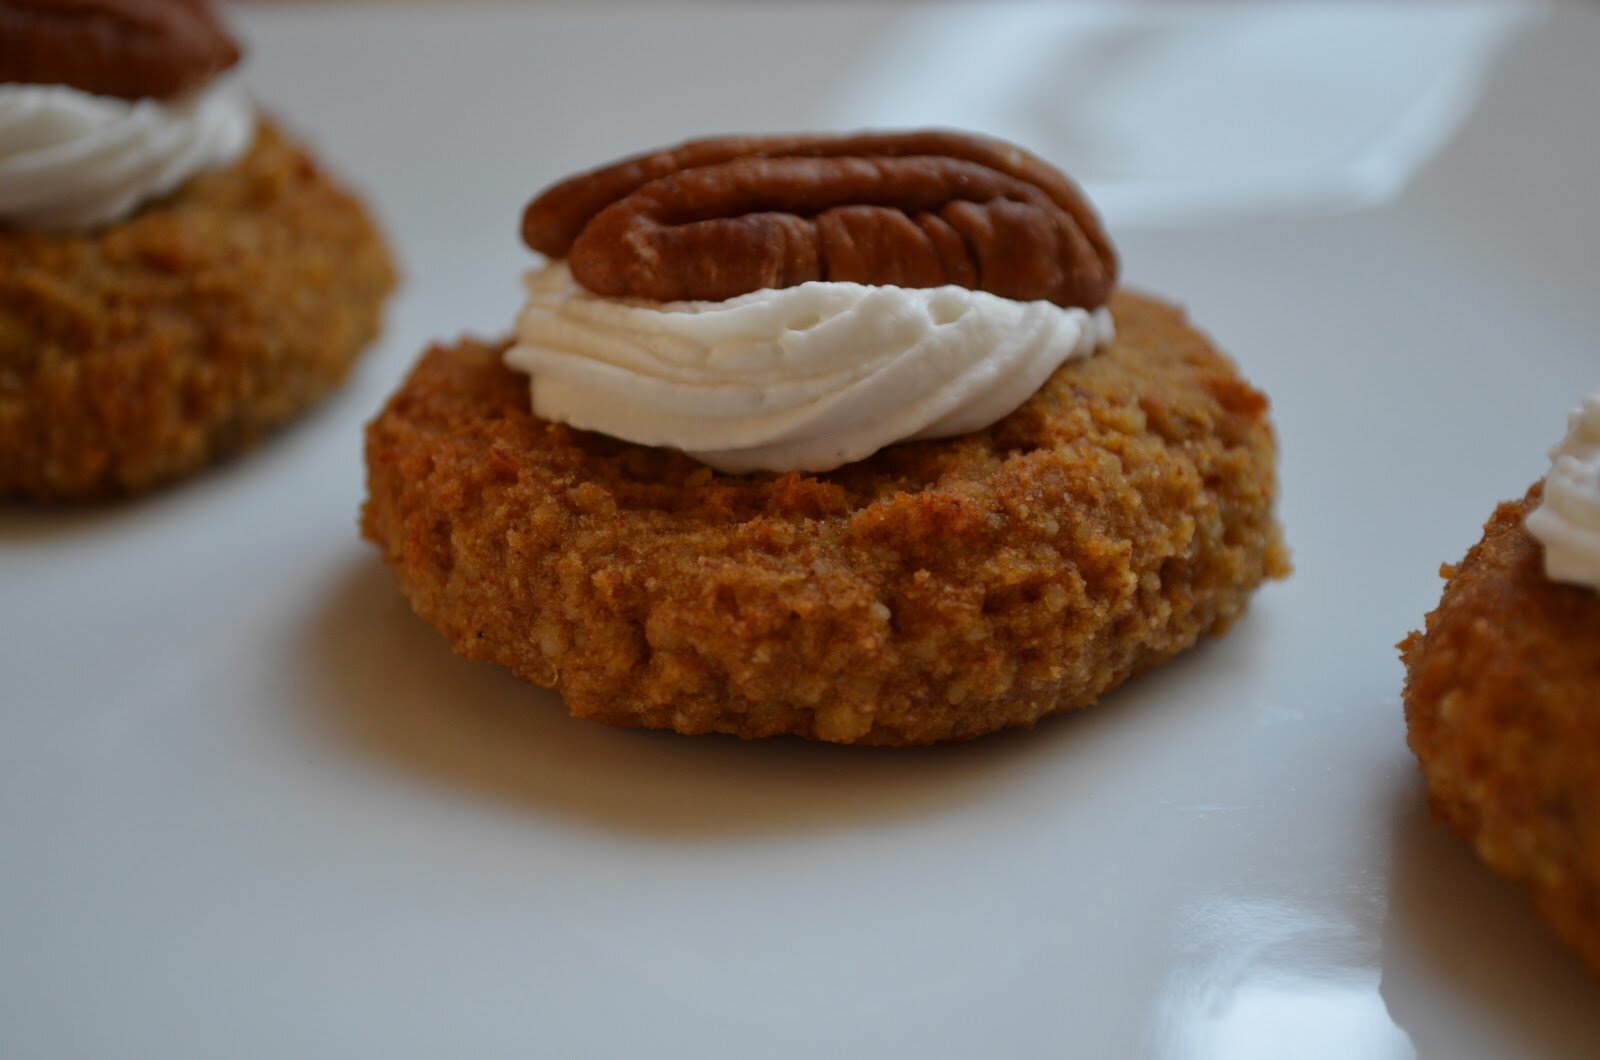
These little cookies taste just like pumpkin pie. The ingredients include crust and puree, so I mixed the best of both pumpkin pie worlds. These are my 2-years old son’s new favorite snack!
Ingredients
Dry
-1 cup pecans (refrigerated nuts work best, as you can blend a little longer without releasing the oils too quickly)
-1/2 cup almonds (same as above) (or 65 grams of Bob’s Almond Flour)
-1/2 cup coconut flour (65 grams)
-1/2 teaspoon ground ginger
-1/4 teaspoon salt
-1/2 teaspoon pumpkin pie spice
Wet
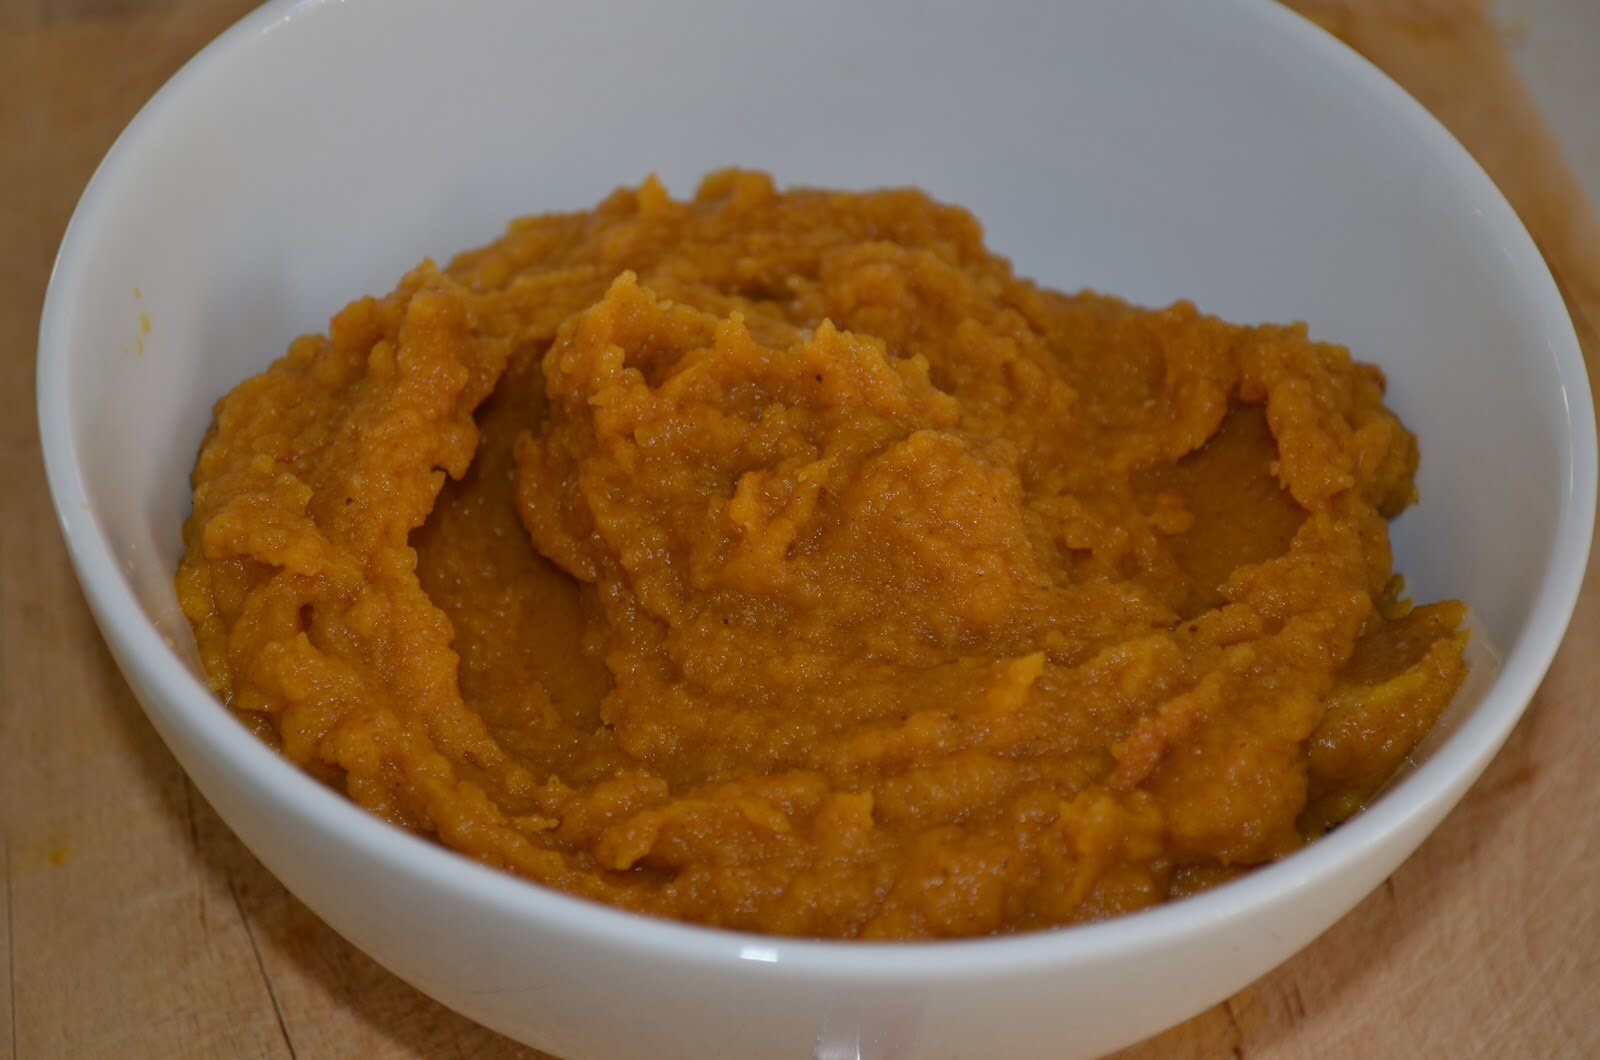
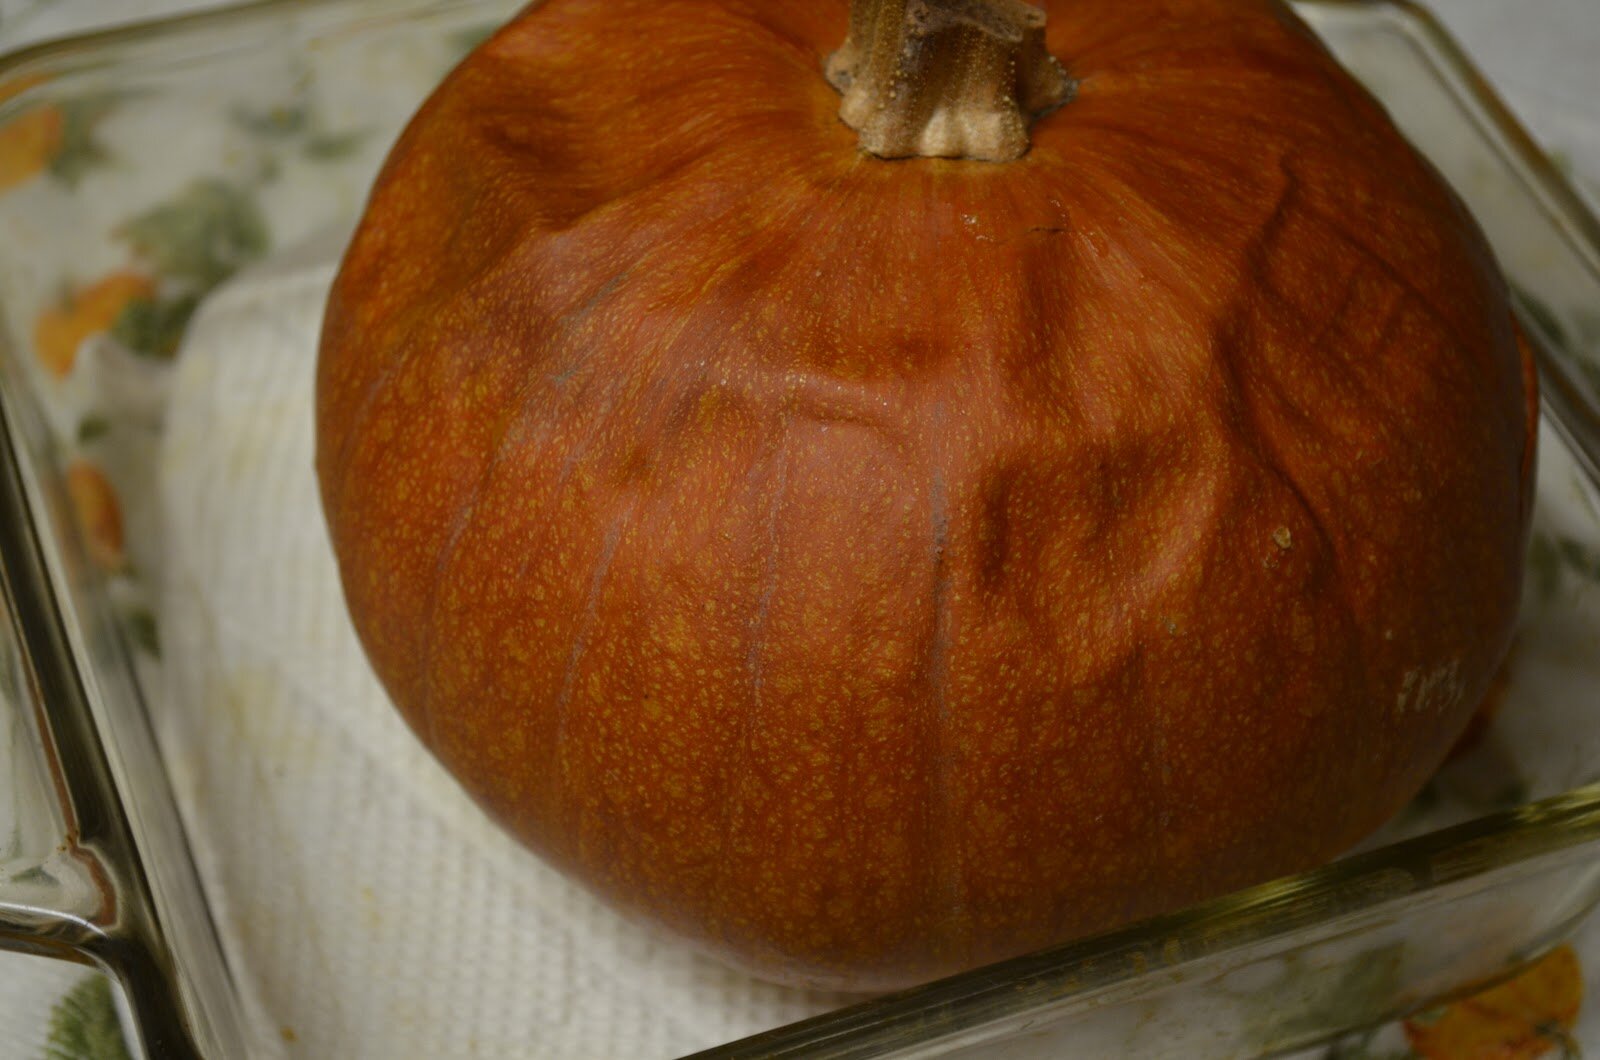
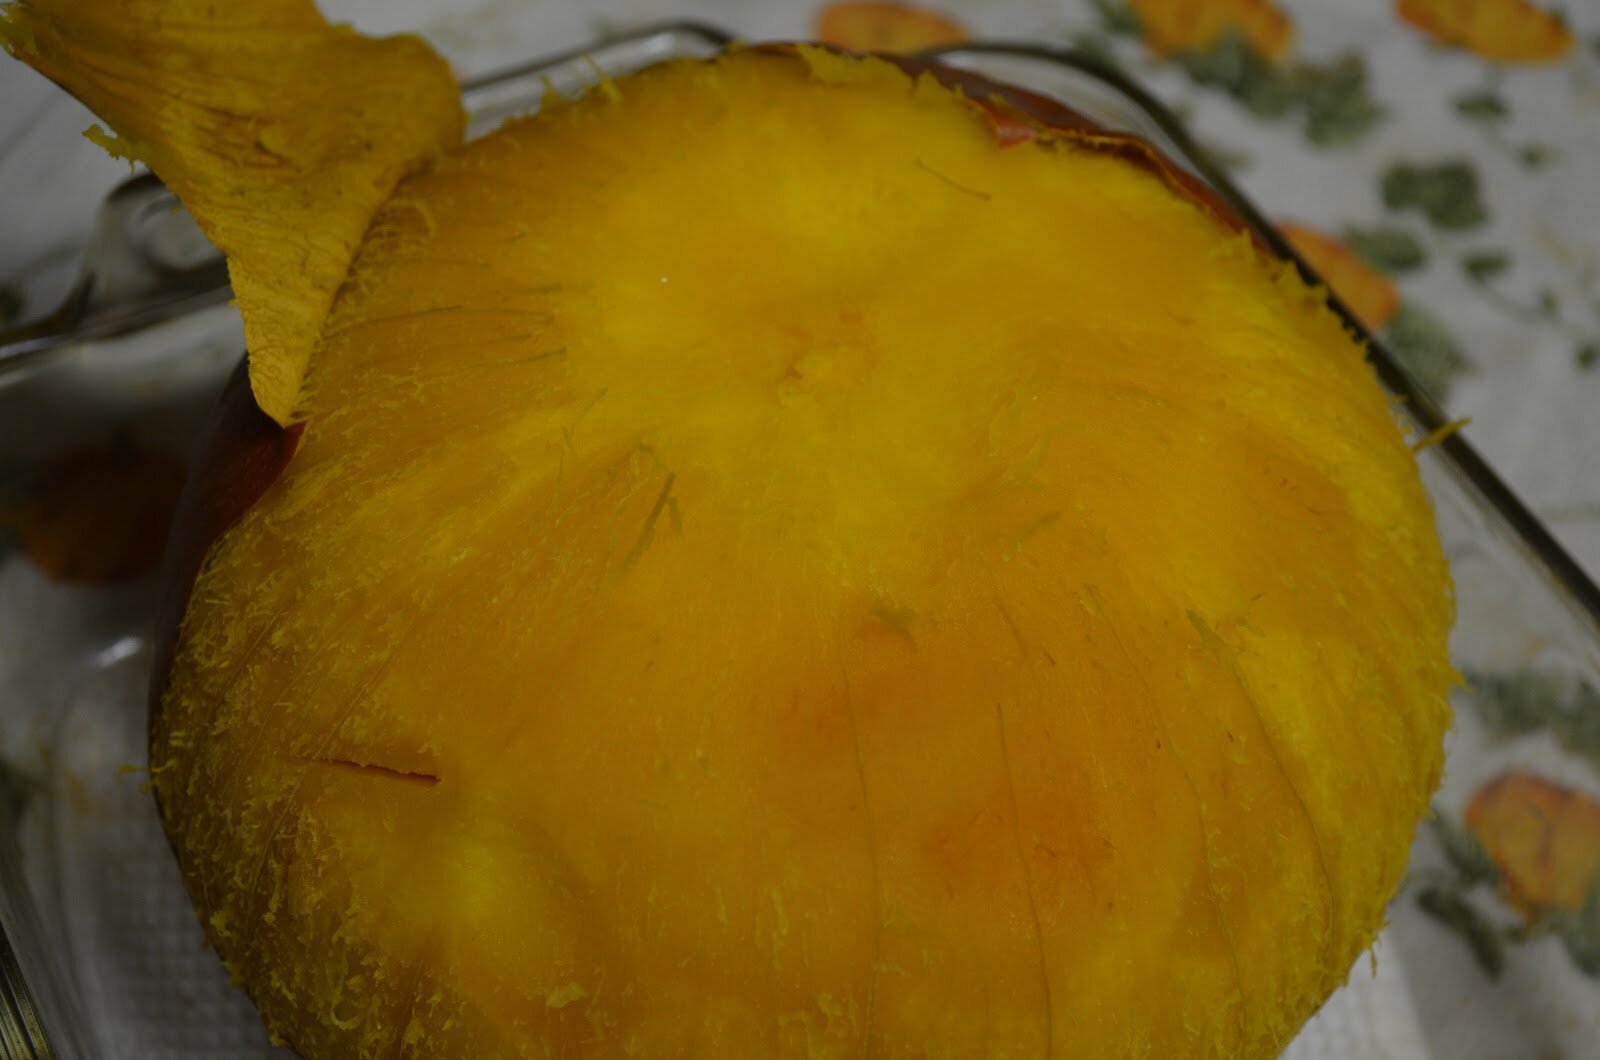
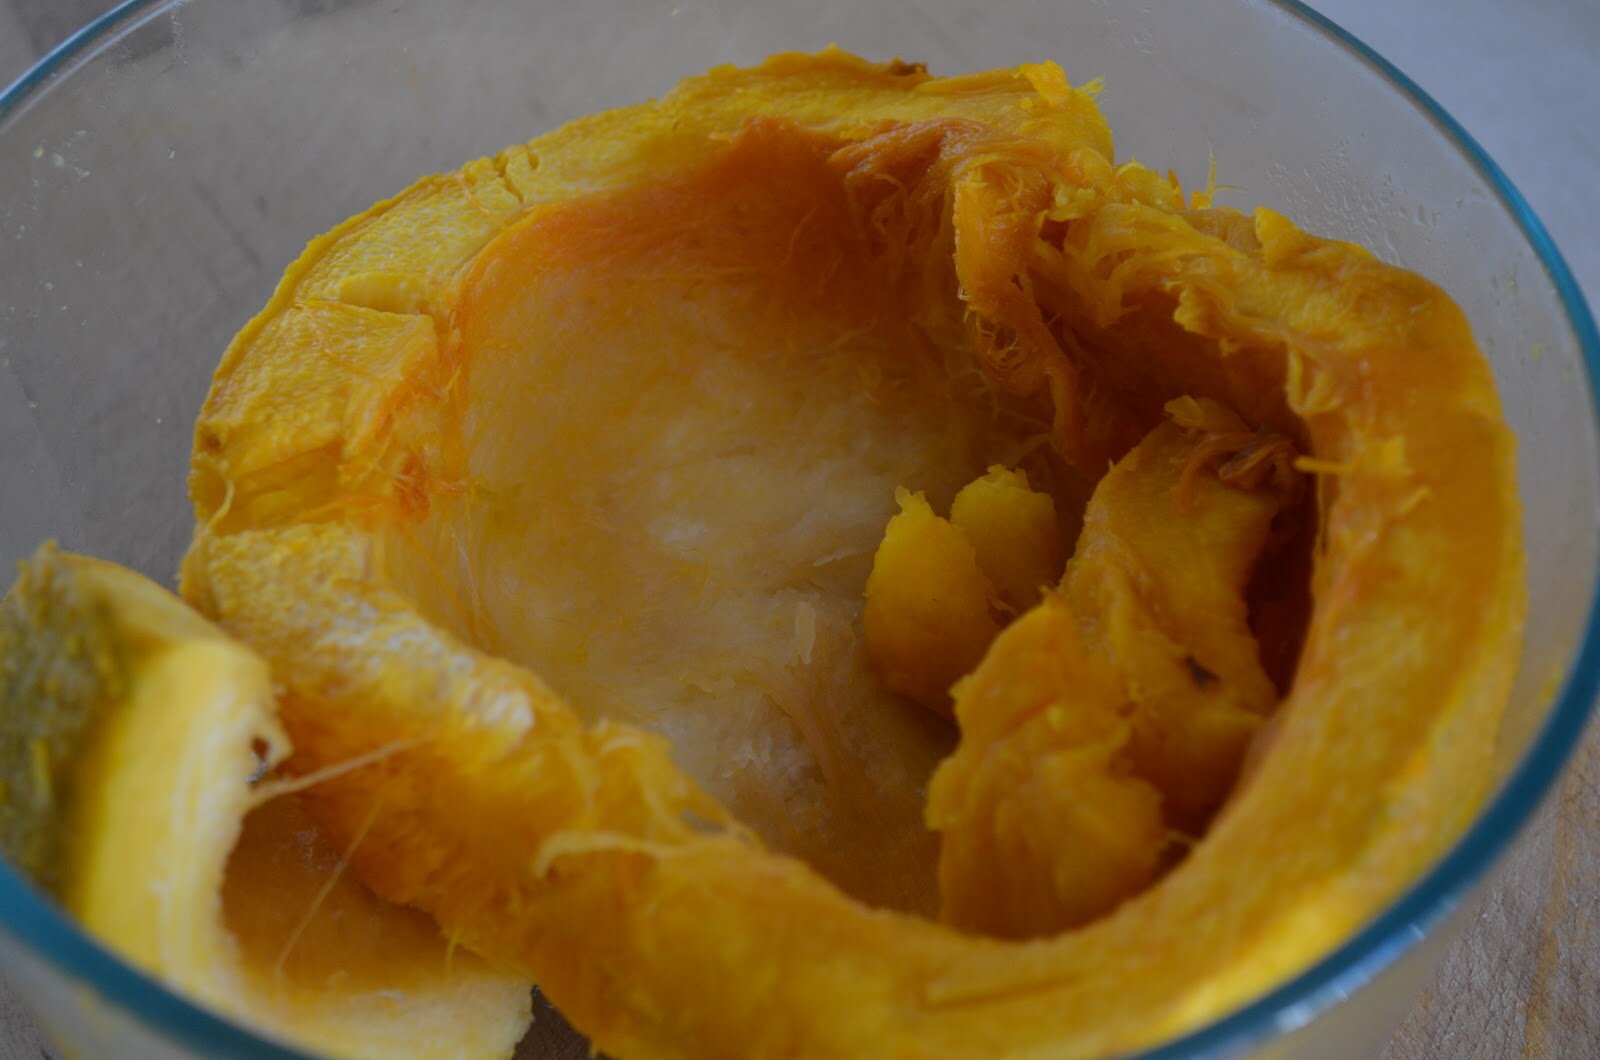
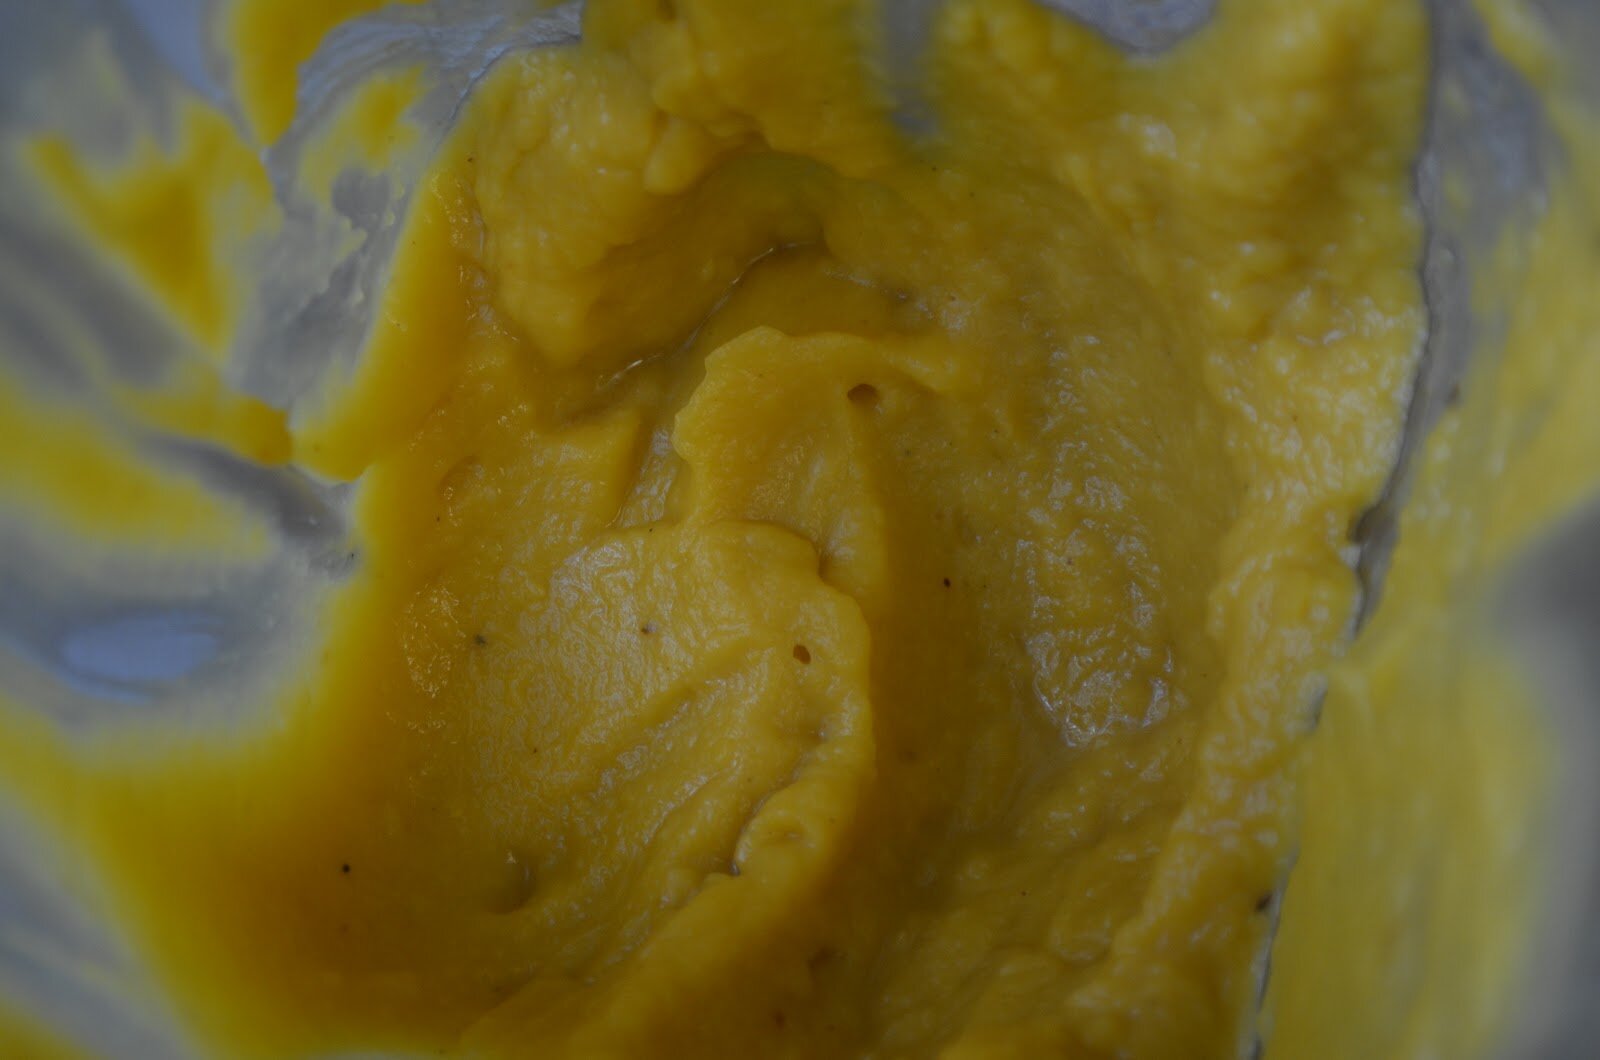
-1/2 cup homemade pumpkin pie puree
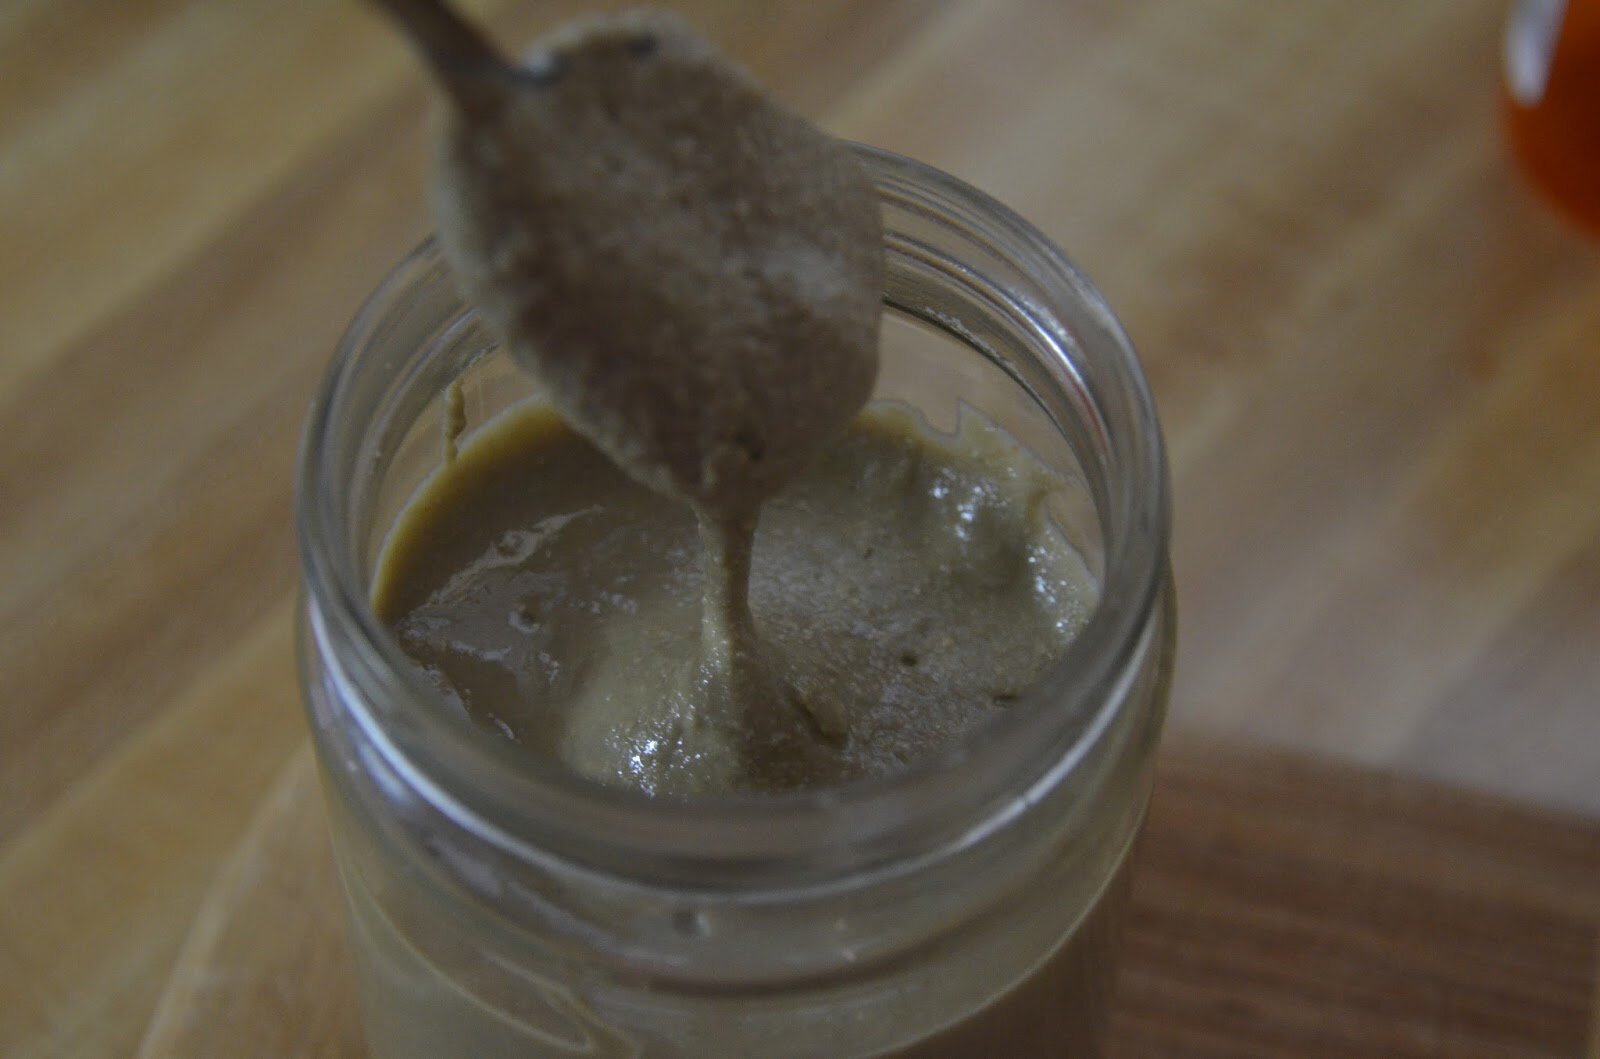
-1/4 cup maple syrup (honey would be great too) – please measure out in a 1 cup glass Pyrex.
-1/8 teaspoon liquid stevia
-2 tablespoons of walnut oil
-1 teaspoon vanilla
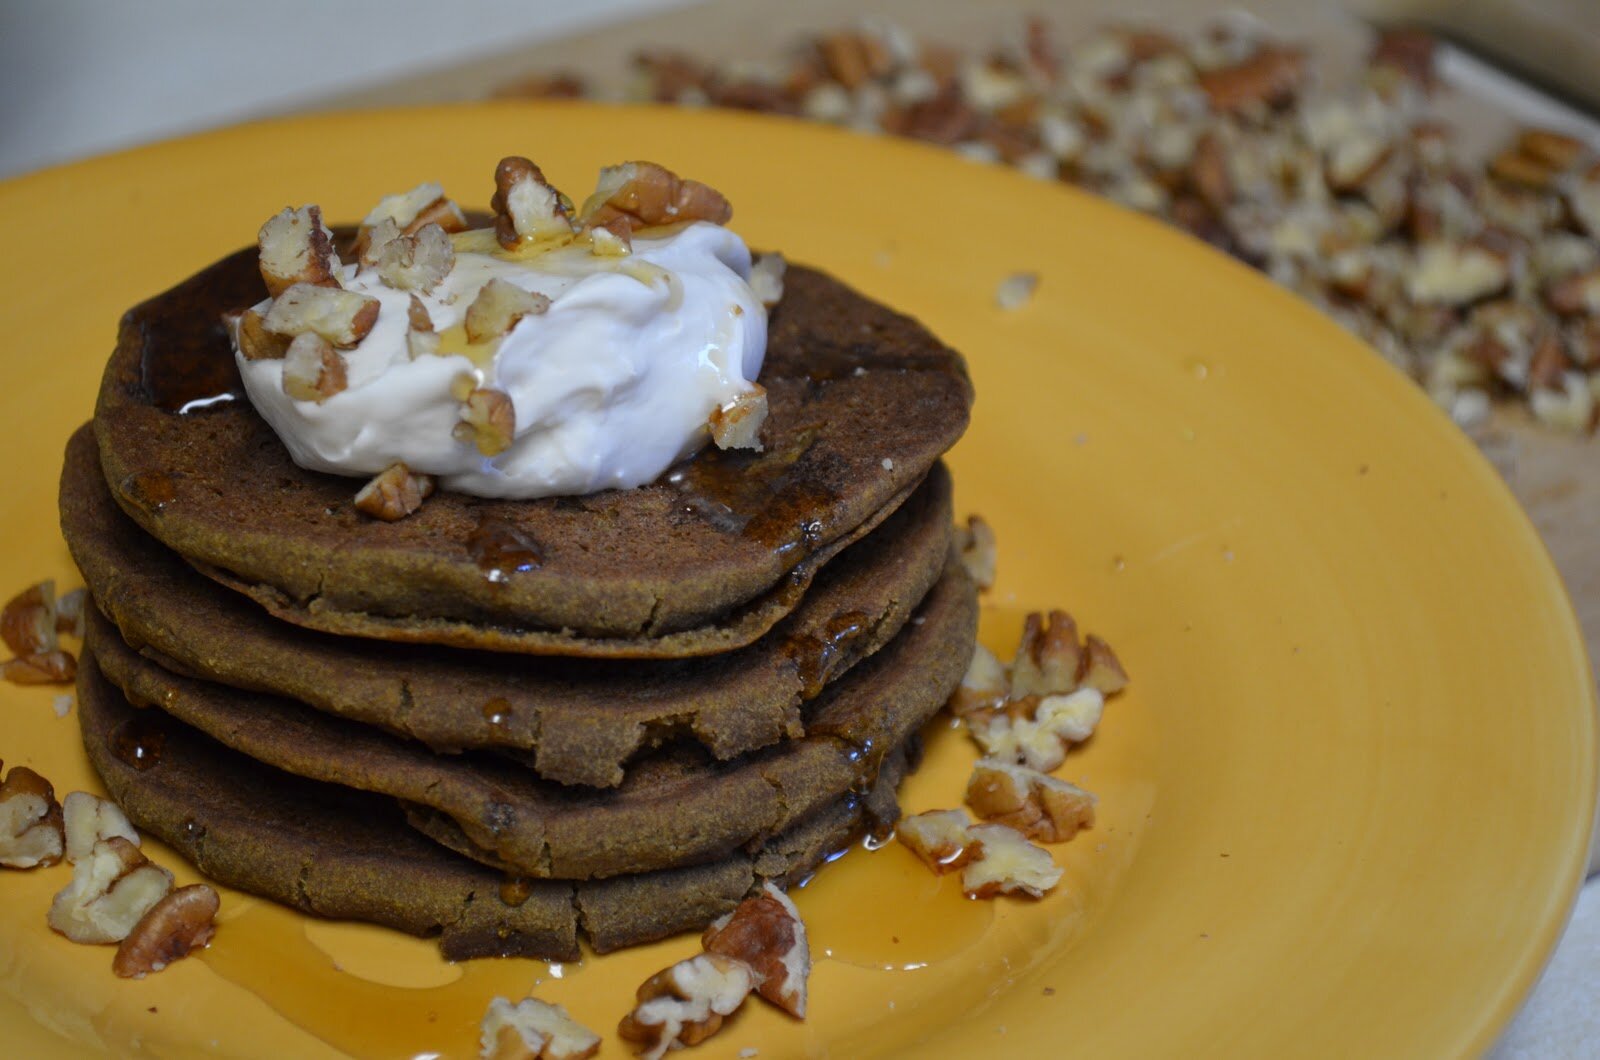
For topping, try: Maple Coconut Whipped Cream
How To:
In food processor…
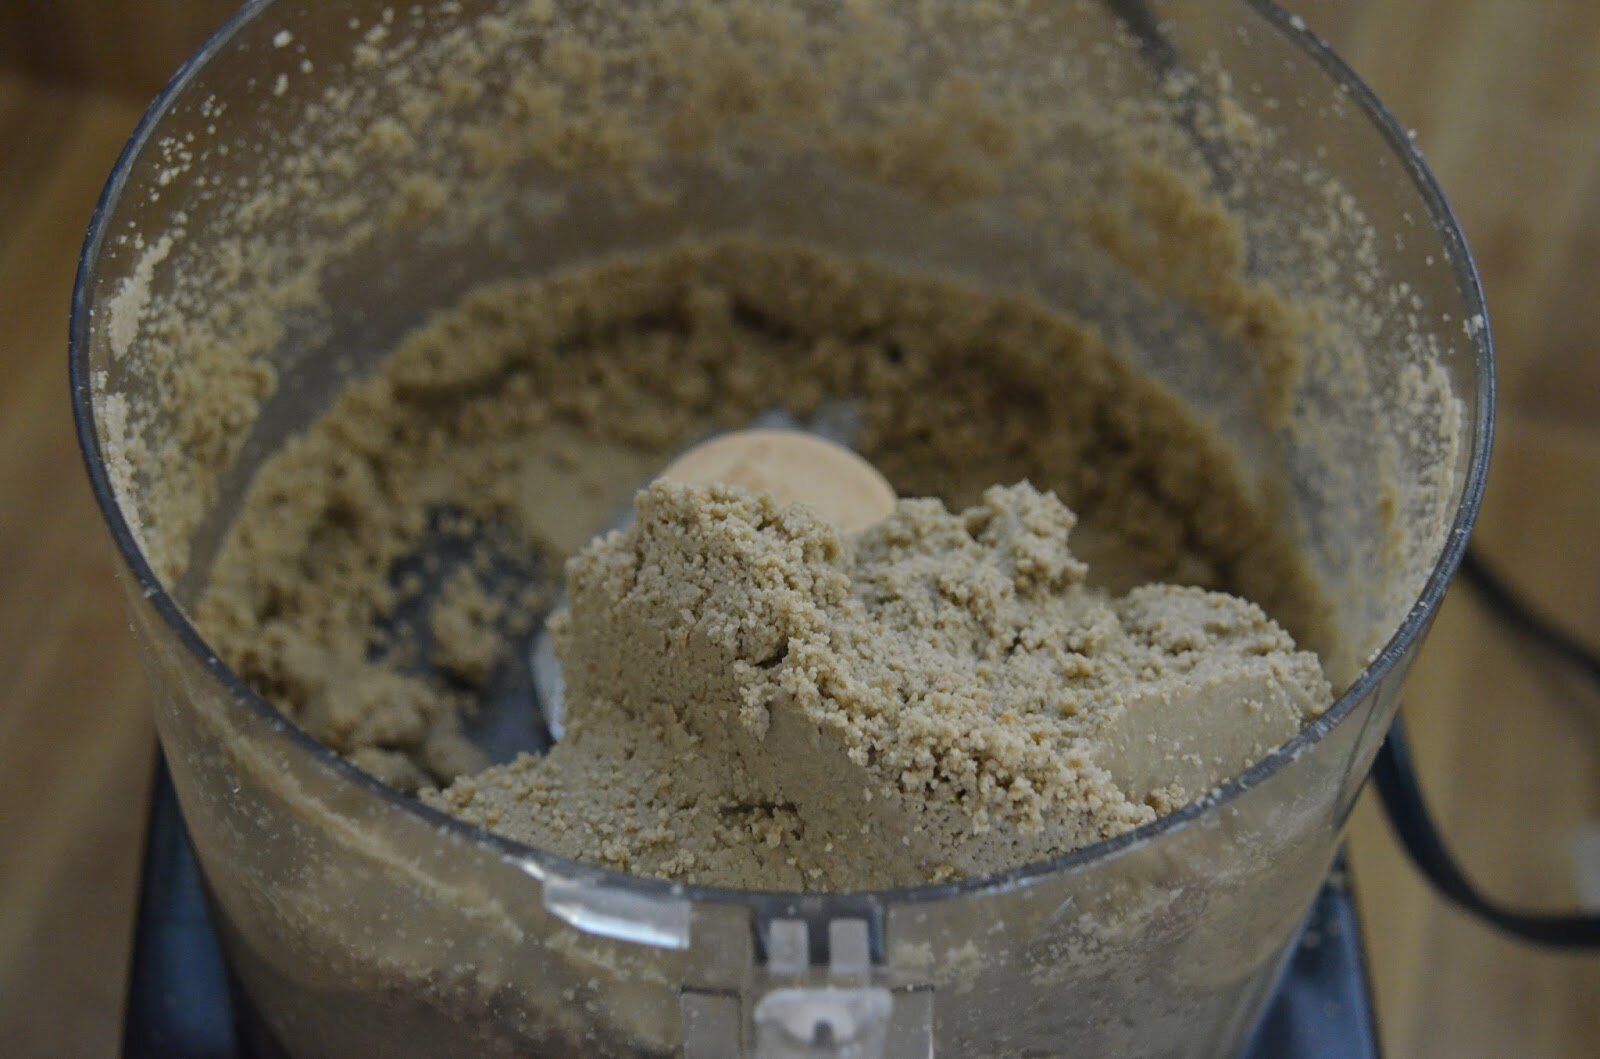
1. Grind almonds first in food processor until coarse
2. Add pecans and blend with almonds until nuts release a bit of their oil (see picture below)
3. Add coconut flour, ginger and salt: blend until incorporated
Please note:
(If using Bob’s AF (or another almond flour), add the pecans to the food processor first, and process until they are completely ground, but do not grind too long, as they will turn into pecan butter. After you grind the pecans, add in the almond flour (pulse a few times), then the rest of the dry ingredients and pulse together until well incorporated).
In a separate bowl (wet ingredients)
1. Mix pumpkin puree with maple syrup, vanilla, stevia, and oil
2 Add the dry ingredients into the wet and mix with hands – play with your food – it’s fun!
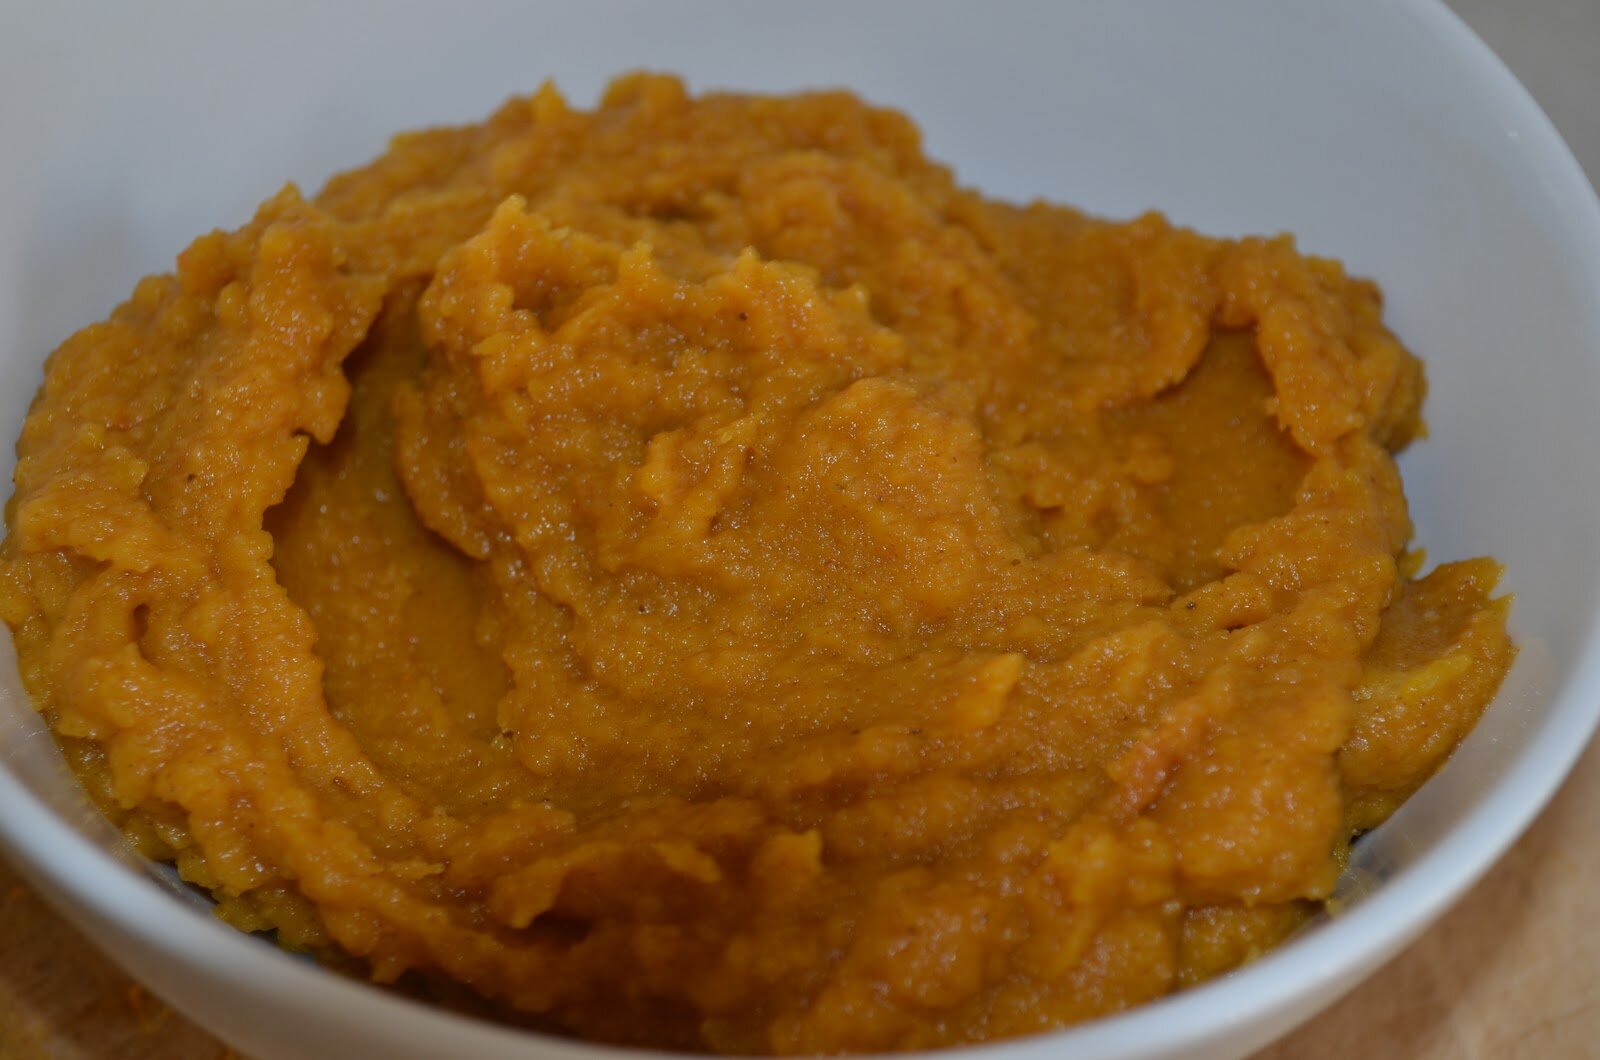
3. This mixture will be thick AND sticky – don’t be afraid – this is not a fail. The final product will be yummy and moist..
4. With semi-oiled hands, roll out small balls and smoosh down into little cookies
5. Bake 375 degrees for 12 – 15 minutes (or slightly brown on bottom, check at the 12 minute mark)
Notes:
*If you use coconut oil it will change the texture of the dough, color of the cookies and final texture of the cookie. See below for pictures of the cookies used with coconut oil. They will be slightly moist in the middle, which is what you want, but firmer than if you used just regular oil (such as grapeseed).
*These are wonderful warm right out of the oven and firm up pretty quick as they cool.
*Ah, these are so good! My new favorite snack on the go.


Grind the almonds first until fine, pulsing works best and cold almonds work best (I use whole almonds – with skins)

This is what the mixture looks like after you grind with the pecans:
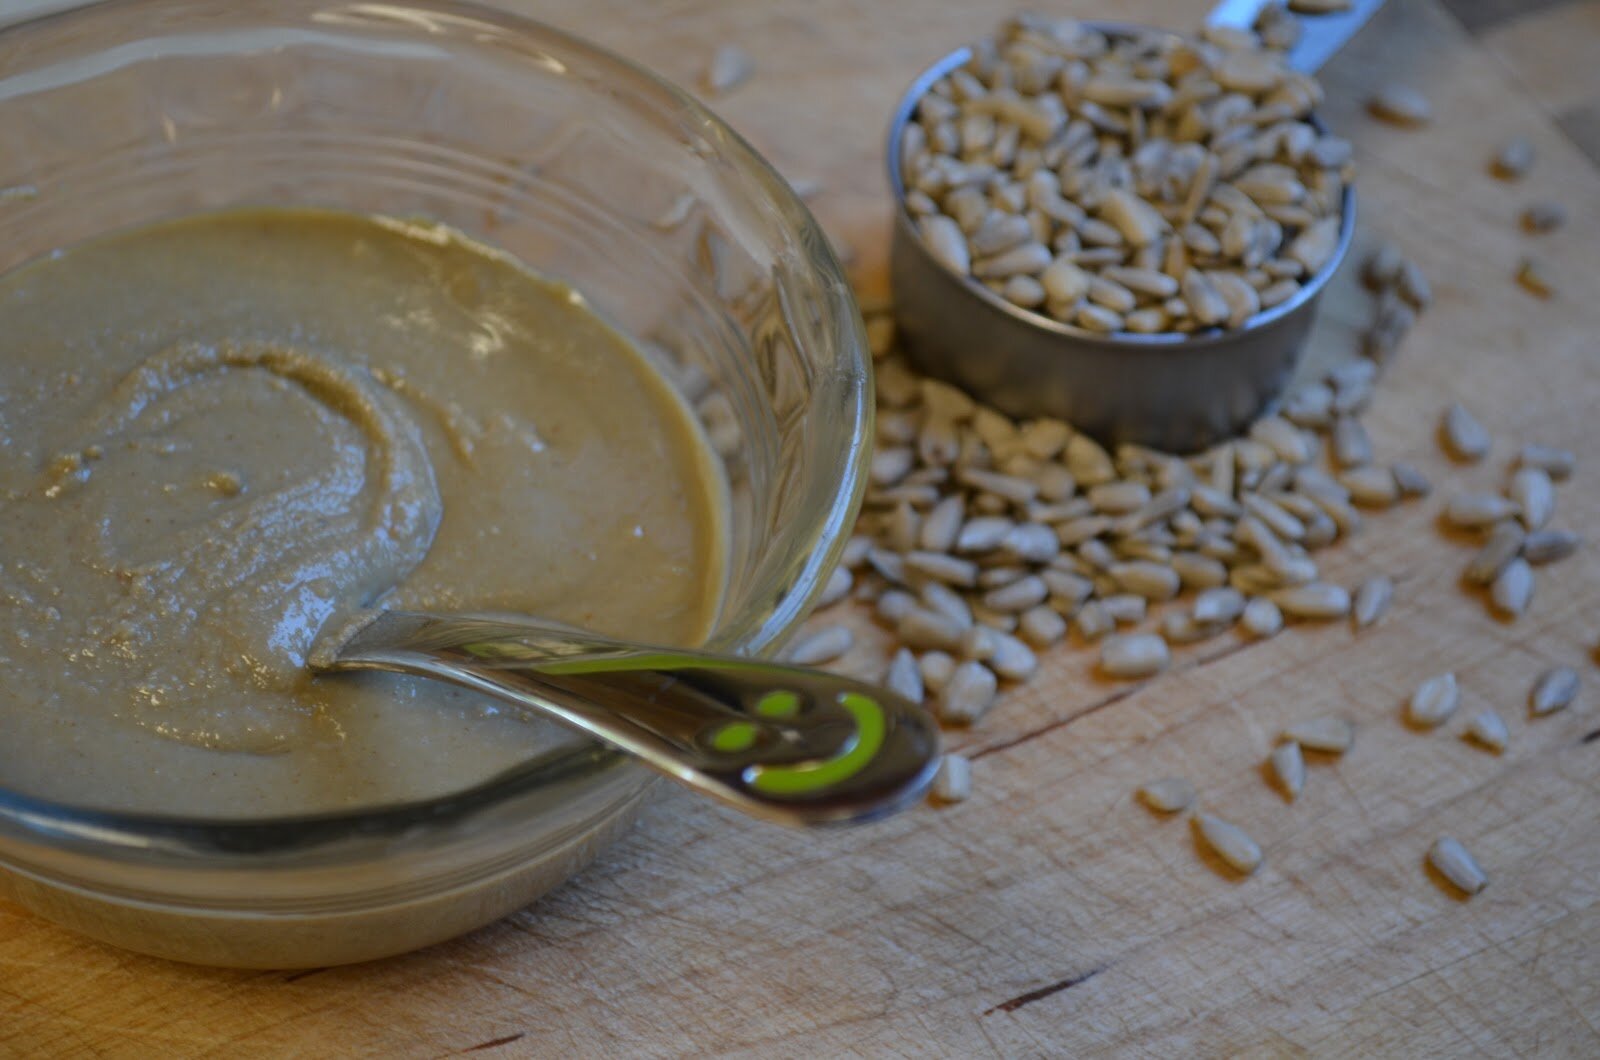
You will be able to make a ball with the almond/pecan mixture:


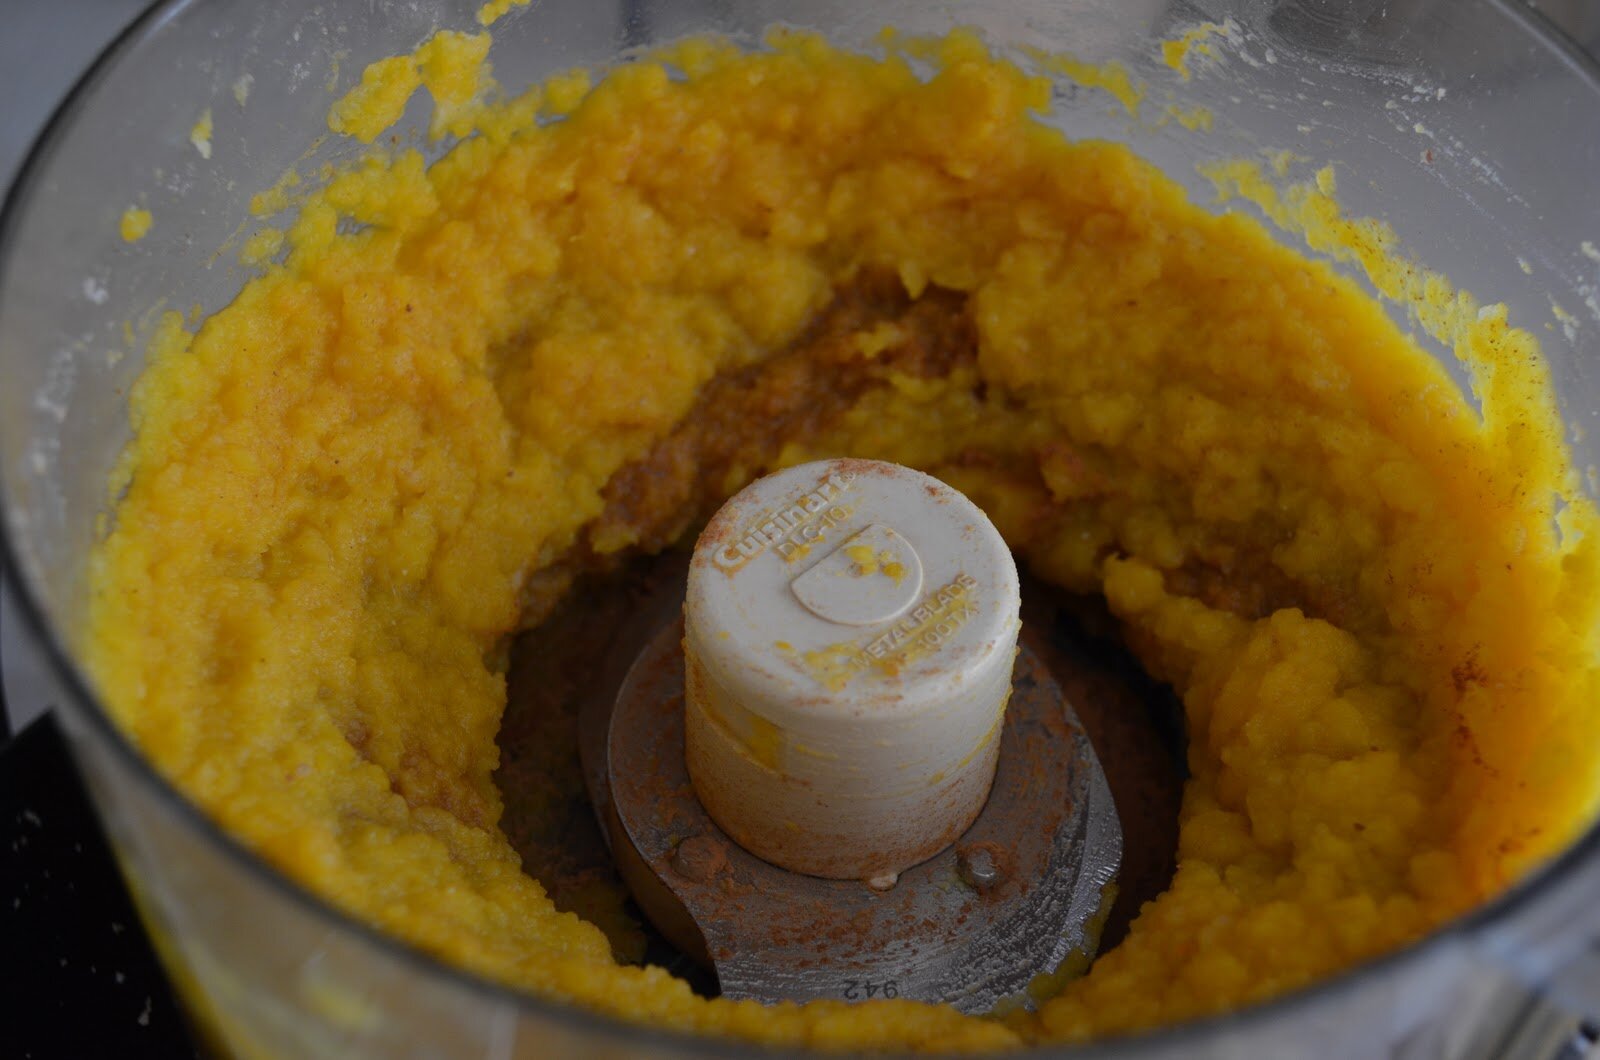
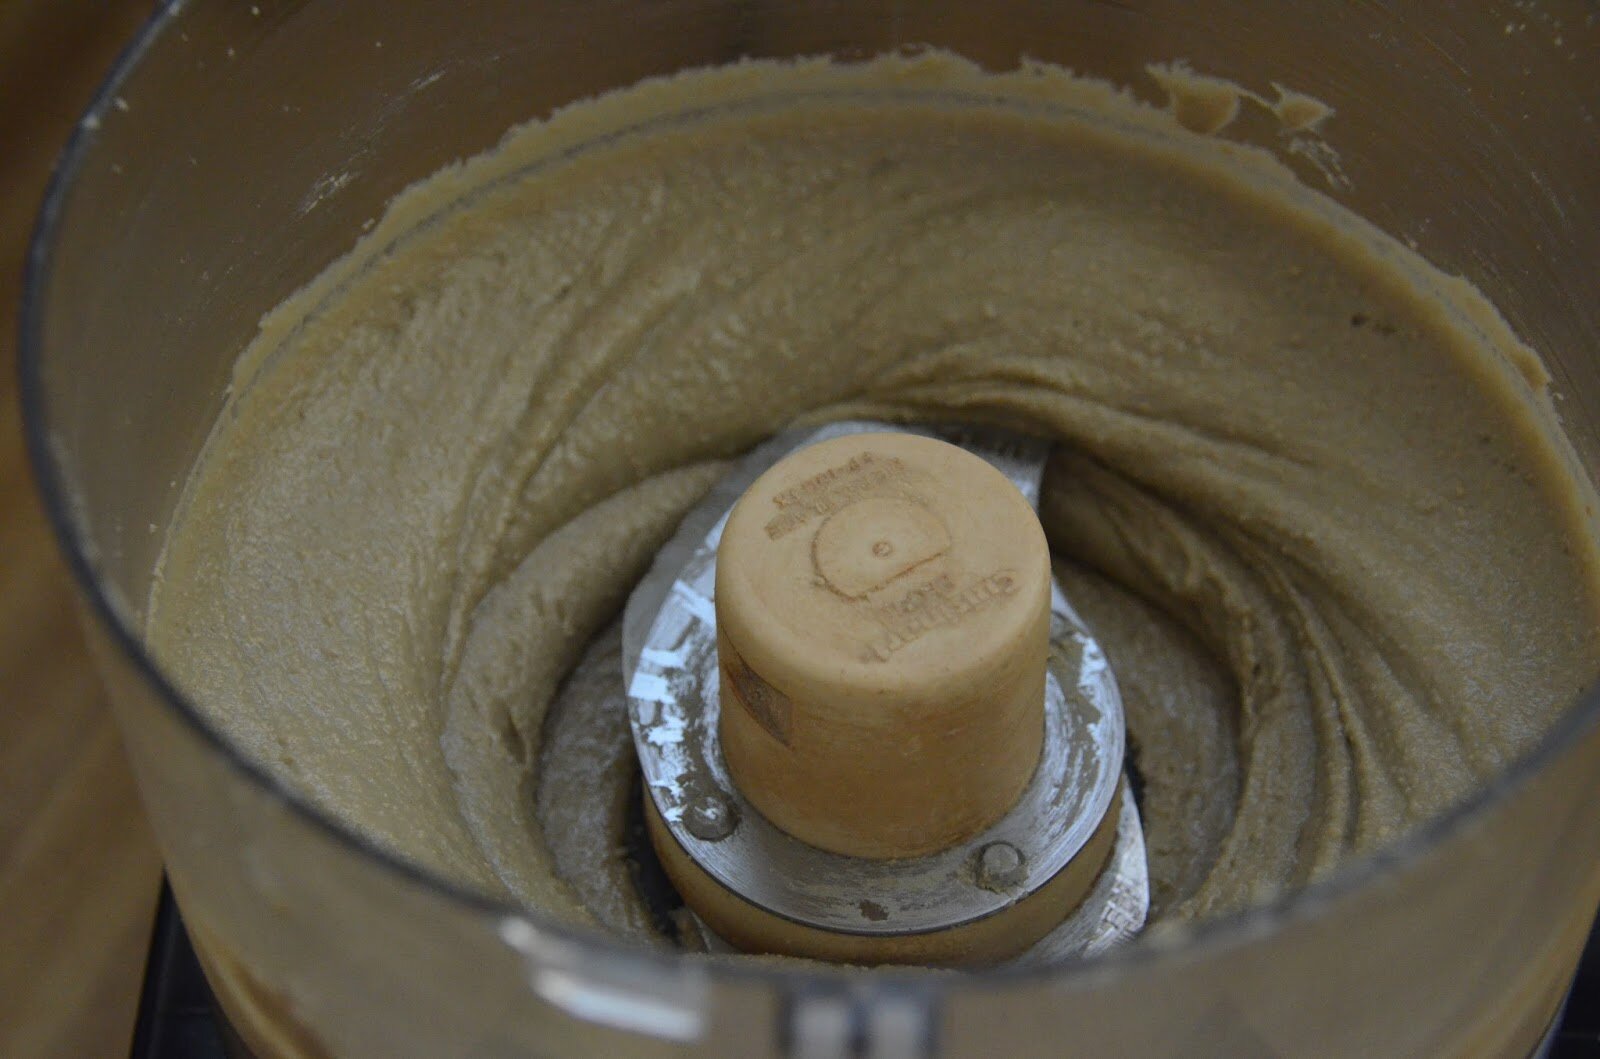
After you add the coconut flour, salt, ground ginger, and pumpkin pie spice, and pulse a few times, it should become very light and fluffy:

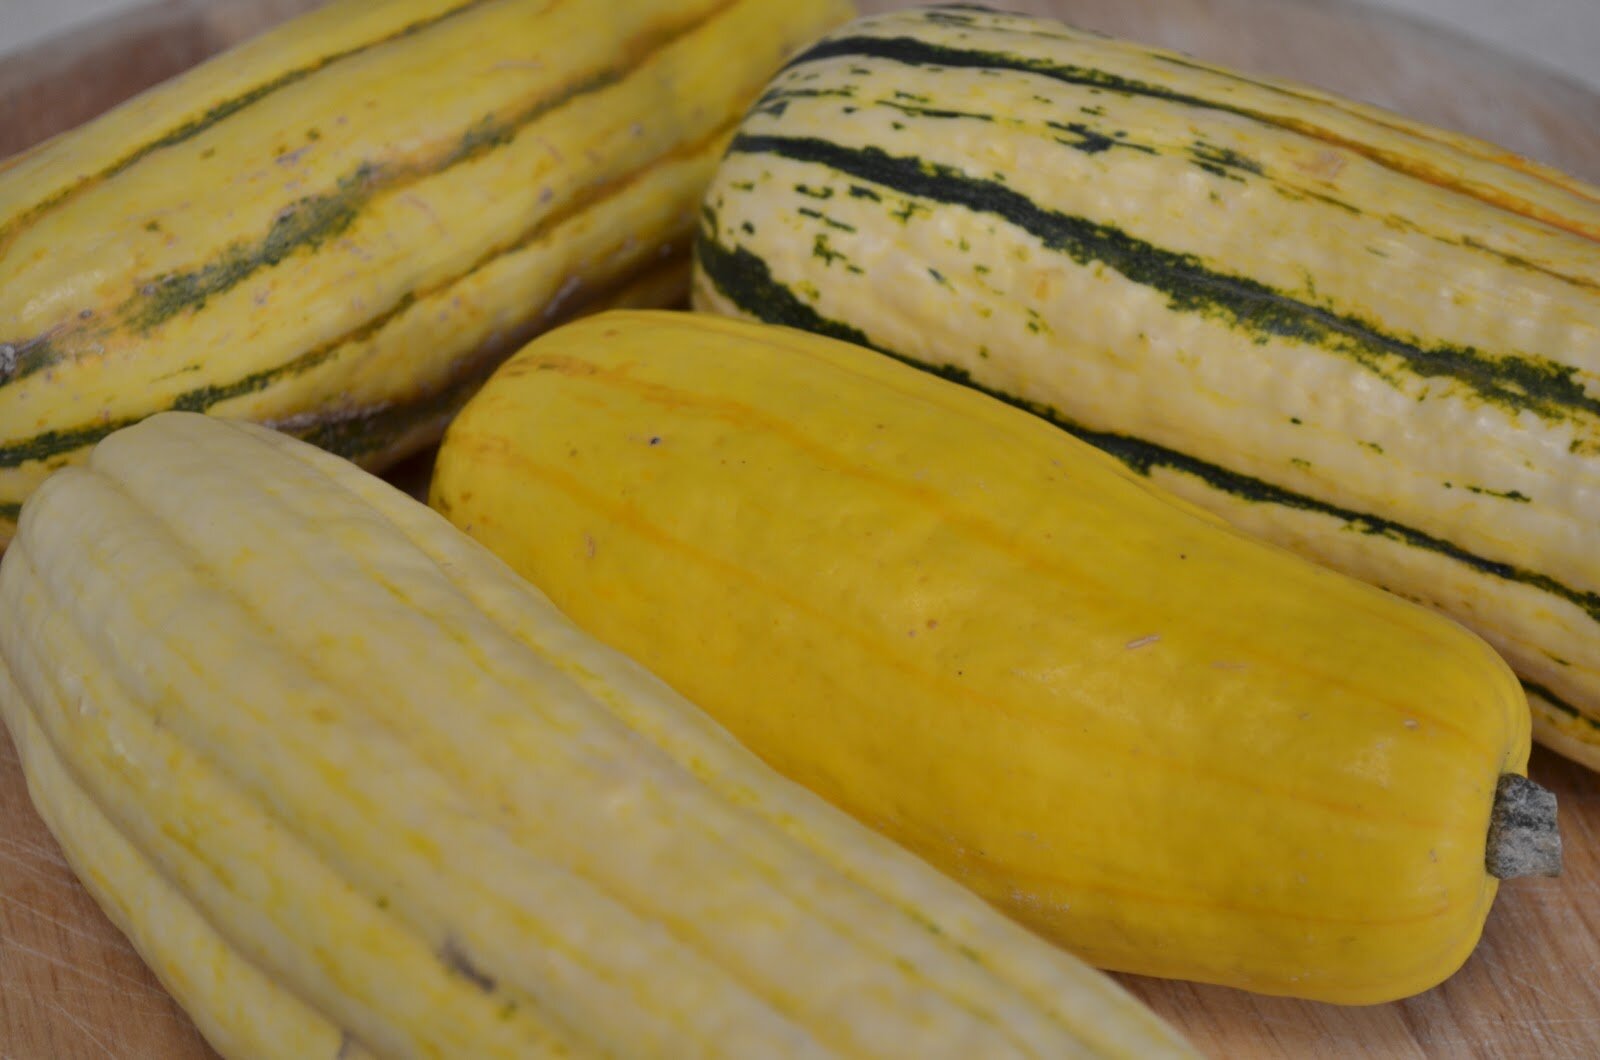
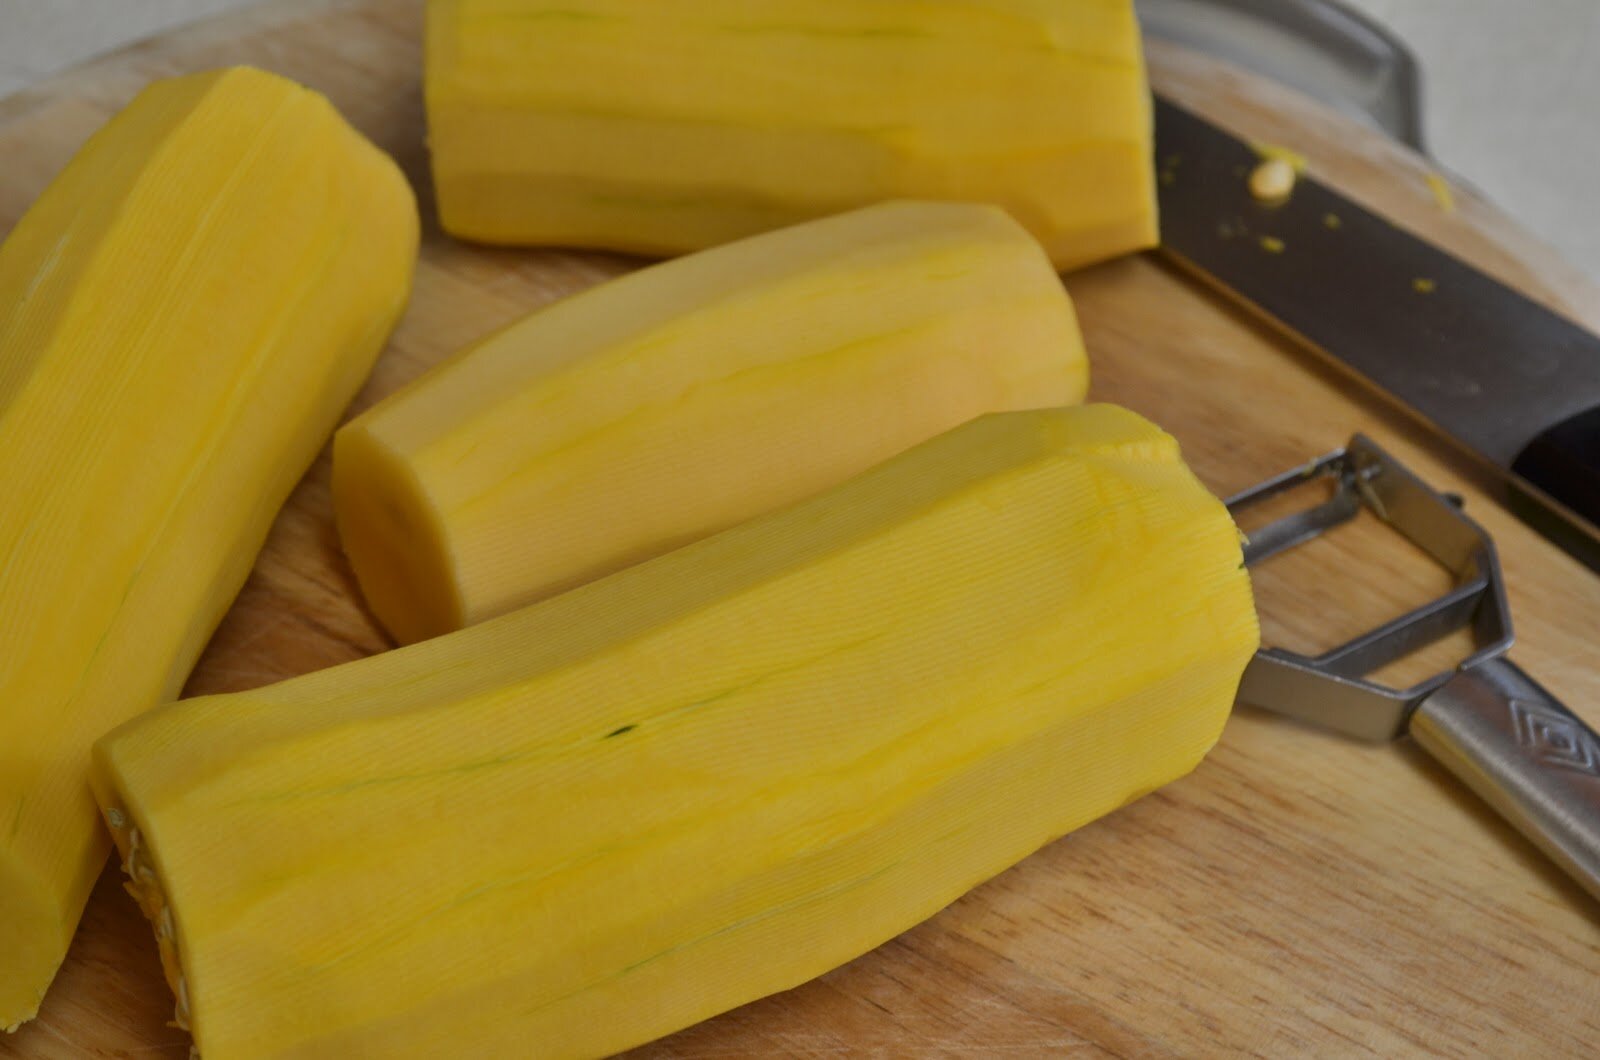
This is what the cookie will look like if you use coconut oil. Here I mixed melted coconut oil into the other wet ingredients but the maple syrup was cold and it made the overall liquid mixture very thick and therefore the dough was thicker. I recommend using room temperature maple syrup. Also, I used a sugar pie pumpkin. With the cookies pictured above, I believe I used a Cinderella pumpkin (pumpkin meat is much darker).

Shared on Gluten Free Holiday 2011, Just Another Meatless Monday, Melt in your Mouth Mondays, Monday Mania, Ruth’s Real Food 101 (Mondays),


These sound wonderful. At first I thought they were raw, but I see that they are baked in the oven. I love the idea of combining the crust with the filling, as the hard part about making pumpkin pie is the crust. My 2 year old would probably like these, too. I’ll be trying them!
-Sea of Book of Yum
Hello There~
Thank you for your comment. You are right on the money! These are so, so good. I’m very pleased with how they turned out. Please let me know how you like them, and if you make any interesting changes/additions.
My son, Ethan (2 years), just loves these little cookies, and I feel SO good about giving them to him…here have 2 or 3!!
Be Well,
–Amber
I adore the way you hand print every thing, makes it look real homnemade, Healthy & Happiness
Hello Taste Buds Gluten Free Take Away Foods~
Thank you for your lovely comment. You made my night!
Be Well,
–Amber
These look so delicious. I just found your blog via the Balanced Platter and this recipe caught my eye! I’m always look for delicious, healthy, sweet treats!! Thanks for sharing
Hello Queen of Quinoa (I love your name)!
Thanks for your message. These are as easy as they are delicious! Glad you found a new sweet (and healthy) treat to try. These are one of my faves for sure!
Have a great weekend,
–Amber
These look delicious! Can’t wait to try them!
Thanks Kellie,
They are super yummy. Let me know how you like them!
Be Well,
–Amber
Mmmm these look so good and so beautiful too! Like pretty little bites of deliciousness!
Thank you Maria! They are pretty fun (and pretty). I had some leftover pumpkin puree in the fridge and they really hit the spot today! So easy to make.
Be Well,
–Amber
Sharing these on my FB page right now :-).
This looks so good and I can not wait to try this!.