
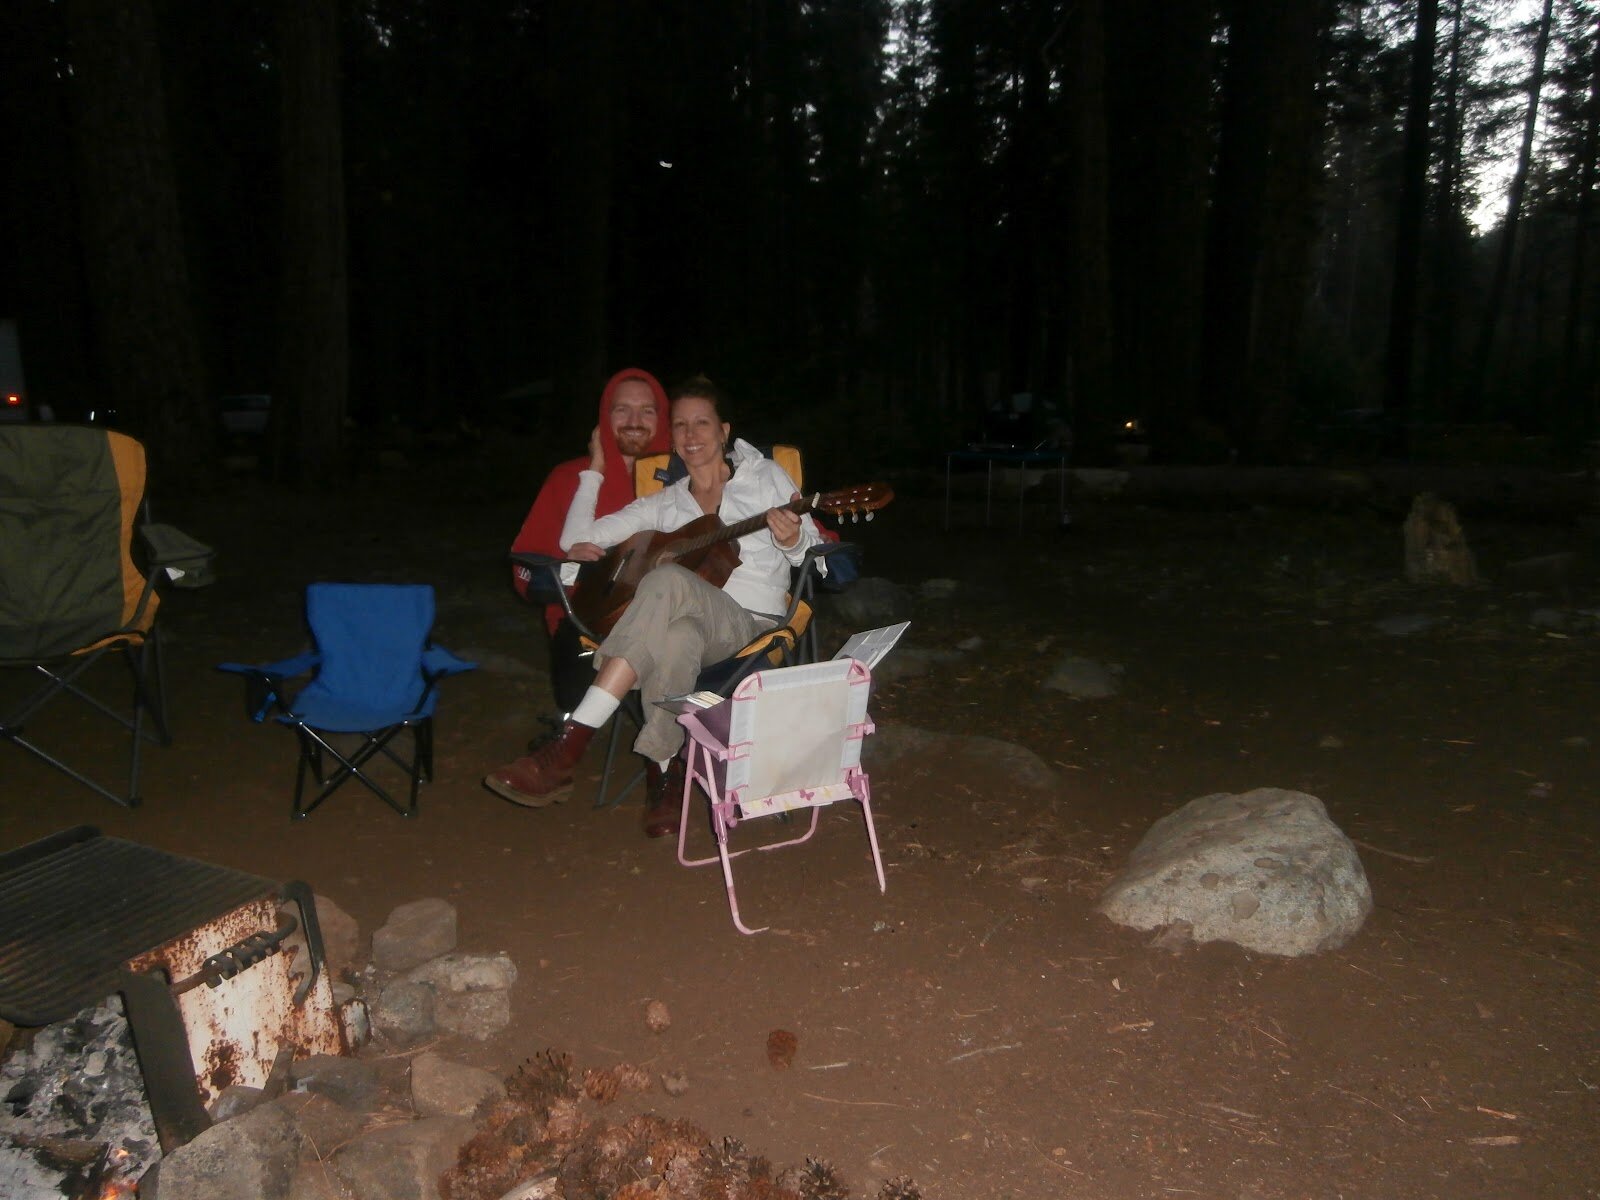
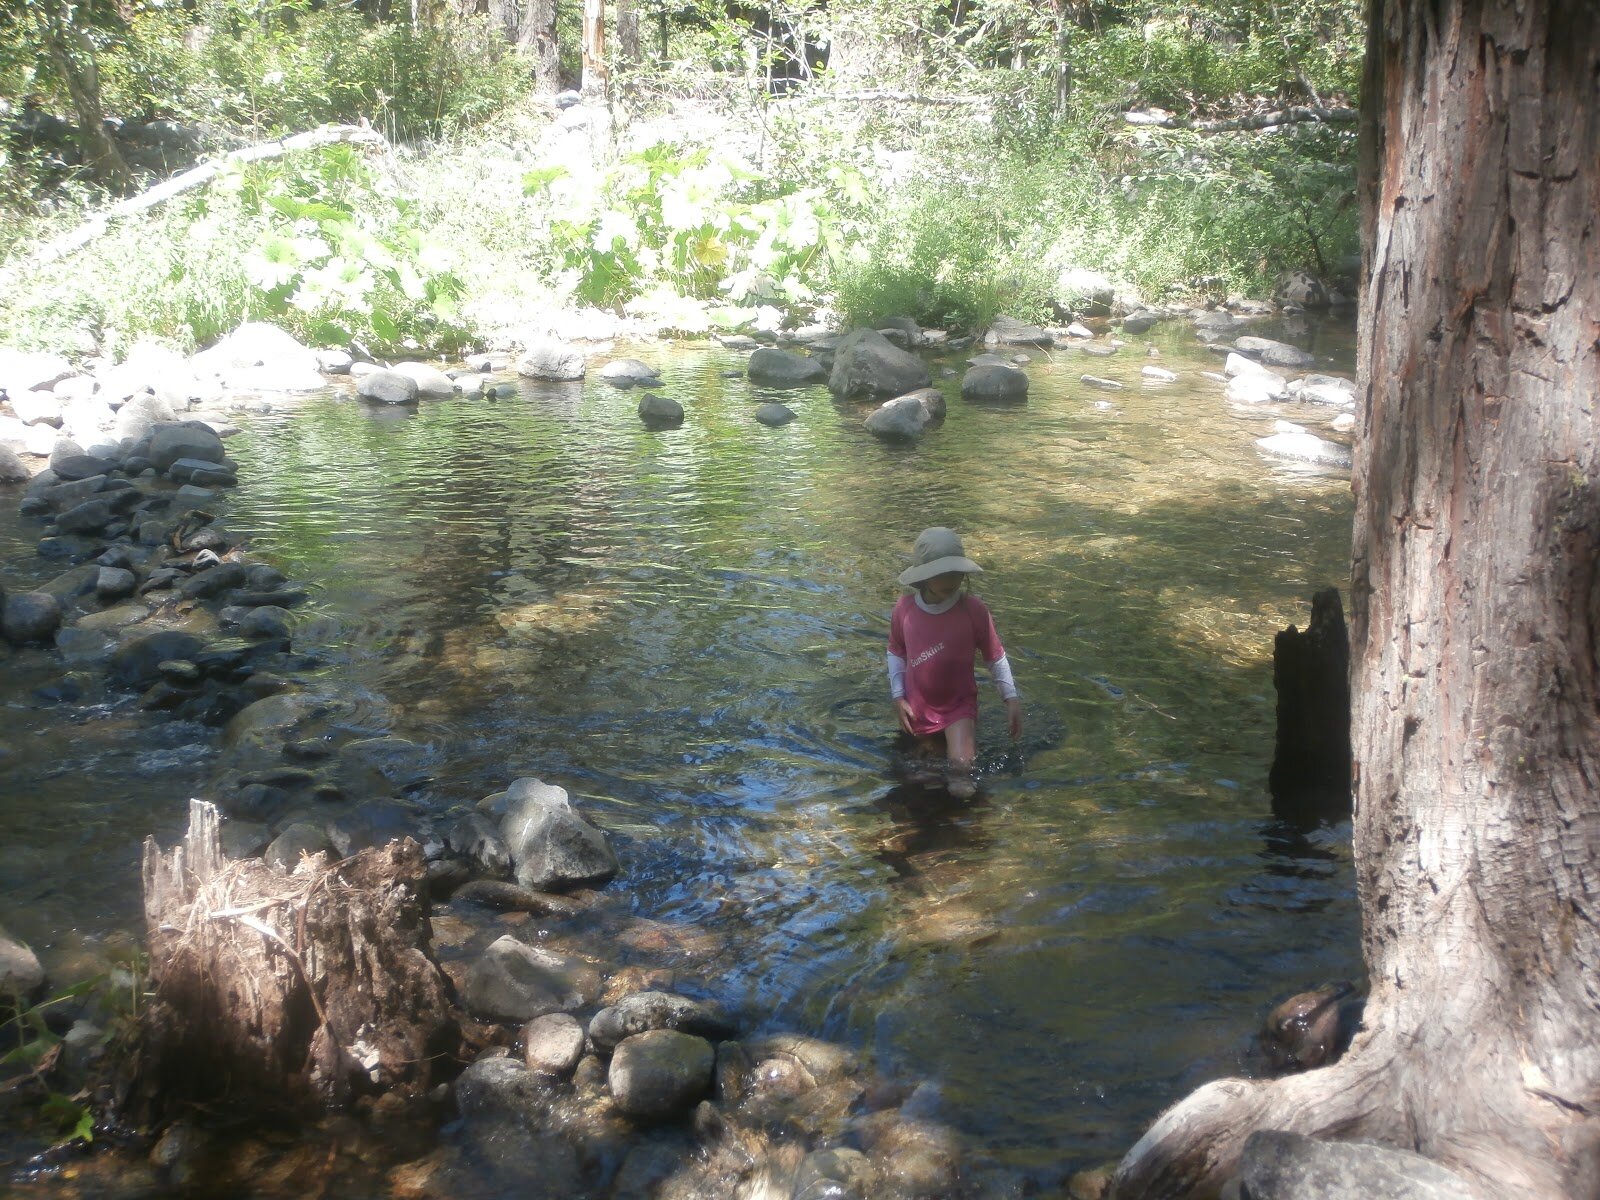
I LOVE camping. I grew up camping – it’s in my blood. My happiest memories in life are of being out in nature, singing around a campfire, playing for hours in a creek, fishing, hiking, lazy afternoon naps in a tent with a cool mountain breeze wafting around me…ahhhh. Thinking about it makes me instantly happy and calm. We took the kids camping last week in celebration of my 35th birthday. We had a great time. I was a busy bee cooking/baking, but over the years I’ve become accustomed to all this preparation. I hope these recipes and food ideas are helpful for your next camping trip (allergy-friendly style).


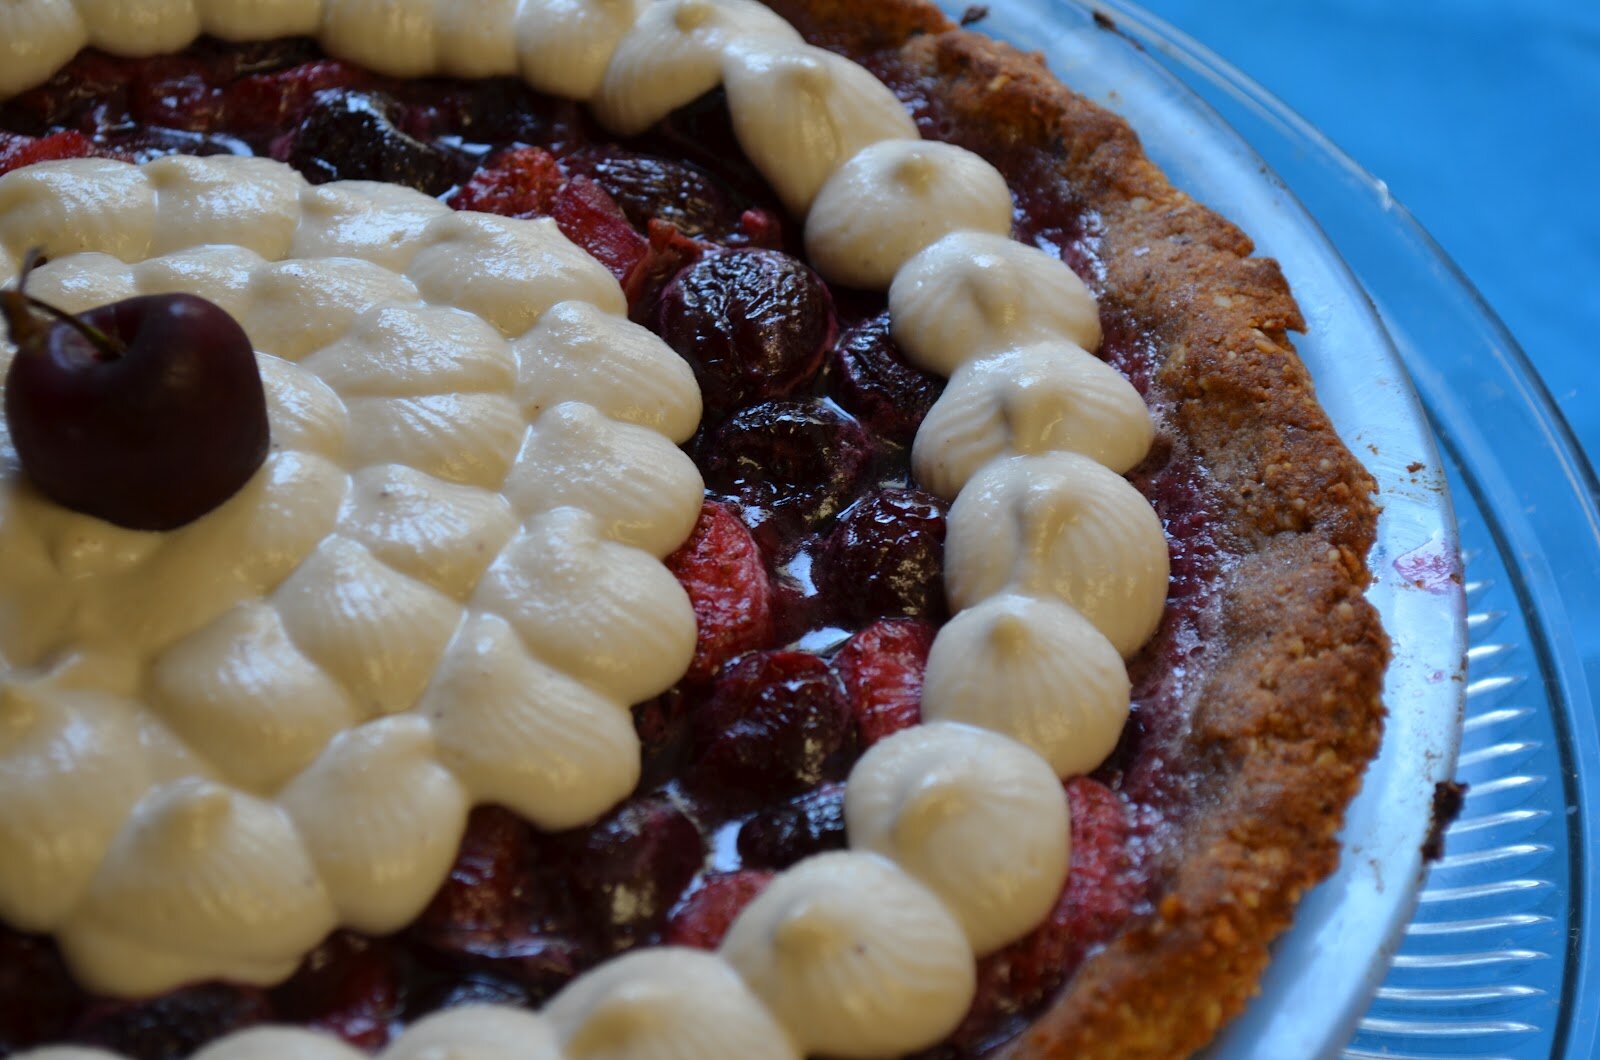
(yes, I made my own birthday cake)
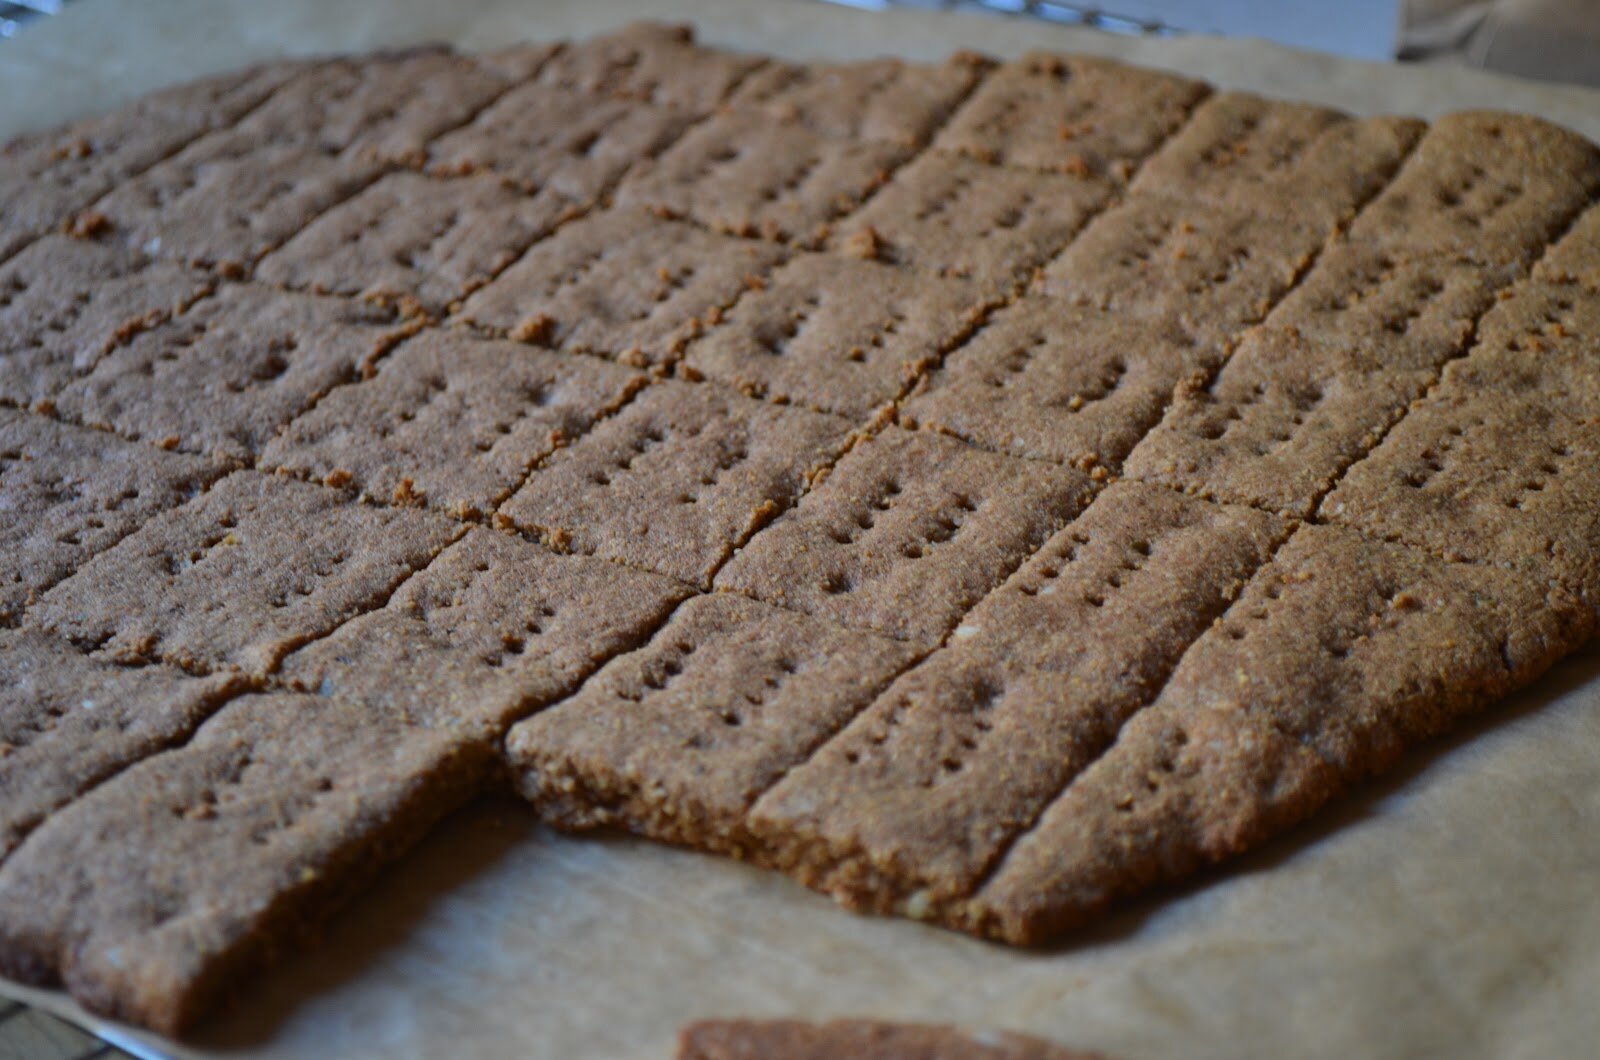
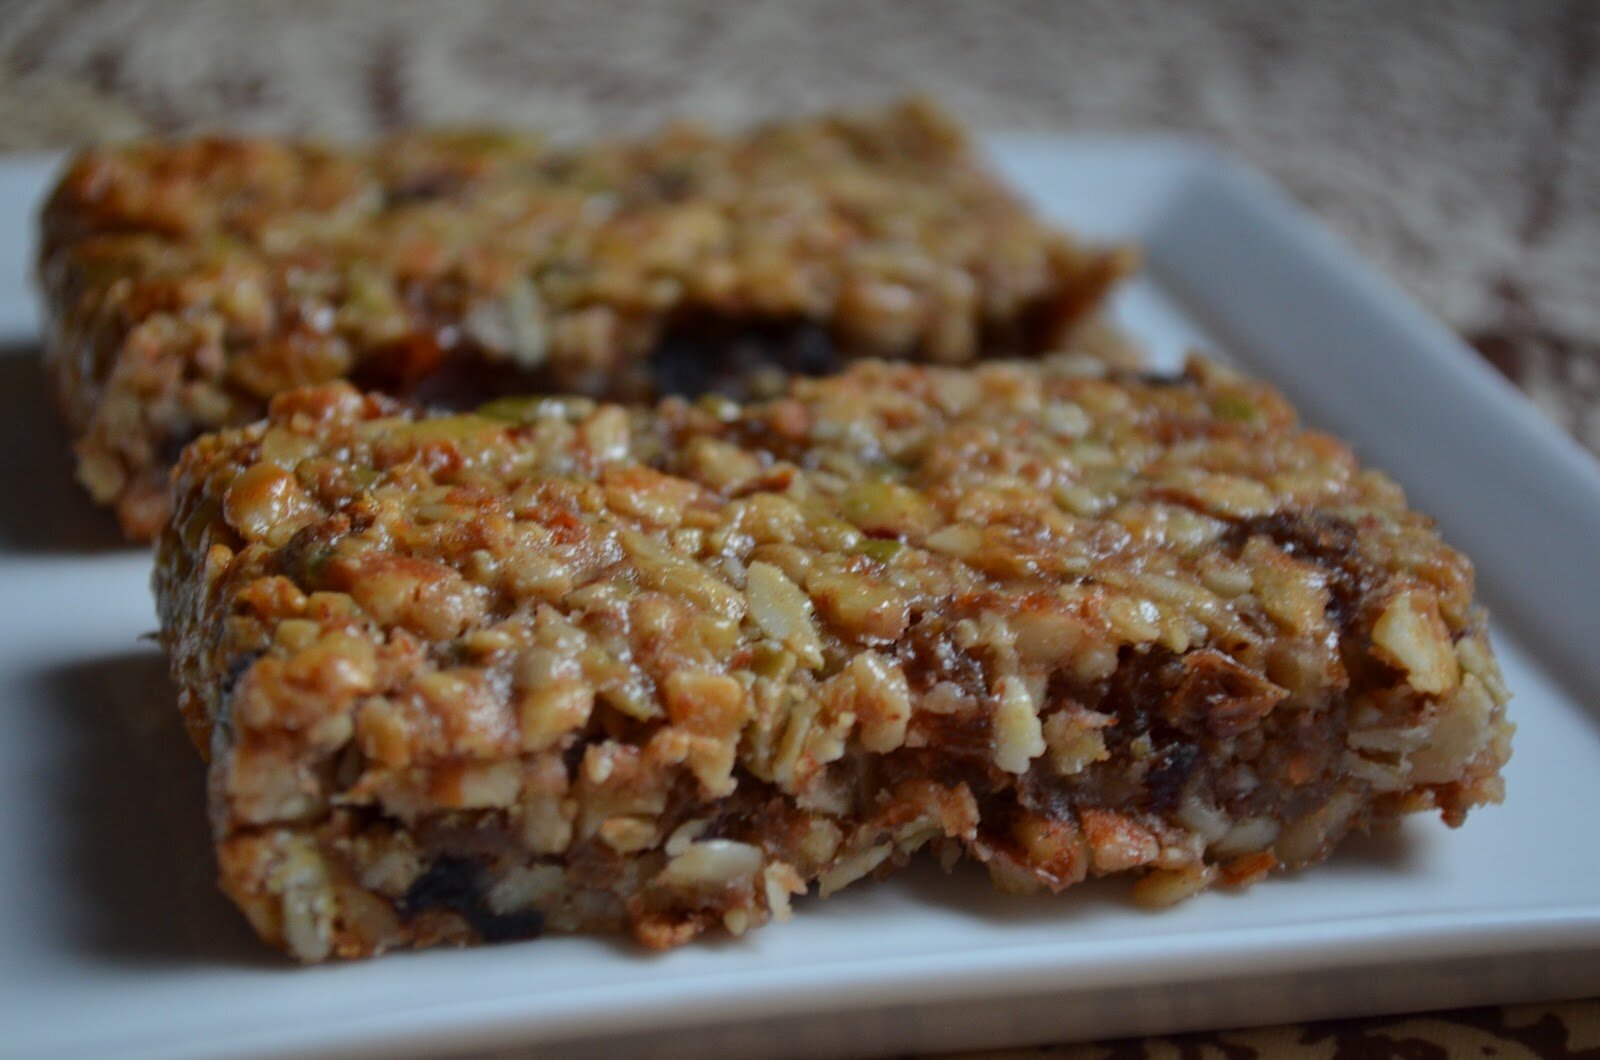
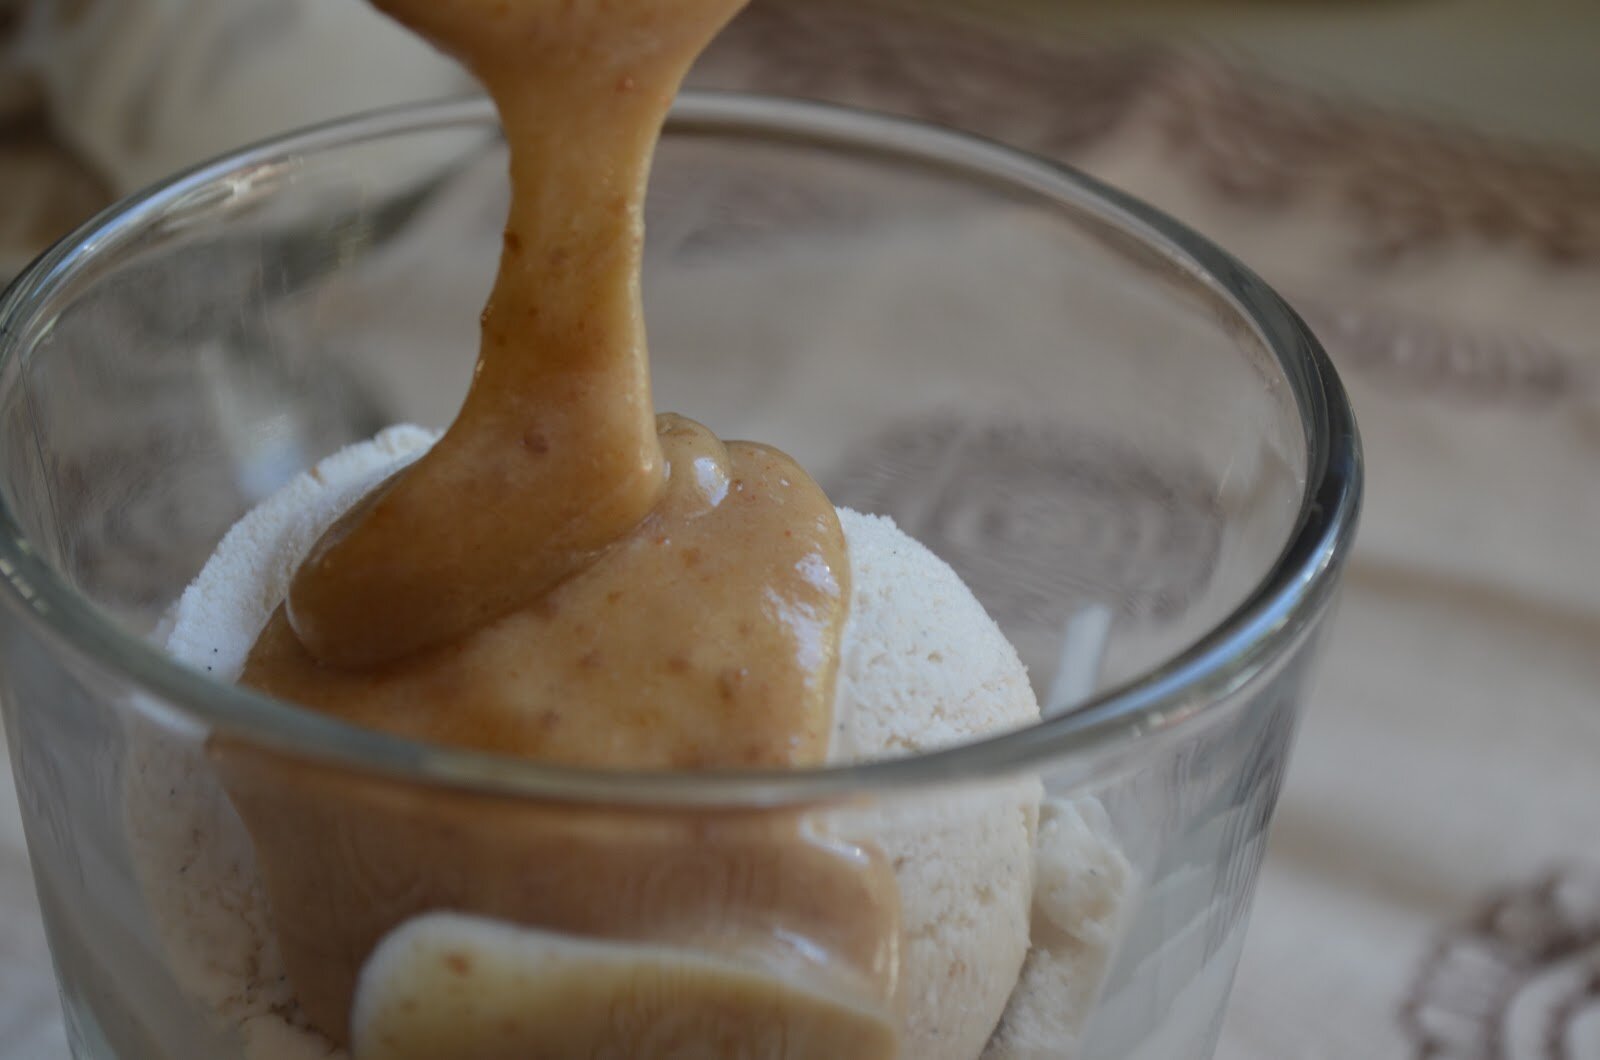
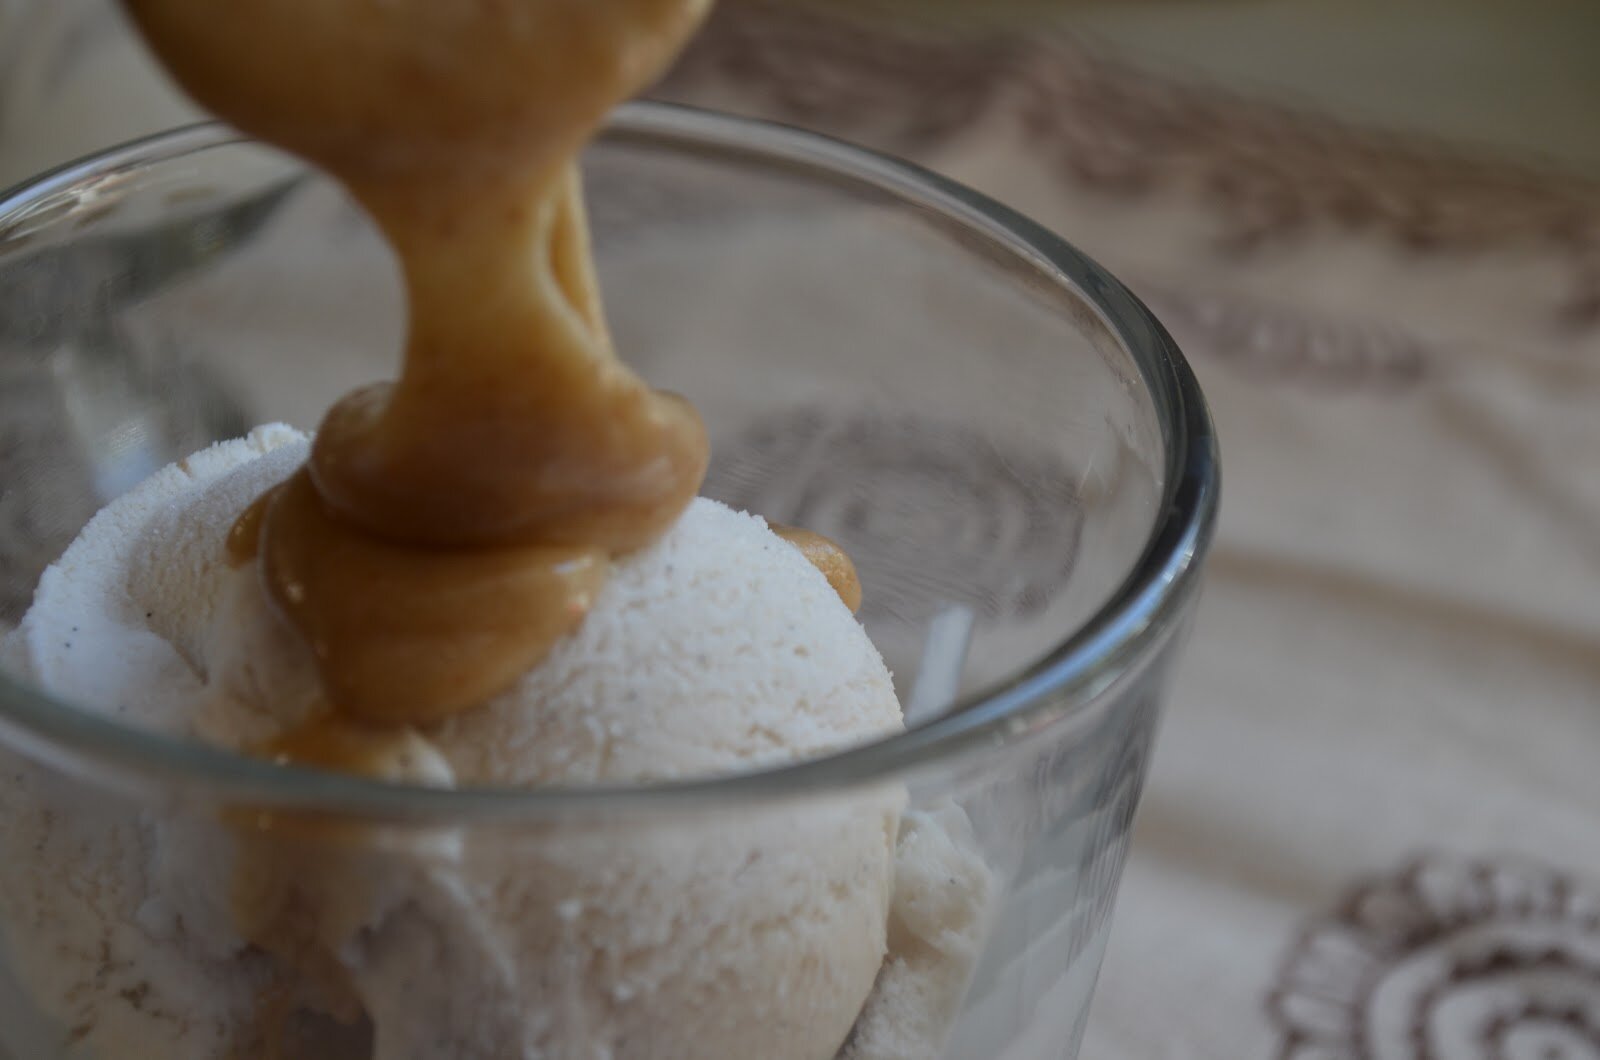
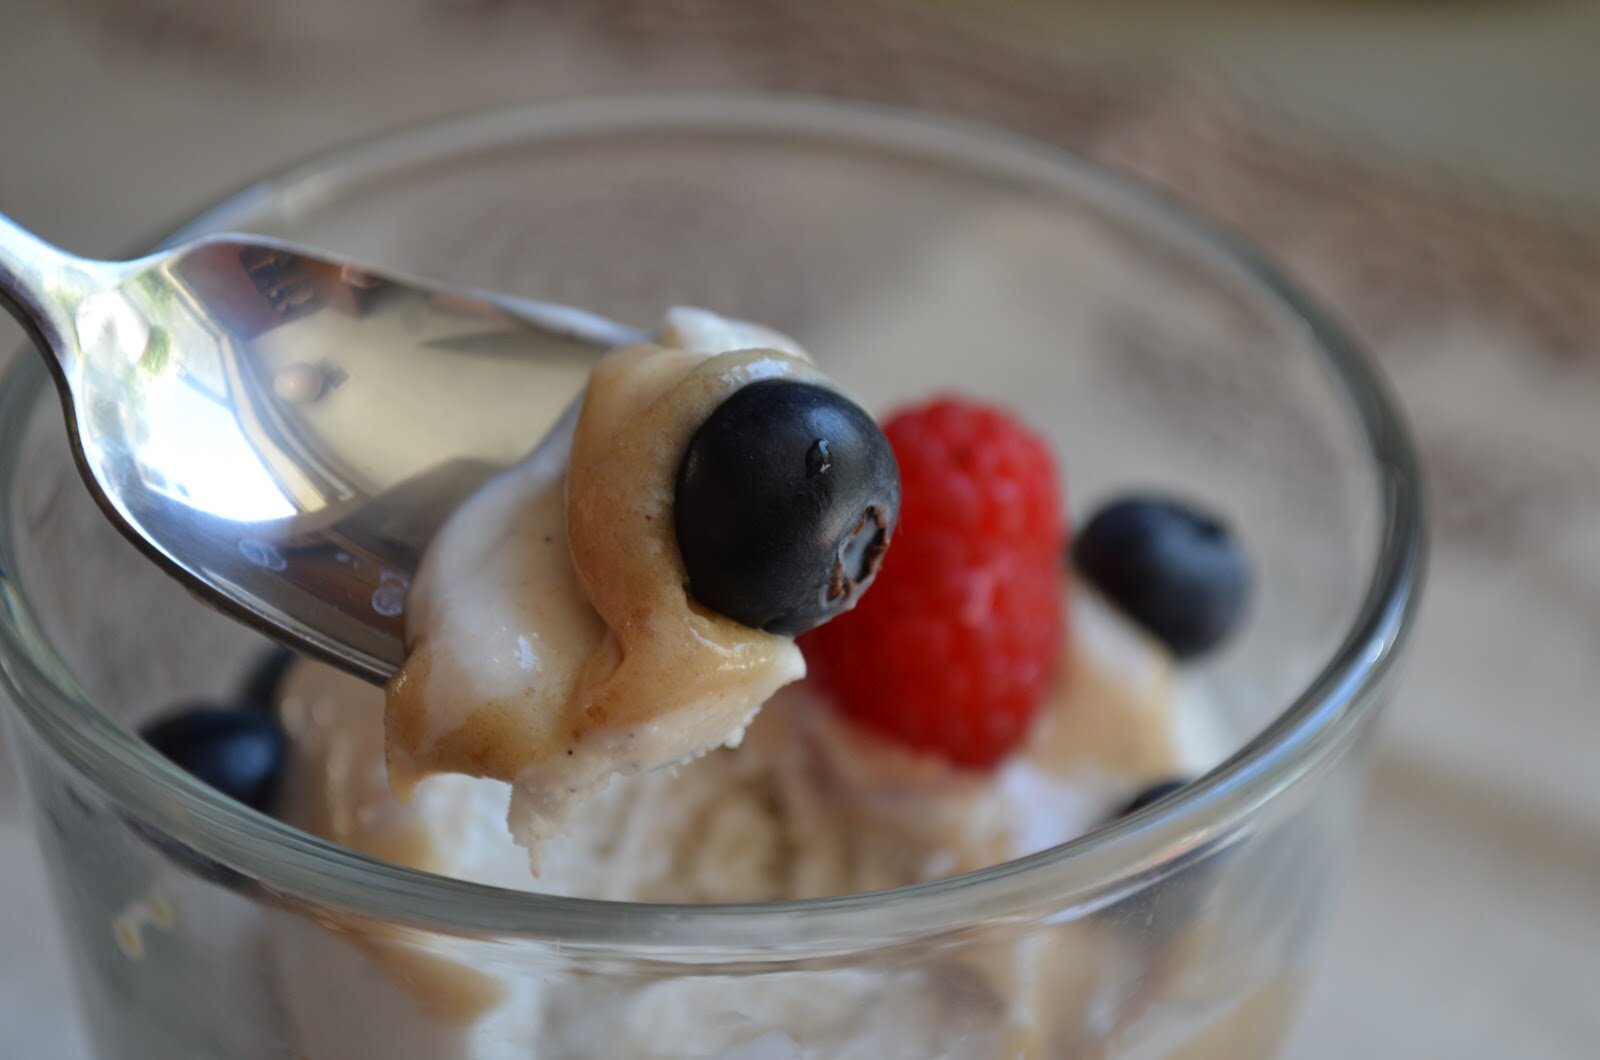
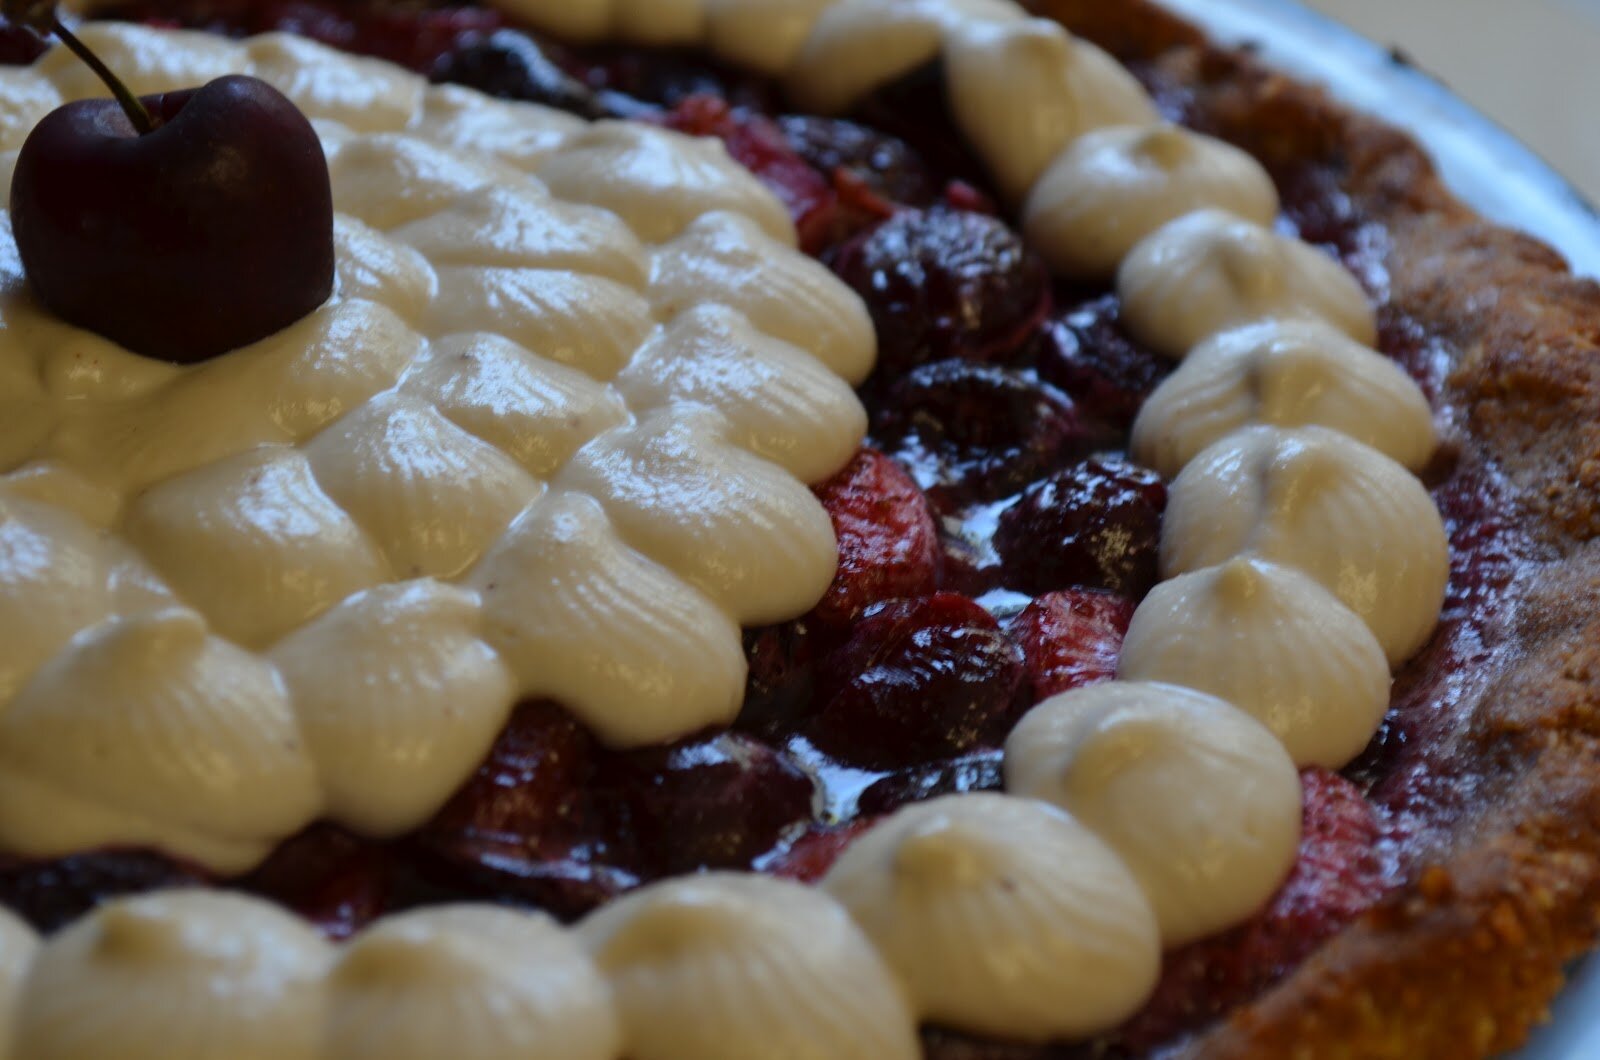
Thanks to Jenni at The Urban Poser for this great recipe.
It was amazing.

Shared on: Whole Foods Friday


So many great camping tips! It’s been so long since I’ve been camping and don’t think I’ll get the chance to do it this year. Oh well, there’s always next year!
Happy belated birthday! Looks like you celebrated it in the perfect way- camping, family and delicious food
I have such incredible memories of camping as a kid! I remember mostly going with my cousin, riding bikes, eating smore’s and catching a huge bass (I was little so this is relative to my size and memory). Such great times. Looks like you guys had an incredible time together! I can’t wait for the fall so I can take my boys camping.
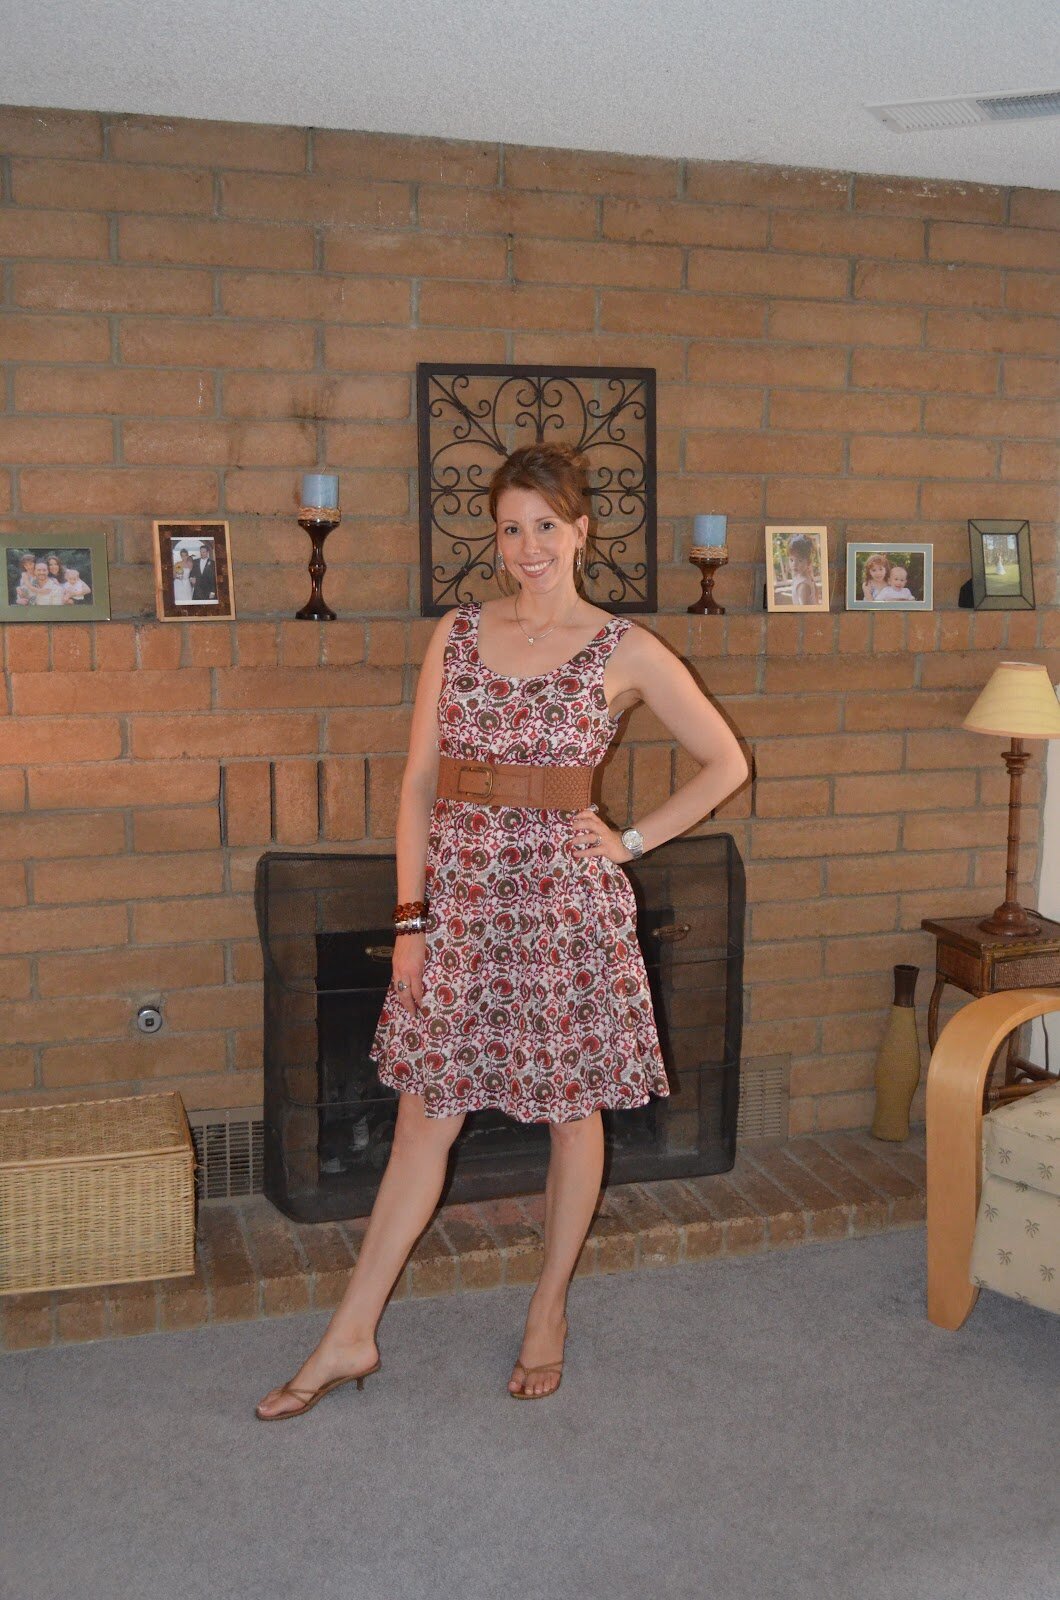
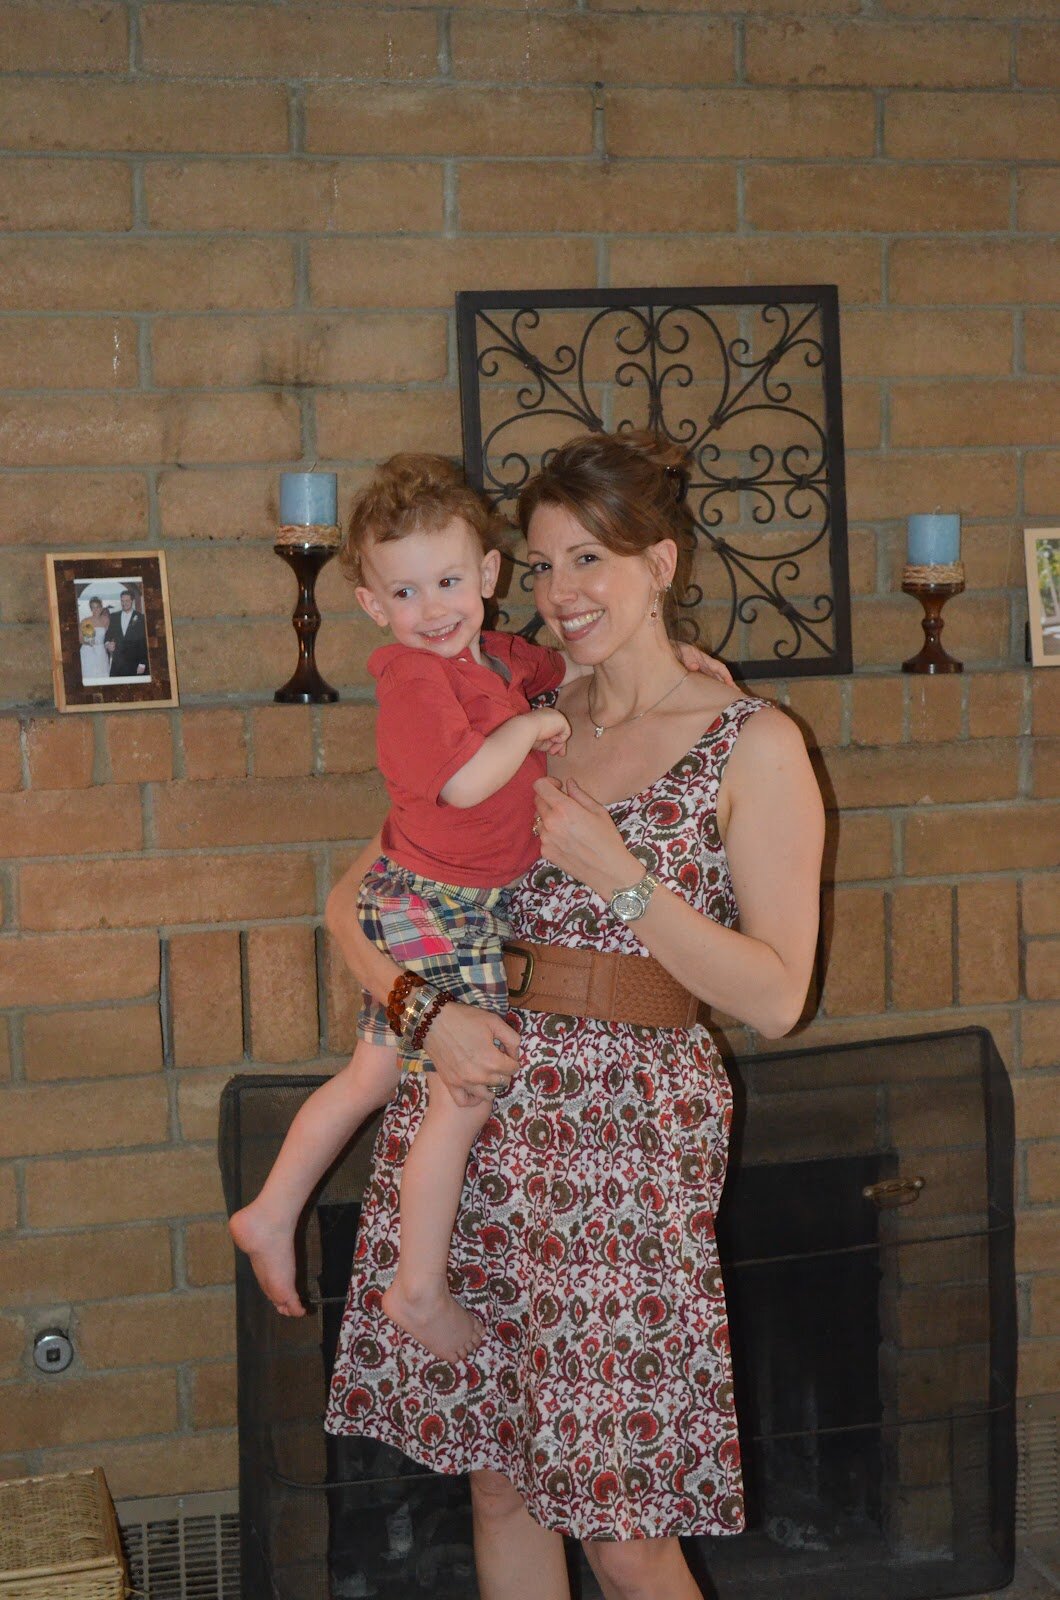
By the way, you are beautiful! Love that dress too! I hope you had an incredible birthday!
Happy b-day to you, lovely!
Happy Birthday, Amber!! It looks like you all had a wonderful time camping and feasting on travel-friendly, healthy foods. Those s’mores look incredible! It sounds like you did a LOT of cooking… I could never make so much food at once! And thanks for linking my cauli wraps recipe!
I love this post a million times over, Amber!! Happy birthday, dear! You know I’m a camping gal and I love how you all are enjoying camping with your kiddos. Those will be treasured memories and change their lives forever, just as your camping as a child changed yours. What delicious camping food and birthday fare, and you look super, super cute in all the photos! I love them all, of you and your family. Off to share on FB. I was just talking about camping the other day and a reader wanted another post from me, so I’ll use yours in the mean time–thanks!
xoxo,
Shirley
You seemed to have a wonderful trip, gorgeous photos and lots of great tips!
Lovely of you to share your birthday trip! Happy Birthday to you!
Happy Birthday Gorgeous Amber! You are one healthy, happy, loving Momma and inspiration to so many of us followers of your wonderful site!
So glad you shared the pics, thank you! Love to have a face to go with the name. You are so pretty and have a lovely family. Happy Birthday and cheers to you!
I can’t think its better way to spend a bday than calling! Oi got a kick out of the homemade list….boy can I relate to that…It sure is a lot of work getting ready for a trip When food allergies are the order of the day!Good thing we are ‘passionate about Good food my friend! Happy birthday!
I’ve tried to roast these same marshmallows several times with no success. How did you roast them?
Hello unknown,
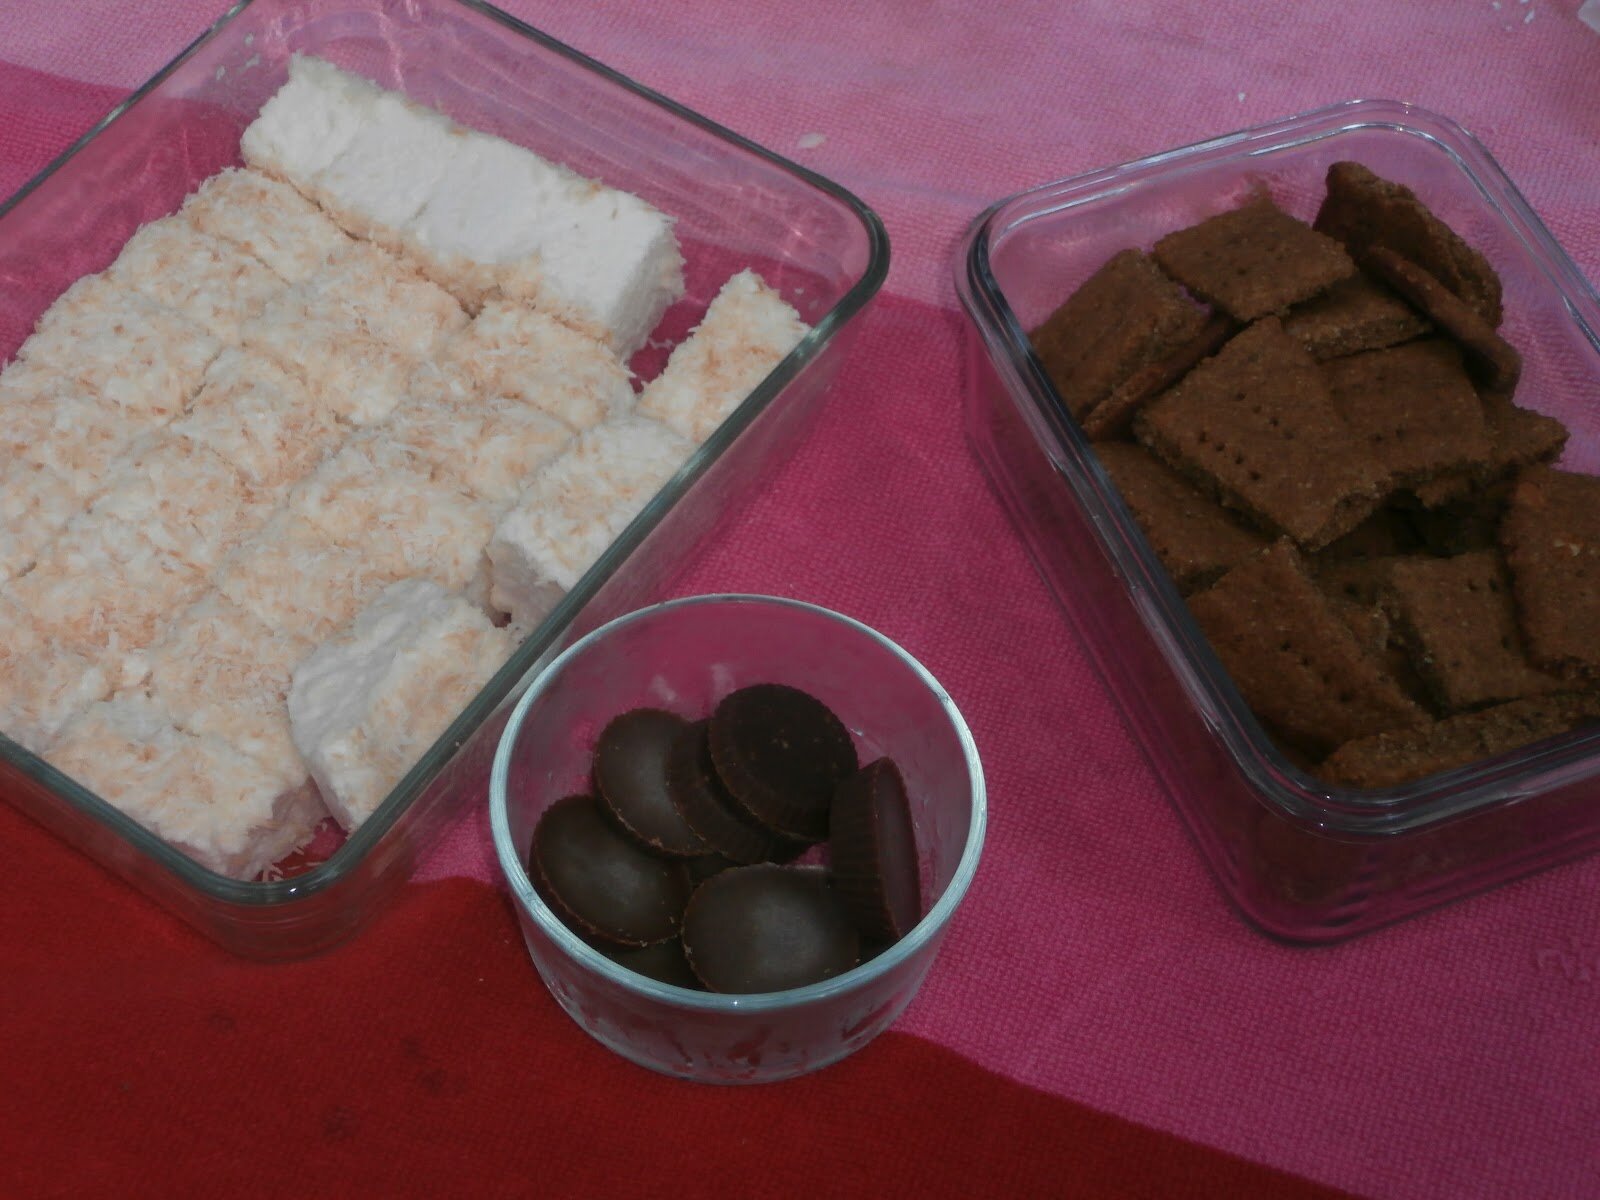
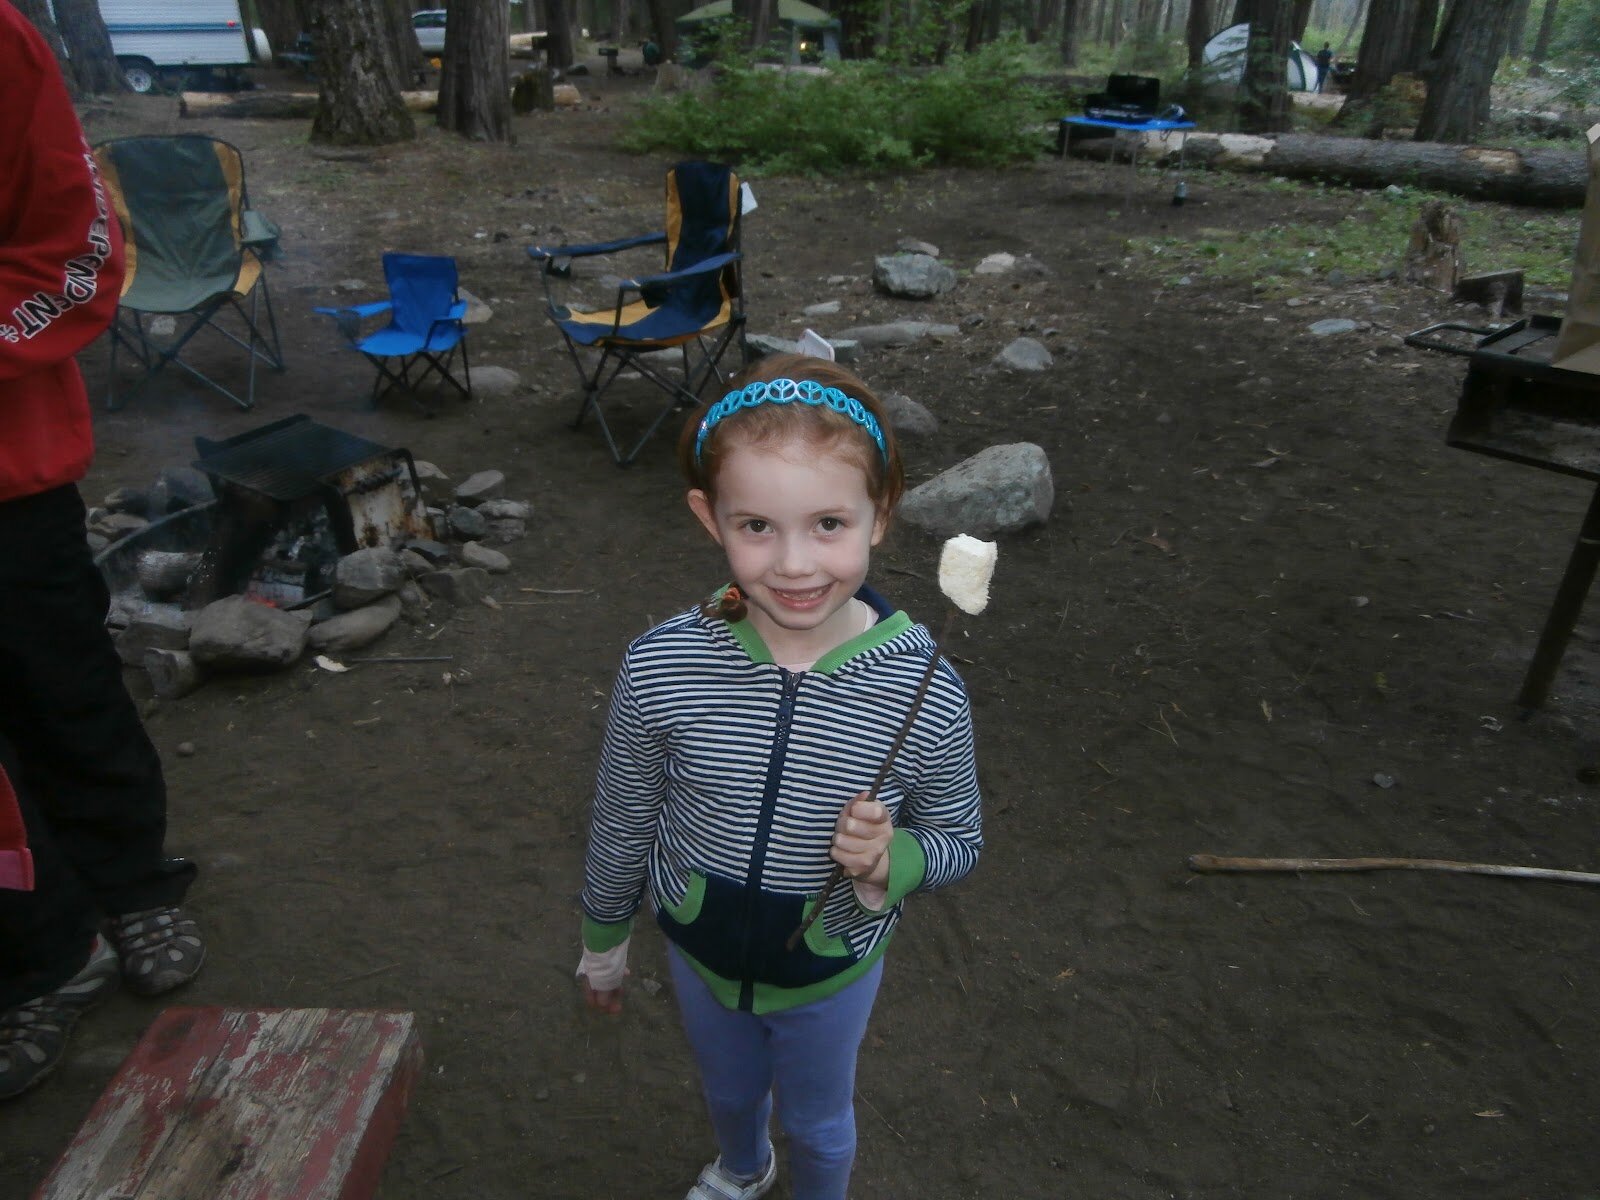
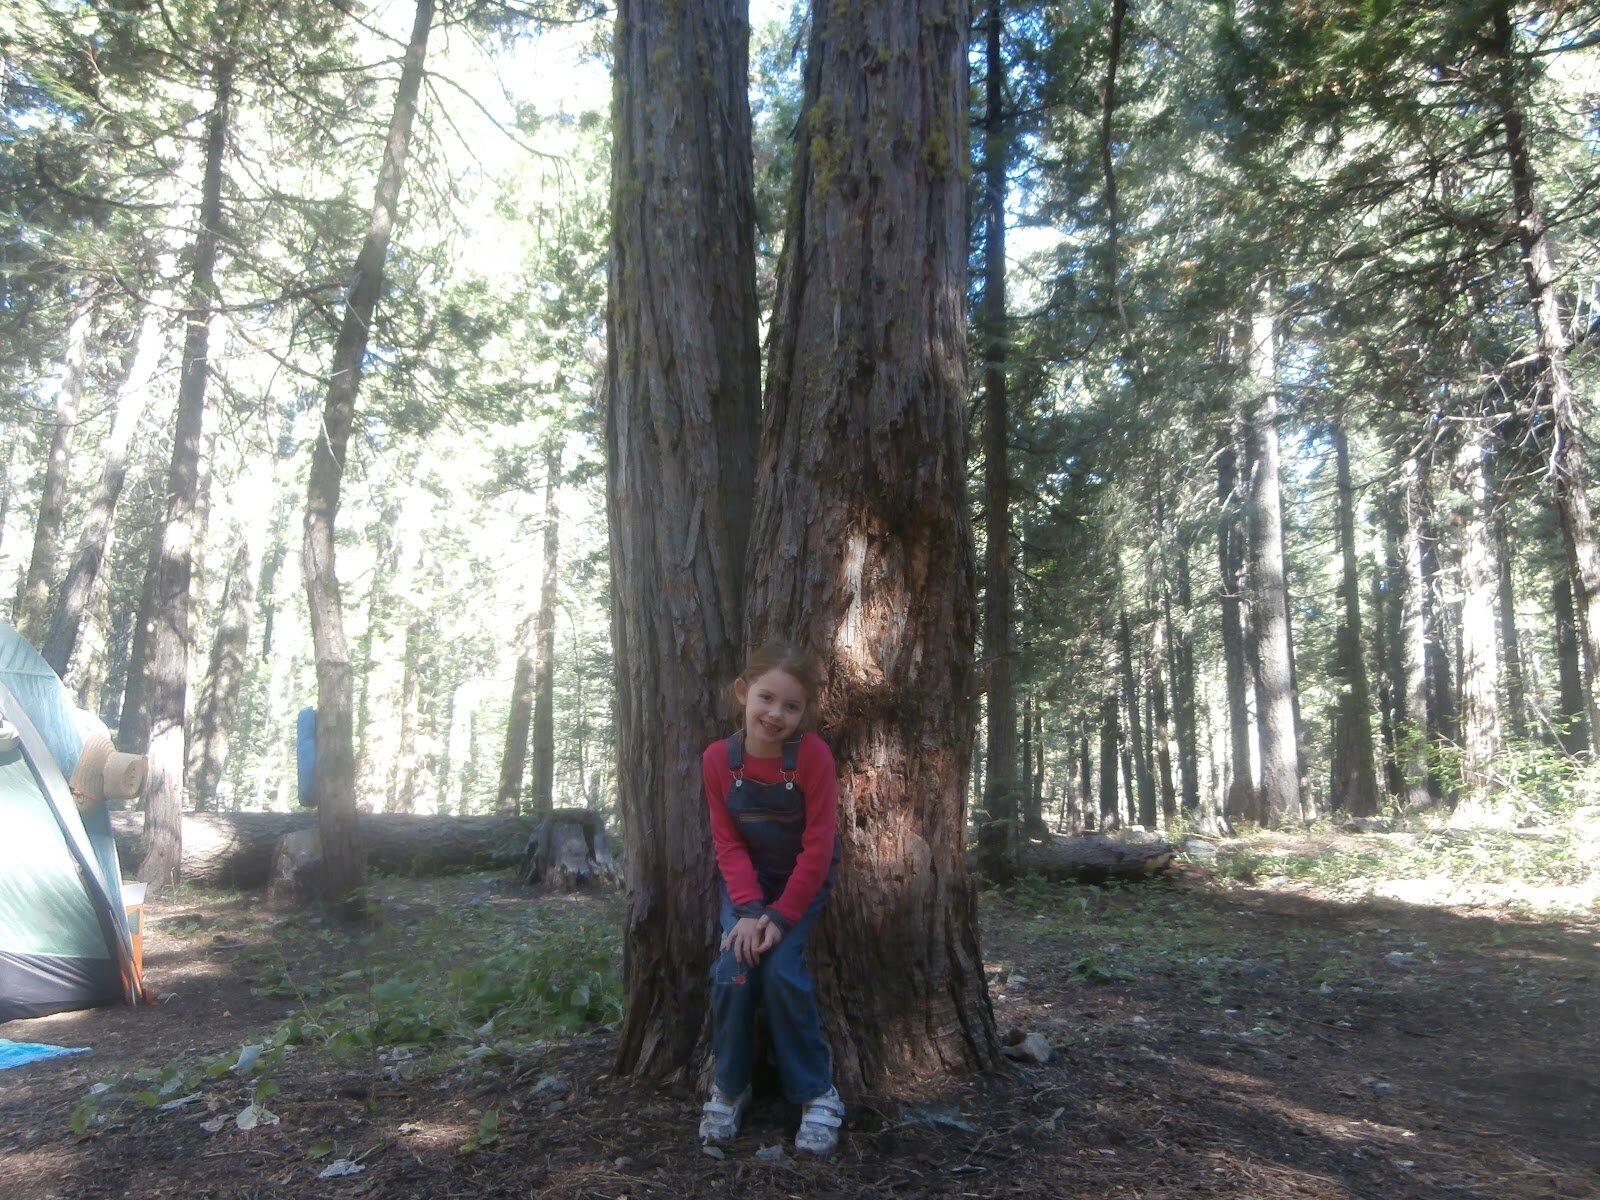
One thing to keep in mind when making alternative food is to not expect the alternative version to be just like the traditional. This is difficult at first (it was for me). Case in point, these marshmallows. They might taste just like traditional, but they aren’t made from the same ingredients. Therefore, they will not act the same under similar conditions. I don’t treat them or roast them like a traditional marshmallow. I placed them in the fire (on a stick like you see there with my daughter). I held them in the heat of the fire (not the flame). I turned quickly and once they started dripping I removed and immediately transferred to the graham cracker. The final melted product was very similar to the traditional version. They do not form a crispy crust, but they do melt nicely and taste amazing.
Sometimes you just have to go with it, you know. I’ve found over the years that holding on to our former experiences with food can actually hinder new experiences.
We made new memories together as a family. My son’s first s’mores! No, he didn’t hold the marshmallow in the fire nor did my daughter (mommy did), but they still ate this fun classic camping food, which would not have been possible had I not made this recipe.
Good luck to you, I hope you find a way to still enjoy them without missing the traditional version and process too much. I think this is such a lovely recipe – such a treat.
I LOVE THIS POST!!!! first of all, Happy Birthday!! You are so gorgeous! Oh my gosh – and what a fun camping trip! you all look so happy and like you’re having a blast! I didn’t know you played guitar! how cool! i do too — though, I left it in NYC, so I haven’t played in almost a year! haha … and wow those smores are perfect! I’ll have to try out those marshmallows! I hope you have a great night! Here’s to many more happy, healthy birthdays!! Cheers!
You look so incredibly beautiful!! Wish you have many many awesome returns of the day Amber. Love the camping pics, and the choco recipe too!
YOU look beautiful and happy b day darling. Looks like the camping trip was a great success.
Hi Amber,
Thanks for sharing your fabulous camping pictures! You look gorgeous in your thrift store dress! I am also an avid garage sale addict! Another thing in common!
I LOVE this post, Amber!! Happy Birthday again – and what a super cute thrift store find. I would love to go thrift store shopping with you and Moe.
I’m highlighting this post over at Whole Food Fridays this week. Thank you for sharing!!
xo
M