Category Archives: non-dairy milk

Monday, September 7, 2015

Homemade Non-Dairy Milks: 101

Non Dairy Milks

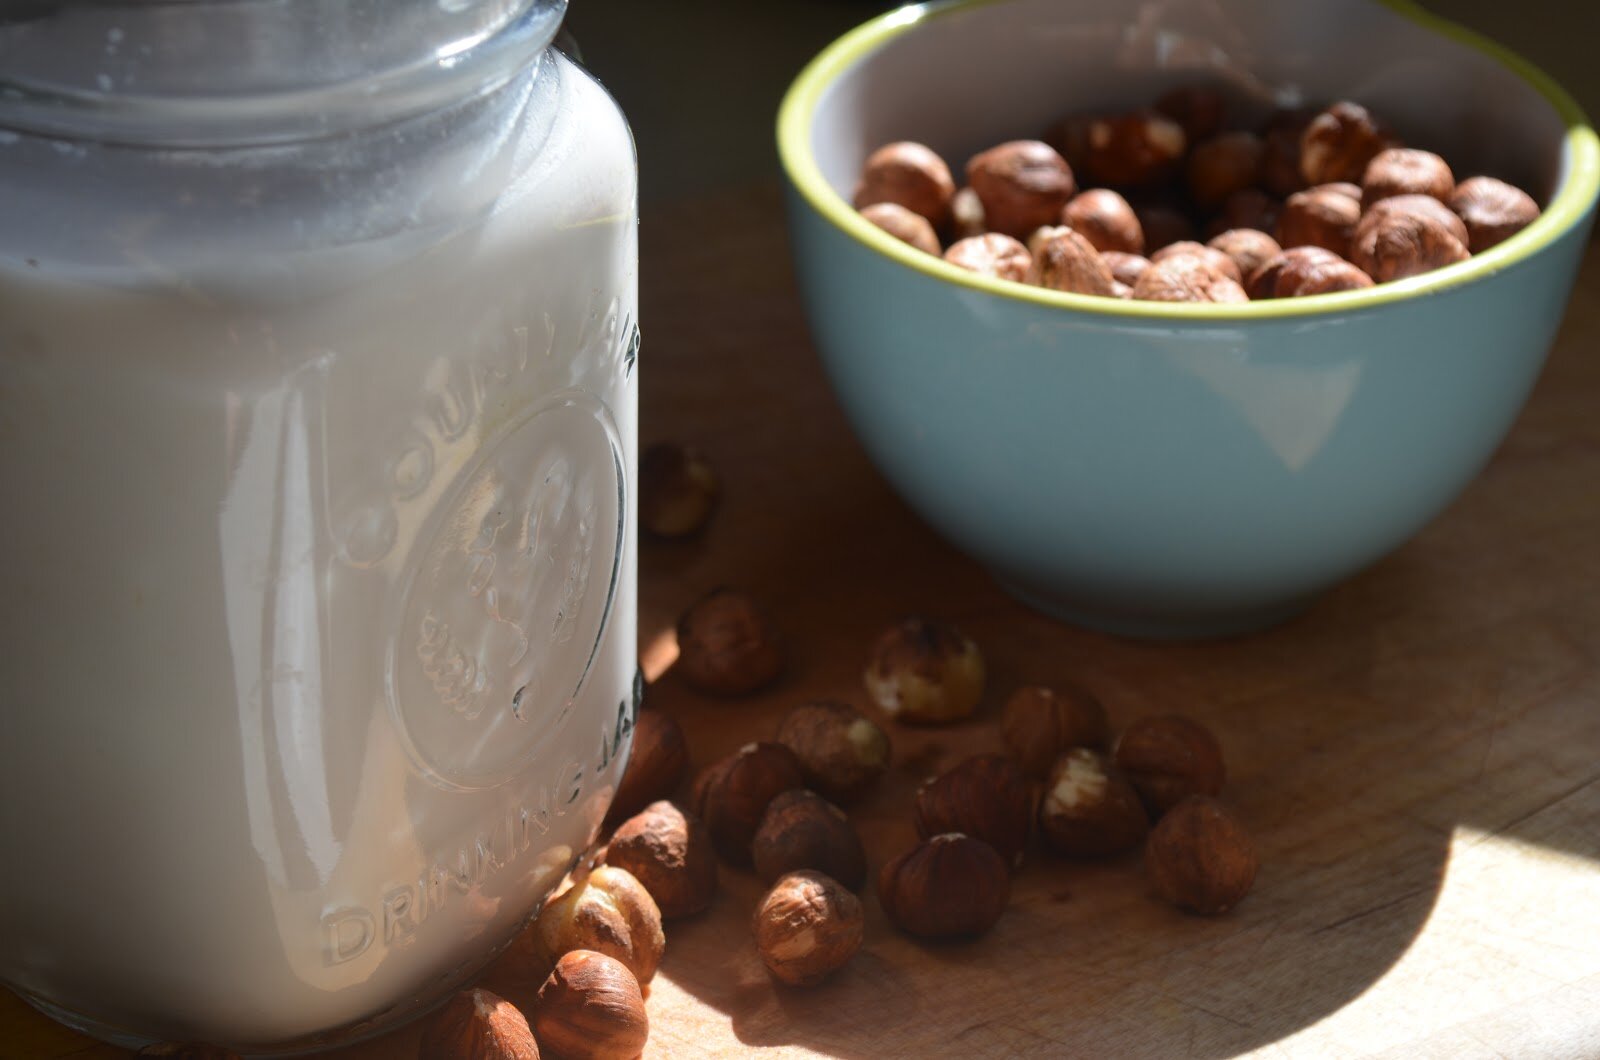
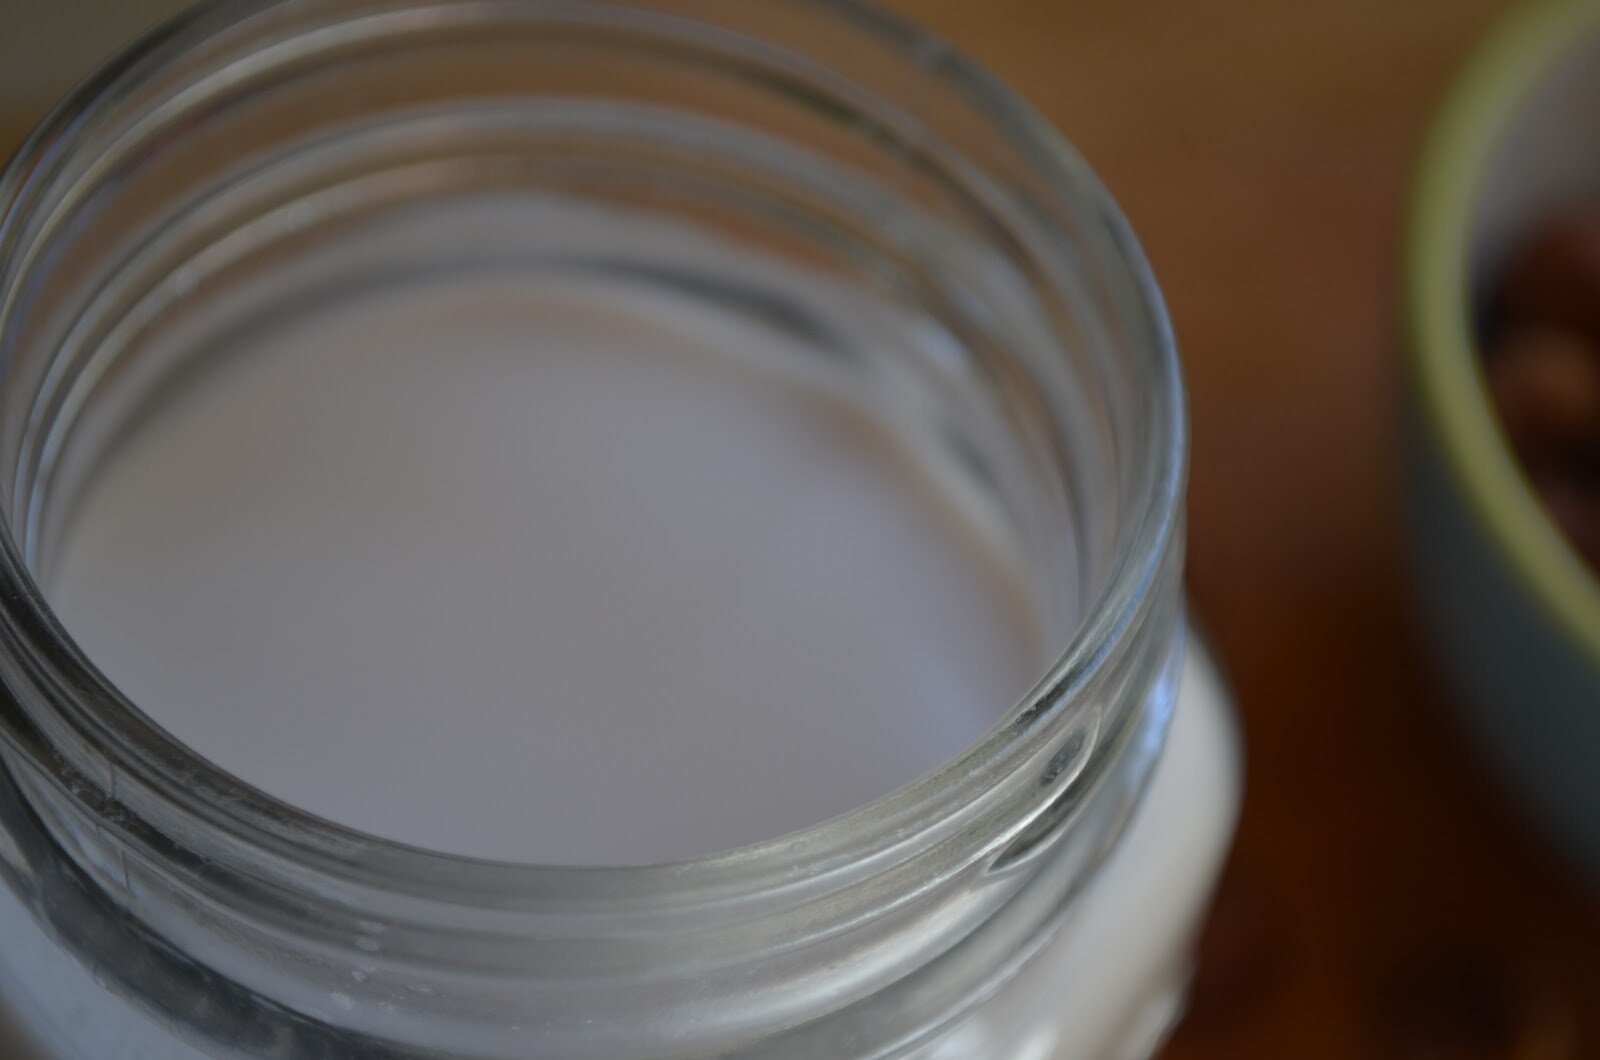
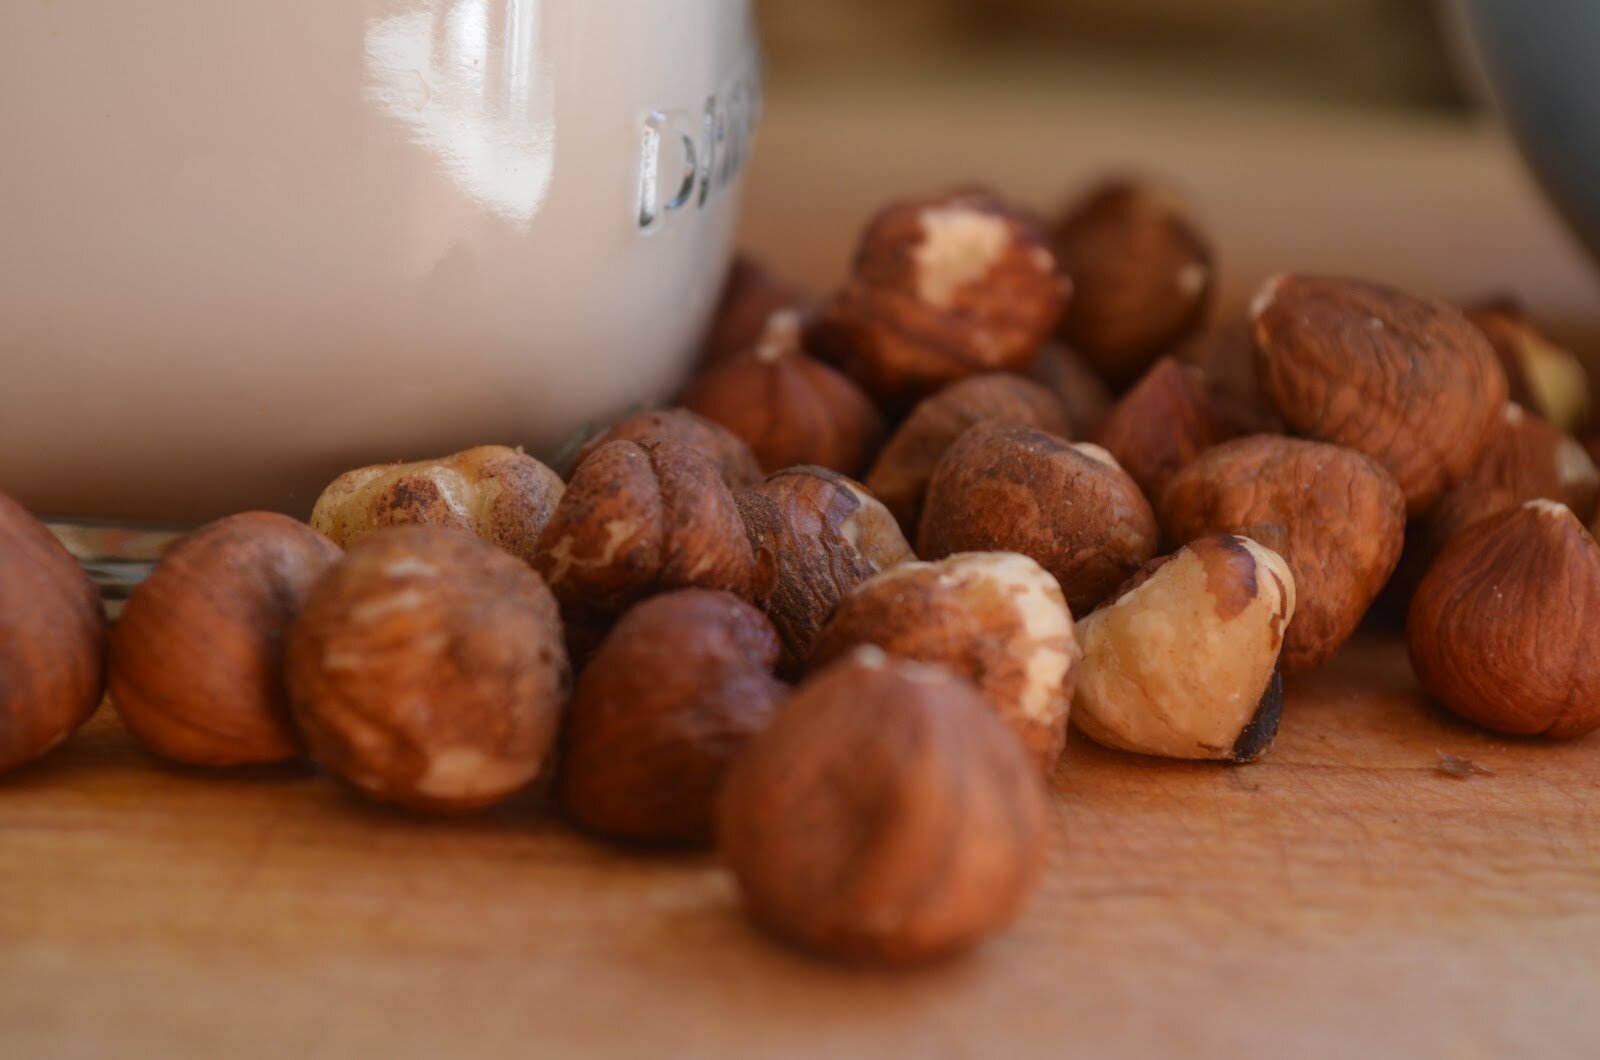
If you’re a vegan, or allergic to dairy, or just downright dislike cow milk…this post is for you.  It’s all about homemade nondairy milks.  I’ve been making homemade nut milks for close to 10 years! I started making them in my Magic Bullet and then graduated to a high speed blender.  I’ve tried many different nut and seed milks.  My ALL TIME favorite is walnut milk and I have created a video (end of post) sharing how I make walnut milk and also demonstrate the use of both and high speed blender and standard blender in the quality of the walnut milk.  In this post I share with you some of the basics to making your own non dairy milk, with several recipes to get you started.  And I hope you find it inspiring…as well as delicious.  

Okay, let’s get started… Continue reading

Posted by Amber at

Labels: dairy free, drinks, how to, non-dairy milk, seed milk.

2 Comments

Leave a Reply

Your email address will not be published. Required fields are marked *

Wednesday, June 27, 2012

Homemade Macadamia Nut Milk (dairy free, SCD)

You may notice a few things about my nut milks.  First, I use a lot of water.  Why you ask?  Well, I guess the obvious reason is it saves money but I also like the way it tastes, so why not.  Another thing I do is scoop off the foam that forms from blending.  I do this because I don’t like straining the foam through the nut milk bag.  And lastly, I generally add just a teaspoon of vanilla for a little favor and a little sweet.  I keep things pretty simple.  I happen to love my nut milks, but I suggest you experiment with different water ratios and sweeteners.  Macadamia nut milk is another family favorite.  I used to buy store bought nut milks, then started making them in my Ninja blender years ago before I purchased my Vitamix.  Making nut milk is so easy, and so satisfying.  There are so many additives found in store bought.  For example, many brands add what’s called carrageenan.  Studies reveal that carrageenan can exacerbate IBD symptoms and flares.  And I found this thread discussing the issue.  So to make nut milks, you don’t NEED a high speed blender.  I used my Ninja for years and it worked fine.  Check out my other nut (and seed) milks that you can make in any regular blender (high speed just works the best at crushing and blending the nuts/seeds):
Almond, Walnut, Hazelnut, & Hemp.     

Ingredients 
-1 cup raw, organic macadamia nuts 
-7 cups filtered water 
-1 teaspoon vanilla  

How To
1.  Soak macadamia nuts in filtered water for 5 hours.   
2.  Drain and rinse nuts with filtered water
3.  To your high speed blender add nuts, 7 cups water and vanilla*
4.  Blend on high for 90 seconds 
5.  Here’s a step in the process that might be different from most:  

*After blending I let the milk sit in the blender for about 10 minutes.  This gives the milk time to settle and the foam to gather on the top.  After the 10 minutes I scoop off all the foam.  After removing the foam my original 7 cups remain.  I dislike straining foamy milk through the nut milk bag.  
6.  After you scoop off the foam (and discard into the sink), strain the milk through nut milk bag.  I strain the milk into an 8 cup glass Pyrex

7. Transfer to glass pitcher with lid and store in the fridge for up to four days

Notes:  
*If using a “regular” blender (not high-speed), start with 4 or 5 cups of water and blend on high for up to 2 minutes.  Add more water in future batches if you’d like.

What to do with that macadamia nut pulp?  How about make a raw hummus dip!

Shared on: Fat Tuesday, Slightly Indulgent Tuesday, Allergy Free Wednesdays Whole Food Wednesdays, Gluten Free Wednesdays, Real Food Wednesdays, Fresh Food Wednesday, Tastetastic Thursdays, Pennywise Platter Thursdays, Simple Lives Thursdays, Frugal Food Thursdays, Wellness Weekend, Fresh Bites Friday, Fight Back Friday, Friday Food, Show Off Friday, Potluck Party Friday, Healthy Vegan Fridays 
Posted by Amber at

Labels: dairy free, how to, non-dairy milk, SCD.

20 Comments

Leave a Reply

Your email address will not be published. Required fields are marked *

Monday, May 21, 2012

Homemade Hazelnut Milk (SCD Friendly)

Hazelnut milk is another popular nut milk you’ll find at the store.  It’s quite easy to make, and you’ll discover the very nutty and unique flavor of this milk when you make it at home.  In all honesty, this isn’t my favorite nut milk (my fave is walnut), but I have to say, there is something about the hazelnuts that make this a great option for smoothies and shakes (such as chocolate).  I usually make a batch of hazelnut milk and then freeze in my old homemade baby food containers and use in shakes or smoothies.  I don’t like to sweeten my nut milks (I add only a touch of vanilla), but you could certainly sweeten it up.  See below in the notes for some ideas.  Have you made any nut milks yet?  I have a few more to share with you: pecan and macadamia.    

Ingredients 

-1 cup raw, organic hazelnuts  
-7 cups filtered water 
-1 teaspoon vanilla  

How To
1.  Soak hazelnuts in filtered water for 8 -10 hours.   
2.  When the hazelnuts have been properly soaked, drain and rinse with filtered water
3.  To your blender add hazelnuts, 7 cups water and vanilla
4.  Blend on high for 90 seconds.  I use a Vitamix.  If you don’t have a high speed blender, you can use a regular blender, but blend longer (about 120 seconds) and start with 5 cups water.  If you like the flavor, then add more water in your next batch.  
5.  Here’s a step in the process that might be different from most (this may just apply to a high speed blender):  

After blending I let the milk sit in the blender for 5 -10 minutes.  This gives the milk time to settle and the foam to gather on the top.  After the 5 minutes I scoop off all the foam and discard into the sink.  After removing the foam my original 7 cups remain.  I dislike straining foam through the nut milk bag.  See here for foam scooping process.


6.  After you scoop off the foam, strain the milk through nut milk bag.  I strain the milk into an 8 cup glass Pyrex
Then transfer to glass pitcher with lid and store in the fridge for up to 5 days

Notes:  
*If using a “regular” blender (not high-speed), start with 5 cups water and blend on high for up to 2 minutes.  Add more water in future batches if you like the consistency and taste with 5 cups.
*To sweeten hazelnut milk, you can add any individual or combination of the following: 3 soaked dates, 2 tablespoons maple syrup, honey, coconut nectar, coconut sugar, brow rice syrup, yacon syrup, or drops of stevia to taste.  A common method is to add strained nut milk back into blender then add sweetener and blend.   

Check out this  great site on: what to do with your nut pulp.  There’s like a zillion recipes So awesome!! 
More homemade nut milks from The Tasty Alternative
Walnut Milk
_________________________________________
Shared on: Just Another Meatless Monday, Melt in your Mouth Mondays, Monday Mania, Ruth’s Real Food 101 (Mondays), Slightly Indulgent Tuesdays, Traditional Tuesdays, Fat Tuesdays,  Real Food WednesdaysAllergy-Free WednesdaysGluten Free Wednesdays, Whole Food Wednesdays, Pennywise Platter, Simple Lives Thursday, It’s a Keeper Thursday, Wellness Weekend, Fresh Bites FridayFreaky FridayFight Back Friday,  Friday Food, Lunchbox Love Friday, Potluck Party Friday, Super Food Sundays, 
Posted by Amber at

Labels: dairy free, drinks, how to, non-dairy milk, SCD.

11 Comments

Leave a Reply

Your email address will not be published. Required fields are marked *

Friday, March 2, 2012

Homemade Walnut Milk

One of my awesome readers, Erin, left the best suggestion on my homemade almond milk post: homemade walnut milk!!  I make a walnut nut butter and walnut flour…why not walnut milk?  Well let me tell you it’s delicious, so thank you Erin.  This comes at a good time for me, as almond flour and almond milk have not been agreeing with my digestion.  I make this walnut milk in the same fashion as my almond milk.  I use a high water-to-nut ratio compared to most recipes.  I purchase organic nuts in bulk, so I try and stretch my dollar by adding in more water.  I happen to adore the flavor, but it may not be for everyone, especially if you’re accustomed to a thicker nut milk.  Do what feels right to you and what you like.  Thanks again for the great suggestion Erin!
Health benefits of walnuts 
 
Ingredients 
-1 cup raw, organic walnuts
-7 cups filtered water
-1 teaspoon vanilla
How To
1.  Soak walnuts in filtered water for 8 -10 hours, or just over night.
2.  When the walnuts have been properly soaked, drain and rinse with filtered water
3.  To your blender add walnuts, 7 cups water, and vanilla
4.  Blend on high for 90 seconds
5.  Here’s a step in the process that might be different from most:

*After blending I let the milk sit in the blender for about 5 minutes.  This gives the milk time to settle and the foam to gather on the top.  After the 5 minutes I scoop off all the foam.  After removing the foam my original 7 cups remain.  I dislike straining foamy milk through the nut milk bag.  See pictures below for foam scooping process:


5.  After you scoop off the foam (and discard into the sink), strain the milk through a nut milk bag.  I strain the milk into an 8 cup glass Pyrex

6. Transfer to glass pitcher with lid and store in the fridge for up to 5 days
Notes:
*If using a “regular” blender (not high-speed), start with 5 cups water and blend on high for up to 2 minutes.  Add more water in future batches if you like the consistency and taste with 5 cups.

Check out this  great site on: what to do with your nut pulp.  There’s like a zillion recipes!  So awesome!! 


Shared on: Frugal Food Thursday, Wellness Weekend, Lunch Box Love Fridays, Freaky Friday, Fresh Bites Fridays, Allergy Free Fridays, Fight Back Friday, Friday Food, Simple Lives Thursday 
Posted by Amber at

Labels: dairy free, drinks, how to, non-dairy milk, SCD.

30 Comments

Leave a Reply

Your email address will not be published. Required fields are marked *