
Hay fever, also known as seasonal allergies (or allergic rhinitis), is more than just a nuisance, it can lead to other concerning health conditions. For example, my son’s eczema is exacerbated by hay fever. Other conditions such as asthma can flare up in response to airborne allergens. And for some, hay fever can lead to an annoying sinus infection, affect immune function, cause fatigue, malaise, and headache. All around, it can be a real bummer.
What is hay fever?
Symptoms

For some, over the counter medication can provide temporary relief from hay fever. In addition to medication, there are a few extra steps that may provide added relief which can be used in conjunction with medication.
Practical Tips and suggestions
 3. Keep your windows closed while driving. Use the car air conditioner instead

*please see below for health disclaimer
If you’re not keen on over the counter medication for hay fever relief, there are definitely some holistic options out there for you. One key element to think about during allergy season is keeping your immune system super strong. This can be achieved in a variety of ways, including but not limited to: changing your diet, using essential oils, taking immune boosting herbs and supplements, acupuncture, teas, and vitamins.

Herbs
Additional Recommendations
Important nutrients
Resources
Home page
Great natural relief suggestions
Alternative therapies
(A plant alternative to antihistamines)
Effects of weather and sports on eczema

Holistic remedies for children
Our local natural foods Co-op carries some great child-safe herbal tinctures that provide temporary relief from hay fever symptoms, as well as immune boosting formulas, and herbs in bulk. My son really suffers from hay fever throughout the year, and my daughter develops have fever in the spring. I’ve used several holistic remedies for hay fever, bronchial congestion, and sinus congestion. Here are some of my favorites.
*Please consult with your children’s holistic practitioner or pediatrician before administering herbs, especially if they are taking other medications, other over the counter remedies, or if they have food allergies or an illness.
Hay Fever Relief:
BioAllers Allergy Relief Pollen Hay Fever
Hyland’s Allergy Relief for Kids
Immune Boosting:
Children’s Winter Health
Wellness Herbal Kids
Respiratory:
Loquat Respiratory Syrup for Kids
Children’s Cough and Bronchial Syrup
Child Friendly Herbs:
*Herb resources from here and here.
-Chamomile
-Fenugreek seeds
-Nettles
-Elder Flowers
-Ribwort
-Red clover blossoms
(for congestion: mullein, hyssop, & thyme)
*


If we could buy these ingredients easily and a bit cheaper in the UK I’d be whipping up a batch today! Sounds amazing!
Hi There Vicki,
I’ve also heard this from a few other readers. Too bad things are so expensive for you in the UK. I can imagine this is very frustrating!!
Be Well,
–Amber
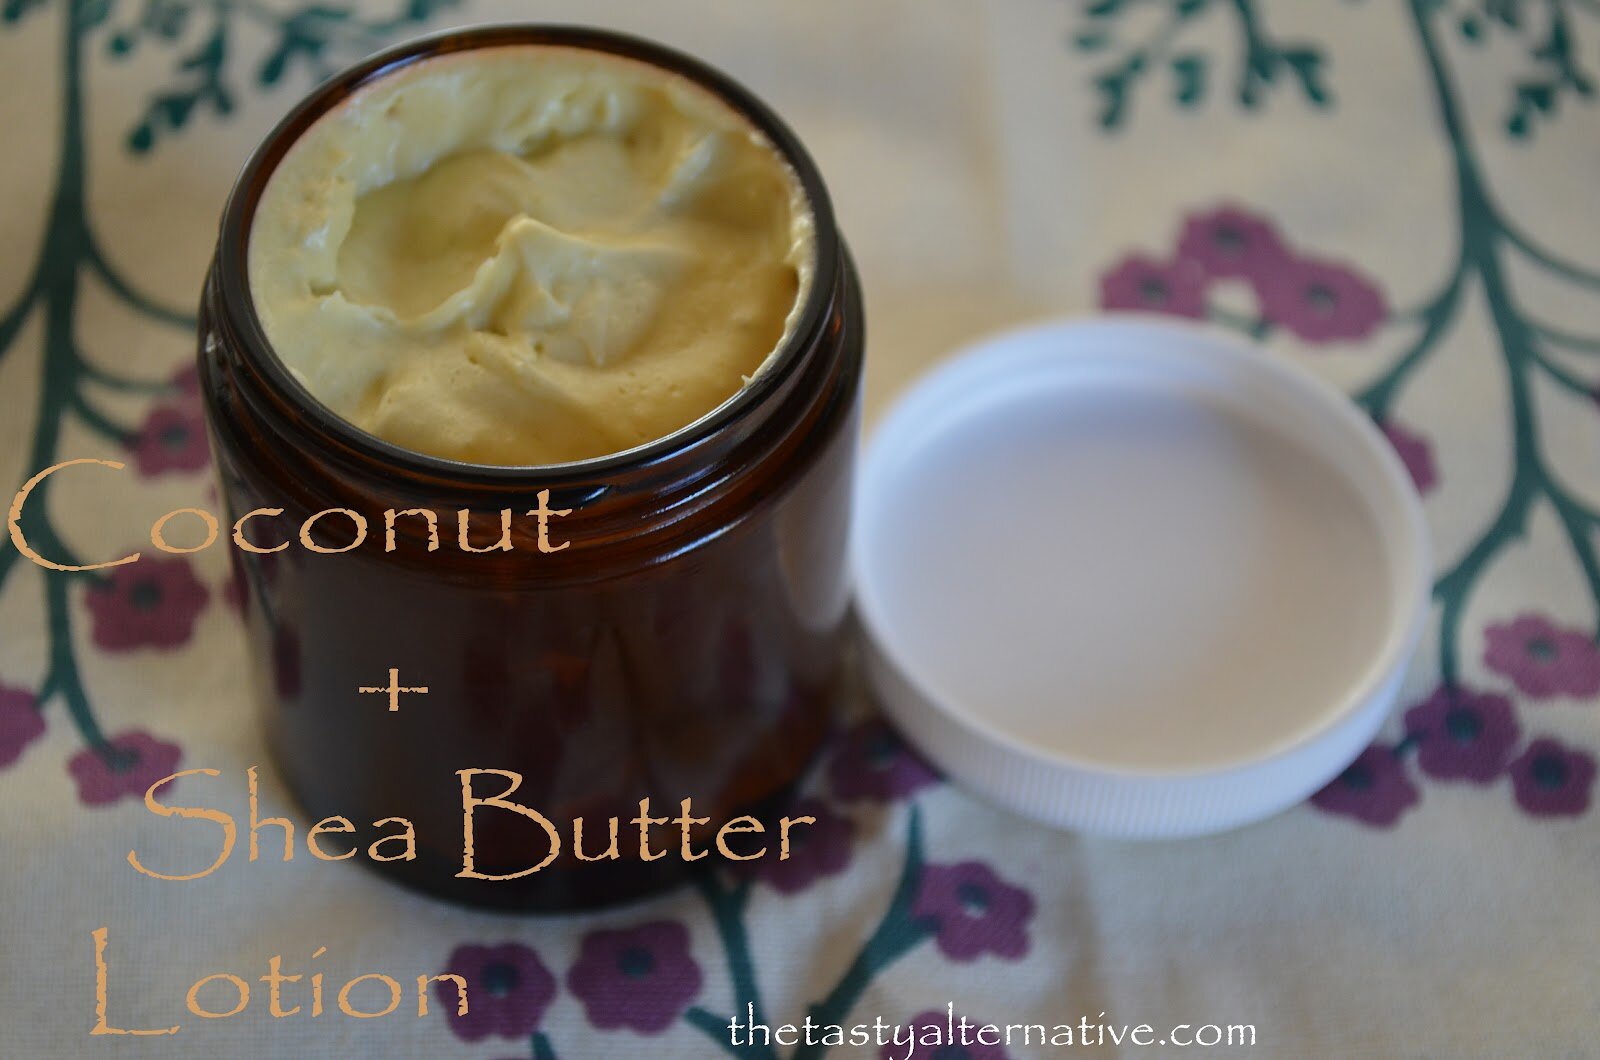
Ahh Amber this lotion sounds heavenly! My hands get dry this time of year in the Rocky Mountains and this lotion sounds perfect for them. I love the combination of coconut and shea butter you used.
Thanks Laura!
Does the finished lotion need to be refrigerated? Or can it stay in my bathroom?
Hi Tracy,
Great question!
This can stay out at room temp for weeks, perhaps months. It has a great shelf life. We keep a jar in my son’s room, one in our bedroom, some in my bag, and a jar in the kitchen.
Be Well,
–Amber
Awesome! Thanks for such an awesome recipe! I have been using straight coconut oil on my skin, but wanted something more true to an actual lotion with the great benefits of coconut oil. I will be ordering some shea butter online soon! Any particular brand or site you recommend?
Hi Tracy,
For sure, I ordered mine from Amazon. It’s a great price and goes a long way! You’ll get a TON of lotion. If you’re making just a little bit, purchase the smallest quantity you can. But this link will get you started and you can browse through different options.
Have fun and play around with the ingredients. You might want to add in more shea, or more coconut, etc. Either way, this combination of ingredients is very healing and really helps my son’s skin!
link: http://www.amazon.com/100%25-Organic-West-African-Butter/dp/B0009JQFF6/ref=sr_1_7?ie=UTF8&qid=1331919531&sr=8-7
Let me know how it goes for you.
P.S. I just bought some raw cocoa butter (from amazon), oh my, it smells soooo good. I’m making some lotion with this next. Recipe coming soon! 🙂
I’m not a mixtress…yet, I guess. I’d usually see others mixing shea with just an EO. But never with coconut oil. The benefits for the skin are definitely increased. Great recipe. Thank you for sharing.
My pleasure!
It it oily on the skin? Does it absorb quickly?
Hello anonymous,
Good question. I can tell you that this doesn’t stay oily. It does eventually soak in the skin. I would not use it as a facial lotion, however. 🙂
A reader left me a comment on this post, and it came through my email, but it’s not showing up here? So here is the question:
Hi Amber,
Thanx for your wonderful recipe. One question.., should the lotion be stored in glass containers only?? If yes, why? –Anu
My Answer:
Good question, Anu. I firmly believe that glass containers are the best for oily and high fat ingredients (such as coconut oil and shea butter). Fats and oils leach out toxins in plastic, and you just don’t want to take the risk. This lotion can last months and months (very long shelf life) so I really recommend storing in a glass container. I use old glass bottles from the store (from previous lotions) or ask friends if they have any around. You can also find little glass lotion containers at most stores. Thanks, –Amber
Hi Amber,
I saw this recipe and will try it tonight! I have eczema as well and have become more conscious of what I put on my skin. I’m crossing my fingers that this recipe will work for me! Have you ever experimented with Neem? I’ve done a little research and it seems that neem may be very beneficial for people with eczema. I might try adding a few drops of neem oil into your recipe and see how it works. Thanks for sharing this!
Hello Anonymous,
Thanks for your note.
I just want to add a few things about healing and eczema. First, not every lotion is going to work and overtime they seem to sort of lose their benefit. I recommend making different lotions throughout the year and finding which ingredients(s) work the best (overall). It’s trial and error. For my husband, currently, the best combo for his eczema is shea butter, cocoa butter, vegetable glycerine, and coconut oil. I mix all three of these together and it heals the cracked, bleeding skin. It’s still red, but it’s getting better.
In addition, and this is very important, I recommend modifying any diet with eczema. Food is a big trigger, so lotions aren’t going to work as well if skin is always contending with the aggravating affects of food. lastly, add in fish oils and other healing supplements to the diet.
I truly believe a holistic approach to eating and remedies can dramatically improve eczema. It’s been 3 years, but for the FIRST time my son’s eczema is in remission! We never gave up on the diet, the supplements and lotions.
Good luck to you on your healing journey.
P.S. We’ve never tried Neem, but I certainly recommend this oil! Very healing and I’ve heard great things.
Hi Amber,
Thank you for the response! I was actually just looking through your recipes. I’ve been trying to adjust my diet but it’s been harder than I thought. I think your recipes will give me a great selection to choose from and help with my attempt at a healthier diet.
I’m so glad to hear that your son’s eczema is doing better! That’s really great. I hope the trend continues!
Thanks again, reading your blog has been very inspiring!
Thank you so much. It’s nice to see the inflammation finally under control.
And thank you for your kind words.
Good luck on your healing journey. Check back and let me know how you’re doing!
Thanks for posting this recipe. I’m hoping it will help my dry, peeling fingertips this winter. Question for you: I just made a batch of this for the first time and it is runny, not thick like the lotion looks in your pictures. Any ideas as to why, or how to get it to thicken? I tried putting it in the refrigerator but it just solidified and was hard to get out of the jar.
Hi! I look forward to trying this recipe for winter/dry skin season. I made something similar as a diaper cream for my baby (only difference is it included corn starch and no calendula or eucalyptus oil) I am wondering why it must be used within 2 months. I have been using the same batch on my 5 month old baby since she was born…I am only now running out.
Thanks!
Hi Ramona,
Sounds great! Oh I’m sure this lasts forever. I use mine up in about 2 months, so I can’t speak for how it holds up after that. As a rule I only recommend what I experience, rather than assuming. So great to hear yours has lasted so long! Thanks for sharing. I’n sure this is helpful for others. 🙂
Also! Can I add 2 tsp. Of colloidal oatmeal to this recipe for the anti-itch healing factor?
Hi Ramona,
In my experience, too much is drying, so start by mixing just a small amount with another batch of the lotion (start with like 1 teaspoon). I believe very little is in the store bought variety and it seems to really help with the itching. I made a batch once with too much of the oatmeal and it was not very beneficial. You just need a touch of it in there for the anti-itch factor. Let me know how it works out and what ratios you found helpful. 🙂
Thanks and have a great rest of your week.
Thanks so much for sharing your journey! I’ve read that putting handmade creams for eczema in jars that you put your hand into and apply to the skin and then put back into the container isn’t good as it reintroduces bacteria. Have you heard this? I’d like to try this recipe, but I’m wondering if it would be too thick to try with a pump in order to not be putting your hand into the cream.
Hi Jessica,
Oh wow – I have never heard of this. I suggest to wash hands well before dipping into the jar if you’re worried about introducing bacteria. I’ve been making lotions for years and never encountered any bacterial problems. And yes, far too thick to add into a pump. The lotion turns very solid in cool temps. Good luck and let me know what you end up doing. Thanks.
Hi, thanks for sharing tips on making eczema friendly creams.
I am about to start making some for my son and myself.
I am planning to use unrefined coconut oil, jojoba oil according to the recipe.
But I am wondering if I could add in evening primrose oil, almond oil, grape seed oil, vitamin E as well in same recipe… Or do you think it is too much oil….
let me know. Thanks.
Hi There,
I would stick with the almond oil, primrose, and vit. E. I don’t think it hurts to add in more oils, especially if they are beneficial. This will be mighty oily, so it’s good you have the shea butter as a base. Come on back and let us know how it all worked out for you.
Thanks.
Hi Amber,
I just tried it out with jojoba oil, coconut oil and sweet allmond oil. I stay in hot climate country. Maybe I added a bit too much coconut oil… It seems to be in liquid form. Do I need to put it in the fridge to make it solid?
Hi Amber,
It solidifies itself overnight. Problem solved. Thanks.
Hi,my baby doesn’t have eczema but I was thinking of using shea butter as her cream as I hear it’s good for the skin,what is your take on that?thanks
Dear Amber,
I have checked out your blogs/website and I simply love it. Thanks for the wonderful ideas/recipes.
I have also been using Shea butter/coconut oil mix as moisturizer (by rubbing them both on my palms) for my 4 month old on his body except face. On face I am just applying Shea butter(rub it in my hands and apply). However I noticed that his skin is turning darker than his face. His face is very light but the rest of the body is darker than his face. I am using Organic Virgin coconut oil and Organic unrefined shea butter.
Please advise if you have heard/come across any such case. Let me know if this is normal and DS can outgrow it soon.
One more question. I am planning on adopting the above recipe. Is it ok if i skip the calendula oil?
Yes of course. Add in any oil of your choosing. 🙂
Hello! I read your post about colloidal oatmeal and how you made a batch of eczema lotion containing it. So my question is, how much of colloidal oatmeal do you put in the lotion recipe. Thanks for your reply!