 It’s warming up here in these parts. A heat wave is moving through right now and pushing temps into the 90s. Therefore cool, refreshing dishes are in demand. It will drop back down to cooler temps next week, and let’s hope May is nice and mild. May is usually our last month of decent weather before the searing summer heat blankets our region. But it’s all good. I love the summer and I’m no stranger to hot, dry heat. As a child I grew up in the desert near Death Valley (in Southern California) – so bring it on. I was at Costco the other day and found organic, fair-trade mini seedless watermelons. Awesome-sauce! They are super delicious and so sweet. I’m thinking this would be a great dish for any summer gathering.
Category Archives: raw
Thursday, May 1, 2014
Honey Kissed Mint Watermelon Salad

Tuesday, April 8, 2014
Raw Pepperminty Nutty-Roons
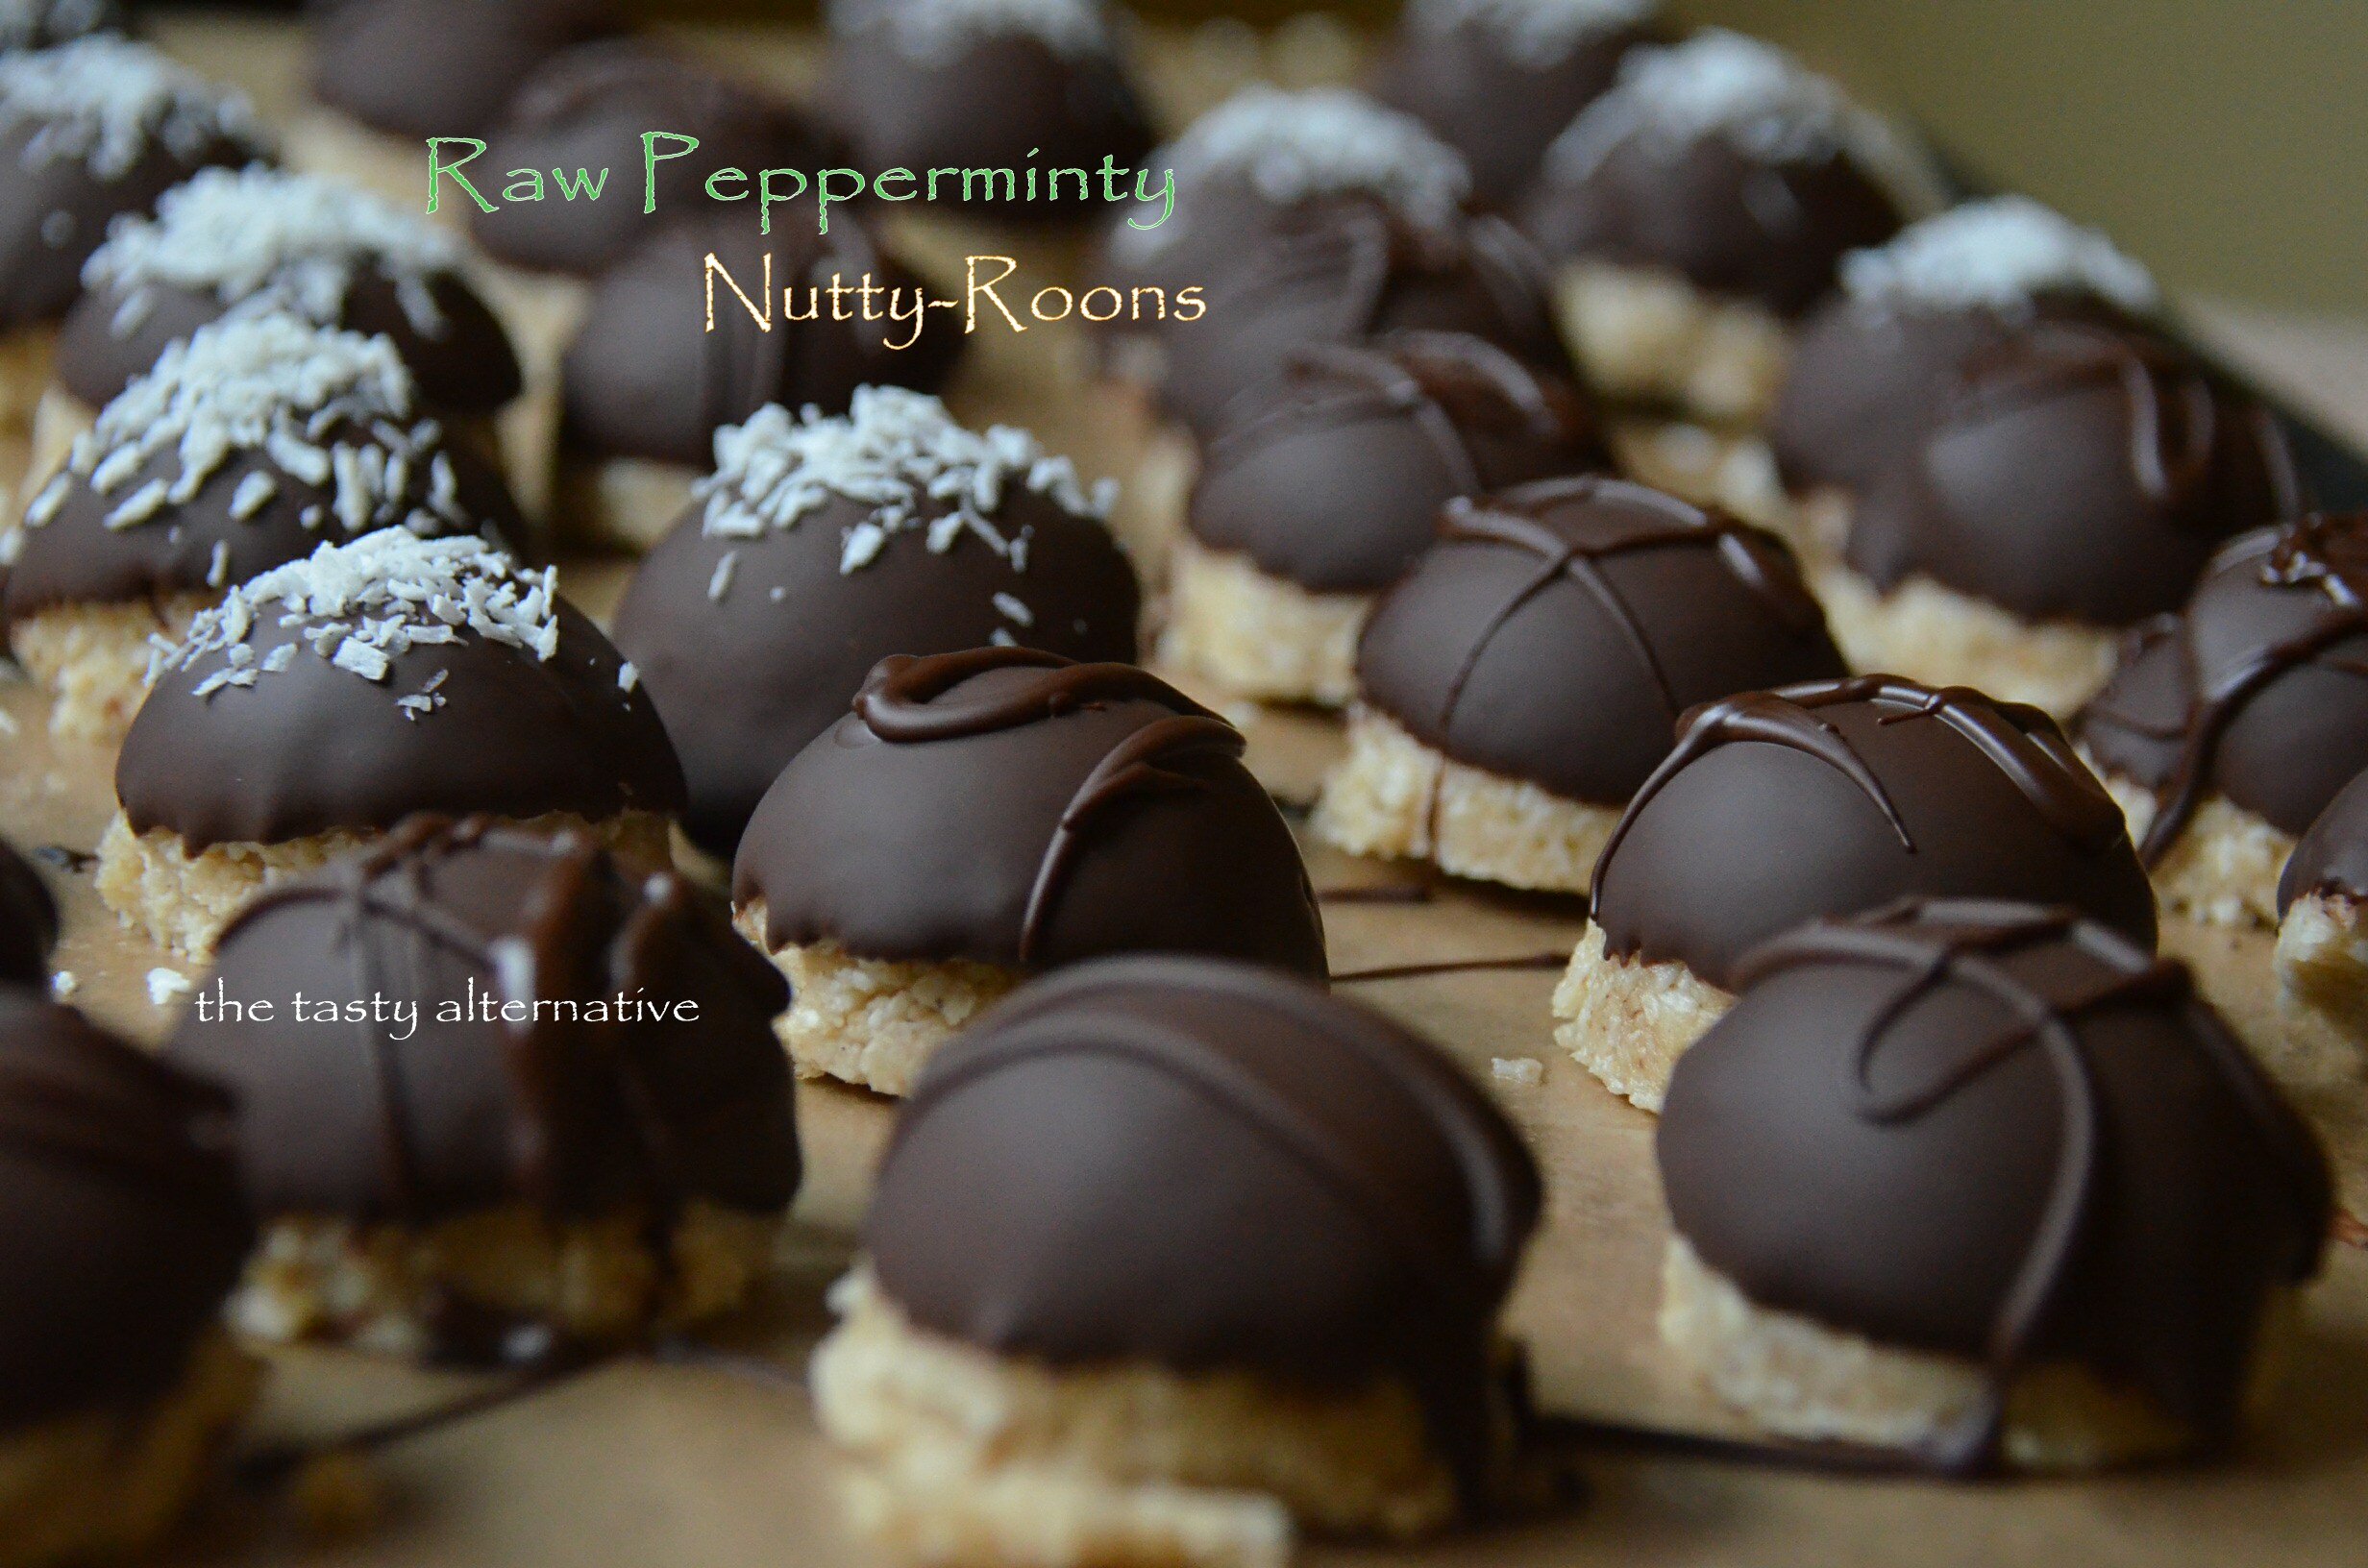
I shared this recipe last month with Ricki on her blog: Ricki Heller. I found Ricki’s blog shorty after I started blogging (about 2 1/2 years ago). I distinctly remember visiting Wellness Weekend for the first time to share a recipe and instantly fell in love with Ricki, her writing style, and (of course) her recipes (of which I’ve made many)! Personally, I suffer from candida, so her blog is of great interest and value to me. I reference it constantly and refer friends and family to her site. Ricki’s cookbook Naturally Sweet and Gluten Free is one of my favorite cookbooks with so many healthy treats for my family. For the guest post I wanted to share a recipe for Ricki’s readers reminiscent of her cooking style with common ingredients used by Ricki herself. I call these “Nutty-Roons” because they are like a macaroon, but with a nice nutty bite to them. Made with only a few simple ingredients, these raw little bites of coconut bliss are sure to please. I made about 10 batches of these as Holidays gifts last year (I kid you not) and they were well received by all. I hope you enjoy them too. You can view my guest post here.

Raw Pepperminty Nutty-Roons
Author: Amber from The Tasty Alternative
Recipe type: Raw, Paleo, Grain Free
Ingredients
- 2 cups unsweetened shredded coconut
- ⅔ cup raw walnuts
- ⅓ cup raw cashews
- 2 tablespoons melted coconut oil
- 2 tablespoons maple syrup, honey, or coconut nectar
- 1 teaspoons vanilla extract
- 1 teaspoons peppermint flavor (or more to your preference)
- 5 drops liquid stevia (plain or flavored)
Instructions
- In a food processor fitted with the S blade, add in the walnuts and cashews and blend for 20 seconds.
- Next add in the shredded coconut and blend with the nuts for another 20 seconds.
- In a small cup, mix together the maple syrup, stevia, vanilla extract, and peppermint oil.
- With the food processor running, pour in the coconut oil and the maple syrup mixture.
- Blend for 10 seconds.
- Scoop out mounds of the mixture and create little macaroon shapes (I use a small ice cream scooper).
- The mixture makes about 15 nutty-roons. Place them in freezer for ½ hour.
- While the nutty-roons are in the freezer, melt some chocolate*. I like to use a 1 cup glass Pyrex, placed in a pot of boiling water. This keeps the chocolate raw and melts nicely.
- Remove the nutty-roons from the freezer and dip each into the chocolate.
- Store the nutty-roons in the fridge. They hold up well at room temperature too, but I like how they taste cold.
Notes
1. You can replace maple syrup with coconut nectar (or honey if not vegan).
2. You could also make your own chocolate (see recipe below).
2. You could also make your own chocolate (see recipe below).
Raw Chocolate Recipe
Author: Amber from The Tasty Alternative
Recipe type: Raw, Paleo
Ingredients
- 2 tablespoons coconut oil
- 2 tablespoons coconut nectar, honey, or maple syrup
- 1 tablespoon + 1 teaspoon raw ground cacao
- ½ teaspoon vanilla extract -Optional: a few drops of stevia
Instructions
- Place the above ingredients into a 1 cup glass Pyrex.
- Place the glass Pyrex into a pan of very hot water and mix around until everything is melted. Do not heat over 110 degree


This recipe was shared on: Allergy-Free Wednesdays, Raw Foods Thursday, Plant Based Potluck Party, Savoring Saturdays
Posted by at 9:18 am
Labels: chocolate, dessert, grain free desserts, guest post, low glycemic, Paleo, raw.
Leave a Reply
Thursday, January 2, 2014
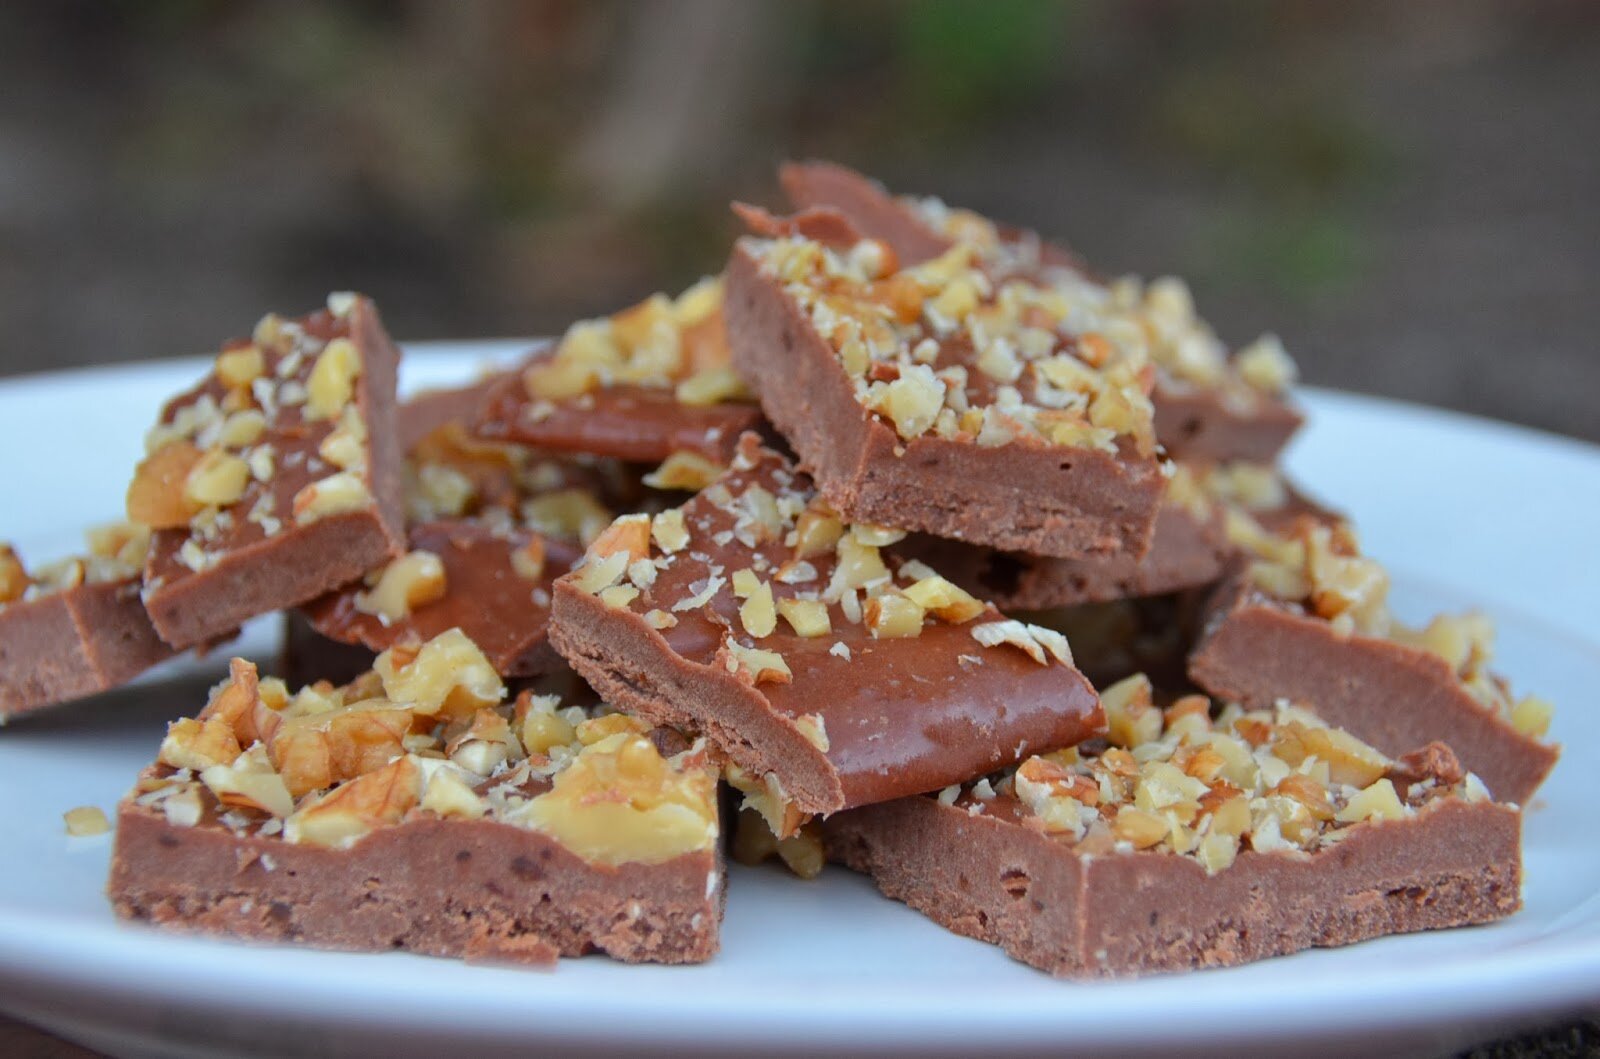
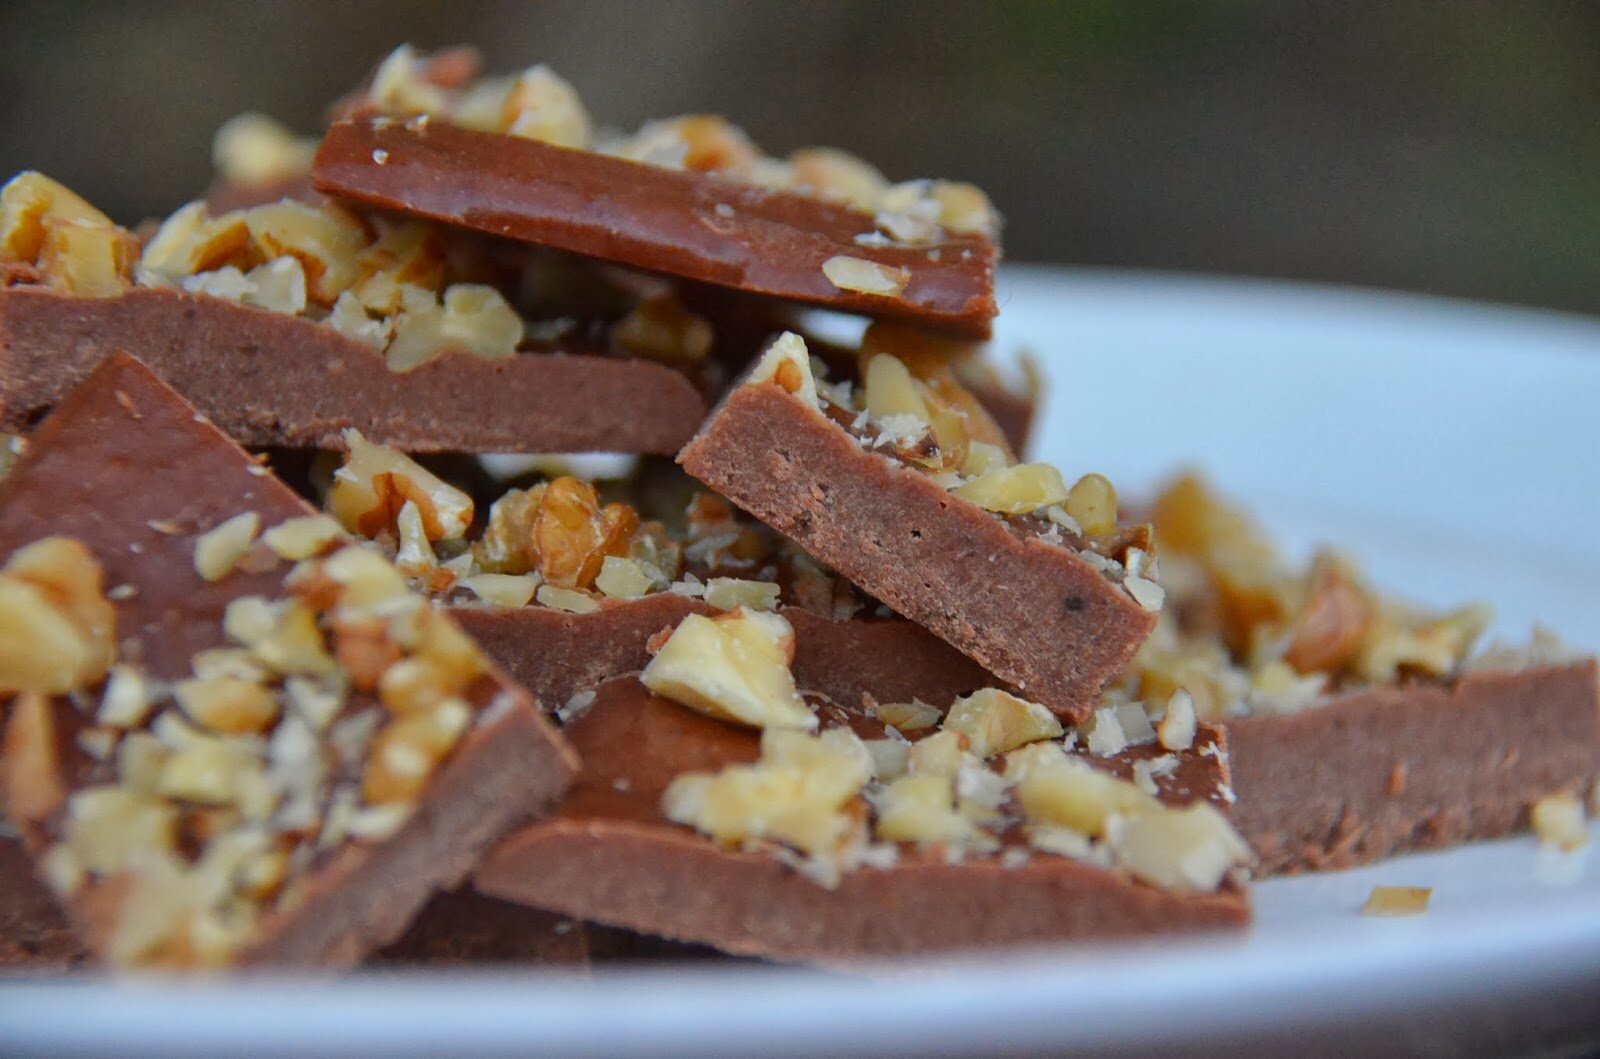
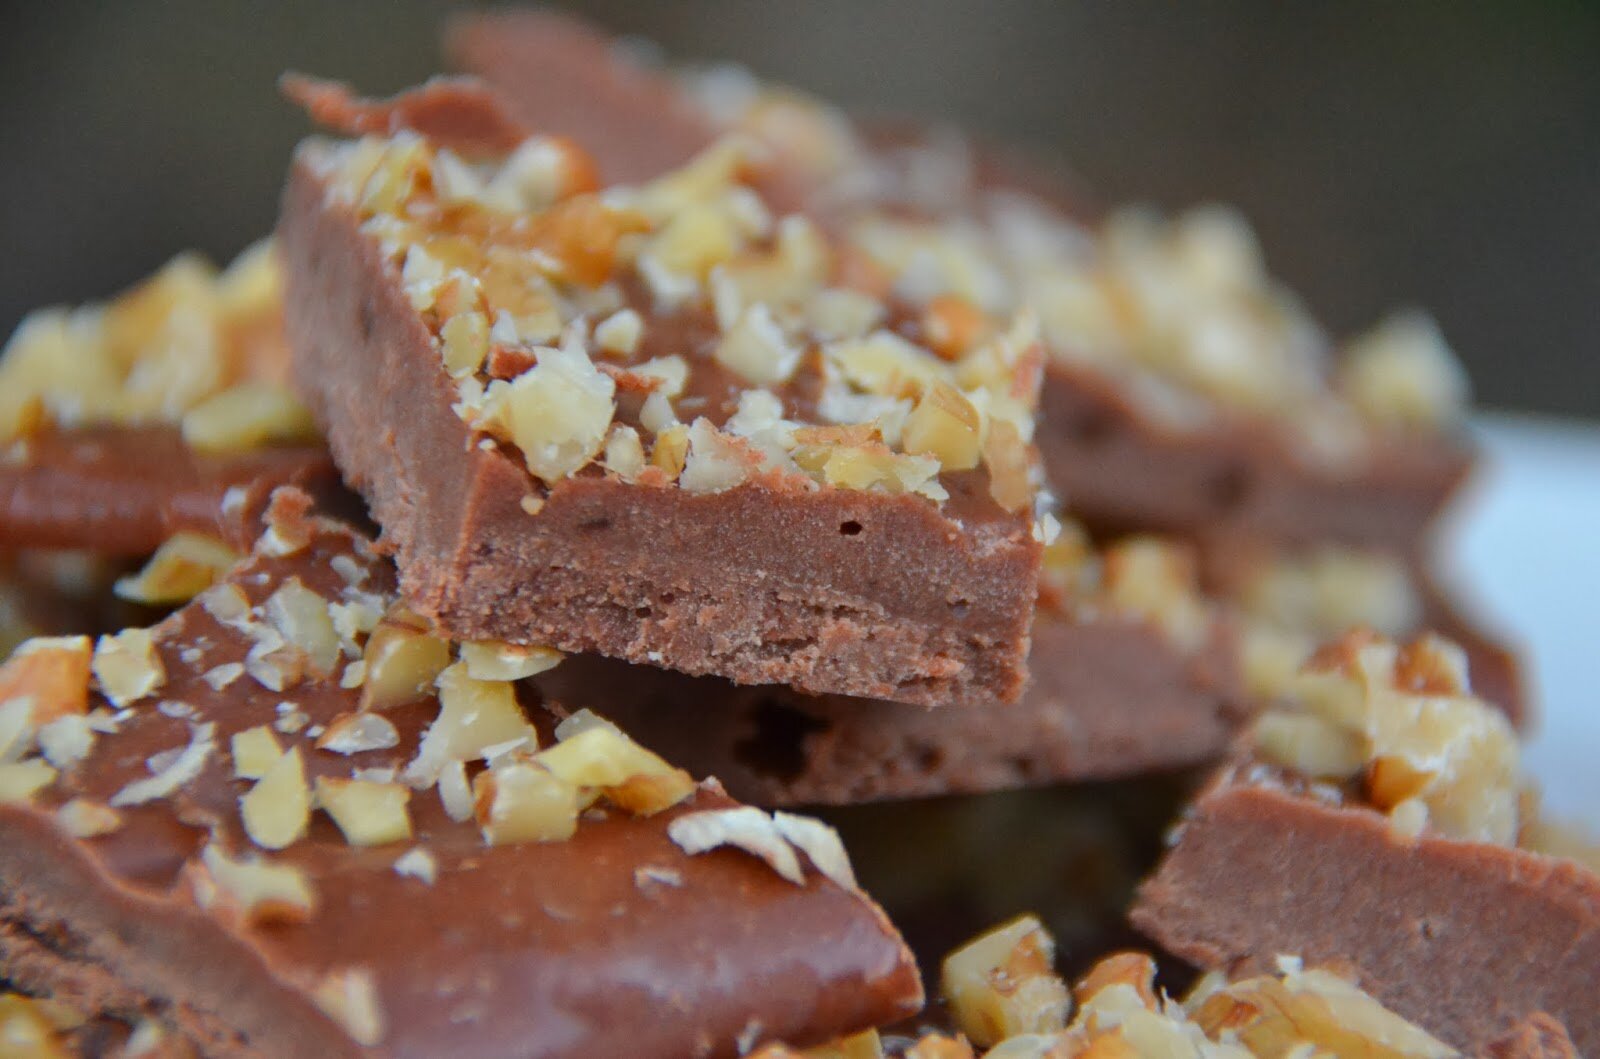
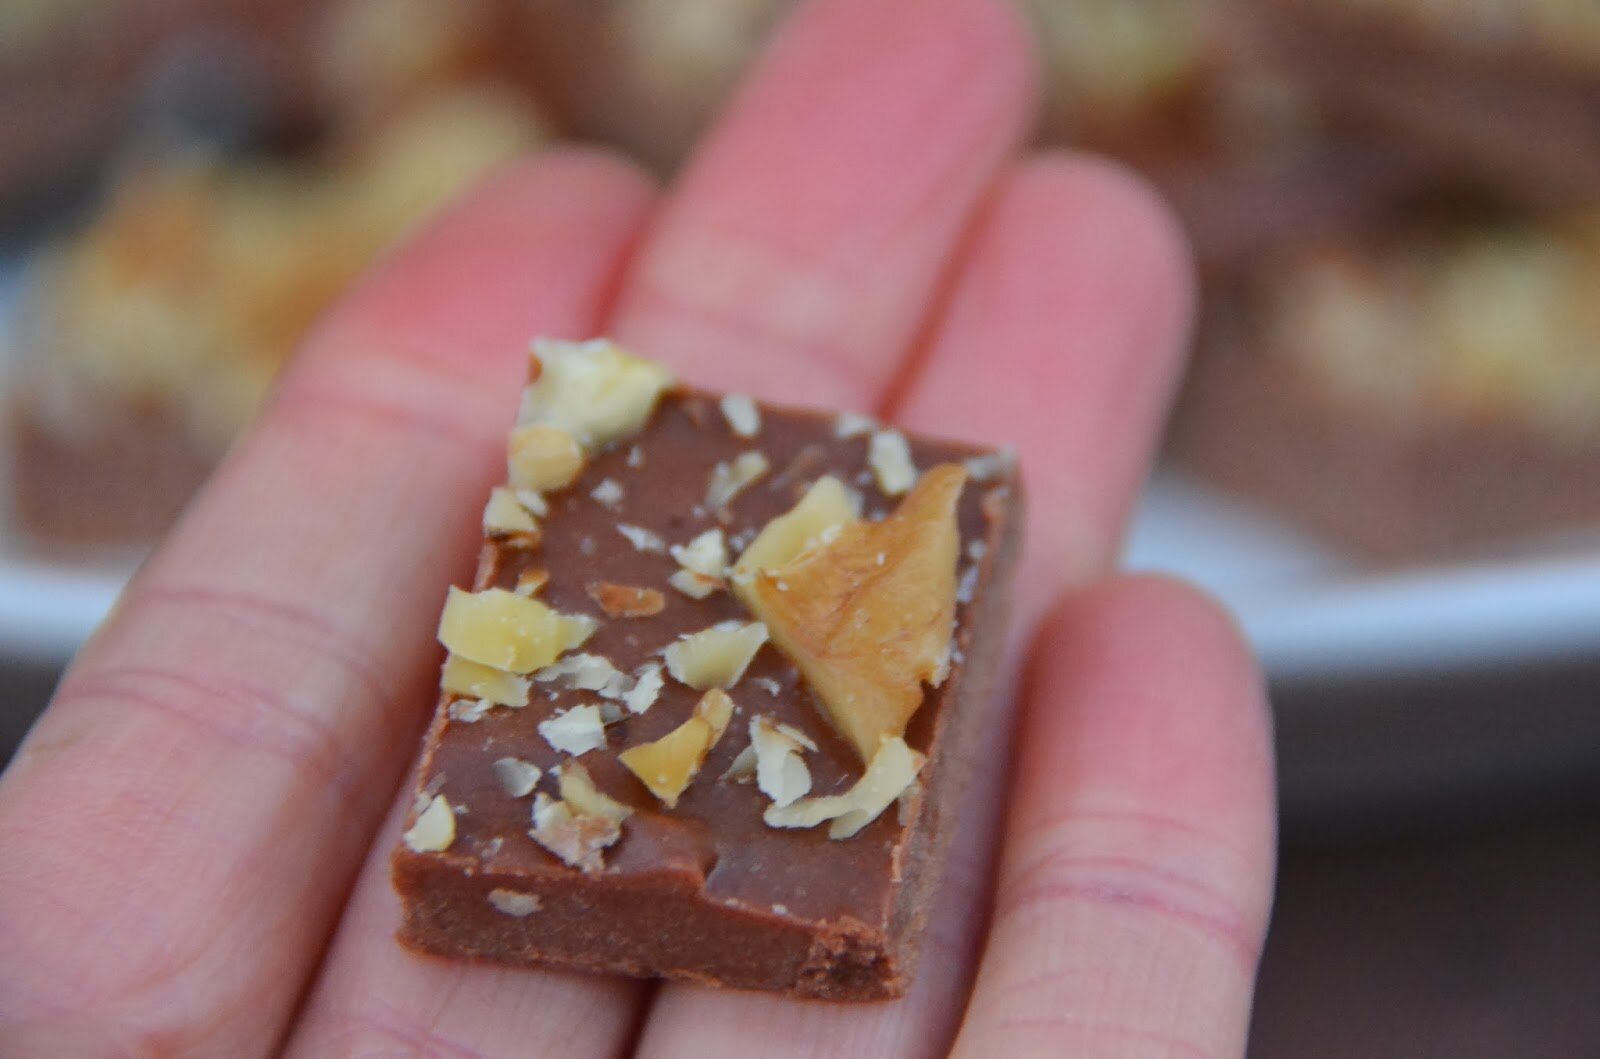
Raw Freezer Fudge
Well a Happy New Year to you!
With the New Year upon us today I reflect on some of my most notable challenges and successes from 2013 and from those challenges/successes I created goals for the New Year. No I’m not going to run a marathon, or lose weight, or not cuss, or go to bed early. I know what’s realistic for me. Wait, I do have a goal regarding bedtime which includes getting my bony butt in bed earlier than 11:00 pm (and that, my friends, is something). I’m a very goal oriented person (yes, I make daily goals for myself) and so here are my general goals for the Year (in order by category).
1. Family – marriage. Continue a strong partnership with Scott, use kind/constructive communication, and be mindful of my mood and behavior.
2. Family – kids. Continue to learn and explore alternative methods to deal with sibling bickering (rivalry).
Use effective behavioral interventions, reflective speech, and empathetic language. Continue reading the book “Siblings Without Rivalry” which is proving to be a great resource. Be okay with the chaos that is childhood, laugh about it, embrace it, pick my battles, let things go, don’t be so ridged. Keep it light, fun, structured, and safe. Don’t be overly annoyed and angry.
3. Health – body. Continue eating foods that make me feel good and avoid foods that make me feel bad. Start doing more Yoga, or just stretch every morning. Try to walk everyday, or ride bikes to school. Try and get IN bed before 11:00 pm.
4. Health – mind. Continue using positive coping to decrease stress. Introduce more effective coping with sibling bickering. Use more positive visual imagery. Read a few enjoyable books.
5. Professional. Use meditative/relaxation techniques at work when things get stressful. Take time off when I need it. Work on my L.C.S.W. CEUs. Attend at least one new conference or therapy-related talk this year. Meet with my other therapist friends to process and reflect on work and trouble shoot challenges.
6. Hobbies. Blog when I have time, take time away when I need it – blogging will always be there. Continue learning Spanish guitar, and continue playing guitar (it’s very calming and centering). Continue work on my scrapbooking and creating videos of the kids. Plan my spring/summer garden. Break out my jewelry making stuff as a calming, therapeutic activity. Visit a few of my favorite thrift stores when I get the urge to buy something new.
7. Home. Continue to purge what’s not used, continue organizing and cleaning as a method to feel productive and calm. De-clutter as needed. Slowly work on getting the garage more organized. Wash dishes as I cook so I’m not totally overwhelmed by insane kitchen messes.
8. Personal. Go out to dinner with girlfriends. Carve out some alone time each week. It’s okay to not be doing something – be more comfortable doing nothing. Be more in nature. Slow down. Appreciate the pain-free days and treat my body with kindness and respect. Be the change I want to see, speak how I want to feel, and smile at others as often as possible.
9. Be okay with eating an entire batch of raw freezer fudge.
I deserve it!

Happy New Year Raw Freezer Fudge
(click the links below for where to purchase the ingredients)
Ingredients:
-1/2 cup soaked medjool dates (about 7)
-1/4 cup homemade almond butter
-1/4 cup raw local honey
-1/4 cup raw cacao powder
-1/2 cup melted coconut oil
-1 teaspoon vanilla extract
-Chopped walnuts for garnish
How To:
1. Soak the dates in water for 3 to 4 hours. Drain the dates and add dates to a food processor fitted with the S blade. To the food processor add in the almond butter. Pulse the dates and almond butter until the dates are broken down.
2. With the food processor running, drizzle in the melted coconut oil, honey and vanilla. Blend until everything is smooth and creamy. Open the lid and add in the cacao powder. Blend again until the mixture is thick and creamy.
3. Spread mixture out on a silicone mat or wax paper – make it as thick or as thin as you like. Top with chopped walnuts. Place in freezer. The fudge will stay soft from the dates and honey. You could also store in the fridge, but I prefer the freezer. These do well at room temperature for a while. They don’t melt all over the place.
Notes:
*For nut free, use homemade sunflower seed butter.
*For vegan, use coconut nectar or maple syrup (using maple syrup will make the recipe a little softer, as it’s not as viscous).
*For sugar free, use 3/4 teaspoon chocolate or vanilla liquid stevia (or to taste).
{Affiliate Links in Post}
Shared on these wonderful link parties: Raw Foods Thursday, Wellness Weekend, Paleo Link Party, Whole Food Fridays, Gluten Free Wednesdays,
Shared on these wonderful link parties: Raw Foods Thursday, Wellness Weekend, Paleo Link Party, Whole Food Fridays, Gluten Free Wednesdays,
Monday, December 23, 2013
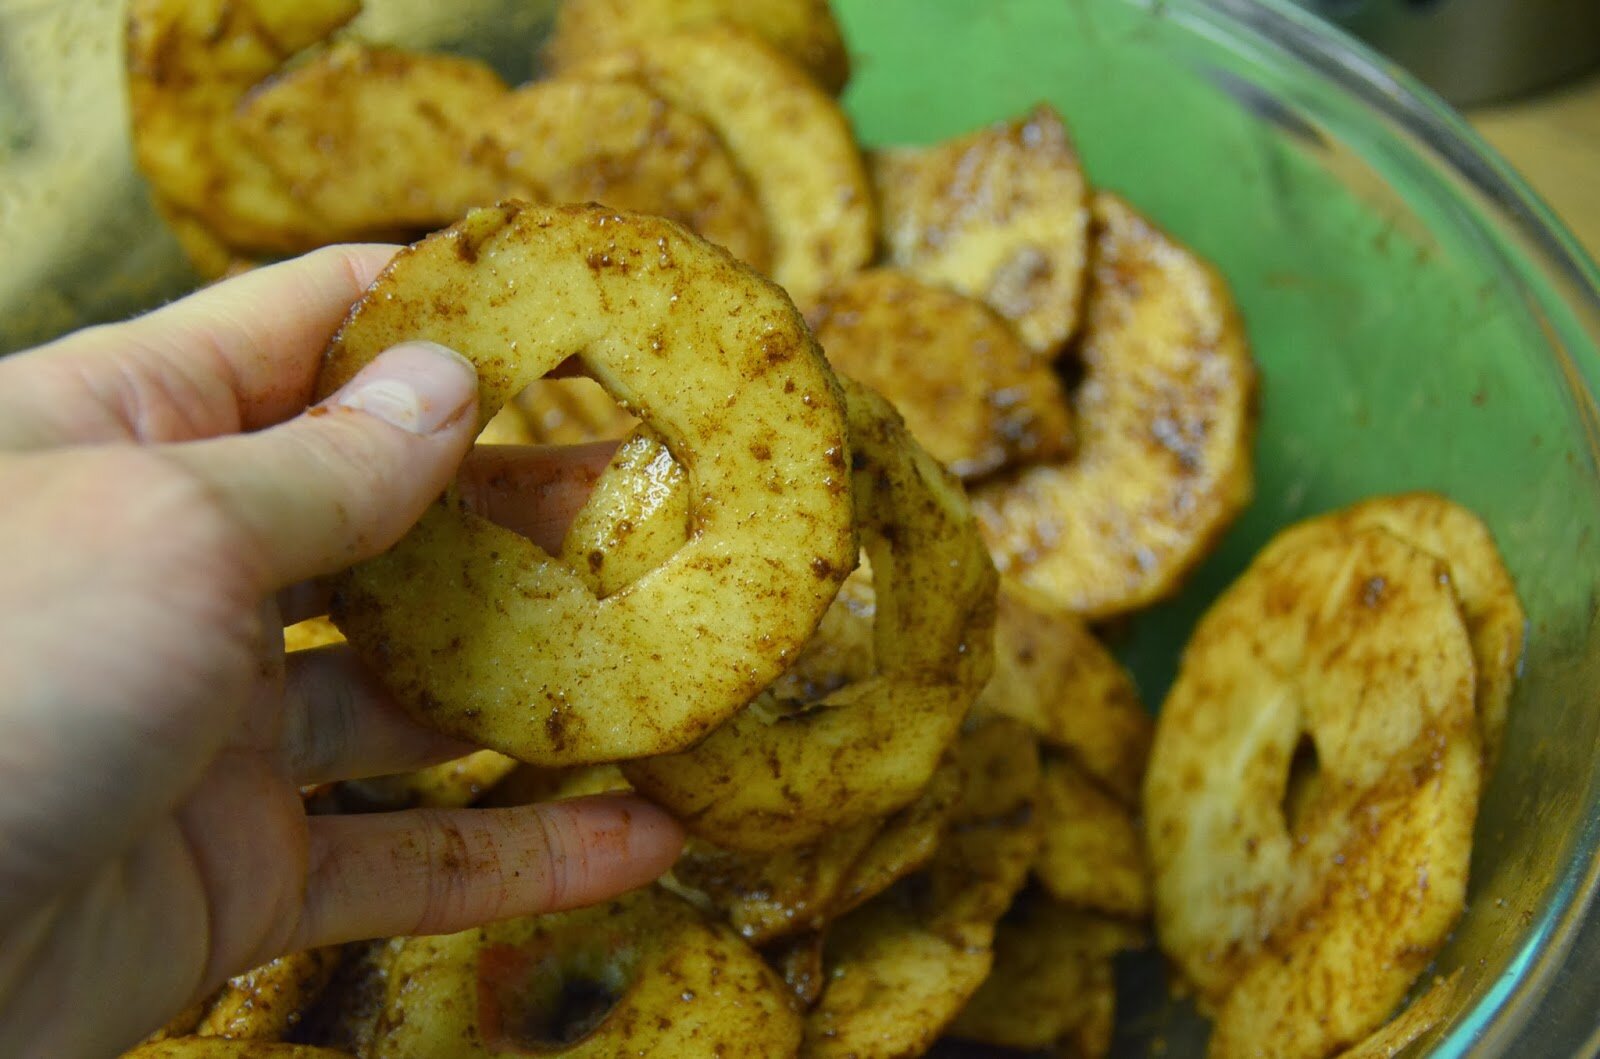
Cinnamon & Coconut Sugar Dried Apples

I absolutely adore making homemade holiday gifts for friends and family. They are always well received and appreciated. Dried apples were on my list this year to make as gifts and the addition of cinnamon and coconut sugar makes these dried apples so festive and delicious. You could certainly leave the apples plain, but I just love the added spice. As gifts I also like to make homemade greeting cards, coconut ginger granola, homemade almond butter, and homemade lotions (and other beauty products such as facial toner and body spray). Another favorite is the gift of tea. You can get so creative with tea, purchasing loose leaf and fun tea paraphernalia (check out my All Things Tea Pinterest board for more tea ideas).
Happy Holidays to all. I’m signing off until January. Until then, wishing you a restful and peaceful holiday filled with love and laughter.
-Amber & The Tasty Alternative Family


Cinnamon & Coconut Sugar Dried Apples
Ingredients:
-4 pounds of apples (any variety will do, I used Fuji)
-1 1/2 teaspoons ground cinnamon
-1/4 cup coconut sugar
Equipment:
–A good knife or mandoline
–Dehydrator
How To:
1. Wash, peel and slice apples (slice thick for chewy dried apples, slice thin for crispy dried apples). I like to cut out center seeds and the core.
2. Add apples to a large bowl and using hands, toss the apples with the cinnamon and coconut sugar, making sure all the apples are well covered.
3. Transfer apples (in one layer) onto a dehydrator with mesh screens.
4. Dehydrate on 95 degrees for 8 -10 hours (basically, overnight). I encourage you to test out different drying times. For another method, dehydrate on high (140 degrees) for 3 hours, then turn down to 95 degrees and dehydrate until your desired texture.
Notes:
*Yes you can make these in the oven set at a low temperature, however, I have not tried this, so I cannot give any specific directions. If you try it in the oven, please report back and let us know how it goes. I suspect they will be more like apple chips, but you never know.
*If you use a mandoline, the slices will be very thin and almost crispy. Hand slice thicker pieces for that nice chewy fruit dried texture.

The cut apples tossed in the cinnamon and coconut sugar

Here are the apples all dried and ready for the jars

Good morning you pretty little apples.
These dried overnight.


{affiliate links in post}
This recipe was shared on: Wellness Weekend, Paleo Link Party, Whole Food Fridays
Thursday, November 21, 2013
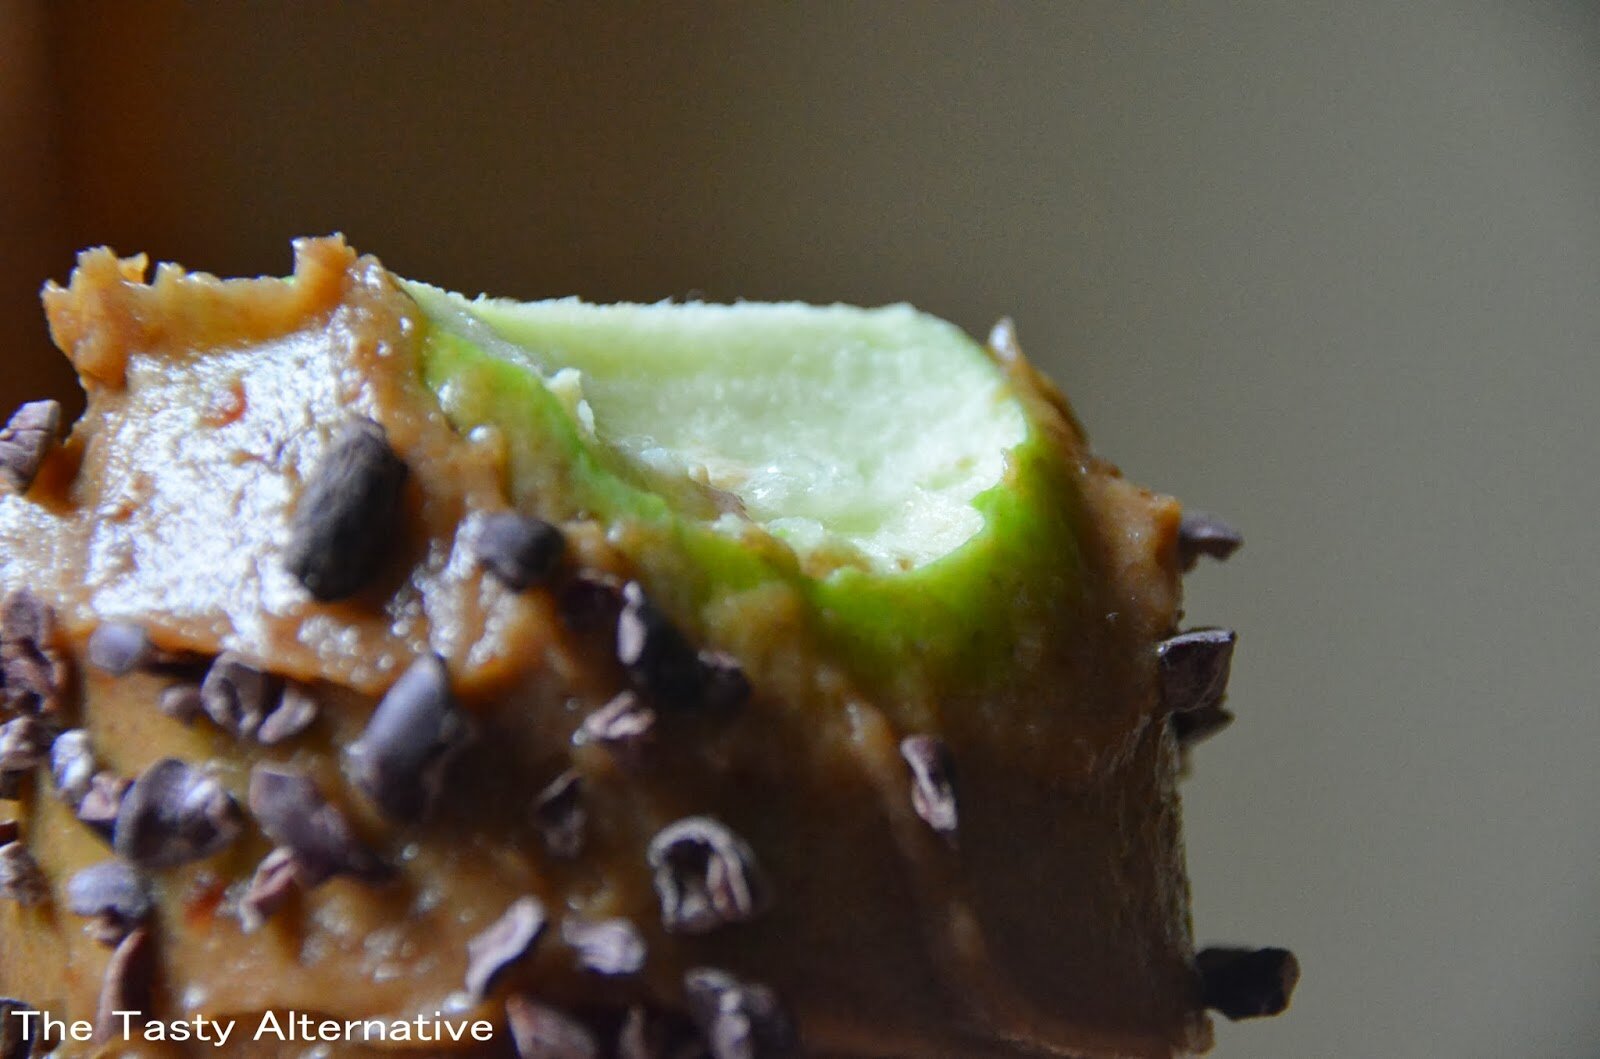
3-Ingredient Creamy Raw “Caramel” (SCD, GAPS, Paleo)

One of my more popular posts and perhaps one of my favorite recipes is my raw “caramel” sauce. I make it quite frequently and practically drink the stuff. I’ve been experimenting with the original recipe in hopes to make a thicker version that would mimic actual caramel so I could spread it or use it in chocolate. Well, with very little effort I made it work just by adding more dates and excluding some of the liquid ingredients. Let me first say that the cashew butter is a must in this recipe. You can make your own or buy the super expensive (albeit super delicious) store brand. Either way, cashew is the way to go. This “caramel” is thick, creamy, and delicious. And it remedies my husband’s sweet tooth like nobody’s business. Great for kids too – check out how fun and easy it is to spread on tart apples. I hope you’ll give this a try. It’s a delightful raw treat.

Creamy Raw Caramel
Ingredients:
-2 cups of Medjool dates – 24 dates (make sure they are fresh and soft)
-1/2 cup cashew butter*
-2 tablespoons honey*
-2 teaspoons vanilla (optional)
How To:
1. Seed the dates and soak the dates in room temperature water for 1 hour (do not soak longer, as they will become too soft and create very thin caramel).
2. After the dates have soaked for 1 hour, drain all the water off and add them to a food processor fitted with the S blade and pulse until broken down and coming together as a paste.
3. Add in the cashew butter and blend.
4. Drizzle in the honey and optional vanilla
5. Blend until everything is well incorporated and the mixture is thick and creamy.
6. Eat as is or store in refrigerator.
Notes:
*For the cashew butter, use homemade or this store brand is quite delicious.
*Cannot have cashews, try sunflower seed butter – it will completely change the flavor (just FYI). Almond butter might work, but it has a much different texture, so the final product will not be as creamy (probably thin and gritty). Sorry if you cannot have dates, I don’t have any subs for the dates.
*In place of the honey, vegans use grade B maple syrup, coconut nectar, yacon syrup (or 10 drops of stevia).


{affiliate links in post}
Shared on: Busy Monday, Sweet Sharing Monday, Melt in your Mouth Monday, Mix it up Monday, Allergy-Free Wednesdays, Gluten Free Wednesdays, Whole Foods Fridays, Raw Foods Thursday, Wellness Weekend, Lunchbox Love Friday, Allergy-Free Wednesdays
Shared on: Busy Monday, Sweet Sharing Monday, Melt in your Mouth Monday, Mix it up Monday, Allergy-Free Wednesdays, Gluten Free Wednesdays, Whole Foods Fridays, Raw Foods Thursday, Wellness Weekend, Lunchbox Love Friday, Allergy-Free Wednesdays
Friday, September 6, 2013
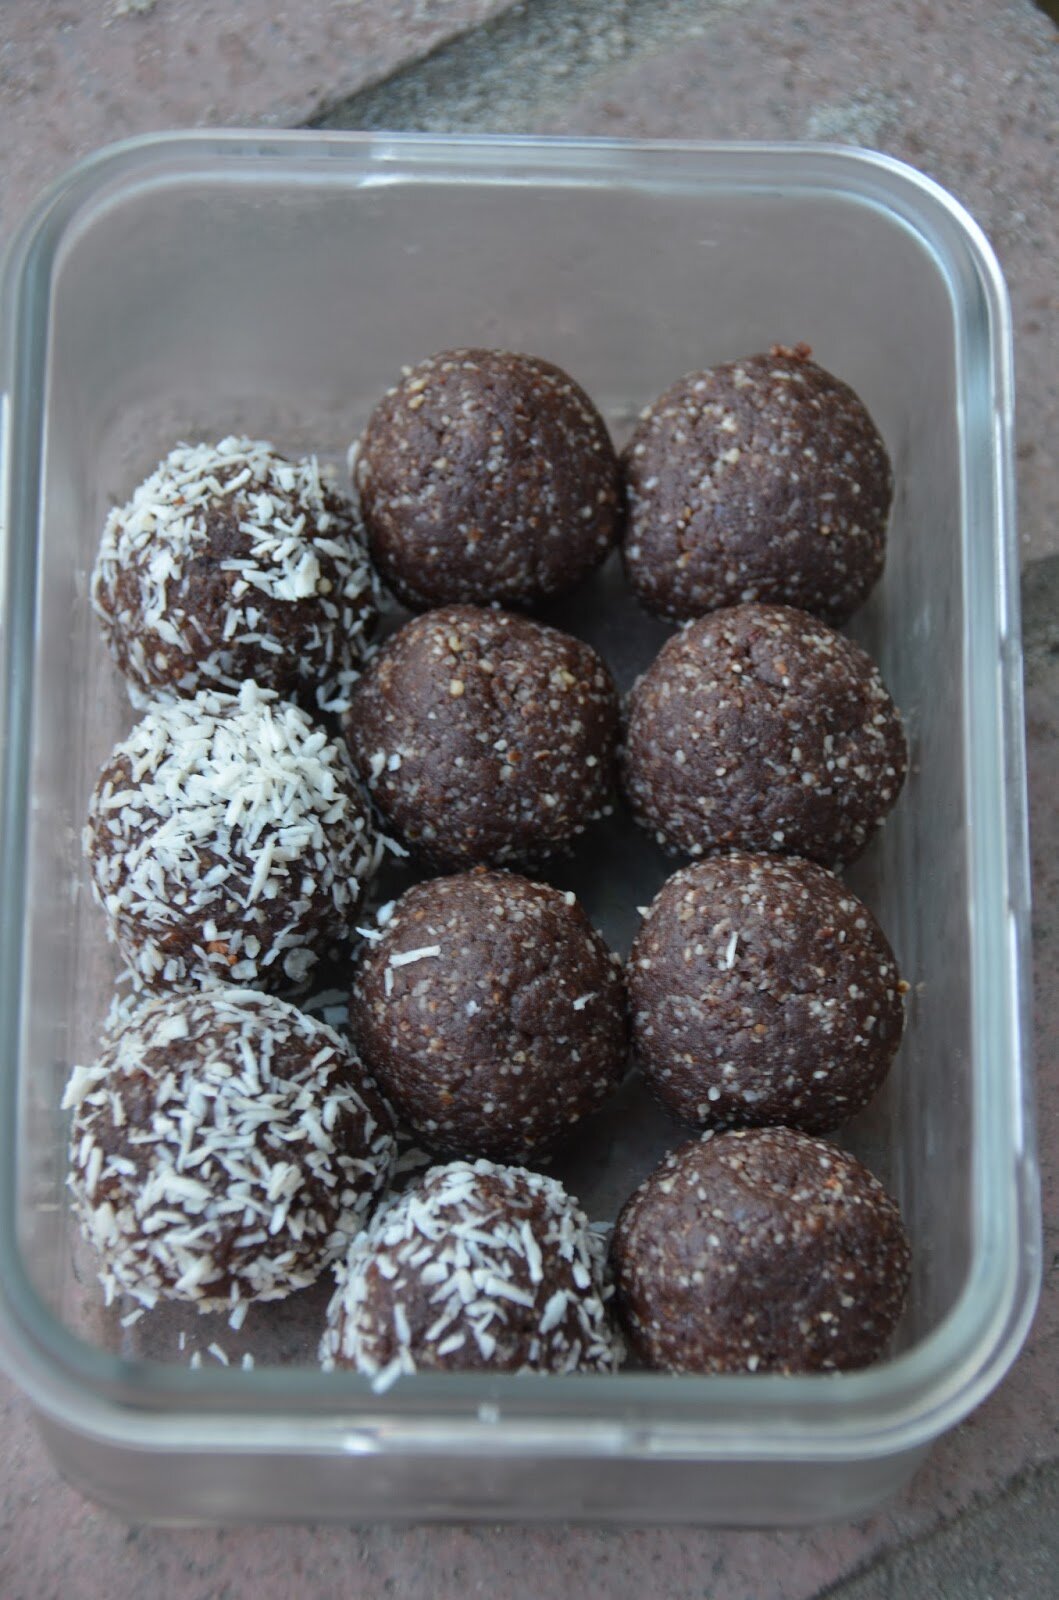
Raw Nutella Bites

I’ve had Nutella on my mind since making my nut-free version. I was thinking about the hazelnut/chocolate combination and how popular it is and how pleasing the taste. And I was thinking…how about something bite size with this ever so popular pairing. I’ve had some soaked and dehydrated hazelnuts in the fridge for daaaays, so I was happy to use them in something. These are very portable little snacks. The dates make it possible to carry at room temperature. Nice treat for mommies and kids alike.

Raw Nutella Bites
Ingredients:
-1 1/3 cups of hazelnuts soaked and dehydrated
-7 pitted Medjool dates
-3 tablespoons raw cacao powder (I do 2 T cacao and 1 T raw carob powder)
-1/2 teaspoon vanilla extract
-2 tablespoons honey (vegans use maple syrup, coconut nectar, or 10 drops liquid stevia)
-2 tablespoons melted coconut oil
-Pinch of salt
How To:
1. In a food processor, add in the hazelnuts and process for 20 seconds.
2. Add in the pitted dates, cacao, vanilla, honey, coconut oil and salt and…pulse, pulse, pulse, then process until everything is well incorporated.
3. With clean hands, form little balls and cover a few with shredded coconut if you wish.
4. You can eat them at room temperature, or store in the fridge for later.
Makes about 12

Shared on: Wellness Weekend, Whole Foods Friday, Raw Foods Thursday, Healthy Vegan Fridays, Allergy Free Wednesdays,
Thursday, July 25, 2013
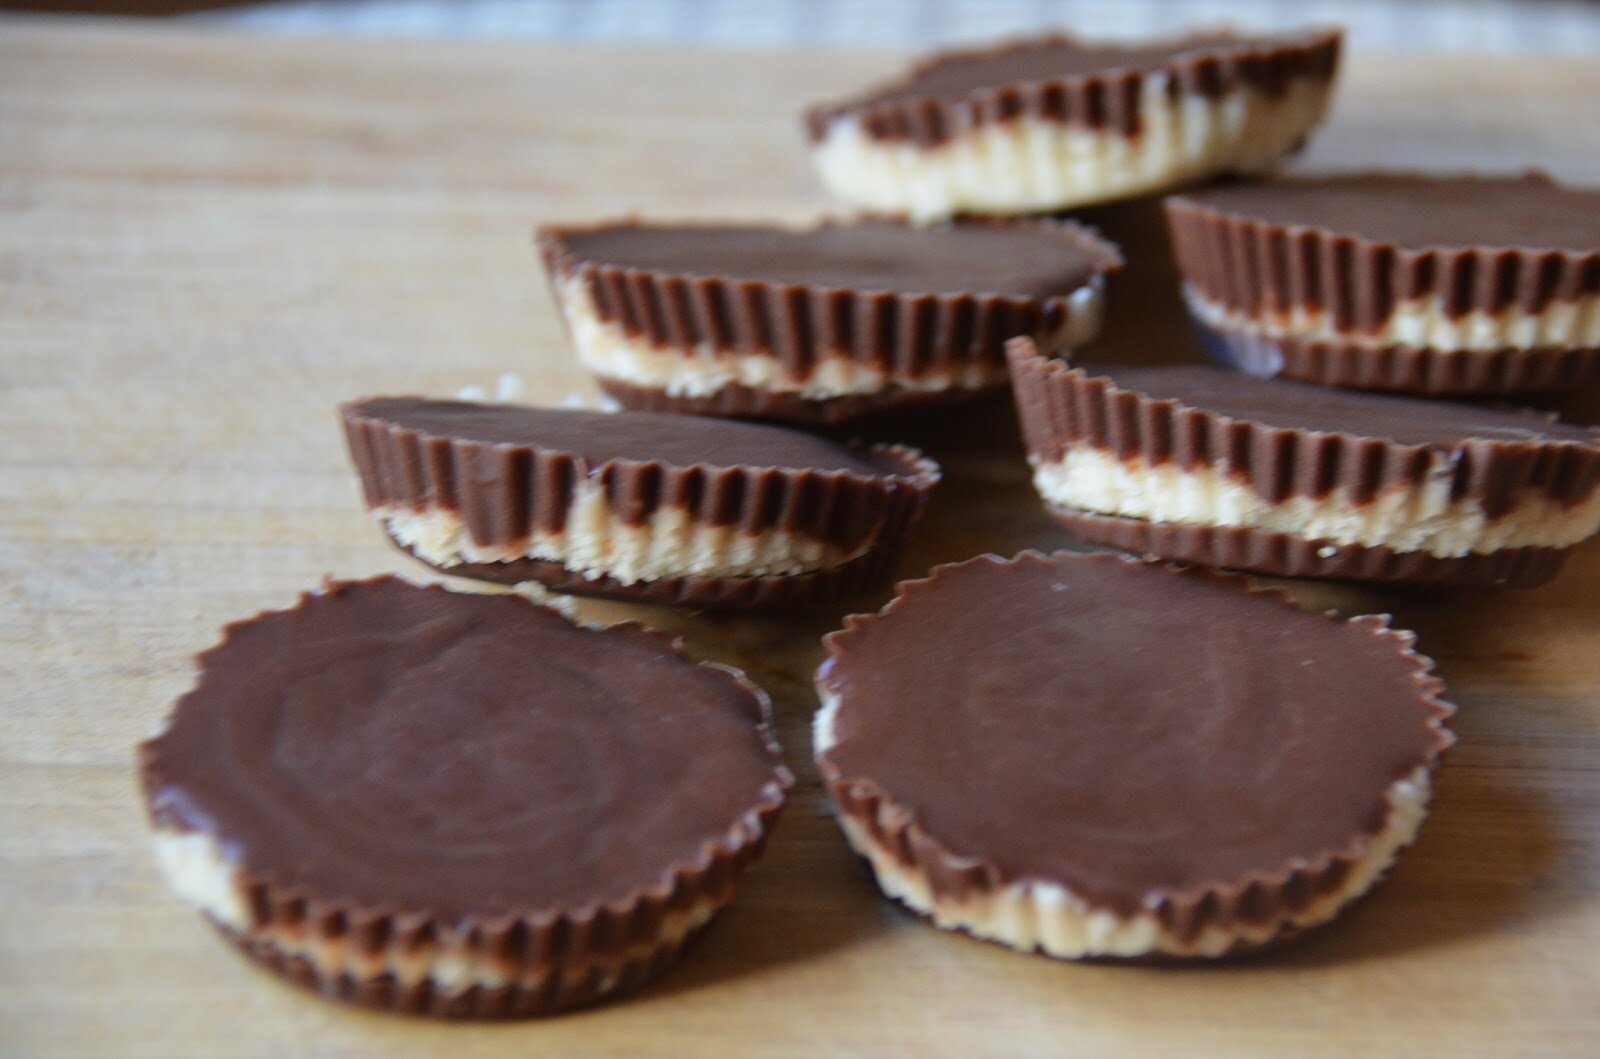
Raw Peppermint Patties

These raw peppermint patties are dedicated to my handsome chocoholic husband. This is his favorite combination (chocolate, peppermint, and coconut). I love creating healthy treats for my family…I feel like such a superstar mom when I’m like, “Why yes, we have a fun sweet treat for snack, or yes, there is something tasty and healthy for dessert.” I love it. I’ve been working on this recipe for a while. I’m excited to share the final product with you today. Enjoy!

Raw Peppermint Patties
Ingredients:
Chocolate Shell
-1/4 cup melted cocoa butter
-1/4 cup honey (vegans use 3 T maple syrup, 4 T coconut nectar or 1 teaspoon stevia)
-1/4 cup raw cacao powder
-1/4 cup melted coconut oil
-1 teaspoon vanilla extract
-Tiny pinch of salt
Filling
-1 cup shredded coconut
-1 to 2 tablespoon honey* (vegans use maple syrup or coconut nectar)
-1 teaspoon vanilla
-1 tablespoon peppermint extract/flavor (or more to your preference)
-1 tablespoon cocoa butter (optional, but worth it)
-Cacao nibs (optional)
How To:
1. Melt the cocoa butter. Here is how to keep it raw while melting: fill a small pot with water (half full) and place a 1 cup glass Pyrex in the water. Add the cocoa butter (shredded for quicker, more even heating). Stir while it’s melting. Once melted, remove from the water.
2. To the melted cocoa butter add in all the above chocolate shell ingredients. Stir until the raw cacao powder is incorporated.
3. Don’t skip this next step: Use an immersion blender (or some blender) to emulsify the mixture for only about 10 seconds* (see notes). If you skip this step, the honey will sink to the bottom and will not be evenly distributed throughout the chocolate.
4. Pour chocolate (as much or as little as you like) into the bottom of a mold (silicone or paper) – place in the freeze for about 5 to 10 minutes to harden.
5. In a food processor make the filling. Add the 1 cup of shredded coconut and blend 3 to 5 minutes. Scrape down sides as needed. Add in the rest of the ingredients and blend until incorporated. If adding the cacao nibs, add last and pulse a few times to incorporate.
6. Remove the molds from freezer and (with your hands) add in the filling on the layer of chocolate, leaving enough room on all side for the top layer of chocolate to form around the filling and touch the bottom layer of chocolate. Add as much or as little as you like.
7. Transfer to fridge or freeze to harden.
8. Makes 4 to 5 large peppermint patties. I pour any leftover chocolate into small silicone candy molds and refrigerate.
Notes:
*Be careful…DO NOT blend the chocolate too long. Something crazy will happen: the honey and coconut oil blob together and the cocoa butter separates. There is no recovery when this happens.
*I use 1 tablespoon of honey for the filling – these puppies are RICH, but add in more sweetener to your preference.

Here they are with cocoa nibs for added texture and flavor

Here’s what they look like made thin(er)

*
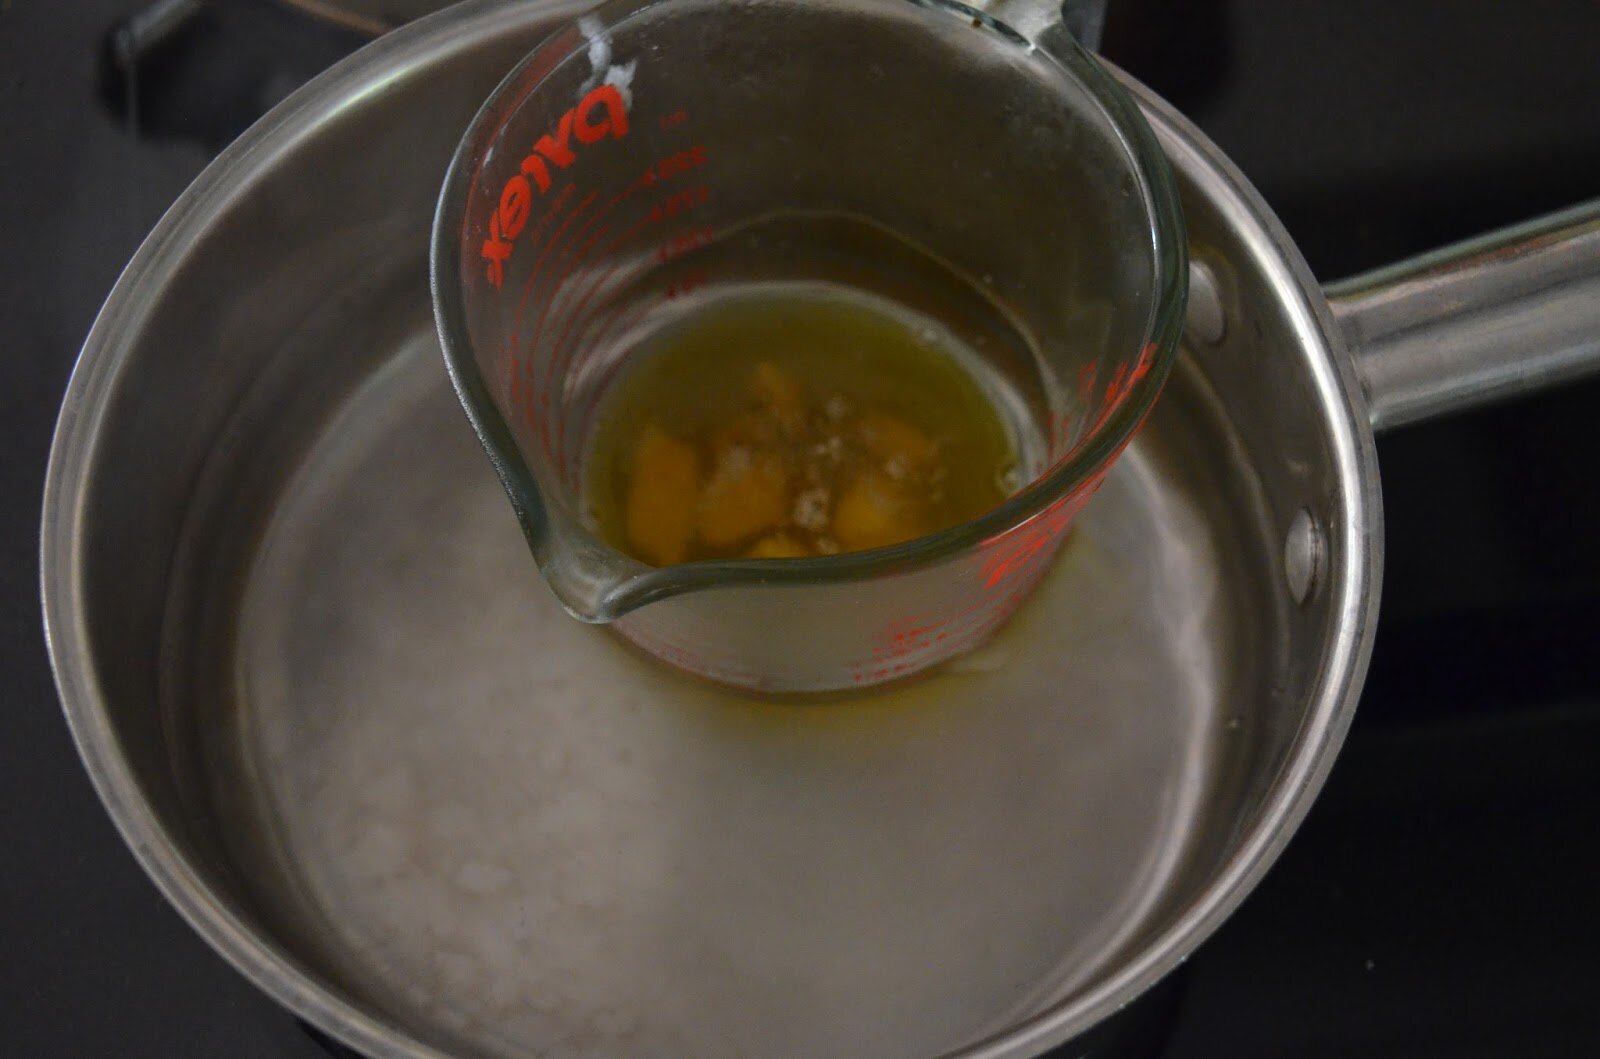
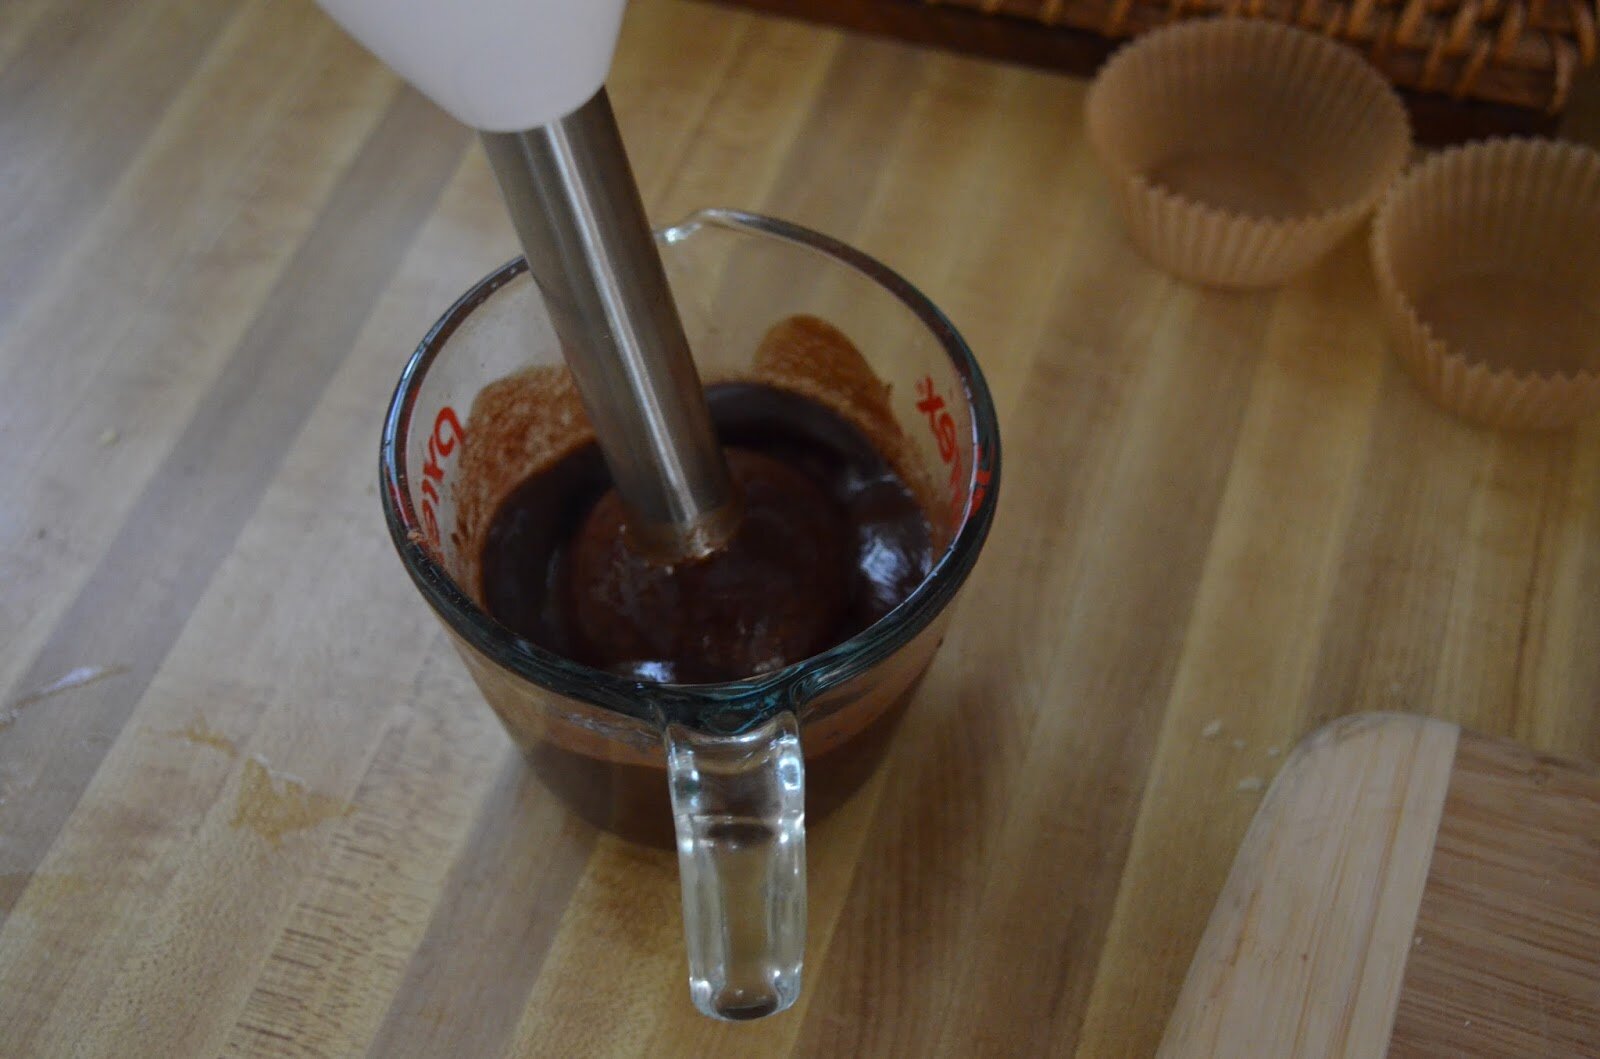
Here is the general building process


Shared on: Fat Tuesdays, Raw Foods Thursdays, Allergy-Free Fridays, Wellness Weekend, Healthy Vegan Friday
Friday, July 19, 2013
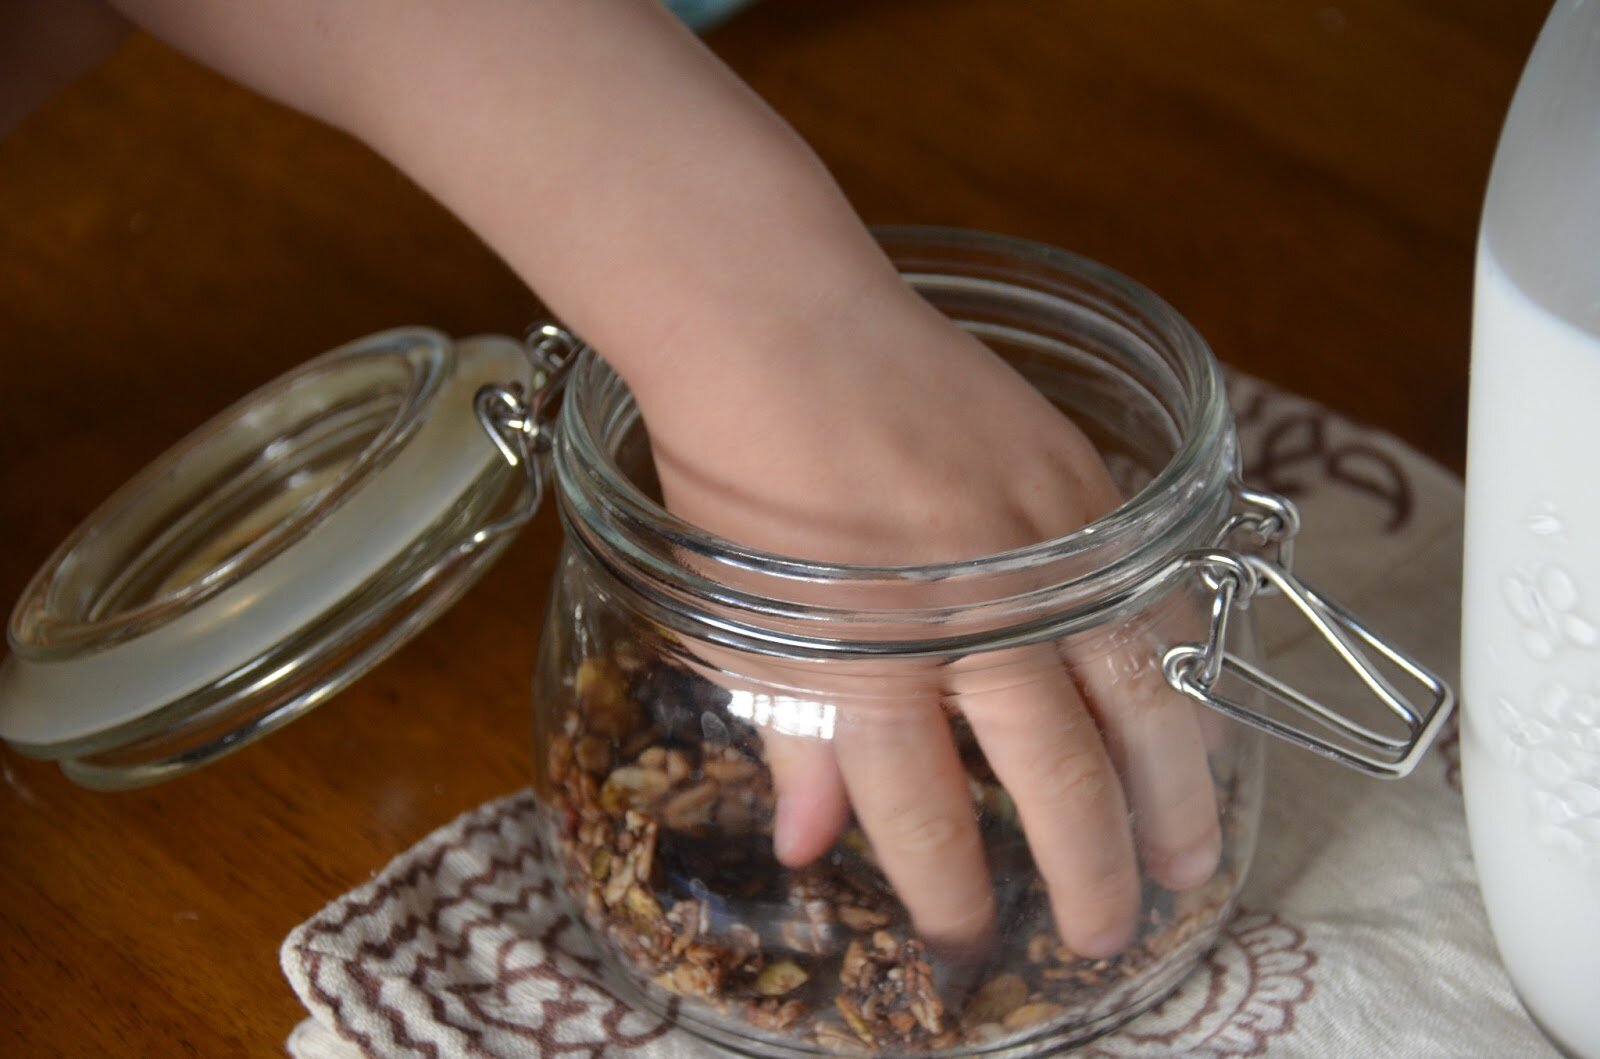
Raw Strawberry Chocolate Cereal (nut free, grain free, vegan)

Breakfast can be sort of difficult when on a grain free diet (and/or a nut free diet). Ever try purchasing a cereal that’s grain free, nut free, cane-sugar free, and vegan. Ha ha. Good luck. If one exists is’t probably off-the-charts expensive (or comes in a 4 ounce bag). Over the years I’ve adopted the motto: If you can’t find it, make it, which has served me well. I said good-bye to store bought cereals a while ago for several reasons. But now I have only two reasons: it’s cheaper and healthier to make at home. That’s really the bottom line. I hope you give this cereal a try. You can add just about anything to the base of seed mixture, so get creative. I also must mention that my kids LOVE this recipe, as well as the apple cinnamon recipe, for breakfast or snack. They literally squeal when they get up and see this breakfast waiting for them at the table. Now that’s a great way to start the day!

Raw Strawberry Chocolate Cereal
nut free, grain free, dairy free, cane-sugar free, vegan
Ingredients:
-2 cups organic raw sunflower seeds
-1 cup organic raw pumpkin seeds
-1 cup shredded coconut
-1/4 cup raw hemp seeds
-3/4 cup coconut sugar
-2 1/2 cups fresh strawberries (small chop)
-1/4 cup + 2 tablespoons raw cacao powder
-3 tablespoons chia seeds
-1 teaspoon liquid stevia
-1 teaspoon ground chia
-1 teaspoon psyllium husk
-1/4 teaspoon salt
How To:
1. In a large bowl add the sunflower seeds and pumpkin seeds and cover with filtered water (about 2 inches over) and soak for at least 8 hours. I like to soak mine as long as I can, so I gave mine about 15 hours.
2. After they have soaked, drain and rinse (do not pat dry or try to dry the seeds, you need the moisture).
3. To a large bowl, add the wet seed mixture and all the other ingredients and mix well with your hands. This is the really best way to incorporate all the ingredients. Here is the dehydrator I use. 4. I spread the mixture onto these screens (which come with the dehydrator). I do not use these fruit roll sheets.
Make sure the seed mixture is in a nice thin layer so it dehydrates evenly and thoroughly.
5. I set my dehydrator between 110 – 115 degrees, put in the laundry room and let it rock. After about 18 hours I check for the crisp level. I dehydrate longer until that perfectly crisp texture is achieved.
6. The final mixture will be very stiff and pop out in a sheet. Break into pieces and store in an air tight container. This will keep for weeks. But it never lasts that long.

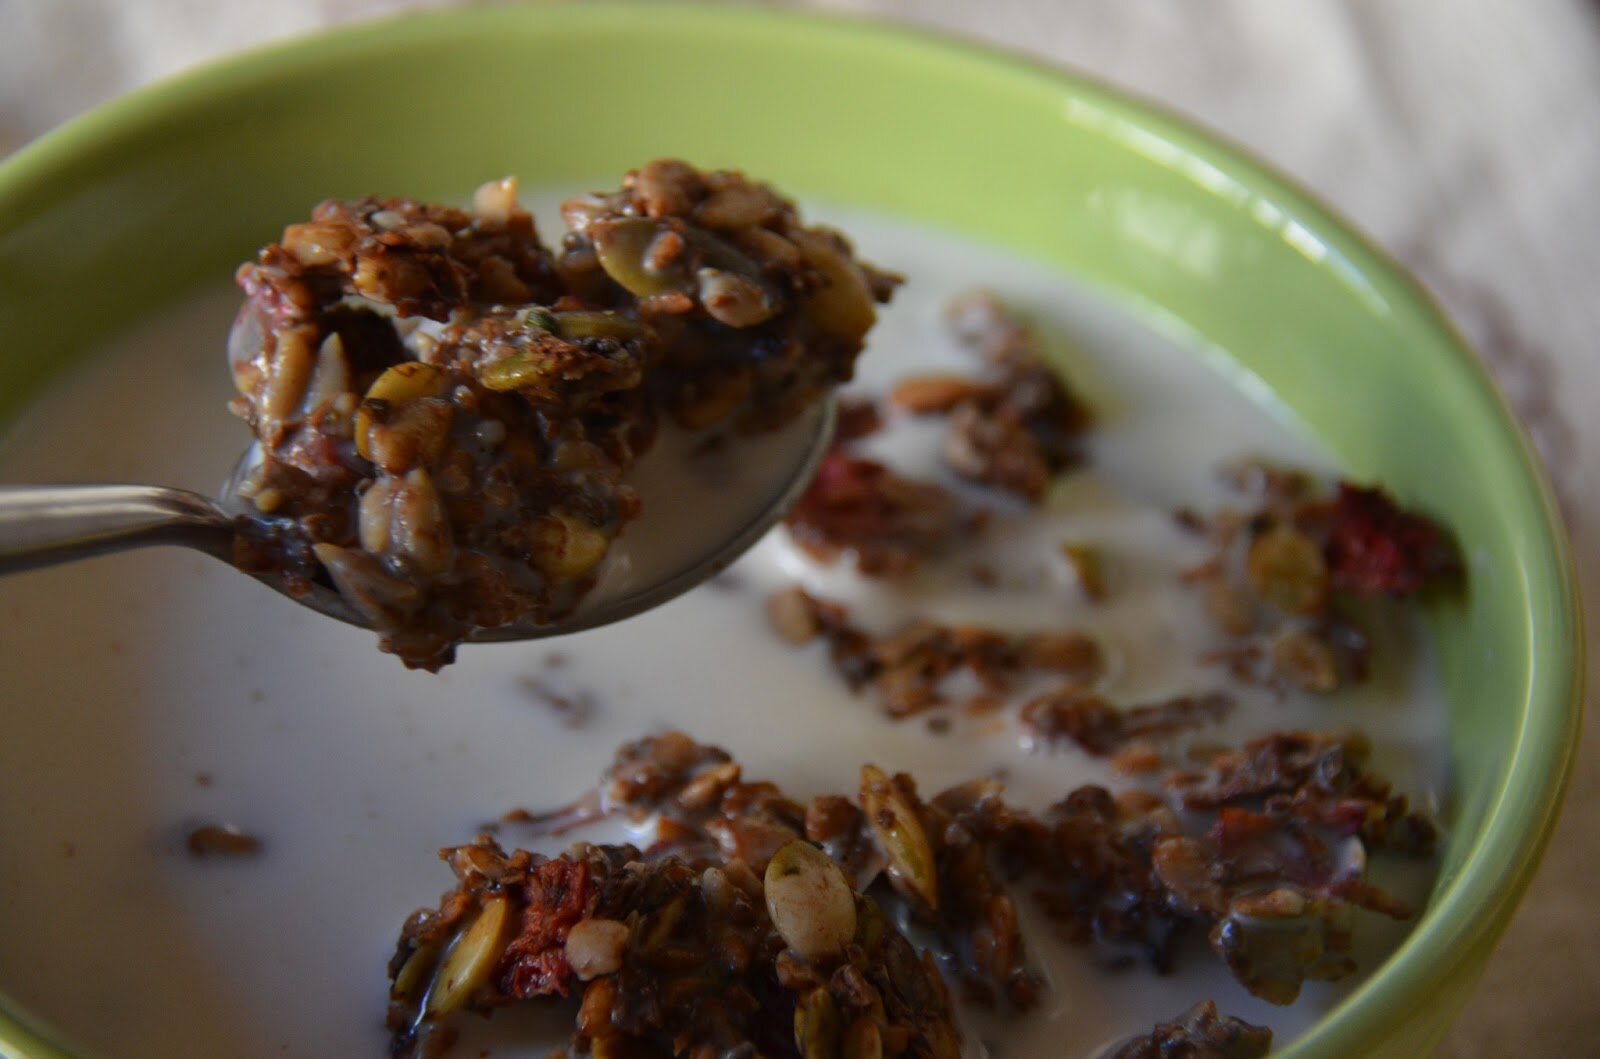

Here is what the cereal looks like when finished.
It’s very crispy and brittle.

This batch makes a nice amount.
I store in glass containers in the cupboard.

*
Interested in another raw cereal?
See HERE for a Raw Apple Cinnamon version
 And be sure to enjoy your homemade cereal with homemade nut or seed milk:
____________________________________________
Shared on: Fat Tuesday, Slightly Indulgent Tuesdays, Raw Foods Thursday, Whole Food Fridays, Wellness Weekend, Allergy-Free Wednesdays,
Friday, July 12, 2013
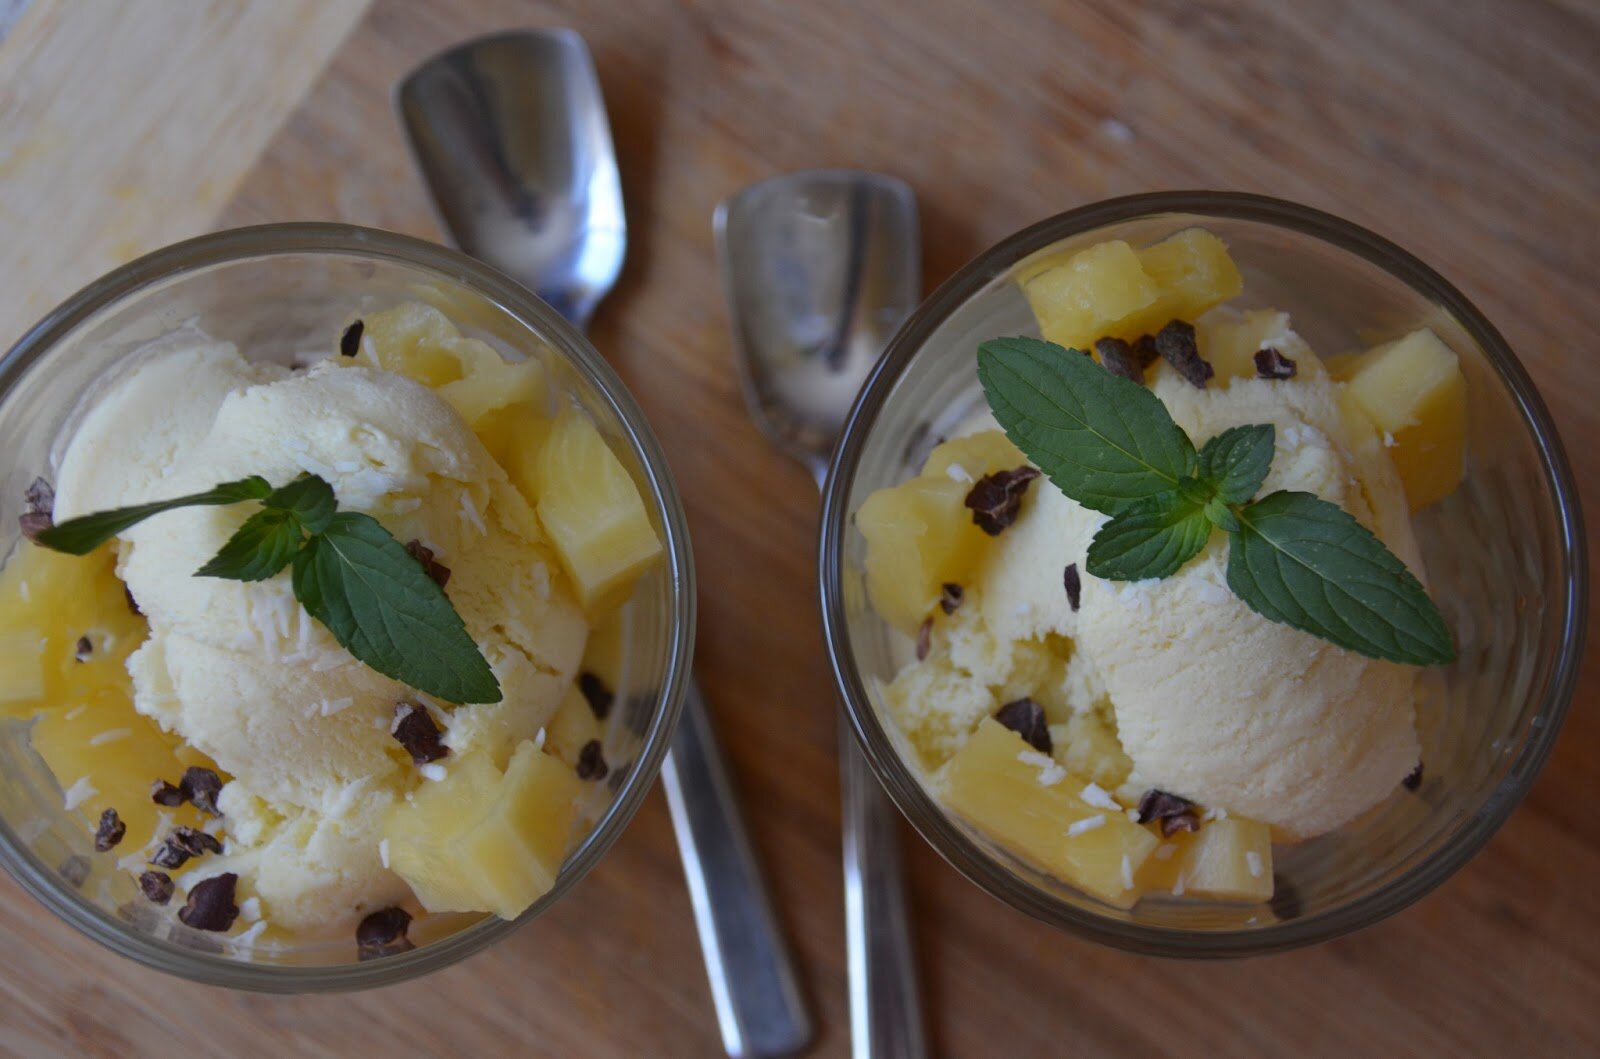
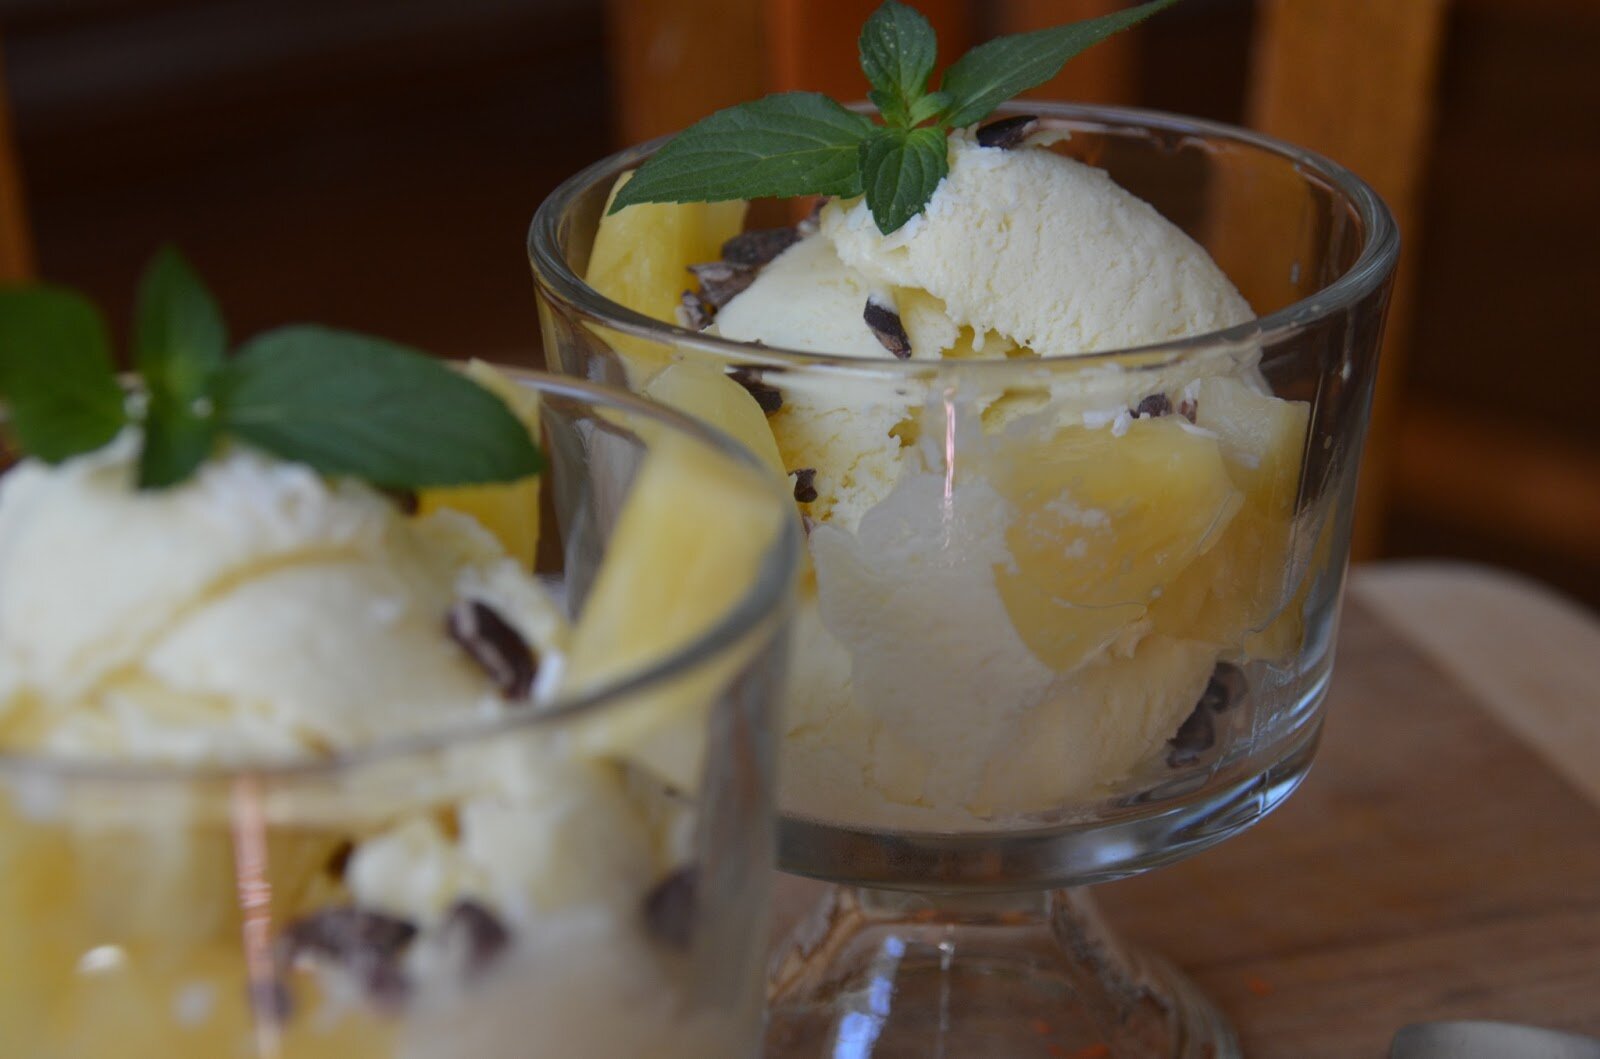
Refreshing Tropical Coconut Ice Cream (dairy free, SCD, Paleo, GAPS)
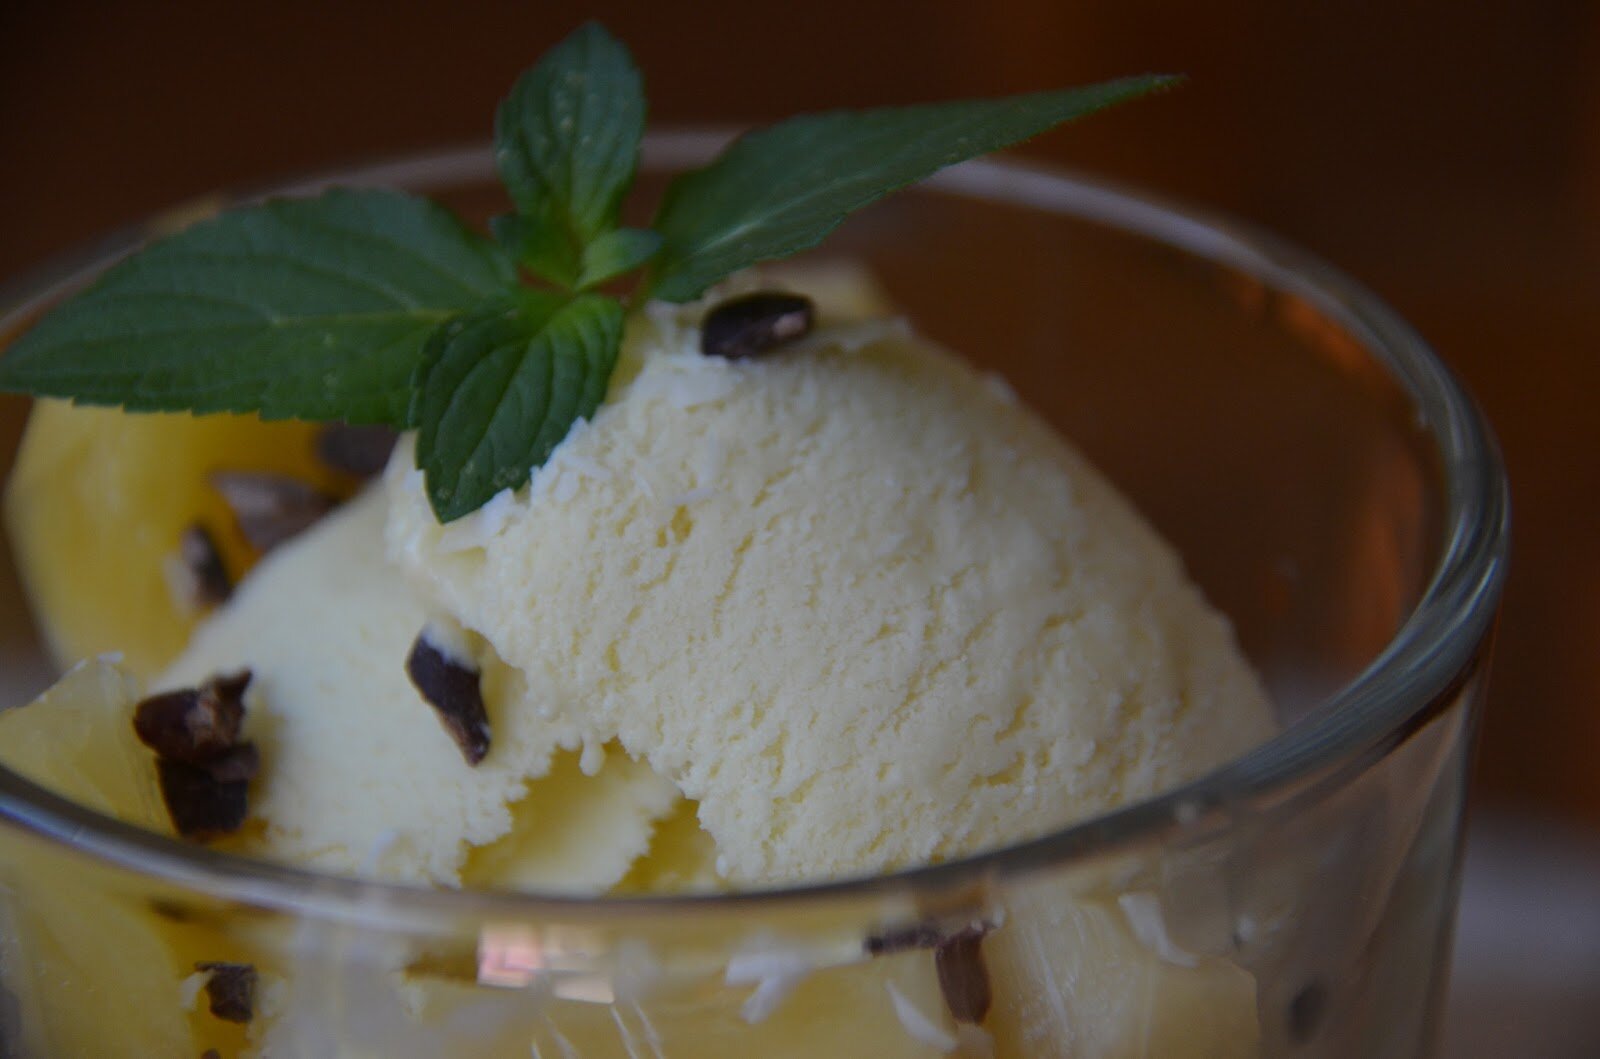
Once upon a time I ate cow milk ice cream. And once upon a time I ate cow milk pineapple ice cream in Hawaii with my fiancé, now husband) – wow 13 year ago (and I still remember that ice cream). We were at the Dole pineapple plantation in Oahu. It was the most delightful ice cream I had ever eaten. Not really one for heavy, overly sweet or chocolaty treats, this pineapple ice cream was so refreshing and light. I fell in love. This tropical coconut milk based ice cream brought me back to that romantic stay in the islands. In addition to pineapple, however, I added fresh mango, banana, and lime. It’s a real tropical explosion. This recipes makes quite a bit – too much for my ice cream maker. I suggest using the leftover mixture in popsicle molds or refrigerate to use in a smoothie. I hope you enjoy it. Mahalo.
Ingredients:
-2 cans full fat coconut milk (3 cups). See here or here
-2 cups fresh chopped mango
-1 1/2 cups fresh or canned pineapple
-1 medium ripe banana (5 ounces worth)
-1/3 cup fresh lime juice
-1/4 cup honey (vegans use maple syrup or coconut nectar)
How To:
1. Add all the above ingredients to a blender and blend until well incorporated.
2. Fill your ice cream maker with the mixture (do not over fill) and churn until it starts to firm up and harden, and the ice cream maker starts to slow.
3. Transfer the ice cream to an air tight glass container and store in the freezer for at least 4 hours (I give mine a good 6 hours).
4. Remove 5 minutes before serving to allow ice cream to soften up a bit so it’s easier to scoop out.

Shared on: Fat Tuesday Slightly Indulgent Tuesdays, Raw Foods Thursday, Wellness Weekend, Whole Food Fridays, Allergy-Free Wednesdays
Wednesday, June 26, 2013
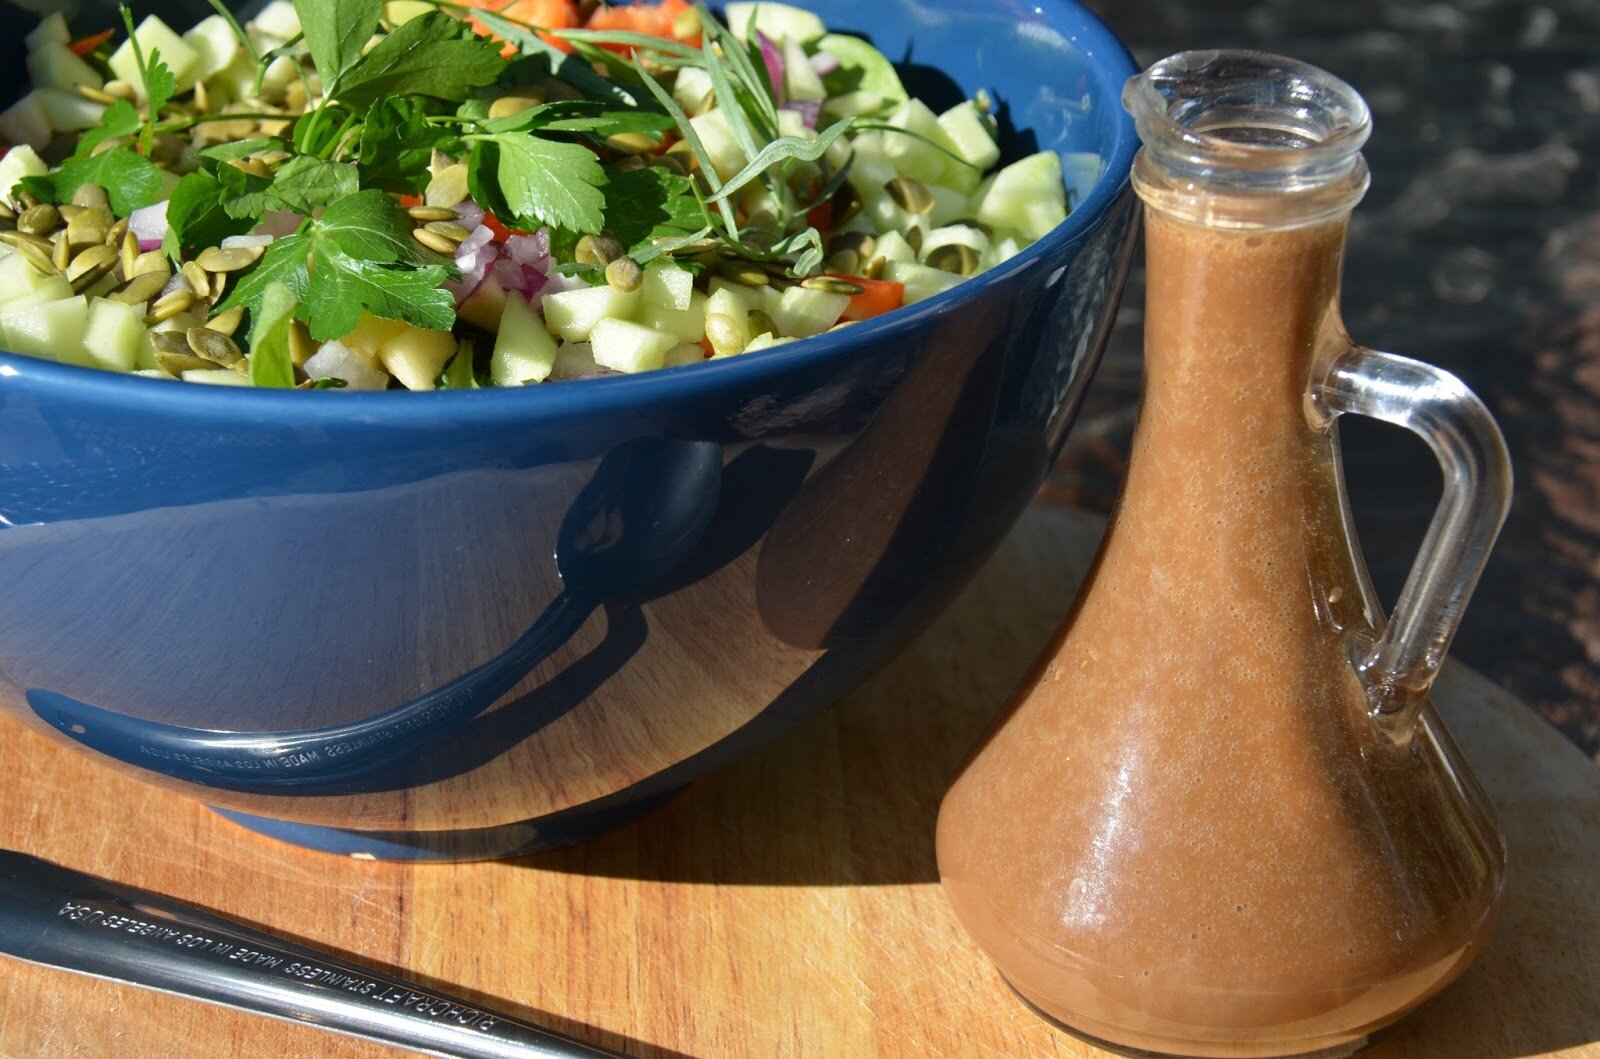
Healthy and Hearty Summer Salad with Homemade Honey Balsamic Vinaigrette
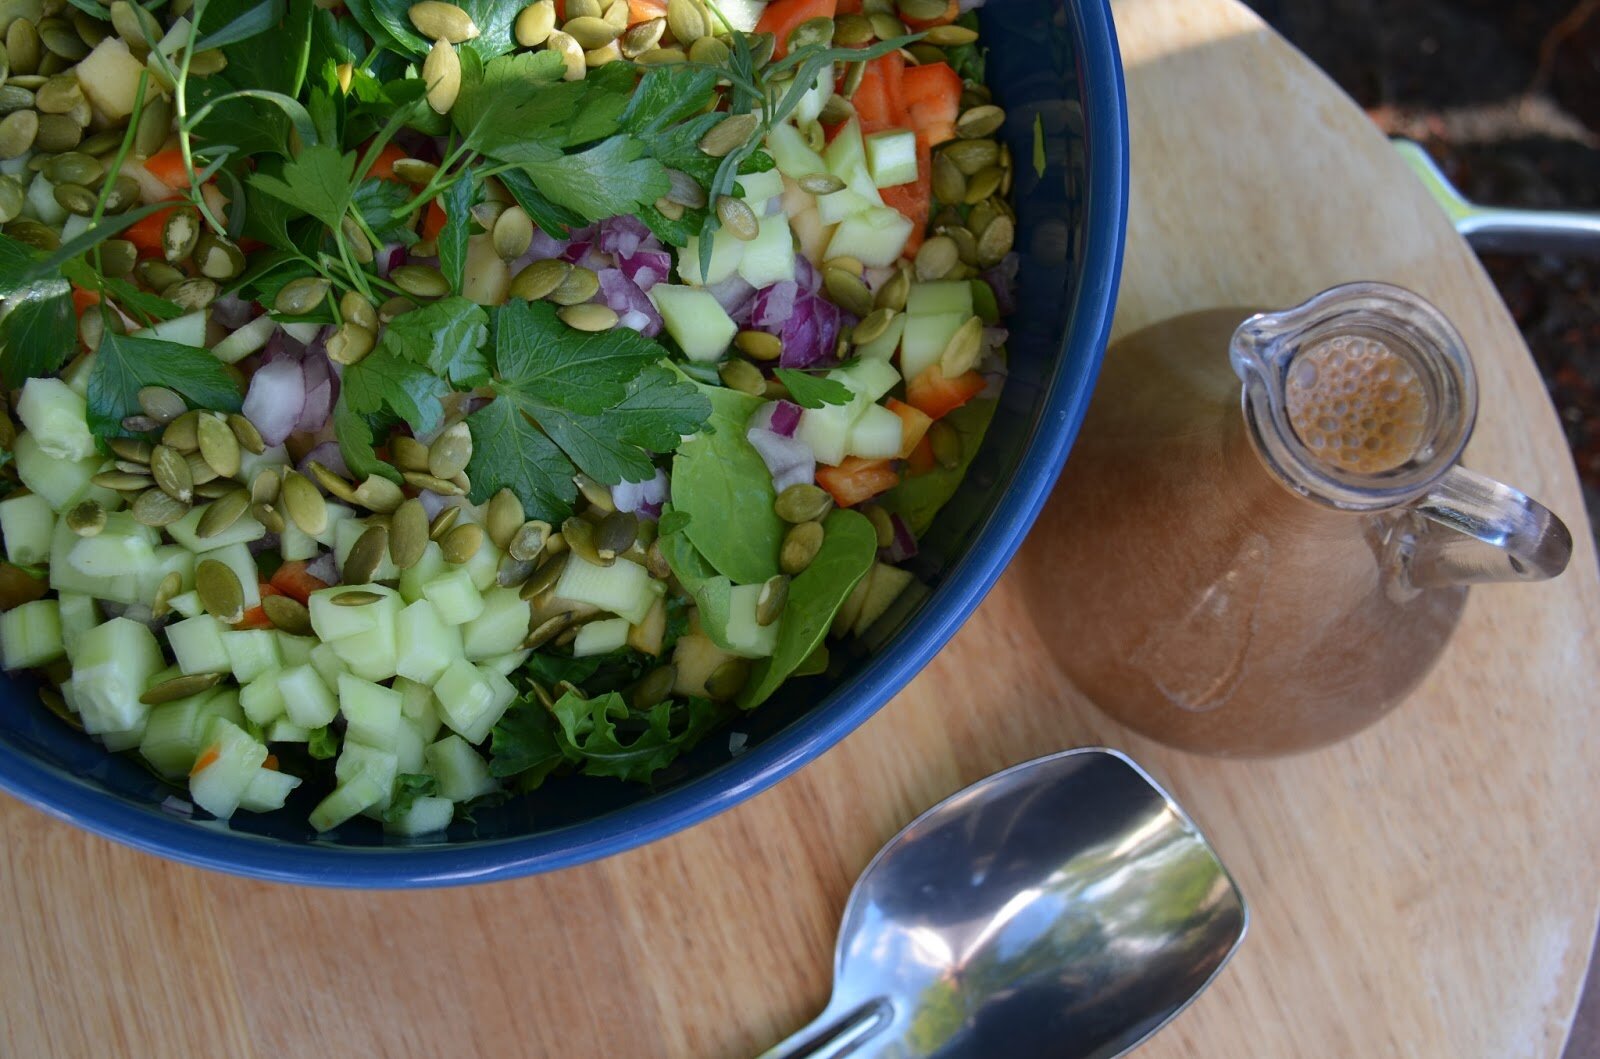
Salads are a MUST make dish this week here in Northern California. There is a heat wave coming through pushing us up into the triple digits for several days. Today is gorgeous and so we are taking advantage of this mild weather and heading to the Farmer’s Market tonight for some dinner and fun. Yesterday I made a big batch of honey balsamic vinaigrette in preparation for the heat and the many salads I have planned to make. My kids always gobble up their greens with this sweet and tangy dressing. Also a great drizzle for roasted potatoes, veggies, chicken, etc. I think we all need a good go-to balsamic vinaigrette recipe. I hope this one makes it into your kitchen soon.

Summer Salad with Homemade Honey Balsamic Vinaigrette
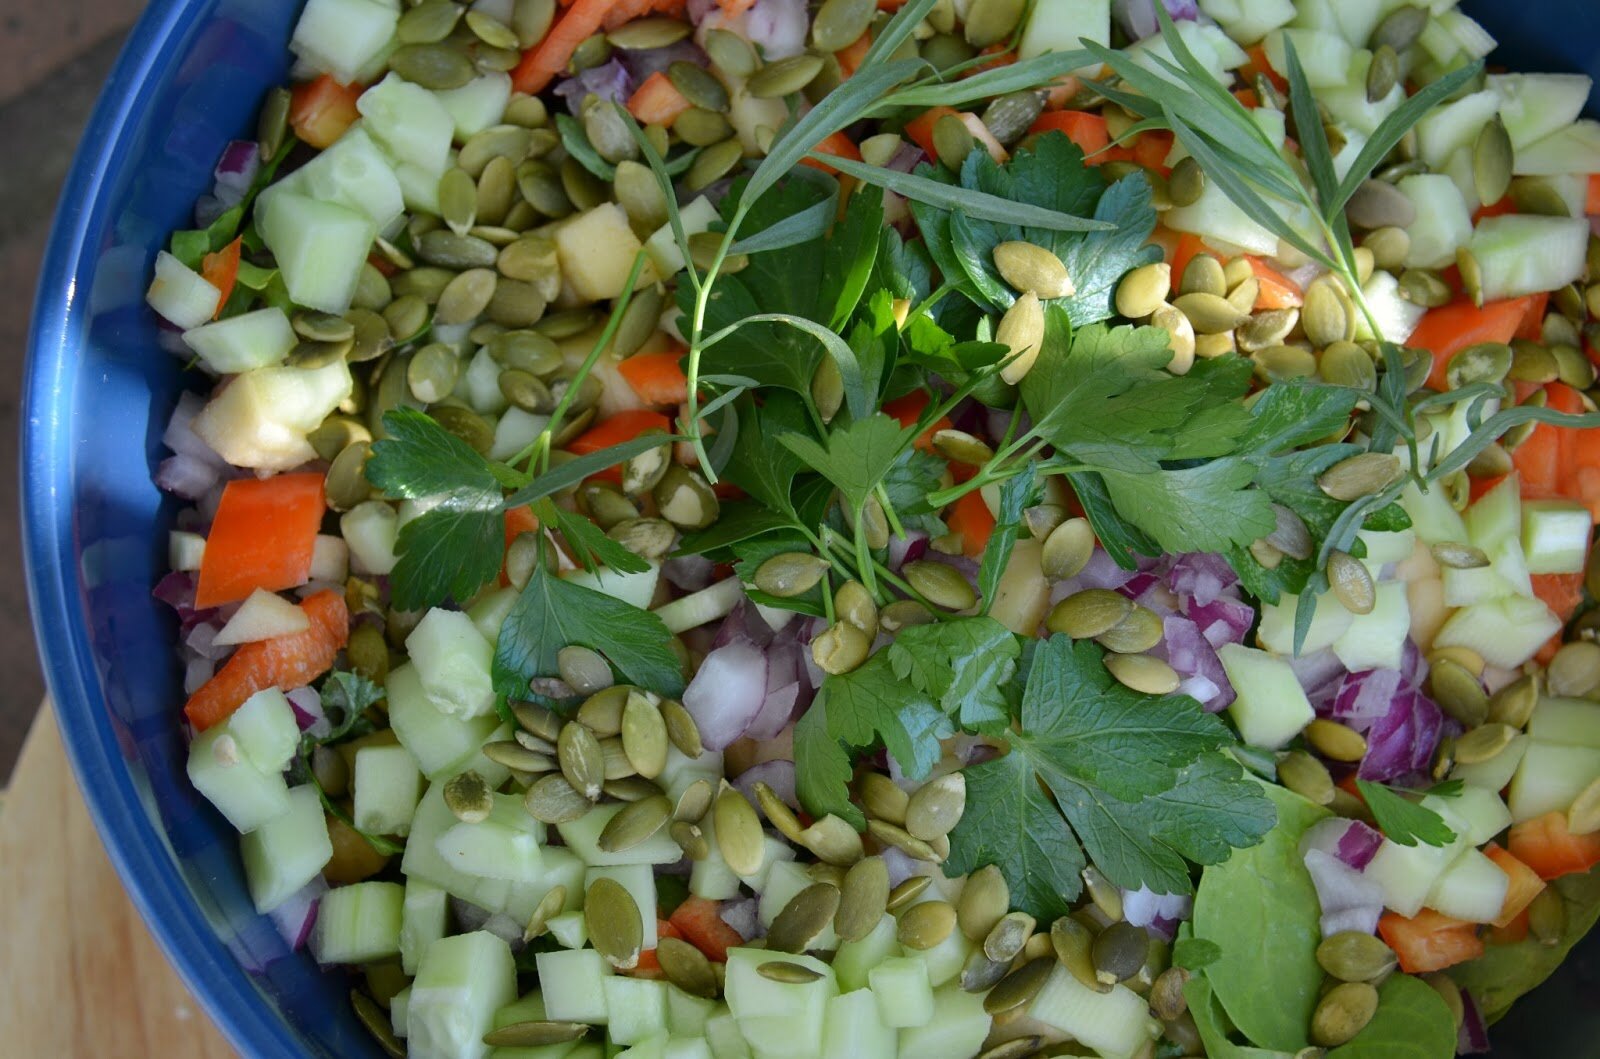
Salad Ingredients:
-9 ounces fresh greens (I used 3 ounces each of: dinosaur kale, arugula, and baby spinach)
-1 1/2 cups peeled and chopped apple
-1 cup chopped cucumber
-2/3 cup diced red onion
-2/3 cup chopped sweet orange pepper (I like the gypsy variety)
-1/4 cup raw pumpkin seeds
-Fresh herbs for garnish (I used parsley and tarragon)
Vinaigrette Ingredients:
-1/2 cup balsamic vinegar
-3 tablespoons local honey (vegans sub with 3 tablespoons coconut nectar and maybe a drop or two of stevia to your sweet preference, perhaps maple syrup would work as a sub too)
-3/4 cup extra virgin olive oil
-1/2 teaspoons salt
-1/2 teaspoon garlic granules
-1/2 teaspoon onion granules
-1 teaspoon dijon mustard
How To:
1. To a blender, add in the vinegar, honey, salt, garlic grans, and onion grans. Blend on low for 10 seconds.
2. Keep the blender running on low and drizzle in the oil very slowly.
3. Then add in the mustard. Blend on medium-high for 10 seconds.
4. Adjust salt and other flavors to taste.
Notes:
*I’ve included two links above to the products I use. I buy them in town, but I wanted to give you an example of what I am using.


Shared on: Raw Foods Thursday, Wellness Weekend Fat Tuesday
Posted by at 11:10 pm
Labels: Paleo, raw, salads, SCD, sides, summer cuisine, vegetarian.
Leave a Reply


This sounds and looks so refreshing, Amber! It’s rare that we get affordable watermelons up here (the bigger ones generally go for around $13), but I’ll have to check out Costco the next time I’m in town (it’s an hour away) for the smaller ones. Thanks for the tip there, and thanks for the beautiful recipe! Off to pin and share! 😉
xoxo,
Meg
Thanks Megan! Whoa, that’s expensive for watermelons! Yikes. Yes, try Costco. I hope they have some you can enjoy. Enjoy the rest of your week.
This looks so refreshing! The health food store I shop at has had large seedless watermelons for $3!!! I’ll have to buy another one for this recipe, we love watermelon 🙂
Thanks Cassidy! What a deal. few years ago we grew watermelons. It was very exciting. We will have to do that again soon – just trying to find a good spot in the yard (here in the new house). Have a great weekend friend. xo
Hi,
I just hopped by from Raw Foods Thursday to see what you were making with my favorite fruit: watermelon! What a light, refreshing salad you have created. I can’t wait to make this. Feel free to hop by and share your delicious, plant-based recipes with us at the Plant Based Potluck Party Link Up (http://urbannaturale.com/share-the-food-fun-at-the-plant-based-potluck-party-link-up-10/)
Will do, Deborah! Thanks.
This looks so fresh and delicious!
Thanks Laura!
This looks soooo good! Just perfect for summer. I’d love for you to link up to Savoring Saturdays this week!
http://www.wholefoodmomonabudget.com/2014/05/savoring-saturdays-13.html
Thank you for the invitation. I’ll hop right on over…
This does look super refreshing. I’m dreaming about Summer and warmer weather 🙂
Thanks, Laura. Are you still in cool temps? I thought you would be warming up about now. I think you will love this dish! Have a great rest of your weekend.
Hi Amber. I picked this as one of my featured favorites at this week’s Paleo AIP Recipe Roundtable. You’ve got me salivating for summer. It’s still a month or two away here, but I’m making this recipe as soon as the watermelons ripen!
Yay! Thanks Eileen Always an honor to be featured. Thank you!
Hi Amber,
Thank you so much for sharing this healthy and delectable watermelon salad recipe at the Plant-Based Potluck Party Blog Hop! I appreciate it!
This sounds wonderful, Amber! Thanks for sharing it at Savoring Saturdays!
You will be featured at Savoring Saturdays when it goes live at 7pm tonight. Thanks so much for sharing your recipe. It looks absolutely wonderful!
Awesome!! Thank you.