

Ingredients:
Dry Ingredients (please see notes below about weighing flours)
-1/2 cup (55 grams) garbanzo/fava bean flour
-1/2 cup (60 grams) (1/2 cup) sorghum flour
-1/3 cup (40 grams) (1/3 cup) tapioca starch
-1/2 cup (50 grams) raw cacao powder
-1 tablespoon + 1 teaspoon GF baking powder
-1 teaspoon baking soda
-1/4 teaspoon (1 gram) xanthan gum
-1/4 teaspoon salt
Wet Ingredients (please see notes below about measuring wet ingredients)
-1/2 cup room temp maple syrup (I recommend grade B)*
-2/3 cup room temperature unsweetened applesauce
-1/2 cup liquid coconut oil
-2/3 cup hot water (just before it starts to boil)
-1 tablespoon vanilla
-1/2 teaspoon liquid stevia
How To:
1. Preheat oven to 350 degrees
2. Prepare cake pans by oiling and dusting with flour (I use coconut oil or grapeseed and sorghum flour for dusting – or you can use parchment paper, but I prefer the oil/four method. I DO NOT recommend using a glass pan. If you do use a glass pan use baking parchment paper for the bottom to prevent sticking. A regular non-stick cake pan is recommended and I’ve only made this recipe in non-stick pans.
3. In a large mixing bowl, combine dry ingredients
4. In a separate bowl, combine wet ingredients
5. SIFT dry ingredients into wet ingredients and mix until well combined (do not over mix). The batter will become thick, this is normal. Scoop batter into cake pan and spread out with silicone spatchula. Tap down pans to even out batter.
6. Baking instructions:
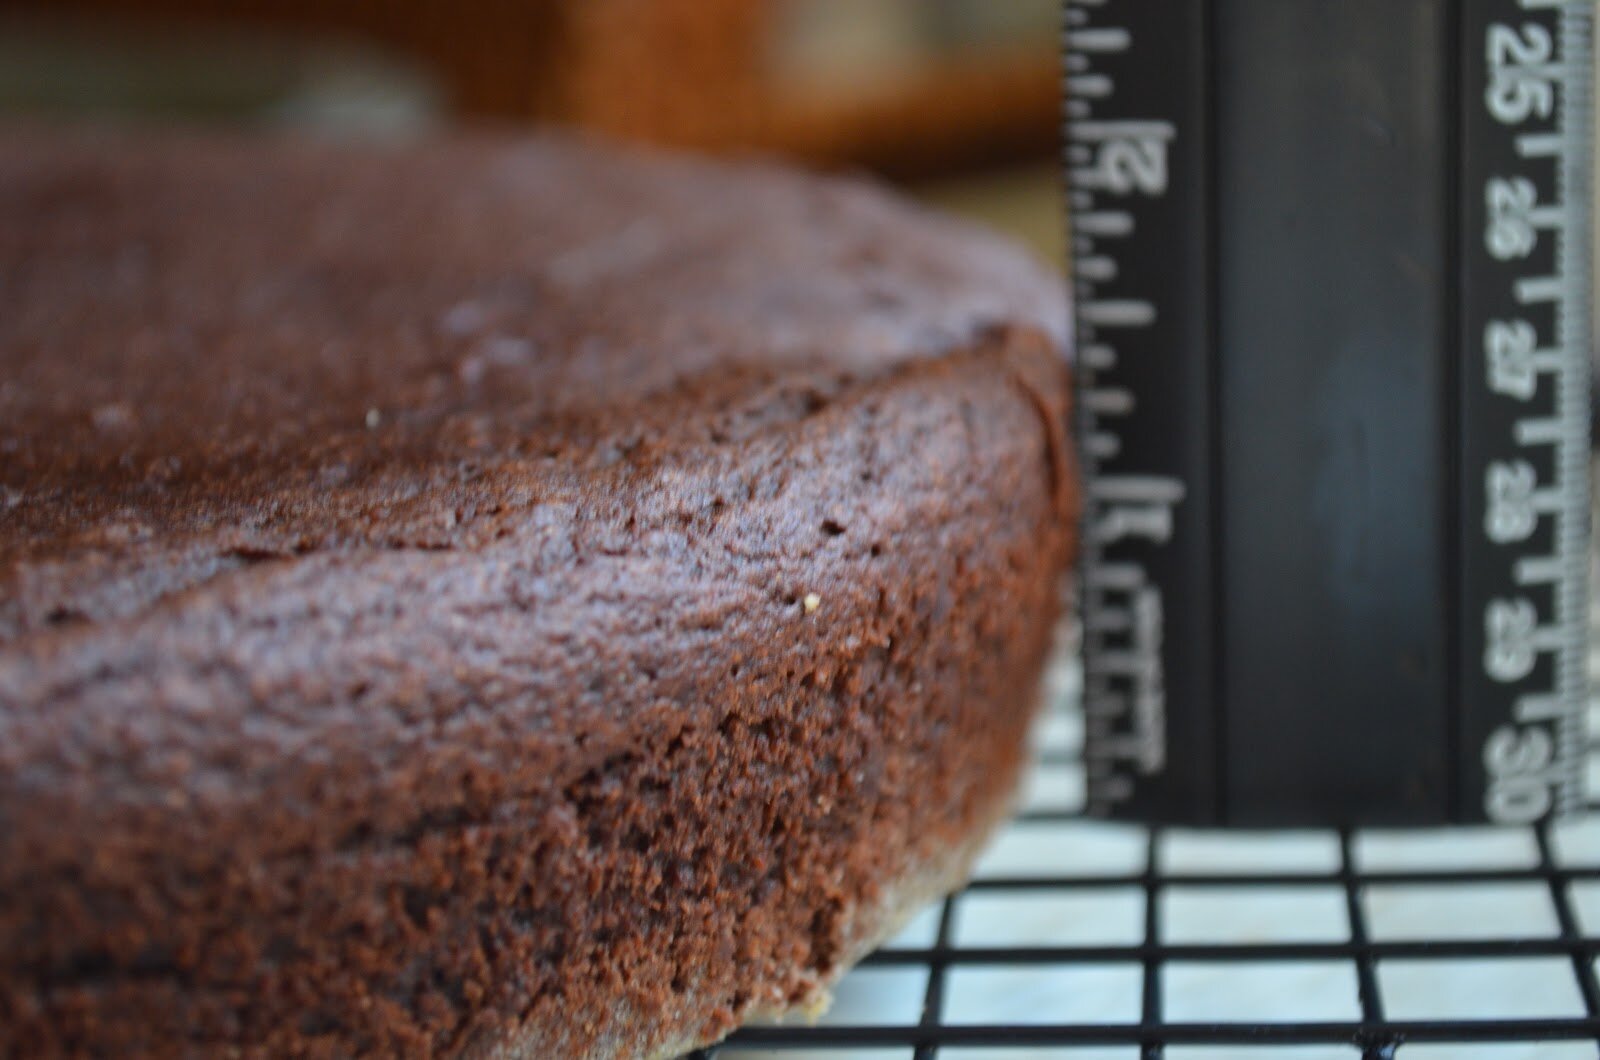
-For two 9″ cake pans filled with one batch of batter, bake for 20 minutes (or until a toothpick comes out dry). You may need to bake 3 to 5 minutes longer in the wet, winter months. Check at 20 minutes and continue on from there.
-For one 9″ cake pan filled with one batch of batter, bake 20 – 25 minutes (or until a toothpick comes out dry). Bake up to 28 minutes in the wet, winter months. Check at 20 minutes and go continue from there.
-For cupcakes, bake 20 – 25 minutes (or until a toothpick comes out dry). Bake a little longer (maybe 2 or 3 minutes) in the wet winter months. When cupcakes come out of the oven, immediately remove the paper cups and cool the cupcakes on a cooling rack.
7. Allow cakes to cool on cooling rack for 30 – 45 minutes
-The recipe in this post will yield 15 cupcakes, or 1 round cake which would be just a single layer (baked in one 9 inch cake pan), or two single layer cakes (which is the double layer shown in the pictures – the batch is obviously split between two 9 inch cake pans).
Ingredients
-2 very ripe avocados
-3/4 cup raw cacao powder
-1/2 cup maple syrup + 10 drops liquid stevia (adjust sweetness to taste)
-1/3 cup melted coconut oil
How To:
1. Mix all ingredients in a food processor until creamy, smooth and well incorporated. Frost cake. This frosting yields enough for two layers (the above recipe baked in two 9 inch cake pans).
Ingredients
-1/3 cup vegetable shortening
-1/3 cup grade B maple syrup (or more to taste)
-1/4 cup liquid coconut oil
-1 tablespoon vanilla extract
-5 – 10 drop liquid stevia (to taste)
-1/2 cup (40 grams) raw cacao powder
How To:
1. Add ingredients to a food processor and blend until well incorporated. Frost cake. This frosting yields enough for one layer of cake (the above recipe baked in one 9 inch cake pan).
2. Place in fridge to firm up frosting if need be.
Recipe Notes:
*I cannot guarantee results of this recipe if flour weights and liquid measurements are not followed exactly. Just sayin…!
*I highly recommend weighing the flours. This will ensure a superior cake. Being off with the flour too much or too little will compromise the texture of the cake. So PLEASE invest in a scale with grams and ounces.
*Please ONLY use a glass Pyrex measuring cup when measuring liquids. Do not use tin measuring cups, as there is a big difference in these measurements. I’ve also included liquid measurements in grams for accuracy.

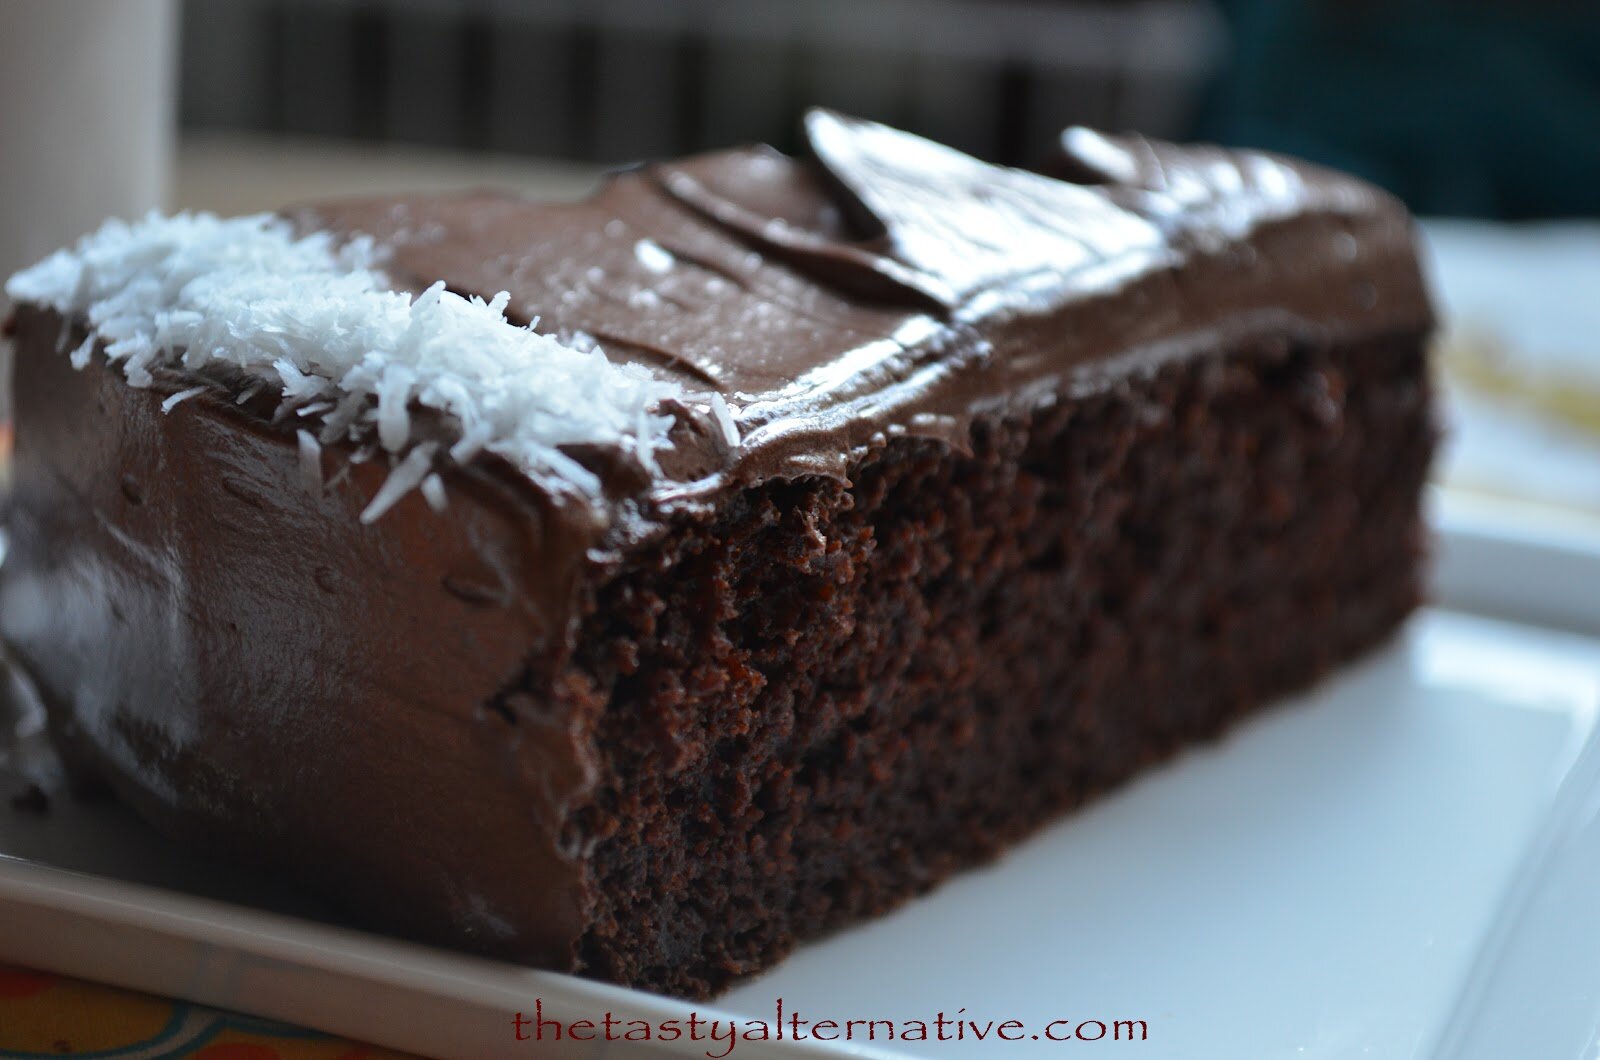
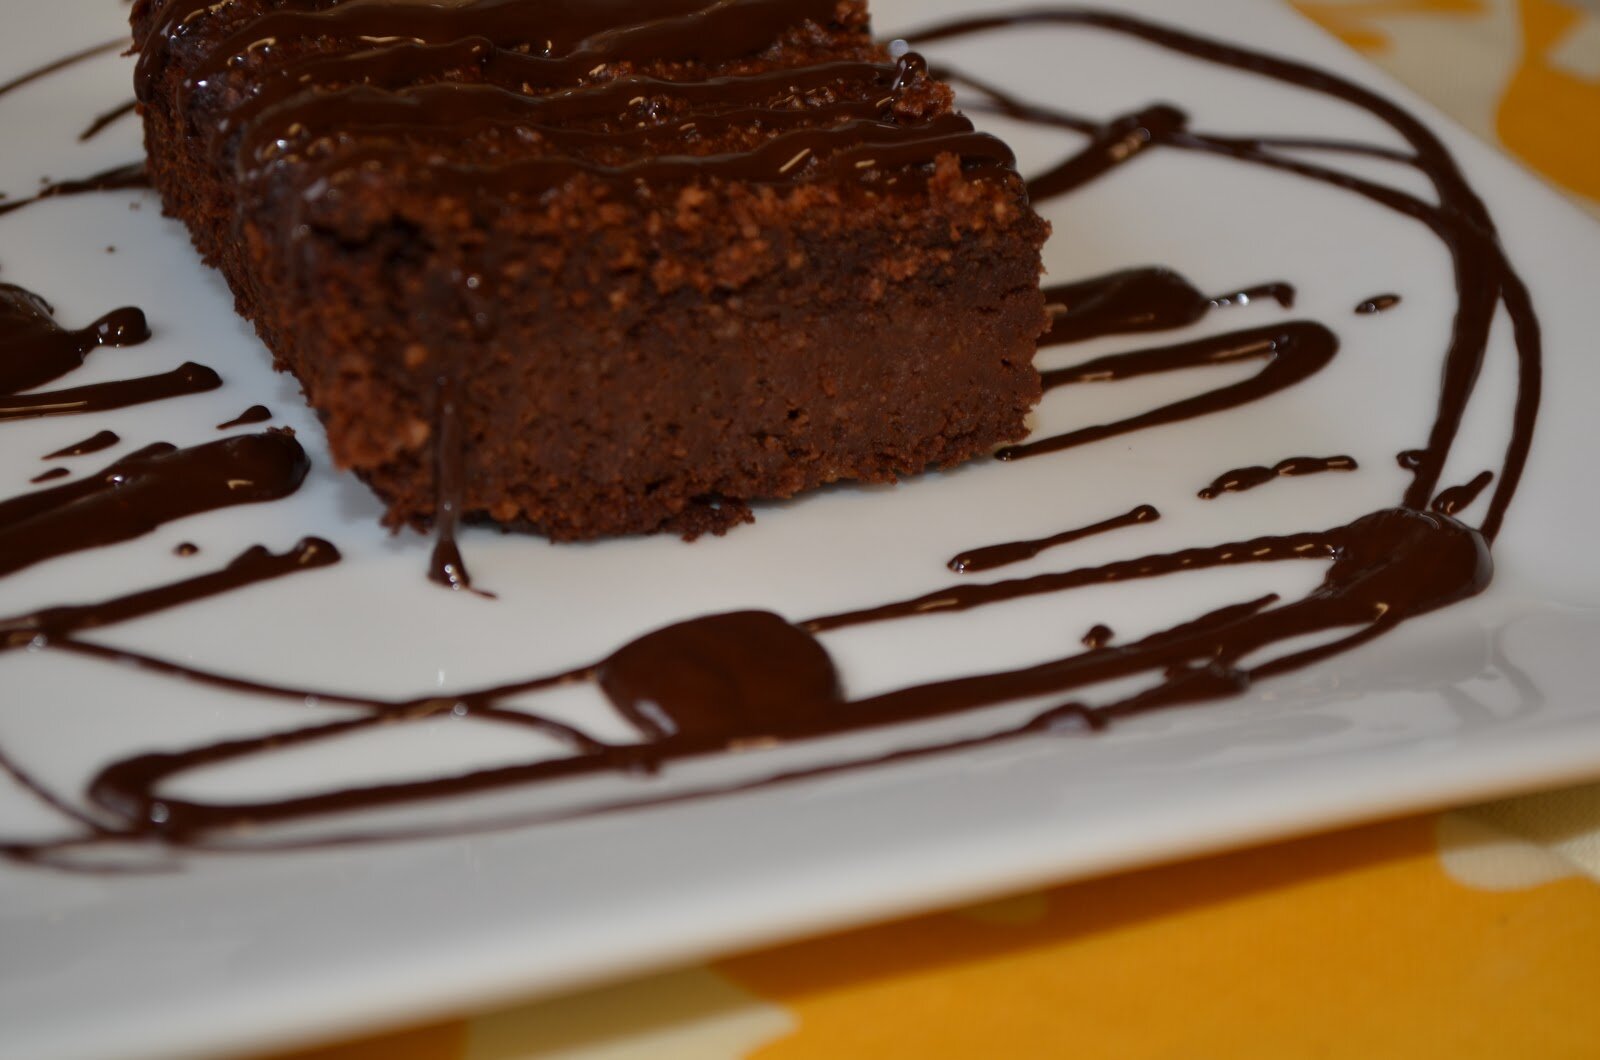
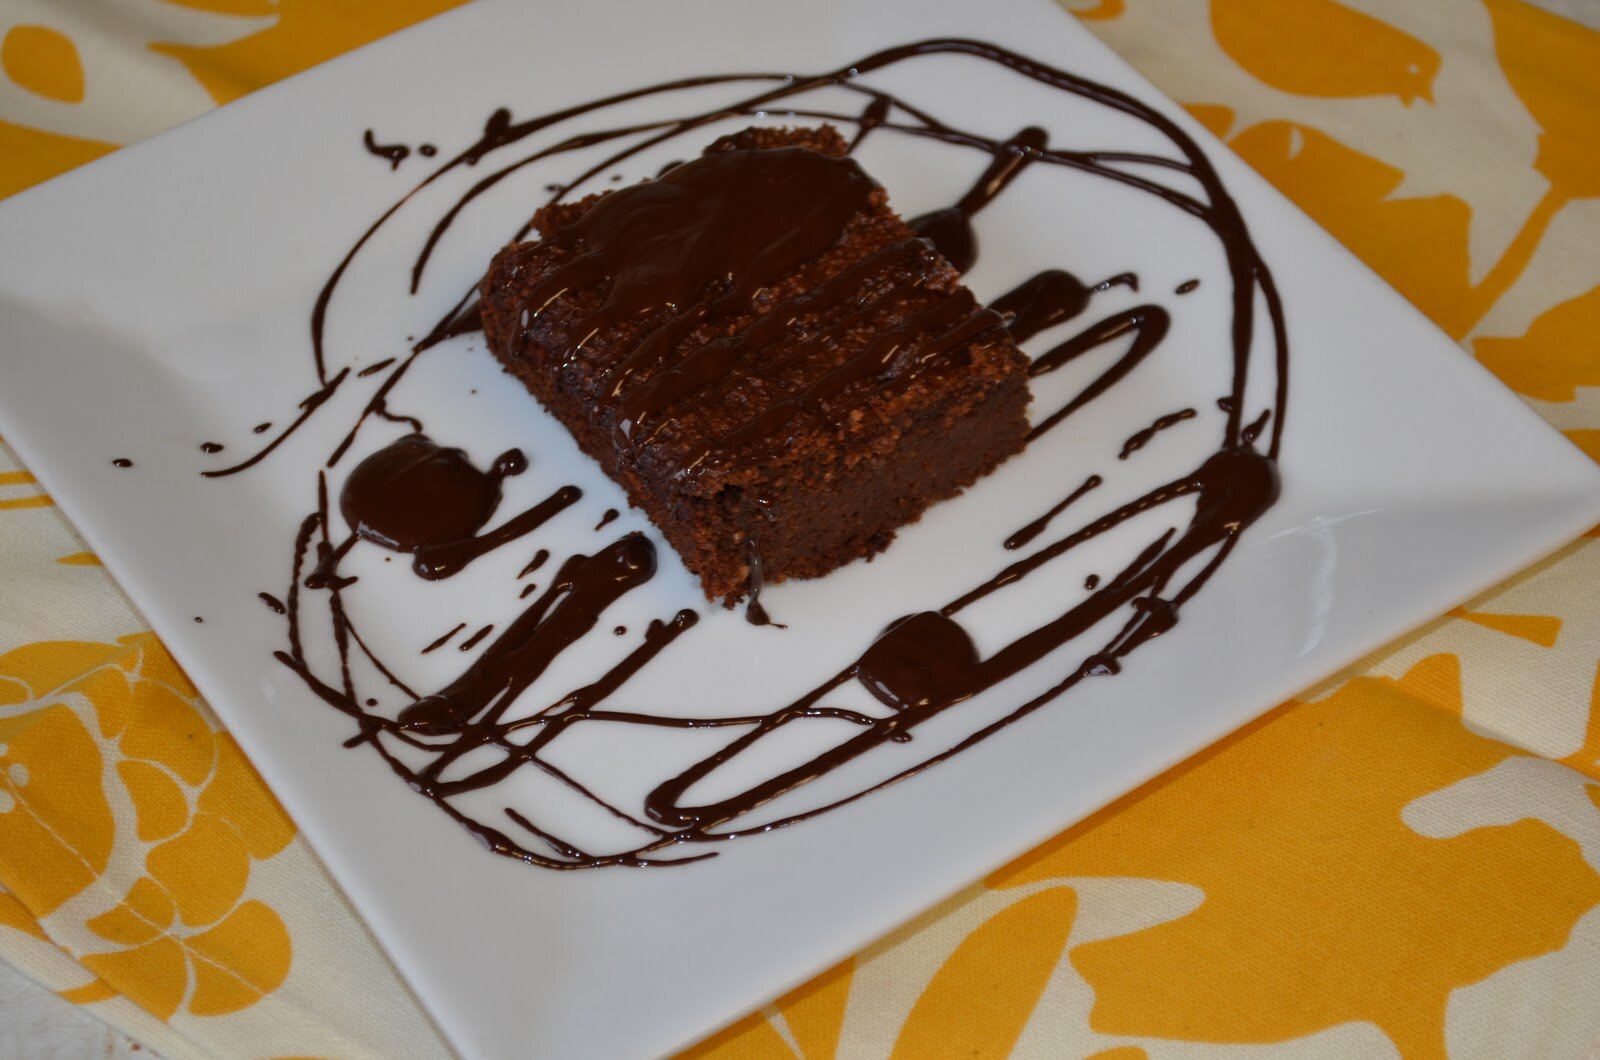
Single Layer with shortening frosting:

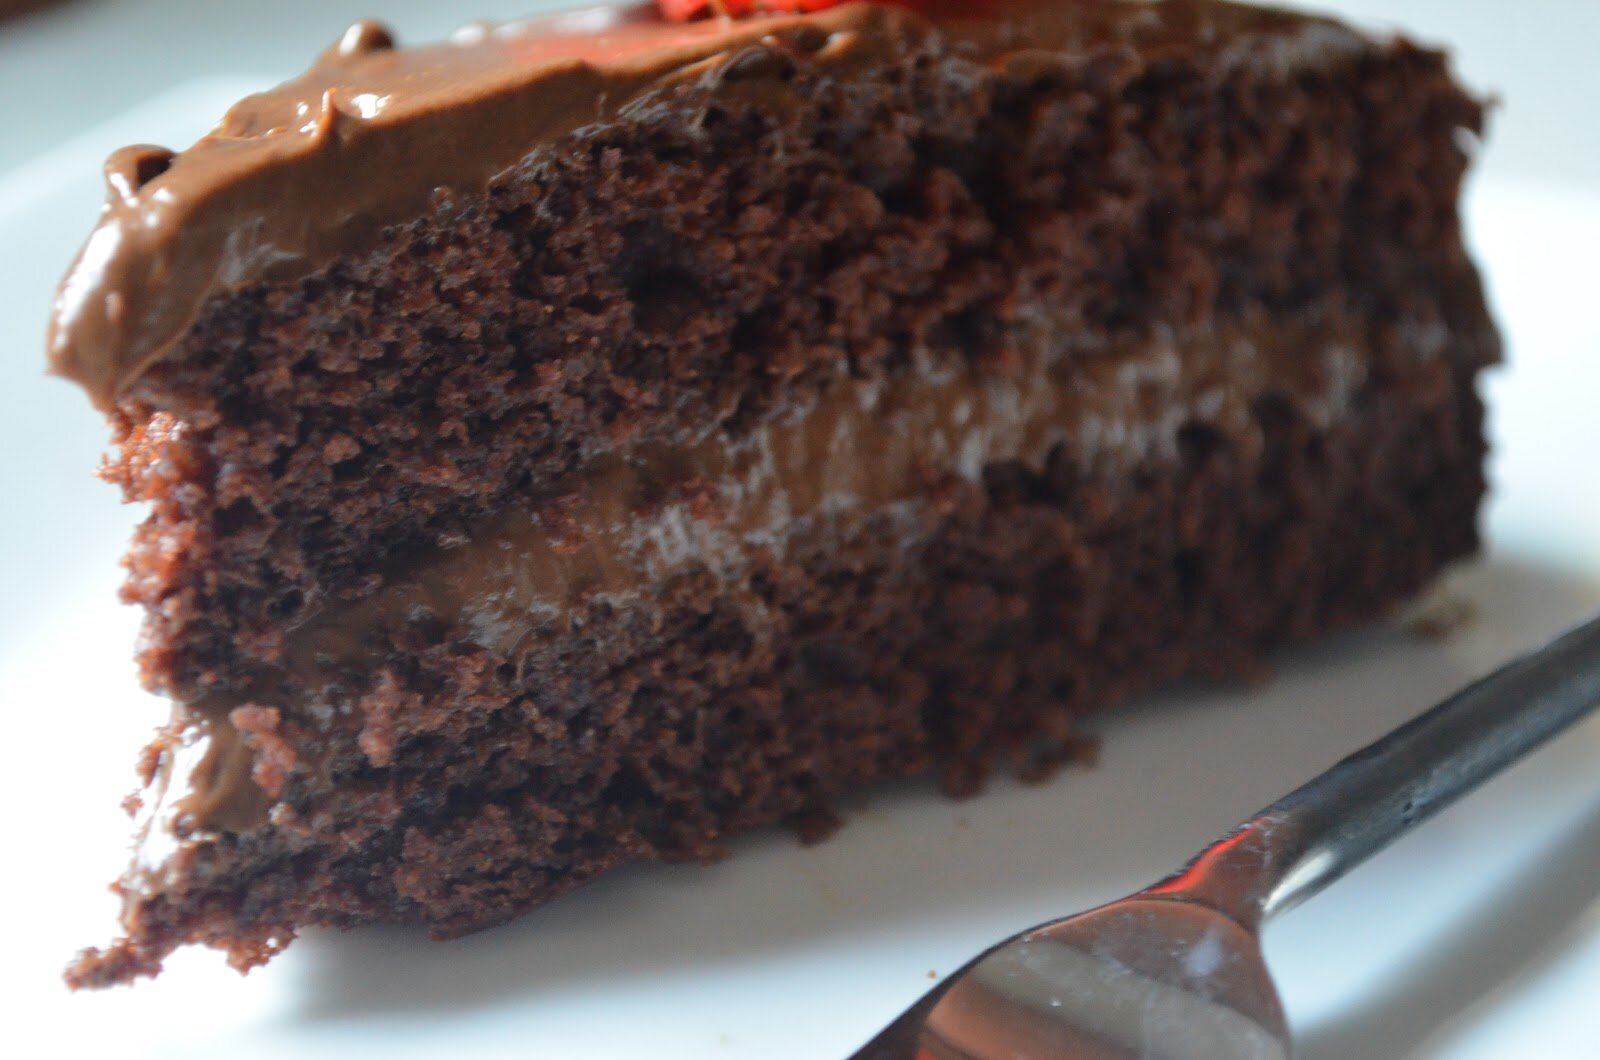
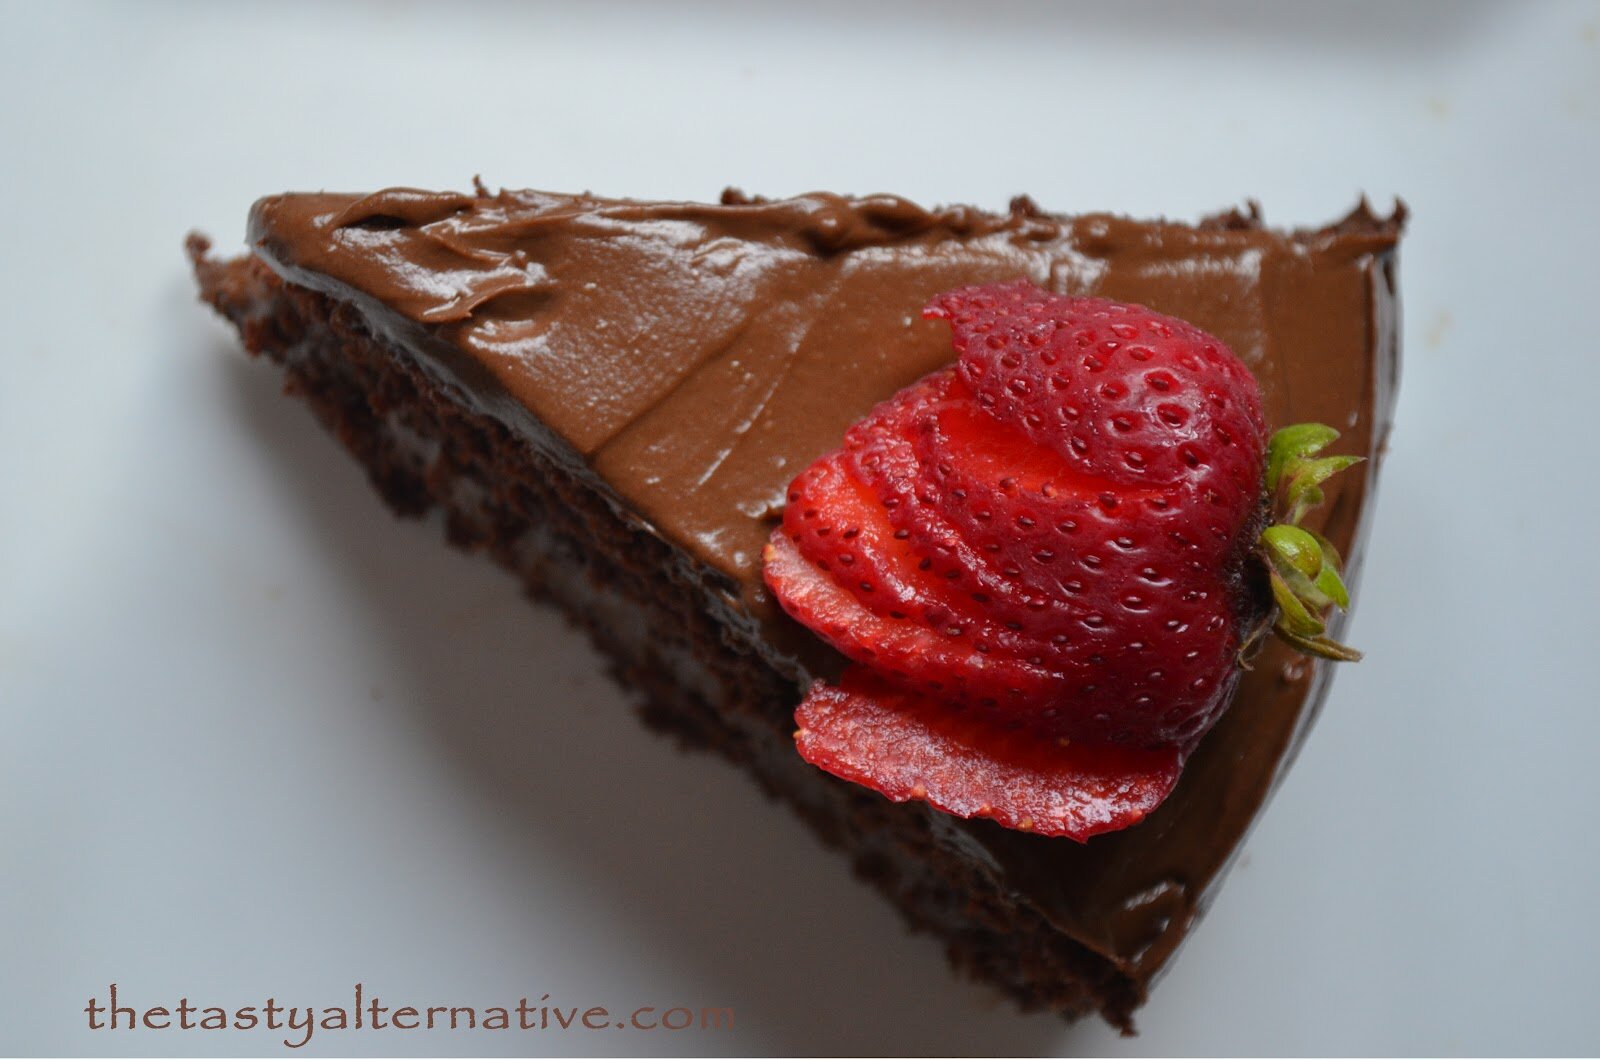
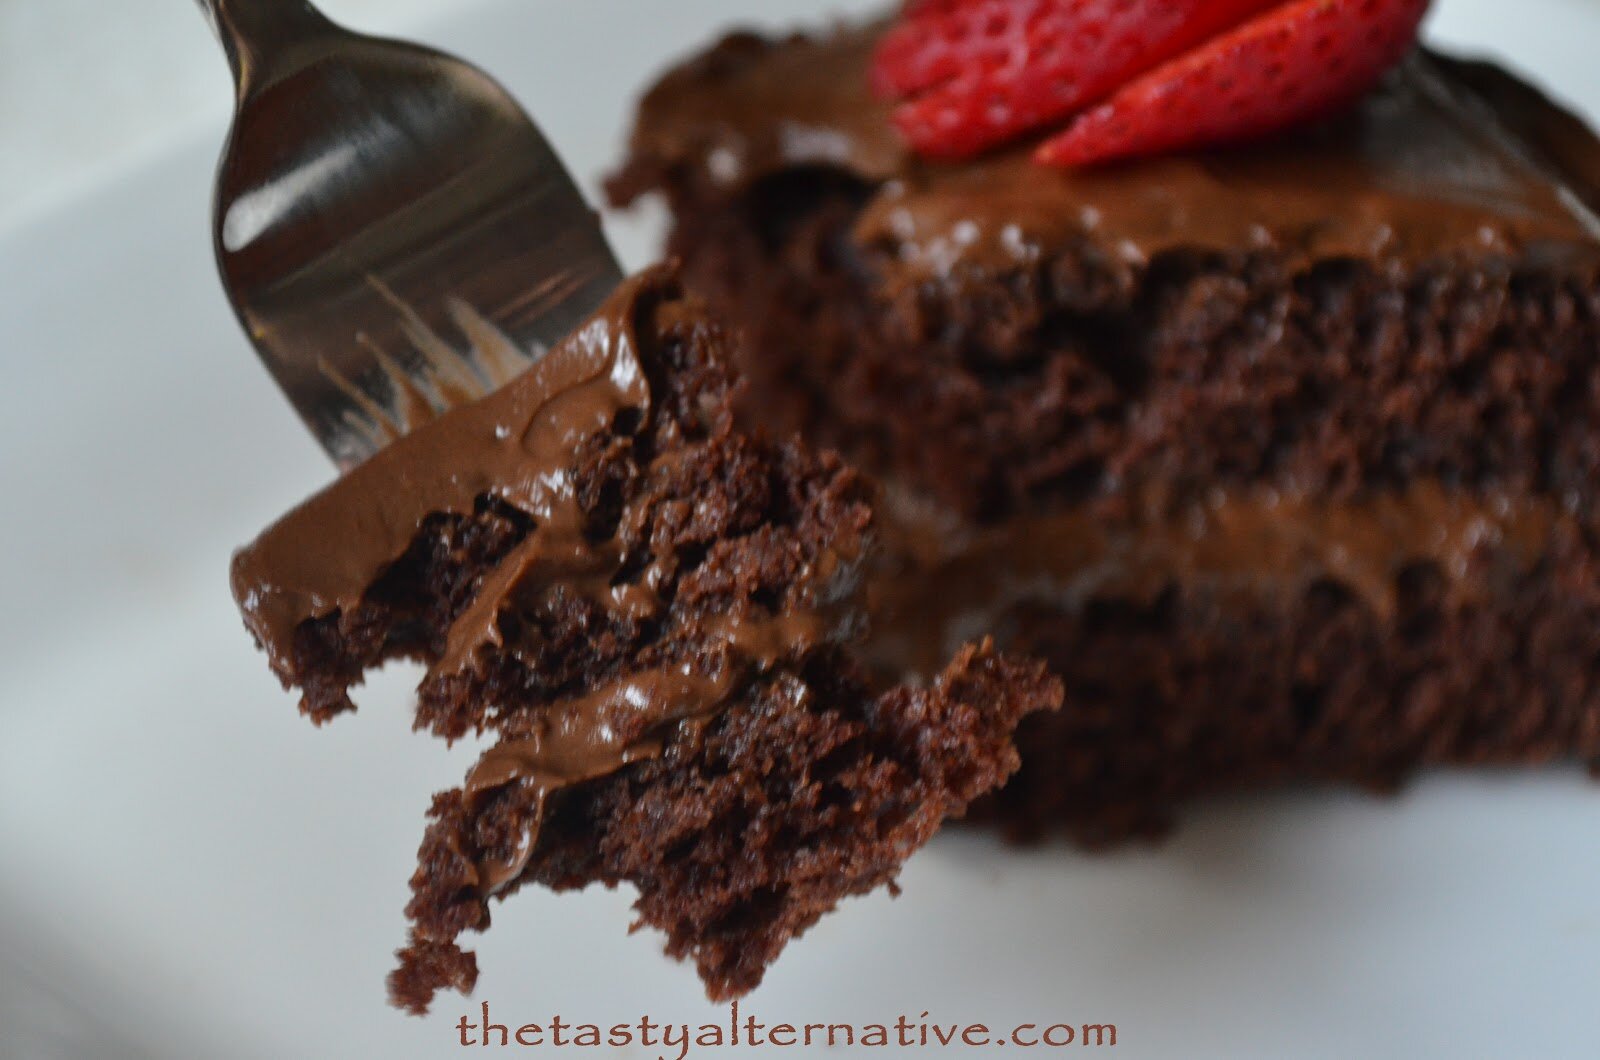
Double Layer with avocado frosting:
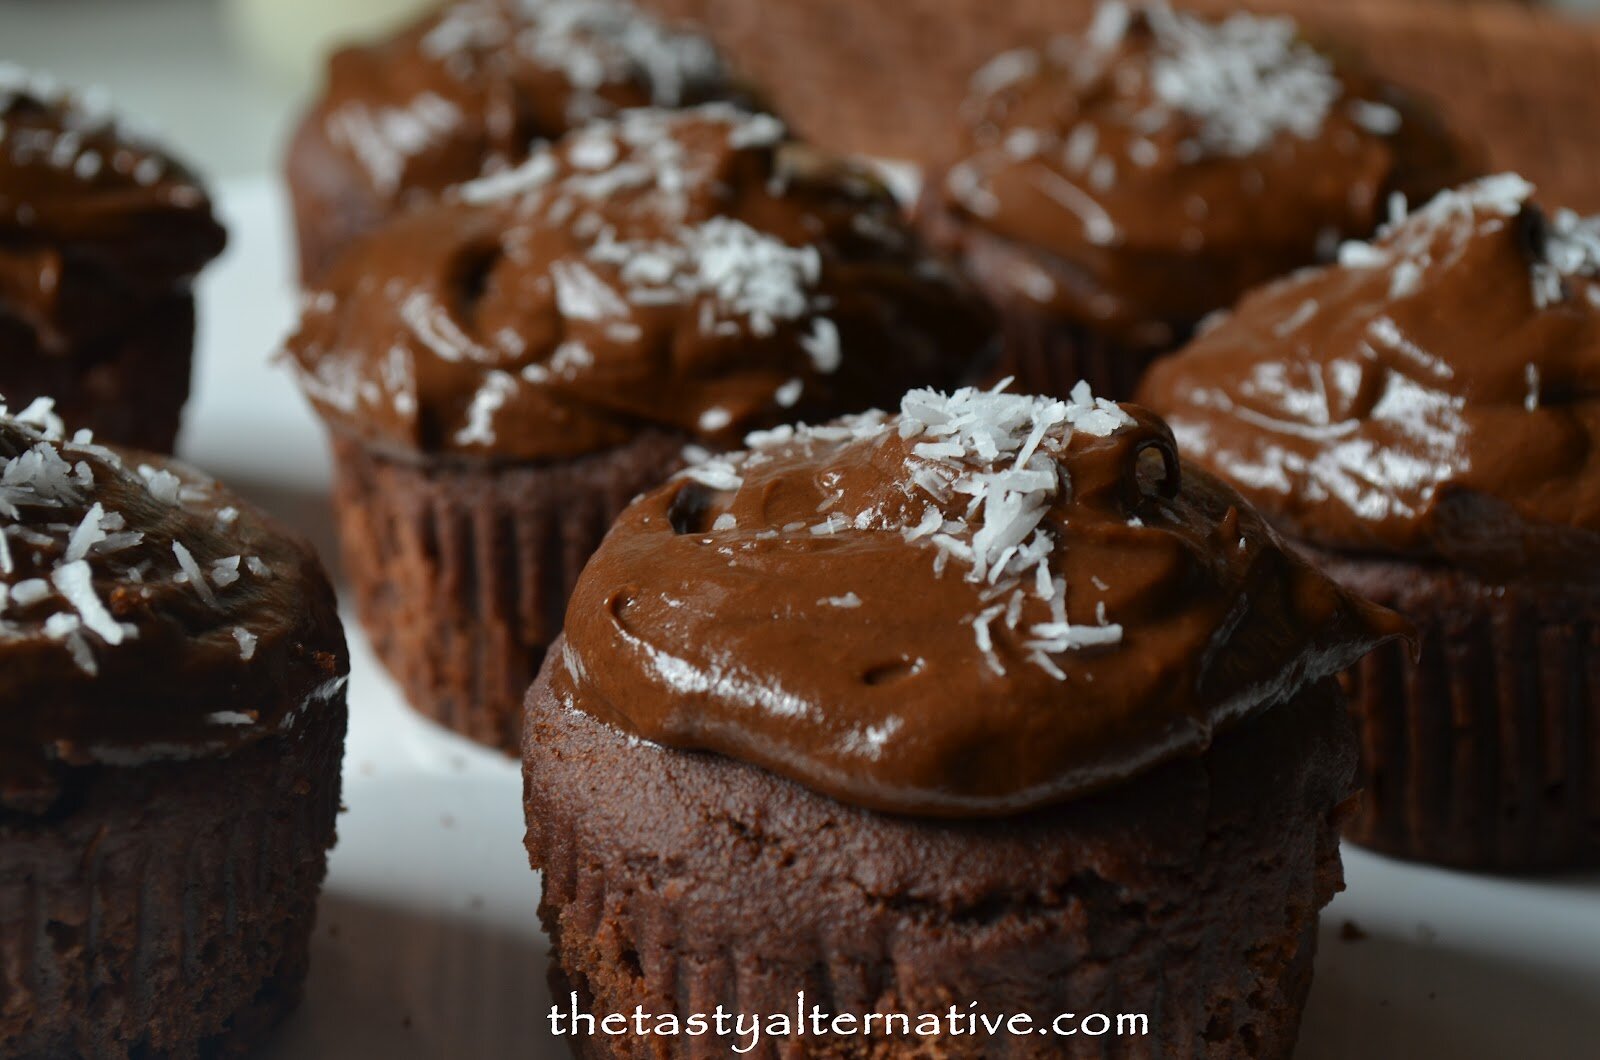
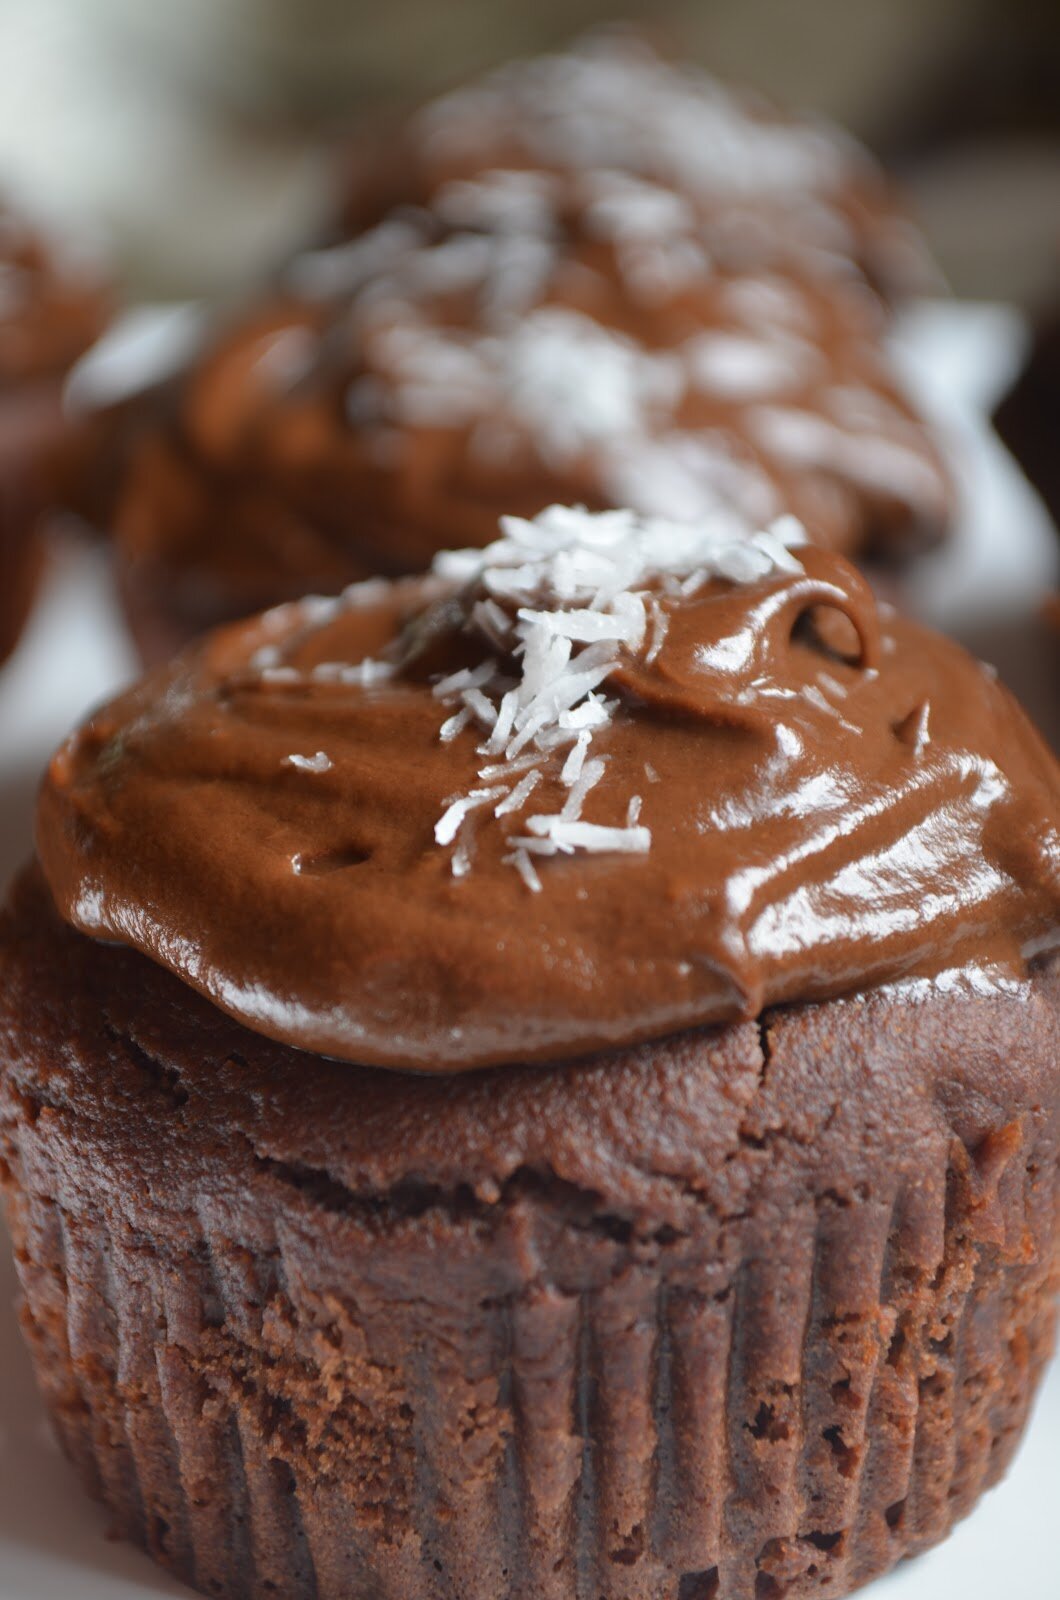
Cupcakes with avocado frosting:

Shared on: Melt in your Mouth Mondays, Motivate Me Mondays, Monday Mania, Mealtime Monday, My Meatless Monday, Just Another Meatless Monday, On The Menu Monday, Mix It Up Monday, Slightly Indulgent Tuesdays, Allergy-Free Wednesdays, Gluten Free Wednesdays, Real Food Wednesdays, Whole Foods Wednesdays, Tastetastic Thursday, Keep It Real Thursdays, Pennywise Platter Thursdays, Wellness Weekend, Fight Back Friday, Fresh Bites Friday, Freaky Friday, Friday Food, Whole Foods Friday, My Birthday Pot Luck Party Friday, Allergy-Friendly Fridays, Sweet Saturday,


Oh my goodness, Matt would DIE for this cake. Bookmarking! I am impressed with all the work you put into this, Amber! 🙂
Thanks so much, Amber. I hope to conquer baking in shapes and forms one day. 🙂
Gorgeous cake Amber! I’ve been visiting your FB page every day this week to see if you’ve posted it! And I LOVE the frostings! Yum!
Thanks Vicky. 🙂
The frostings are pretty great. But I have to say, I prefer the avocado.
Hugs
This looks divine! And its egg free? Incredible!
I know…egg free even. Crazy. It’s super yummy and moist. I find that eggs make baked goods so darn dry. Perhaps this is why I never liked chocolate cake before. 🙂
Looks amazing. Allergic to legumes, so I’m subbing out bean flours. I’ll let you know how it turns out 🙂 (soooo glad it’s egg-free!!!) 😀
Yes, please, substitutions and results are much appreciated. Good for other readers who might be looking for variations.
Wow Amber, what a BEAUTIFUL cake!!! I would certainly be proud if I were you! Your frosting looks soooo good 🙂
Thanks so much, Cassidy! 🙂
I am SO proud of you!! No gar-fava, but I need to make a cake today, so will try this out!
Hi Tessa,
I thought you would be…you are my baking guru after all. Thank you for trying a variation of this recipe. Let me know if you ever make it with the fava/garbanzo and how you like it (and if the flavor is too overpowering for you).
Oh Amber, this is beautiful! Now the love affair is no longer long distance! Seriously, this is amazing!
Thanks Sarena. It’s fun to eat such a healthy cake.
Looks so yummy, Amber! 🙂 I appreciate my fellow greenies too! 🙂
Thank you Stephanie.
I we had this for little man’s bday tonight! I subbed the garfava for another high
Protein flour.”coconut. The flavor was awesome, and that FROSTING! Number two that is….sublime! Next time I might add so emchia meal or more gum or psyllium to help bind, the cake was very fragile. Thank you!
Hi Tessa,
Wow, you’re quick. Glad you enjoyed the flavor. Everyone who tastes it really likes it.
If you can, try to make it with the fava/garbanzo (it’s a preferred gf mix at Babycakes Bakery). And the x-gum holds the cake together perfectly – but I don’t think you use x-gum (bc of the corn). I don’t use it that much either (but the Babycakes uses it), so again, trying to stay close to their recipe.
I would love to hear how you like the cake if you ever make this recipe. I can tell you, it’s certainly not fragile. It feels and tastes JUST like a traditional cake. I’m so proud of it. Funny, I figured you would sub with teff before the coconut. 🙂
Anyway, thanks for your version, Tessa. Again, let me know if you get to use the garbanzo/fava mix.
And happy birthday to your son! I hope he had a great day.
Hugs,
–Amber
I have used bean flours before and I always taste them, no matter how little. I have never used gar-fava though…worth a shot, can’t know until you try it! And I did use guar gum, b/c yes, that whole corn thing….
Hey Tessa,
Well, you might be able to detect the fava/garbanzo flavor then. This recipe would work with just sorghum as the flour. It’s such a great, light, sweet flour. I really like it. 🙂
Have a great weekend. Still hot as hell here in Cali. So looking forward to fall.
Hugs,
–Am
I love sorghum too, so will try that…after all, i DO have a bit of frosting left….. (;
Wow Amber this is amazing! I love avocado frostings so I would totally use that one 🙂 Next time I need a cake recipe, I totally know where I’m coming!
Thank you Gabby. If you get a chance to make it, let me know how it turns out for you. 🙂
This looks totally delicious. Great recipe, Amber!
Thank you lovely Kammie.
well, I have to say this looks fantastic:) I have the Babycakes book,the UK version, and have only made the chocolate muffins, so it will be interesting to compare the two – life can be so tough sometimes … sigh … well done for all your hard work for a non-baker:)
I will have to get my hands on that cookbook – but it has been fun experimenting and strengthening my baking skills.
You most def. can call yourself a baker now!! Your grain-free cake looks incredibly moist and screams perfection. This cake looks divine Amber!
Thanks Laura! Although this cake isn’t grain free. I look forward to creating my own grain free chocolate cake recipe soon. 🙂
oh wondferful! grain free and looks more moist than any other “grain cake” out there! mhmmm
Hello Alexia,
Thanks for stopping by. This cake does in fact contain grains though. And yes, this cake is very moist indeed. Everyone has really liked it (especially those used to eating traditional gluten cakes). Have a great Monday. 🙂
Amazing cake. I could learn a whole lot about healthy alternatives from you! Thank you for sharing this beautiful cake at ON THE MENU MONDAY!
Many thanks.
Is the recipe supposed to say: Makes (12 cupcakes, or) 1 round cake (in one 9 inch cake pan), or two round cakes (in two EIGHT inch cake pans). ?? Or 12 cupcakes plus an 9″ pan vs 2×8″ pans? I’m planning on making this today- so excited!
Hi There Kristin,
I will do my best to help you understand. But please let me know if it still isn’t clear for ya…
With the batter in the above recipe you can do 1 of three things with it – I’ve tried all three which is why I’m suggesting them.
1. Cupcakes (12)
2. One single layer cake (baked in a 9 inch cake pan). Reference pictures from above.
3. If you prefer a double layer cake (this is my preference), this batch can be divided into two cake pans, but it won’t be very high (the batter will rise, but only slightly). Also reference pictures.
I’ve tested all three methods at 350 degrees and for 20 minutes with consistent result.
Hope this helps. Let me know how it turns out! 🙂
I used a 8″x8″ glass pan as we only had one 8″ round cake pan. After cooling for the directed half hour, I tried to flip the cake out of the pan as was effortlessly shown in the video. It would appear as though a glass pan holds the heat longer, and the cake didn’t make it in one piece.
At this point I said “to hell with it” and frosted it immediately. I was obviously no longer going for looks. :
We ate it off the plate (delicious!), still slightly warm
Oh my, that might be the most beautiful chocolate cake I’ve ever seen! With two frosting options, I’m going to have to make it twice 🙂
Sharing on my Facebook page
Awe, thank so much Laureen. Appreciate your sharing.
wow oh wow that looks absolutely DELICIOUS! i wish i could grab a slice through the screen!!
Ha ha, I feel that was about so many of your recipes too, Caralyn. 🙂
I just made this and it is fabulous! I think I just consumed way too much though. I did a single cake with frosting #2. I am thrilled to have a recipe that I can now make for my daughter’s birthday as she has many sensitivities. Thank you!
Hi Jill,
So awesome! Thank you for leaving me a message here and letting me know how it turned out for your family. I LOVE getting feedback on recipes I worked on perfecting. You rock.
And how special your daughter can enjoy this cake for her birthday. That makes me smile.
Have a great weekend.
Be Well,
–Amber
Thank you so much for offering an avocado free version! I just recently found out I am allergic to them, despite my love for them. ;o)
Hi Kylie,
My pleasure. It’s difficult to find out that certain foods don’t agree with us (especially if we love them). Last summer I came to realize that watermelons were causing me great stomach and intestinal distress! Crazy.
Have a great weekend.
Uhhhh…drool! That looks incredibly moist and delicious! Thanks for linking up at Sweet Saturday, nice to have you here again 🙂
Thanks Jessica. Great to be back. 🙂
You had me at sugar-free! I came via Lifeologia and saw your cake picture. We don’t have to eat gluten-free, though I do like to experiment with it, but we do avoid refined sugar, eggs and dairy when baking because of health issues between my son and I. This recipe looks so amazing, I’m really excited to try it out!
Thank you Sunshine Mama (love your name). 🙂
Glad to meet you…thanks for stopping by.
wowza.. the cake looks ridiculously good. i might give it a try it one of the coming birthdays! i dont usually add brean flours either but have heard about garfava not tasting as strong. Thanks for the recipe!
Yeah, the garfava isn’t too bad. If you’re sensitive, you might taste it though. I look forward to experimenting with some new flours and with vegan baking. 🙂
That looks wonderful! You are definitely a baker now – most bakers I know aren’t as dedicated as you were to making this a success. Thanks for sharing at Sweet Saturday!
Hey thanks April. Hooray. Glad to hear I’ve made it to the title of an official baker.
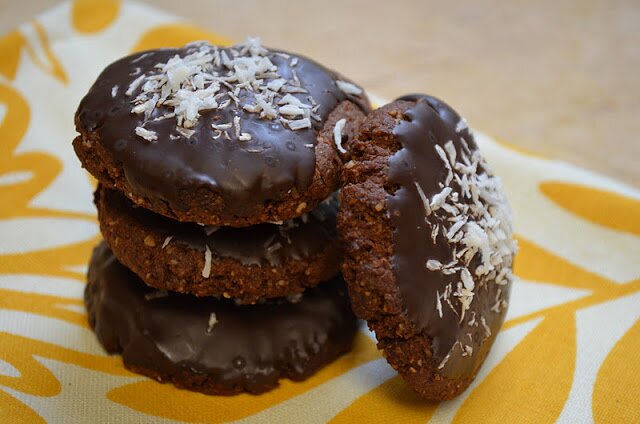
This is so beautiful, Amber, and I love the coconut “crust” on top! I’m glad we changed our AFW rules so that I could feature it this week. I can’t wait to try it.
Thanks so much, Michelle. That means a lot. And thank you for featuring my cake this week. So honored.
Hugs to you. 🙂
Hey Amber – thanks for sharing! I am new to GF and found your recipe via Cybele Pascal’s website. I plan to try your recipe with a few changes and I’ll post how it turned out and what I changed. Thanks for a great website 🙂
Sarah
Hi Sarah,
Great! Can’t wait to see how it turns out and your modifications.
Enjoy the rest of your weekend.
–Amber
Has anyone tried this recipe by subbing out the garbanzo/fava flour with another flour? I can’t have garbanzo beans. Do you have a suggestion for another flour I can use? I can’t use coconut flour either.
Hello Anonymous,
I suggest using millet, more sorghum, brown rice flour, or replacing with another high protein flour such as green pea flour (high in protein and fiber), quinoa flour (high protein), or soy flour.
Let me know what works for you!
Thanks,
–Amber
I made this today, as cupcakes and they were DELICIOUS! And, I did frosting #2, which was really tasty. I recently did an avocado-based chocolate frosting, which was really good, so I tried #2 and it was great. However, when I made the cupcakes, they all fell. I followed the instructions very closely, and even weighed the flours. Any hints? THANKS! – Chris
Hi Chris,
Thanks for your feedback. Glad you enjoyed the recipe!!
I’m sorry to hear the cupcakes fell. I’m thinking back to these cupcakes and the batter, and I never had that problem. They always puffed up for me (and I haven’t heard any feedback from others about them falling). I’m sorry I can’t offer any concrete advice. I felt like after so many trials with this recipe, it was just right.
The only thing that come to mind is oven temperature. If your oven is running cooler perhaps the cupcakes were not able to cook enough, then being exposed to the air dropped the middles.
When I make these again I will let you know how they turn out for me.
I took a baking break after months of experimenting (plus I was so tired of chocolate cake), but it’s sounding appealing again. 🙂
This is why baking is not my forte. Just the slightest difference can change the outcome. But it sounds like you followed the recipe exactly…so I just don’t know what could have gone wrong.
Please keep me posted if you ever make them again.
And thanks for letting me know!
Have a great Thanksgiving.
–Amber
Will it work if I replaced all the flours with Bob Red Mill’s Gluten Free All-Purpose Flour (which contains Garbanzo Bean Flour, Potato Starch, Tapioca Flour, White Sorghum Flour, and Fava Bean Flour)? Also, I don’t have liquid Sevia. Can I just leave it out?
Hi Marisa,
Oh whoops, I thought I had this recipe in draft! I was still working on it. Sorry the measurements were confusing. I fixed them from my notes. I had it in draft because the batter acted different during the winter than during the summer. So, I had my good friend make this twice, and she said it came out fine. I plan on making it again soon to make sure. Arg…I’m so not a baker, and this is why…so many elements come into play with baking. For example, the batter was very thick in the summer, and then very thin during the winter on high humidity days.
So anyway, to answer your question, I would just weight out the flours and see how the cake turns out. Test first. Since I have not used this blend personally, I can’t speak about the outcome. So please let me know if it works for you so I can make a note in the recipe for others who might want to use this blend. And for the stevia…I would highly recommend it. The cake will not be as sweet if you leave this out. It will be sort of bitter. But if you like the taste of bitter dark chocolate, that it will work well.
Thanks,
–Amber
I just made them, and they came out great with substituting the bean flour, the sorghum flour, and the tapioca starch for the equal amount (1 1/3 cups) of Bob Red Mill Gluten Free All-Purpose Baking Flour! I added about a heaping 1/4 cup of Stevia in the Raw granulated sweetener to help a bit with the bitterness from not using the liquid sweetener, and they were still not as sweet, but they were still very good. I’ll have to get some liquid Stevia next time I go to Whole Foods to use for the next batch of these.
Hi Marisa,
Thanks so much for letting me know! Did you make cupcakes?
I’ll have to add that Bob’s 1 1/3 cups option to the notes. Thanks for testing that out. 😉
And I’m surprised the 1/4 cup stevia in the raw was not sweet enough, considering you just left out 1/2 teaspoon stevia. You know, we all have different sweet tolerances. I, personally, am very sensitive to sweet and think this recipe here is too sweet. I always suggest folks test out recipes as written, then make adjustments the next time…you just never know. So you may want to add in 1 teaspoon liquid stevia if you make this again, because it still might not be sweet enough. I purposely did not over sweeten the cake though because the frosting is very, very rich. So together, the cake and frosting work well. But still, of me, a bit too sweet. Ha ha.
Thanks again,
-Amber
Yeah, I made cupcakes. I didn’t use any frosting though.
Hi Amber! Thank you soooo much for this fantastic recipe, my girls and I LOVE it!!! I thought you might like to know that I have made this at least 4 times, and I am nowhere near as meticulous as you are… I have never weighed the flours (in fact I don’t even level them), I never bring the applesauce or maple syrup to room temp, and I don’t use stevia so I just omit that. I also have to sub olive oil for the coconut oil. It has come out BEAUTIFULLY every time! The cake is like velvet and the frosting is light and they complement each other perfectly. Taste and texture of both are flawless! I always make the shortening frosting and usually refrigerate it separately…it firms up nicely and is soooo silky smooth I am thinking of using it for chocolate creme candy centers….YUM!!! So grateful to you for your hard work and sharing your wonderful recipe! 🙂
Wow, thank you so much for your awesome comment! You really made my night. I am very proud of this recipe and it warms my heart that it is being enjoyed by others. And I really thank you for your feedback. I’ve never made this cake any other way and so great to know that you don’t have to be AS meticulous about weighing the flours – and all the other details. This is very helpful for my readers. Again, thank you for the great feedback!!
Be Well,
–Amber
Hi. Has anyone made this cake subbing the Apple Sauce? It is one of the no nos for Fructose Free. I can only think of Mayonaise (egg free) as having similar texture as the apple sauce.
p.s Pear is not suitable either.