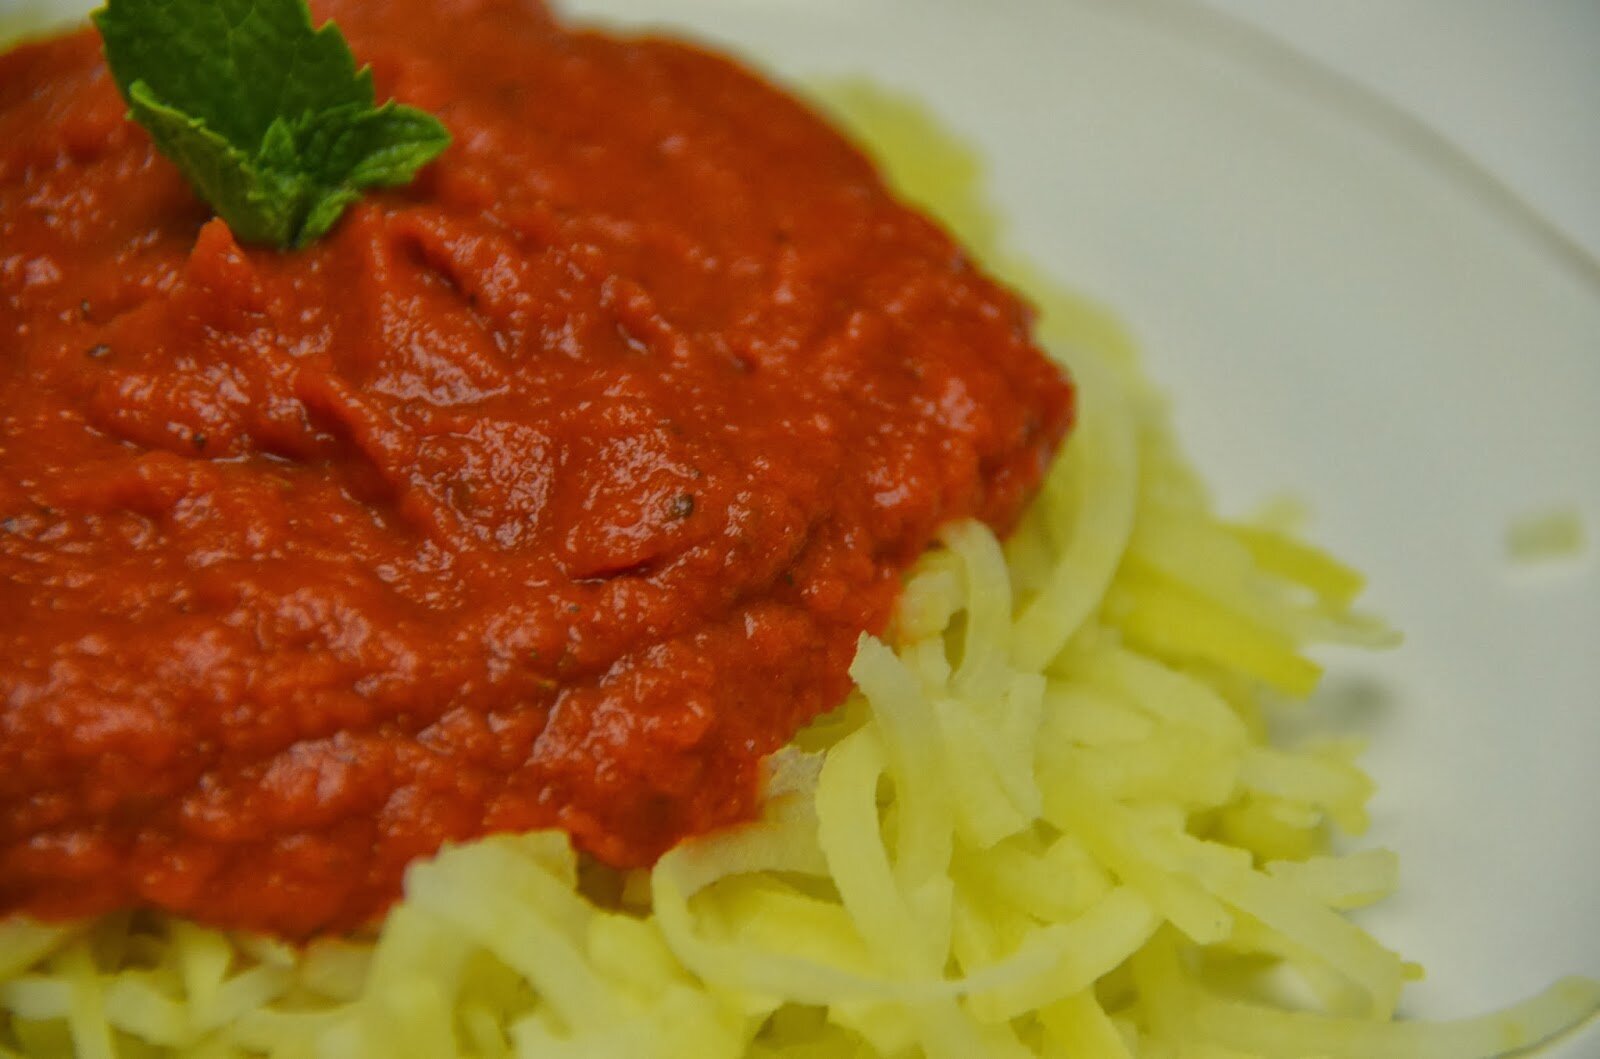
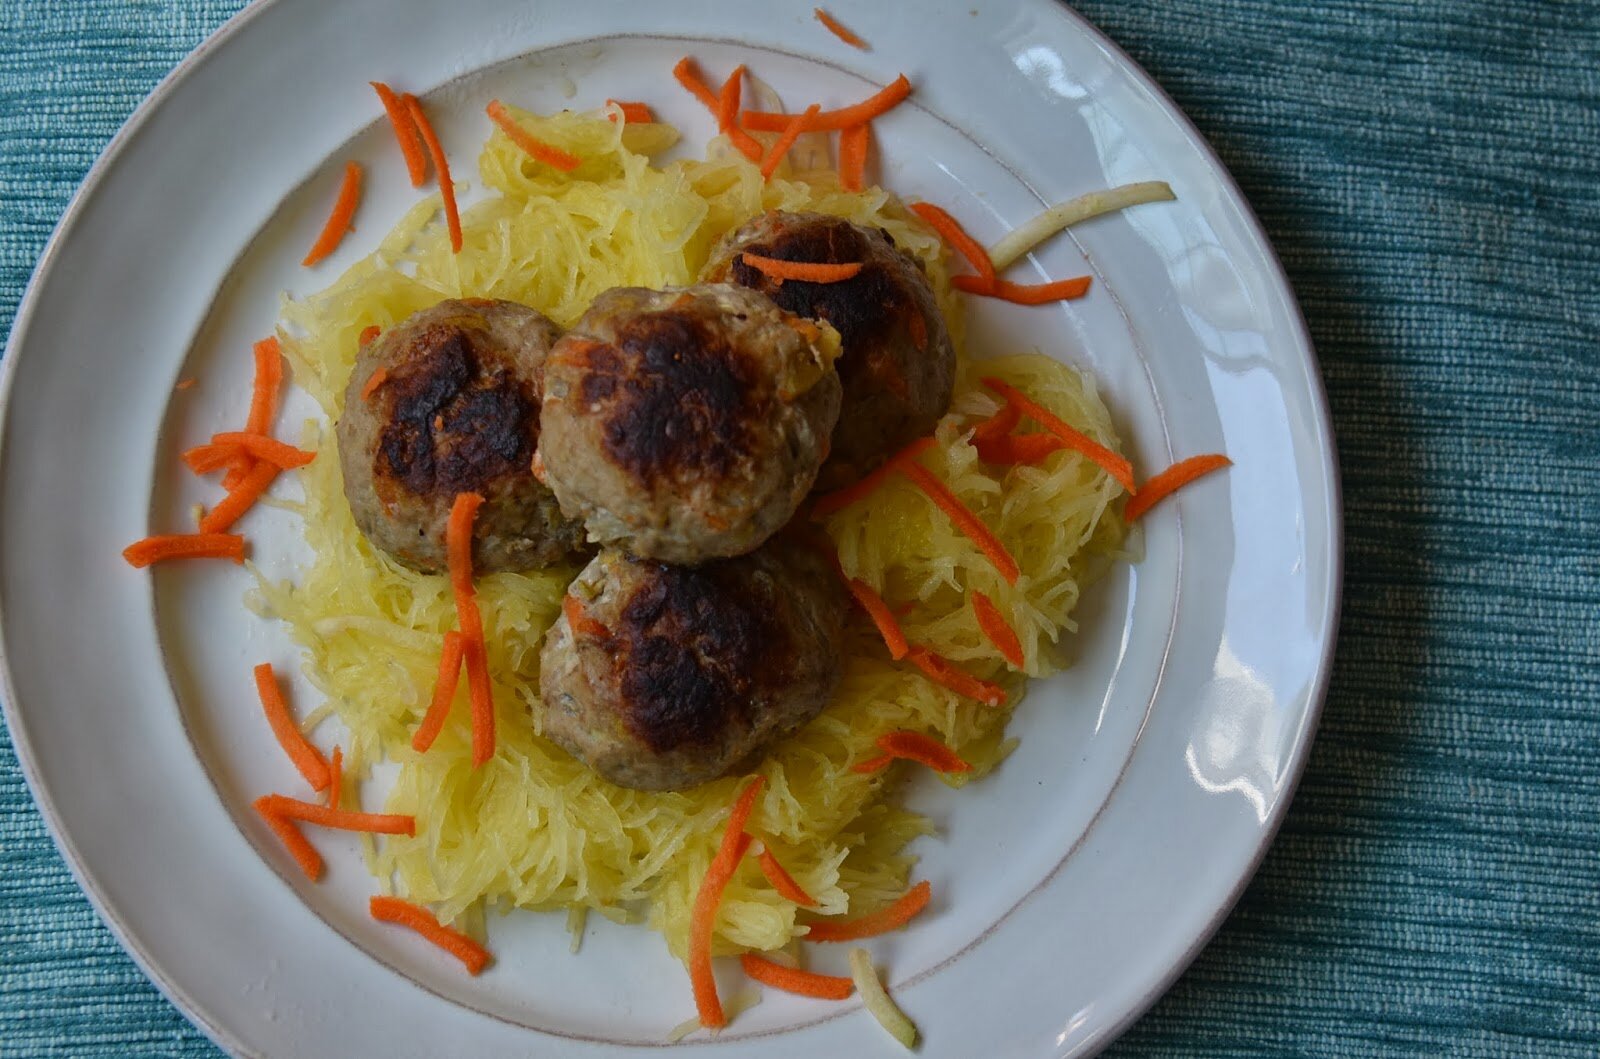
To the average person pasta sauce is a pretty healthy choice. But if you suffer from an auto-immune disease and trying to decrease pro-inflammatory foods, tomato-based pasta sauces can be quite aggravating on the system. Some folks find great success and relief by eliminating nightshades from their diets. What are nightshades you ask? Good question. Nightshades are the following foods: Potatoes, tomatoes, sweet and hot peppers, eggplant, tomatillos, tamarios, pepinos, pimentos, paprika, tobacco, goji berries, ground cherries, and cayenne peppers (and more). See this post by the Paleo Mom with a complete list of all nightshades.


“Swoon to the moon” … LOVE that! And this dish definitely looks swoonworthy! Thanks for discussing nightshades. I know I have issues with them. That’s one reason that AIP helps so many. Great post and recipe, Amber. 🙂
xo,
Shirley
Pinned! Love it.
What a great recipe! Both me and my daughter are a bit sensitive to tomatoes, so this would be a great alternative to try (and it’s so vegetable heavy!). 🙂
Thank you, thank you, thank you for developing this recipe! I’ve attempted to come up with a nightshade free sauce and have failed (epic-ly). I can’t wait to try this! Since going mostly grain free I’ve found I can handle tomatoes and potatoes a little bit better, but sometimes it’s just nice to have a nightshade free alternative!
xoxo,
M
I don’t have any problems with tomatoes, but forget the tomatoes when I could have all that goodness roasted and made into a sauce! Wowza, lady! This sounds incredible!!
Amber, thanks for mentioning my book! I am once again trying to reinvent my diet now that I know how allergic I am to mold. Sadly I can’t eat any vinegar (and about 35 other delicious foods!). It is amazingly difficult to make tasty sauces without acid (I think I am allergic to citrus too). This sauce recipe reminds me to “try again” to make something to put on my zucchini noodles.
Such a lovely tasty sauce Amber and your post has reminded me I still haven’t bought my spiralizer. I’m going to try to persuade my husband to add his Amazon Christmas voucher to mine so I can order one, your noodles look gorgeous!
Butternut squash is becoming a vital ingredient in our kitchen at the moment since it works perfectly in sauces. I wouldn’t miss the tomatoes if someone served this dish to me, a stunning combination of flavours, yum!
I got myself a spiralizer a few weeks ago, and now I wonder how I ever lived without it! It’s such an amazing invention! I need to use it with butternut squash ASAP 🙂
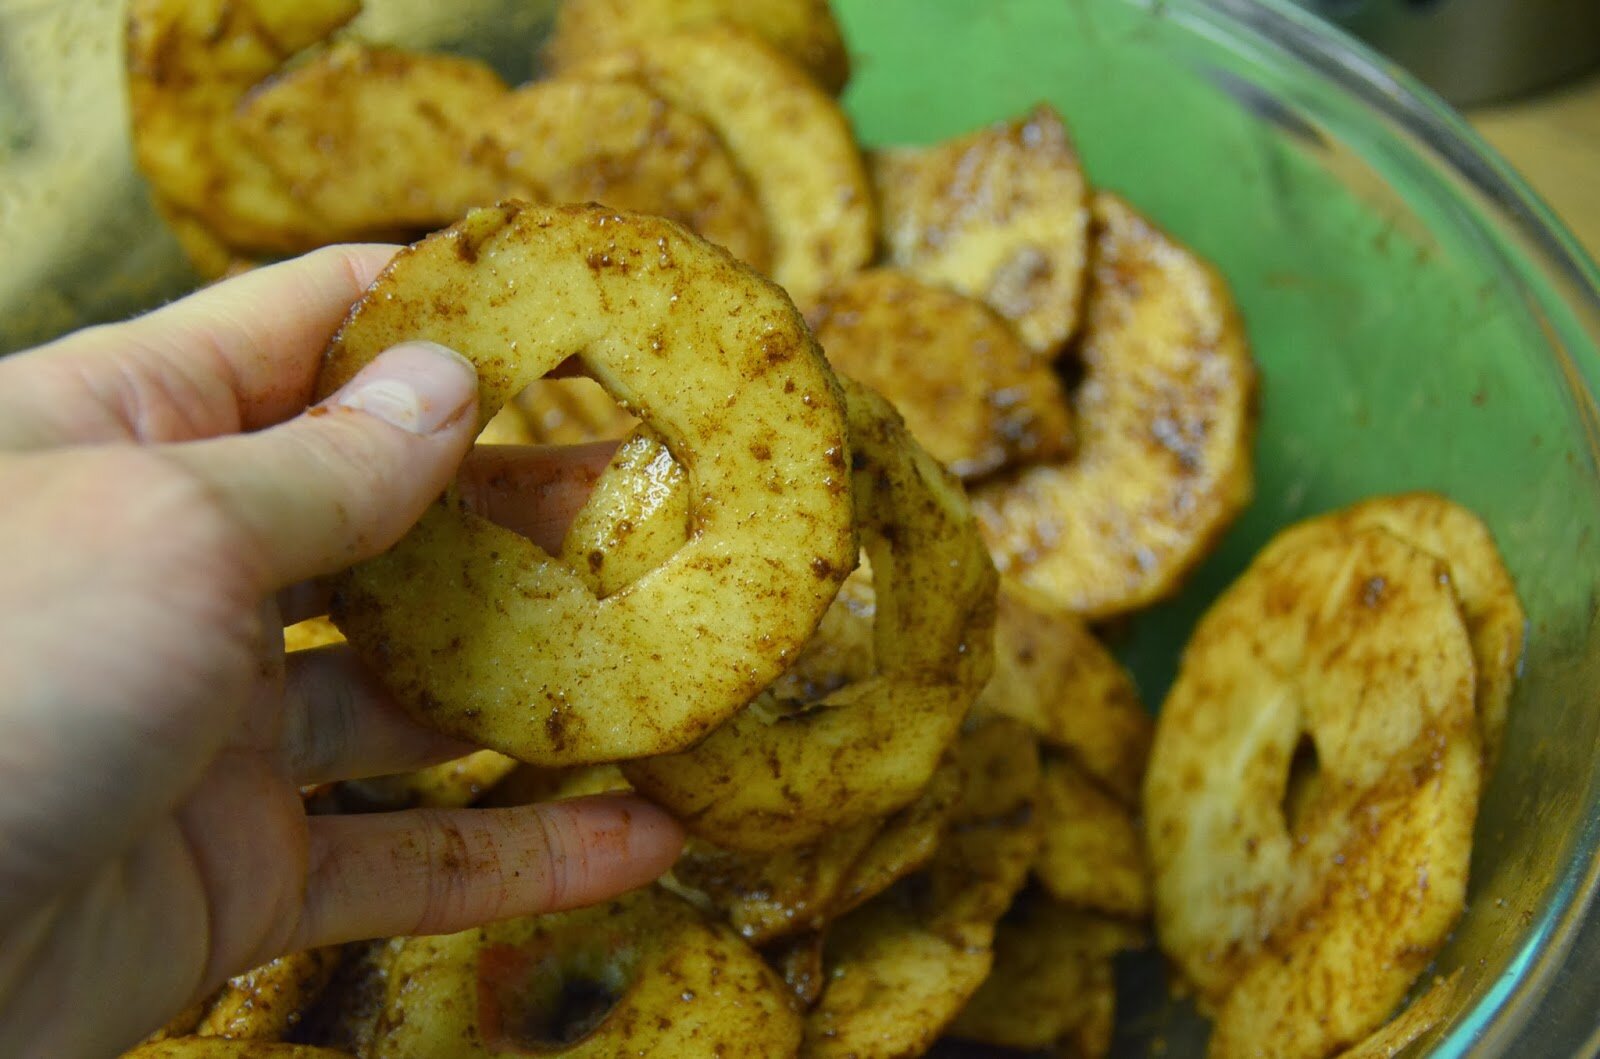
Totally! I freaking love this tool It’s so fun. I spiralized an apple the other day and my kids thought it was magical.
Hi Amber! I’ve recently noticed that night-shades bother me too 🙁 I always thought it was grains, but even “zoodles” with red sauce still bothers me. I’ll have to give this a try, it’s looks really yummy!!! I don’t know if I can totally give up all nightshades yet, but I’m definitely going to start watching it.
Thanks so much for the recipe, have a great week!!!
xo,
-Cassidy
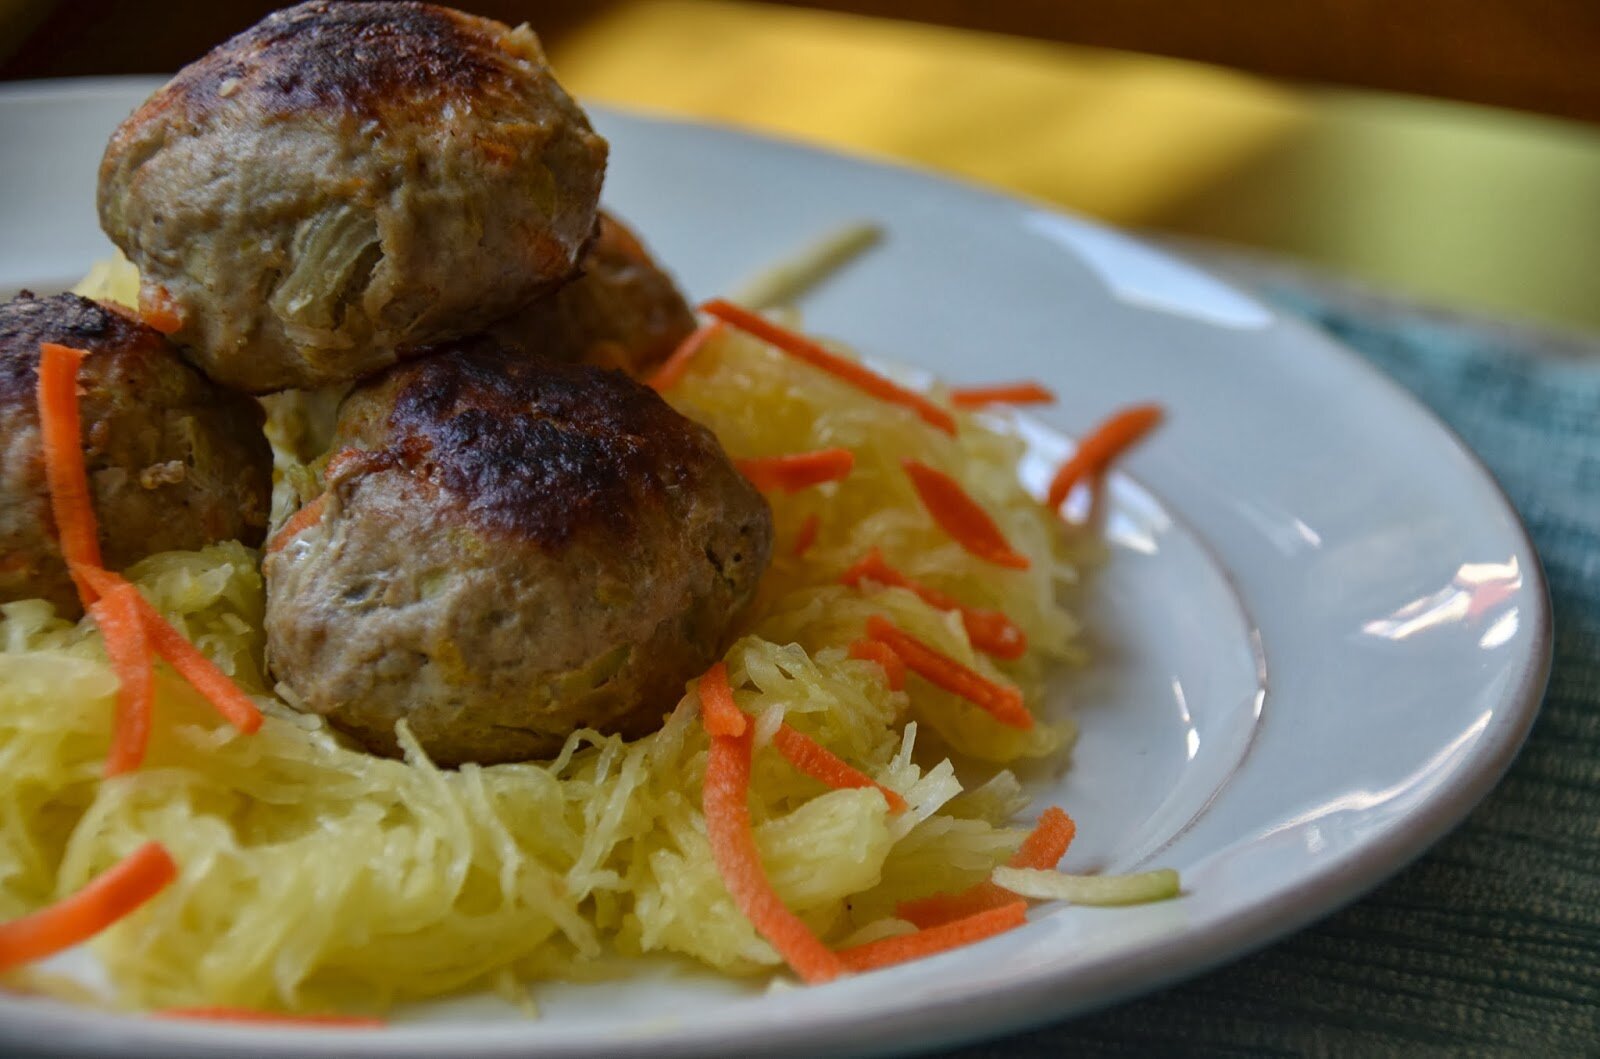
This sauce is delicious! After following your directions precisely, I somehow forgot to add the apple cider. I’m not sure what it adds, I just know that this is fantastic, even with my omission!! I added this to ground bison and sautéed onions and served it over spiralized zucchini. My husband asked how I made the sauce red. He hates beets but continued eating even after I told him. Thank you!!
Yay! Thank you for the comment. So glad your family enjoyed the sauce. My family loves it too. The apple cider vinegar adds a little element acid to the sauce (mimics the acid found in tomatoes), but is not completely necessary, obviously for a successful recipe. Thanks for letting me know it still tasted great without. I love that your husband ate it even though he does not like beets. And the ground bison sounds amazing in there!
OMG!!! This is so good. I and super allergic to nightshades and I was craving some pizza. Because I cant have yeast, or tomatoes I made this and put in on some yeastless Naan bread that I made. It was so good. I did forget about the celery and I didn’t measure any of the veggies. Before when I made spaghetti sauce I would puree veggies in it anyways. So it tasted a lot like my sauce.
Hi Julia,
Thank you for your comment! So glad you enjoyed the sauce. It’s one of our favorites too!! I love that you used it as pizza sauce. What a great idea. That gives me an idea to do a nightshade free pizza sauce now!! Be Well, –Amber
This looks and sounds wonderful. Can this be made ahead and frozen for later use? Also, my mom is very allergic to garlic. Is there a substitution I can use? Thanks
Oh yes. I usually make two batches and freeze one batch for the next week. I fill up a glass container that fits the amount I like to freeze (you could also use large mason jars). Remember to remove it the night before you use it. It takes a good 24 hours to thaw in the fridge. And as far as the garlic goes…what do you usually use in place of garlic? I would probably suggest extra onion (like a shallot), or a fennel bulb. Maybe even get some celery salt. I think the key is to find something that has a strong presence (like garlic) to add back in that level of flavor. Good luck and let me know what work for you. Thanks!
THIS SAUCE IS AWESOME!!!! Thank you so much for inventing it and sharing it! I am on day 30 of my whole30 and it is wonderful to find an AIP approved sauce! I ate it with ground turkey and sweet potato spaghetti, felt like a perfect Italian meal! 🙂 Great job!
Thank you for sharing!! I’m so glad you enjoyed the sauce. It’s the only sauce I eat now, as nightshades really bother me. Yay! So glad you enjoyed a nice Italian meal. I love it.
Thank you so much for the recipe- I made it this morning and am super happy with how much it resembles tomato based sauces. I have two kiddos who have autism spectrum diagnoses- they making great gains as we figure out the foods that bother them. Thanks for helping us avoid nightshades!
Oh wow! That is so great. We also love this sauce. I’m so glad your kiddos are doing well. That is so awesome!!
I’m allergic to carrots – are they a necessary part of the recipe, can I substitute with another root veg, or can I just omit them?
Yes, always sub if you are allergic to any food found in recipes. Try another root veggie to replace contents. Or yes, just omit. Good luck!!
This is DELICIOUS. Superb recipe.
Yay! Thank you so much. Glad you enjoyed it.
Hi Amber, I made your sauce last night. The flavor is fantastic! However mine turned out with a really heavy texture, like tomato paste. How can I thin it out a bit so it’s more like sauce. I was thinking of reheating it with some chicken broth. What are your thoughts? Thanks so much for sharing!
Hi There. You’re right on…add any liquid you like to thin out. Good luck! And thank you for sharing your thoughts on the recipe.
Bless you for this sauce recipe! Excited to try it. I have the same spiralizer that you have!! Haven’t used it much but excited to start again! So glad you came up first in my nightshades alternative search!
Hi Mara. Thanks for your feedback. It’s so good! You will enjoy it I am sure. Good luck. 🙂
Thank you for this recipe! How long will it keep in the refrigerator?