
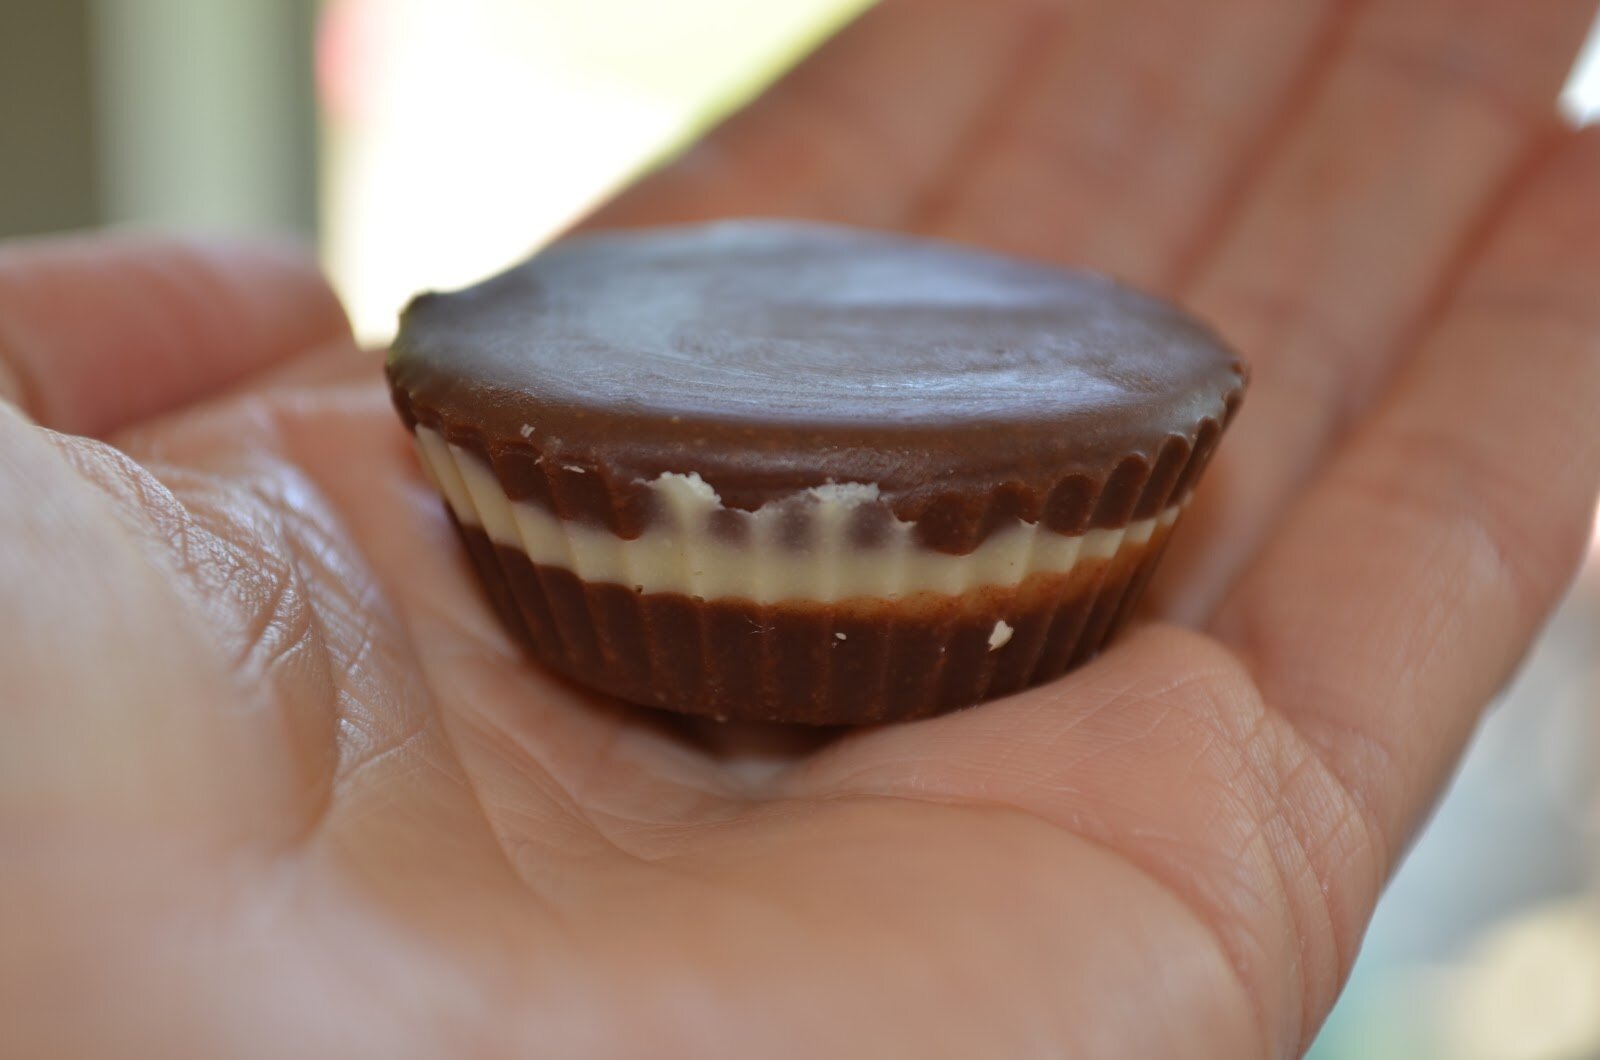
I’ve been addicted to making chocolates since I made Ricki’s Orange-Goji Berry Chocolates a few months ago. Homemade chocolate is ridiculously easy – and if you’re moving into whole food eating, making your own is the perfect opportunity to have total control over the ingredients. When it comes to chocolate in our home, I generally use carob. I discovered carob several years ago and I have to say, I really like it. I know, I know, chocolate is revered by many (insert picture of my husband here) and touted for healing properties, but since I’m not a huge chocolate lover (ahem, like my chocoholic husband) I therefore don’t feel an incredible urge to eat it (ahem, like my chocoholic husband). But moreover, I’m not ready to expose my son to the stimulating effects of chocolate. I always experience this side effect when I eat or drink something with raw cacao (I don’t drink coffee either, so I can REALLY feel the chocolate). So I can only imagine what it does to a little 3-year-old (and I will let nothing stand in the way of nap time – cyber high-five to all my mommy peeps who know what I’m talking about – LOVE nap time). But moreover, my son suffers from eczema and we’ve come to find out that chocolate aggravates my husband’s eczema (oh boy, that was a sad day). Okay, so, long story short here on the chocolate…it’s a fun treat once in a while for my daughter and husband, but carob is used far more frequency in this house and that’s just fine with me…AND my family. Less stimulating effects, less eczema, more smiles. See HERE for health benefits of carob.

Sugar-Free Vegan Carob Chocolates
(slightly adapted from Ricki’s Orange-Goji Berry Chocolate recipe)
Ingredients:
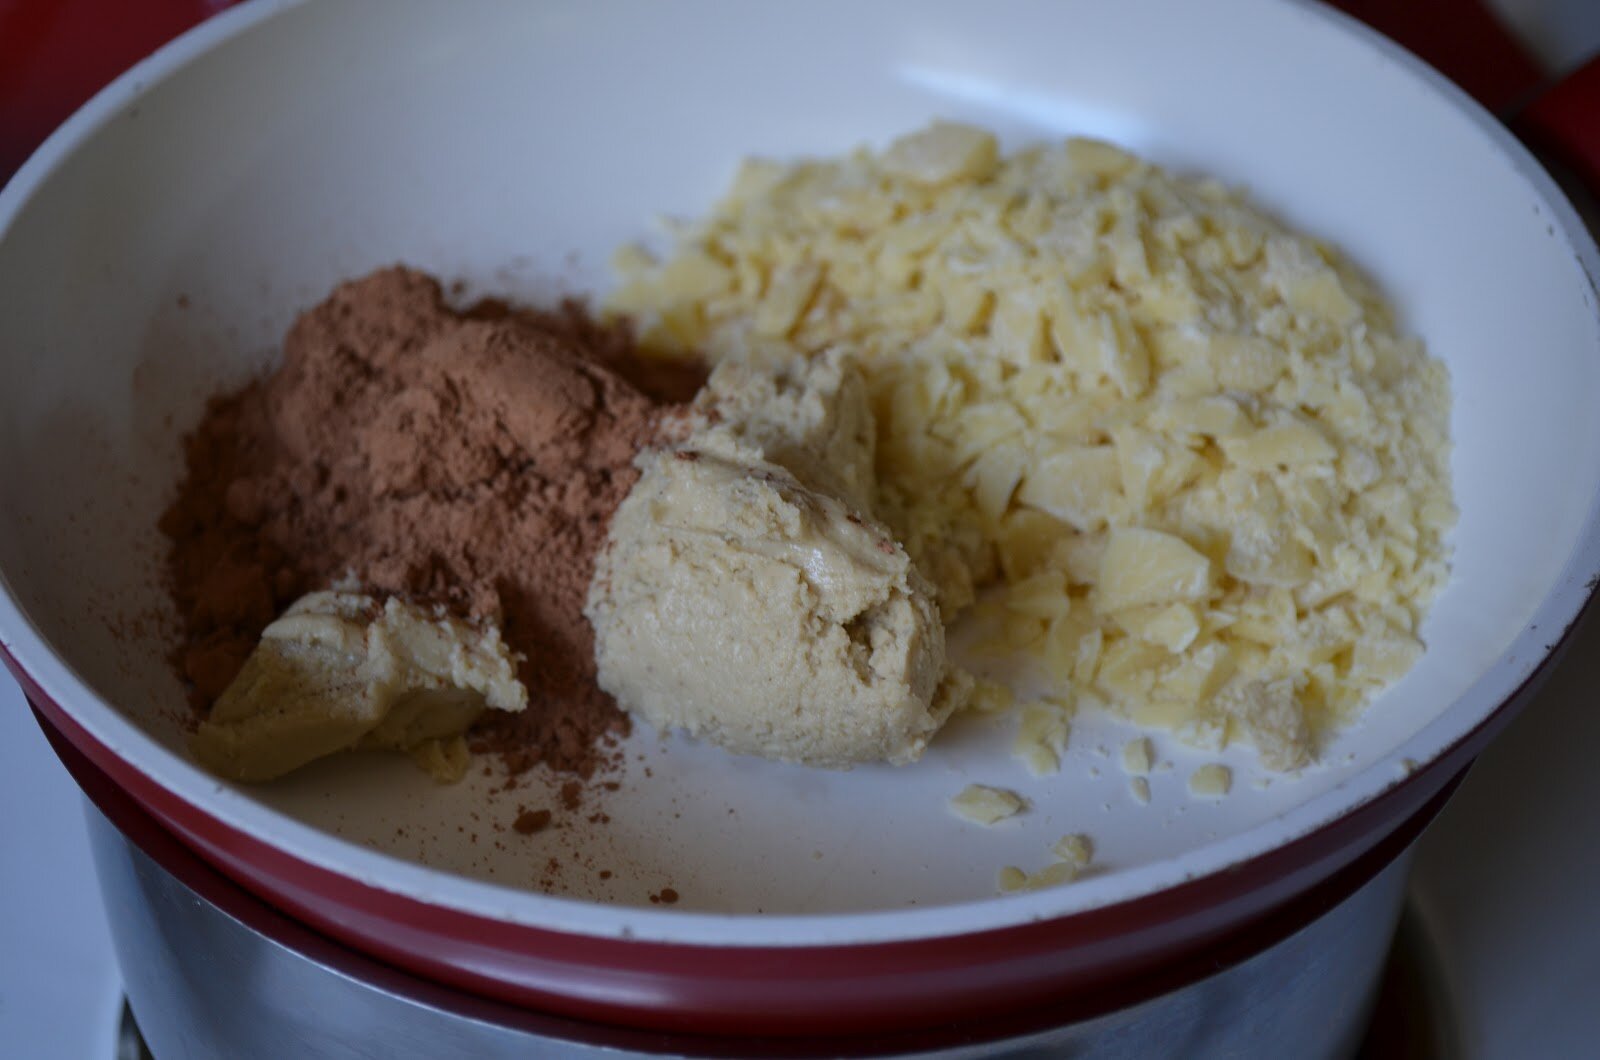
-2 ounces raw organic cocoa butter
-2 tablespoons organic carob powder
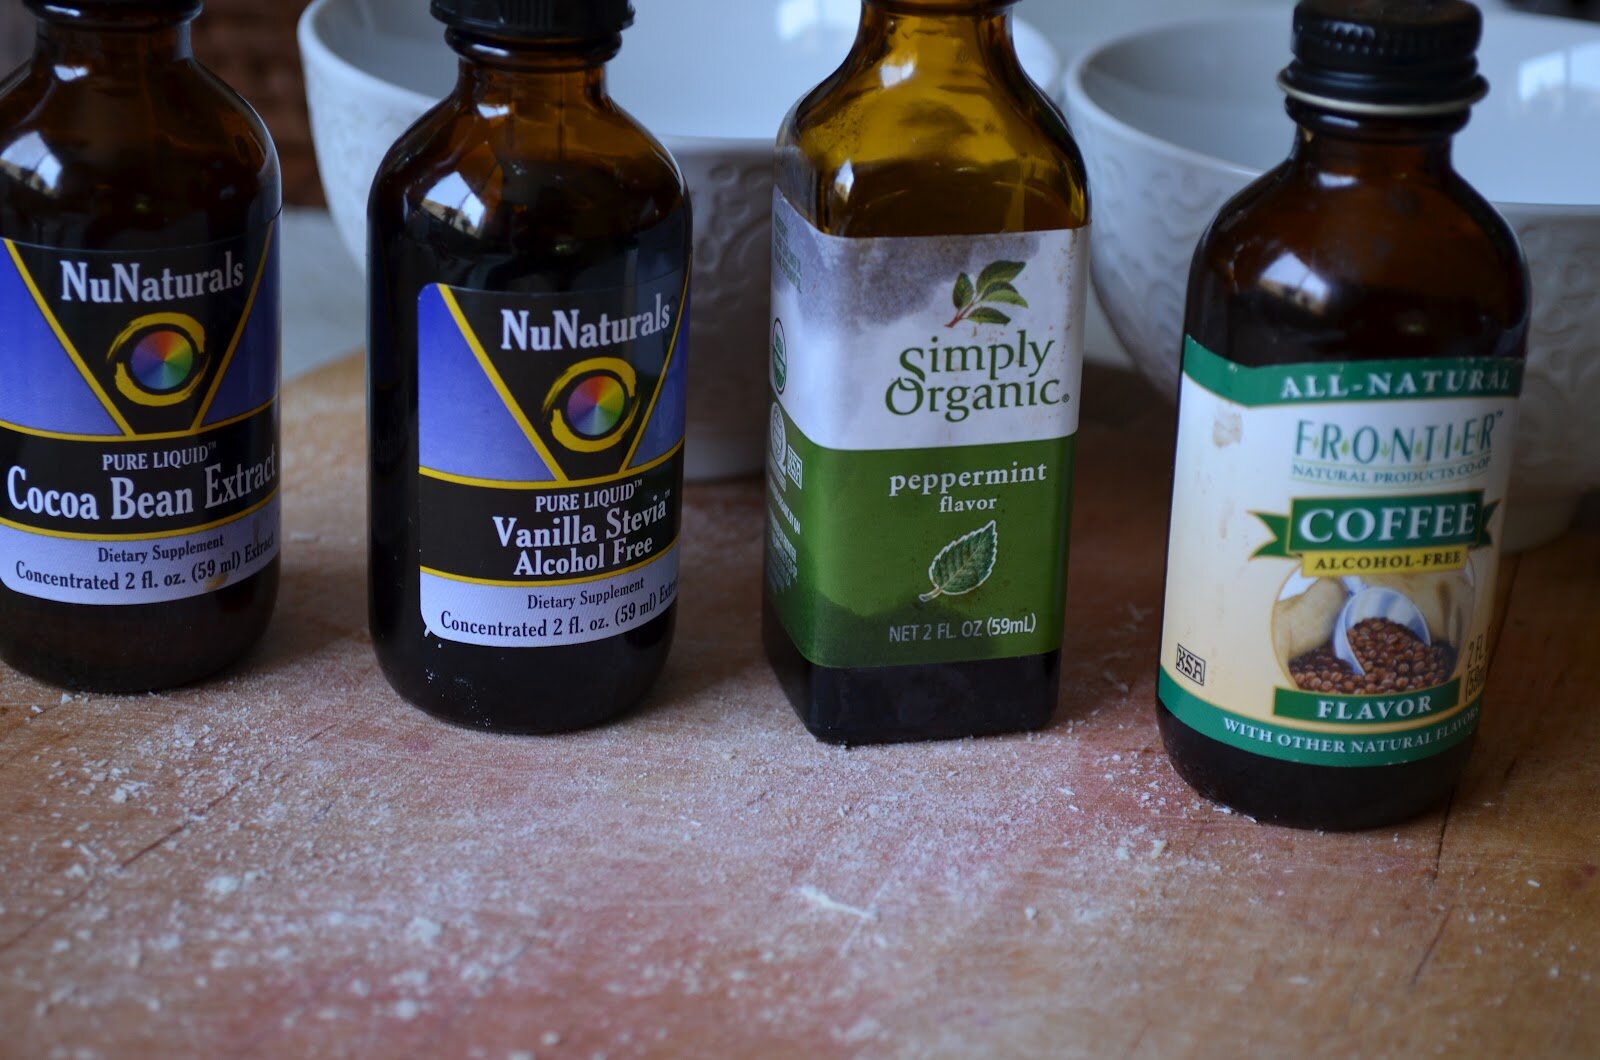
-1/4 teaspoon vanilla stevia, or to taste (orange or cocoa stevia would be great too)
-1 tablespoon homemade cashew butter
-1 teaspoon vanilla
How To:
1. In a small non-stick pan, melt the above ingredients on medium heat, taking care not to burn mixture. Mix the entire time. Remove from heat and continue mixing until everything is melted and happy.
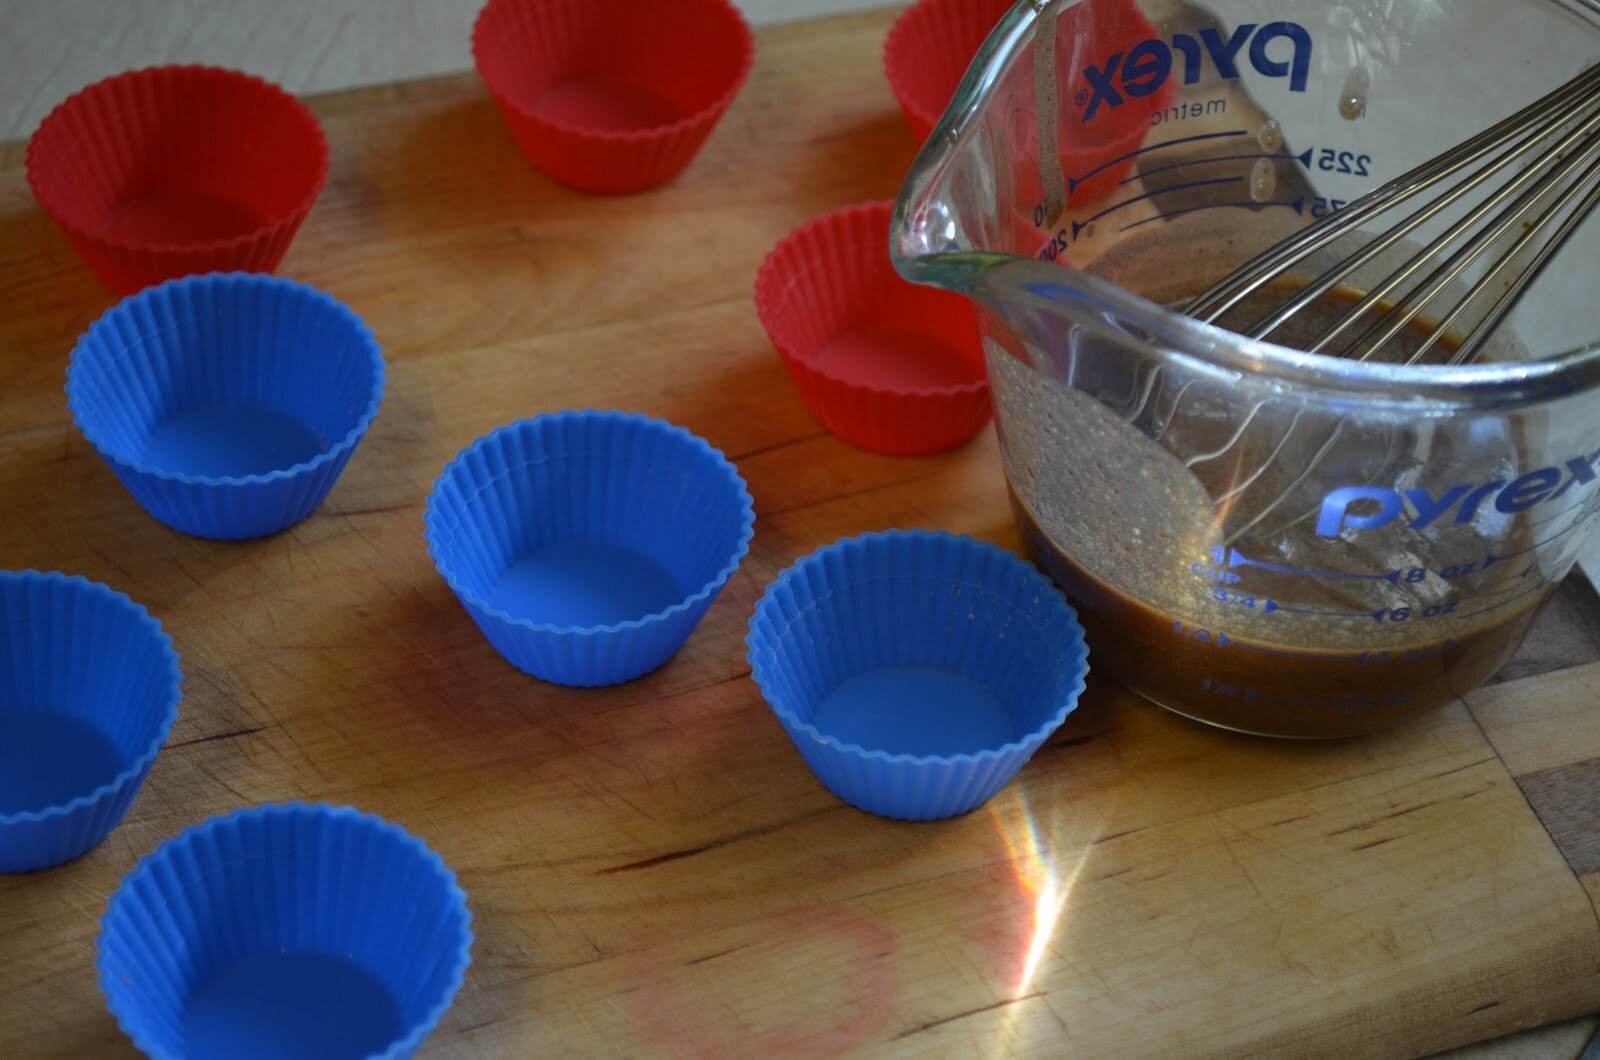
2. Transfer to 1 cup glass Pyrex (you will have approximately 1/2 cup of liquid). Whisk mixture as you pour into silicone molds to prevent separation.
3. Transfer to freezer (for 10 – 20 minutes)
4. Remove from molds and store chocolates in fridge in glass container.
Makes 12 small chocolates

Shared on: Keep It Real Thursdays, Wellness Weekend, Fight Back Friday, Fresh Bites Friday. Freaky Friday, Lifeologia Summerizing Party, Friday Food, Allergy-Free Wednesdays, Sweet Saturday,


Isn’t it amazing how EASY they are? (maybe too easy in my case. . . ha ha!!). I love the idea of using carob. It may not be chocolate, but it’s totally delicious in its own right. Yum!
These look awesome! They look like reese’s! I haven’t used cocoa butter before and haven’t seen it in any stores, where do you get yours?
Thanks for sharing your experience with raw cacao. I have never had any problems with it, but I would love to experiment more with carob powder. And yes-naptime is sooo critical in my household too! I am really looking forward to trying this treat and playing around with delicious carob.
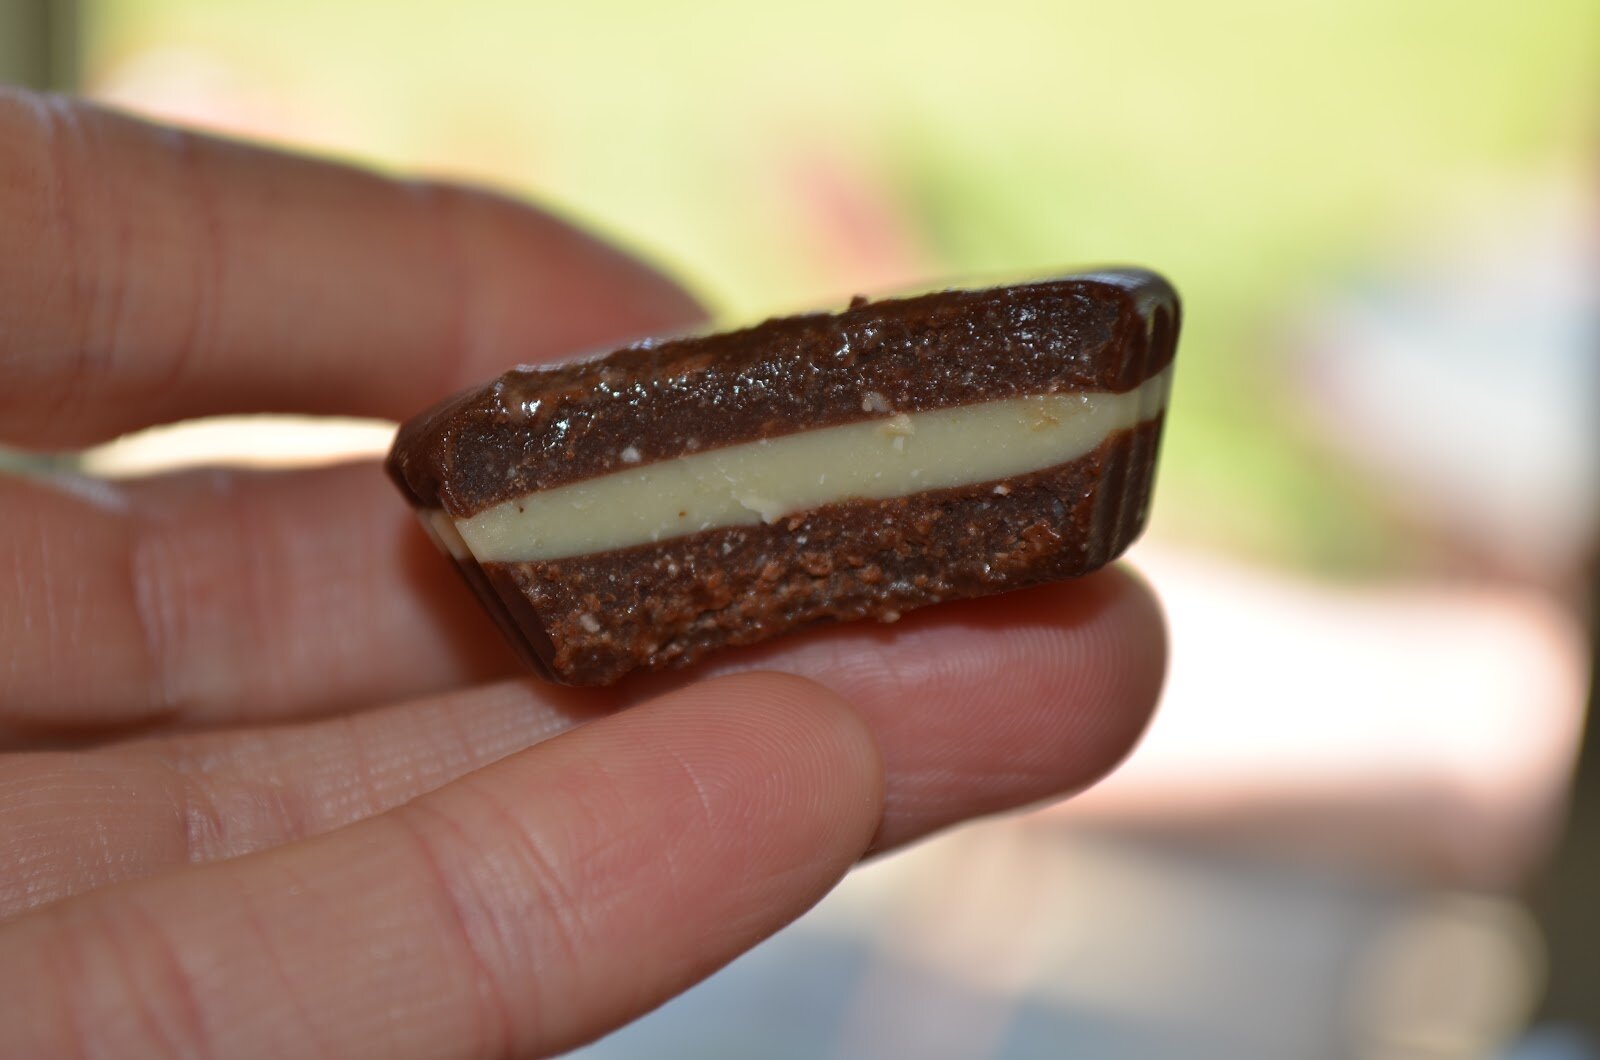
I’m intensely craving chocolate on the SCD! After a few years on this diet, I think chocolate (or carob) will be the first thing I re-introduce. I’m going to give the white chocolate version a try for now, and see if that will satisfy my craving! This is a creative and beautiful recipe, as always!
You know, I make a version of raw chocolate with coconut oil and cacao powder, and have always been meaning to try it with carob. I haven’t quite graduated to using cacao butter (hehe) but these certainly make me want to try it, and soon! Maybe for now I’ll test the waters with a carob and coconut oil concoction, then when I’m ready to take the plunge I’ll come back to these for inspiration.
I’m very interested in the SCD white chocoate! Can’t wait to see it!
Ooh, the white chocolate variation sounds incredible! I hope you’ll do a post all about that one!
Oh my goodness, I’m so happy I just discovered your blog. Like your husband, I do LOVE chocolate– but I definitely feel the stimulating effects! I’m learning to love carob, so perhaps these little cups will satisfy my cravings!
The white chocolate version sounds divine!
Oh, beautiful and delish candy, Amber! I should make some and them to my son. He was just discovering some gluten-free, carob candy goodness at our farmer’s market before he left home.
xo,
Shirley
I think these could satisfy any chocolate lovers craving. No chocolate needed. Lovely.
oh my gosh those white chocolates sound incredible! i’ve really been craving chocolate since going SCD. I’m totally going to make that tomorrow! YUM! Also — question for you: do you eat Larabars on the SCD? (the ones without chocolate) The ingredients appear to be SCD legal: (dates, almonds, cashews, unsweetened cherries) but I just don’t want to risk it. I tend not to trust anything “processed.” Thanks!
Oh my goodness! I just found raw organic cocoa butter here locally yesterday. These sound amazing and I’m definitely trying the white chocolate option. YUM!
you make it sound so easy – one day I’ll have to give it a try, but I’ve not seen cocoa butter around, I’ll have to search it out, I’ve a friend’s birthday coming up, and what says “I love you” better than home-made treats? thanks:)
MMmmmm these look great too! A perfect holiday gift for the vegans and loved ones with allergies in my life!
How interesting about the link between chocolate and eczema – I had it really bad when I was younger and it has sort of been cured after being on oral Lamisil (hated the side effects of that) but I’ve seen it coming back here and there and now wonder how much my diet might affect it. Thanks so much for sharing at Sweet Saturday!
Thank you so much for this recipe. I am a chocoholic but it doesn’t agree with me and I’m not ready to expose my baby to it’s effects either. I’ve just ordered some cocoa butter so I’m going to make these for Christmas.
Thank you for the white chocolate recipe too. I never thought I’d eat white chocolate again. I used to love that!
Thanks Katherine. My kids LOVE these little “chocolates.” The white chocolate is a little difficult with honey. I recommend blending the ingredients well before you put into molds. The honey is heavy and sinks to the bottom and separates. I’m slowly working on an actual recipe for SCD white chocolate.
wow