Category Archives: cane sugar free

Wednesday, December 5, 2012

Ode to Cafe Gratitude Part II ~ Almond Vanilla Coconut Milkshake (SCD friendly)

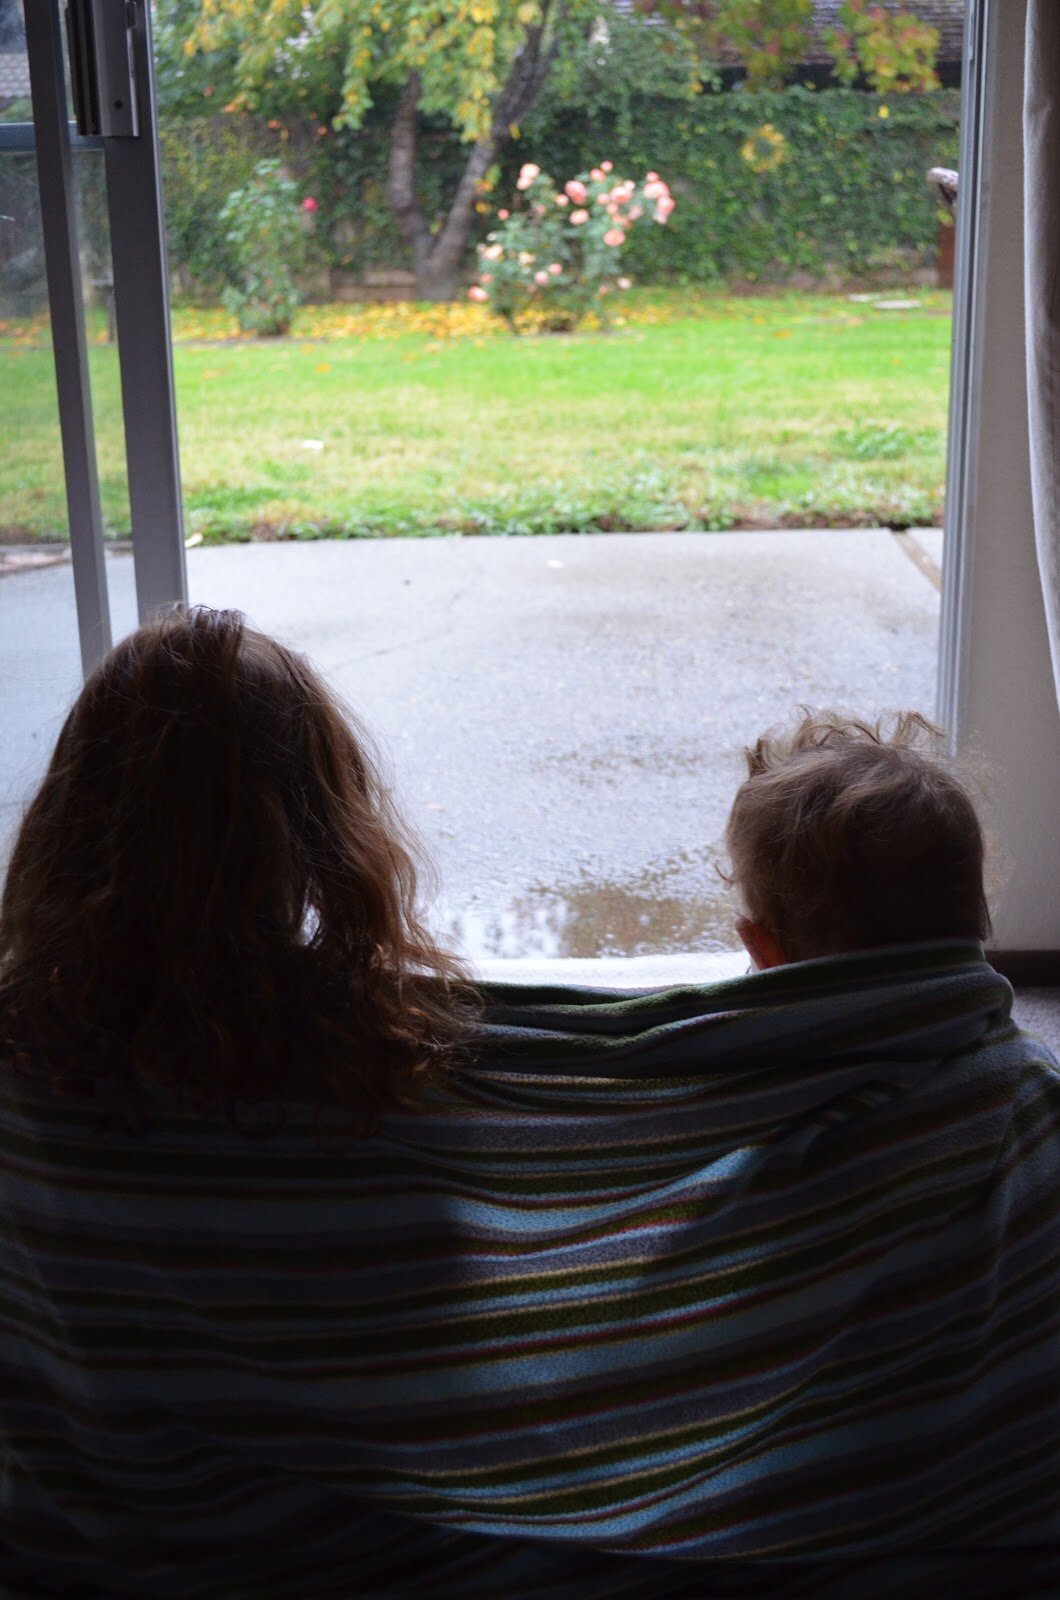
I took a short morning trip yesterday, with my son, to Berkeley to check out some products at an eco-friendly home improvement store.  Ethan is such a great traveler – we have fun listening to music, he enjoys looking through his National Geographic magazines, and loves finding the many cows grazing about in the fields (lots of farm land in between Davis and San Francisco).  Berkeley is only about a 50 minute drive, so perfect for a quick trip.   

I spent an educational hour meeting with super friendly staff and looking at various eco-friendly, non-toxic flooring, paints, and natural fiber rugs.  As mentioned a few times on FB, we purchased a home (just got the keys last week) and now we have 30 days to make a few major improvements.  I’ve been a busy girl meeting with engineers, contractors, pushing permits through, etc.  My main focus right now is ordering the flooring.  I’ve done a ton of research on flooring options and found the perfect option.  I look forward to sharing the information with you soon.  

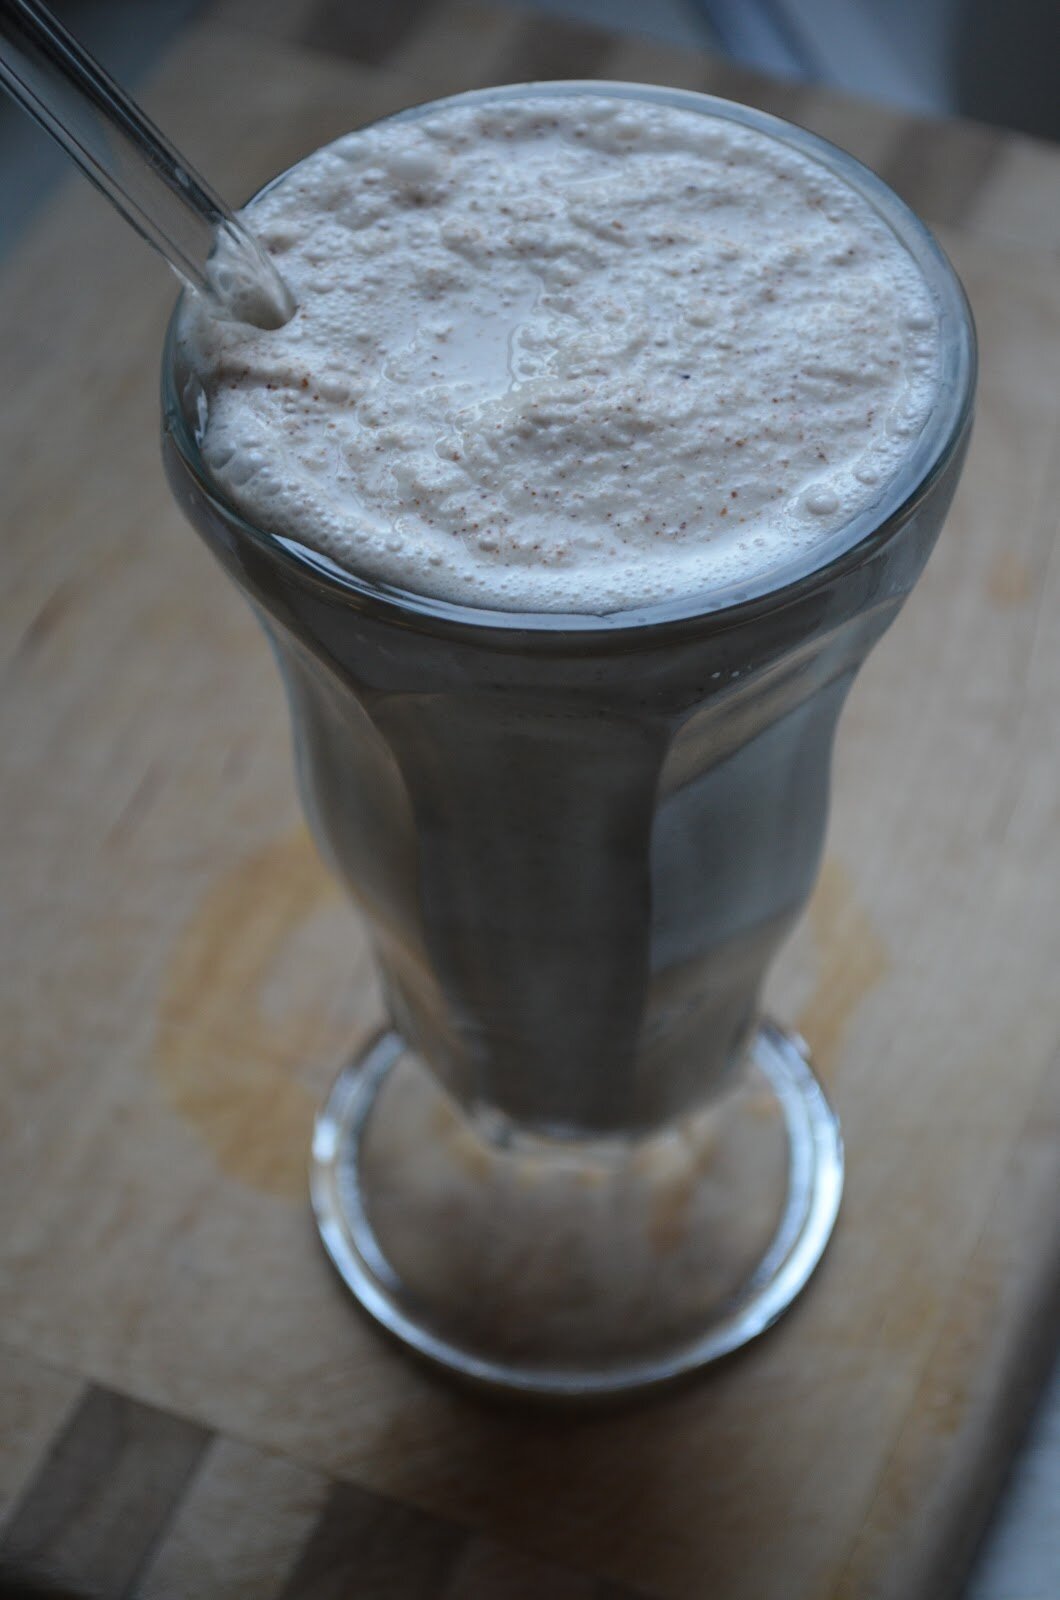
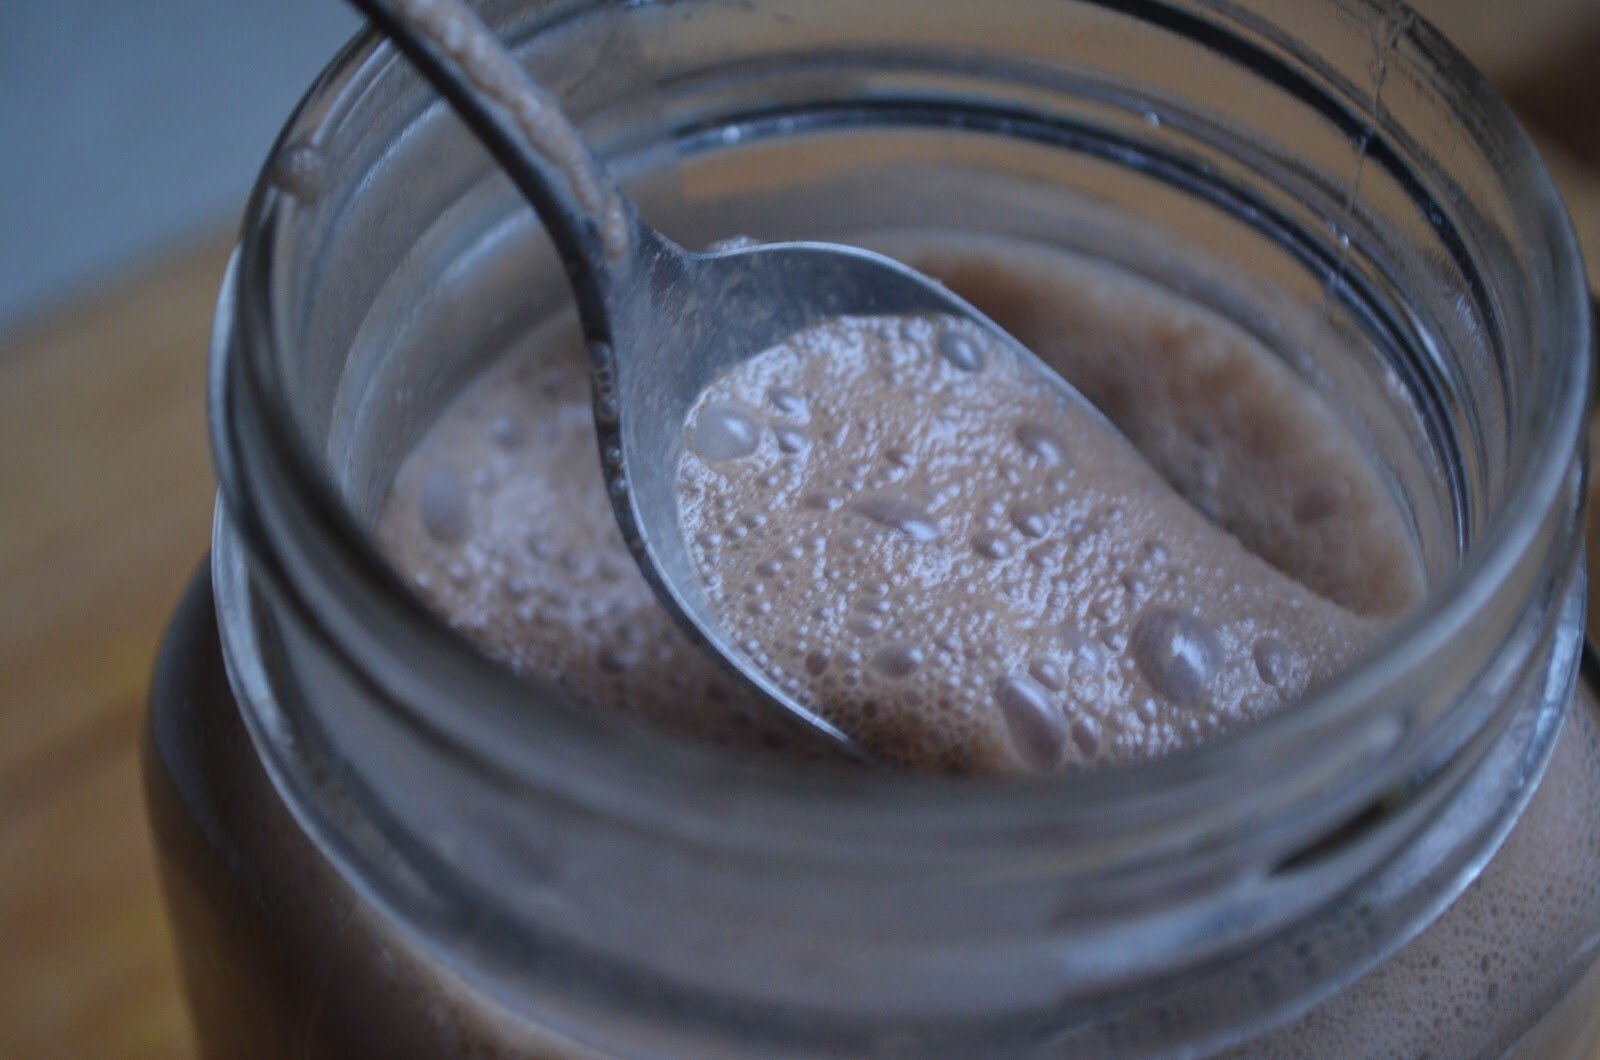
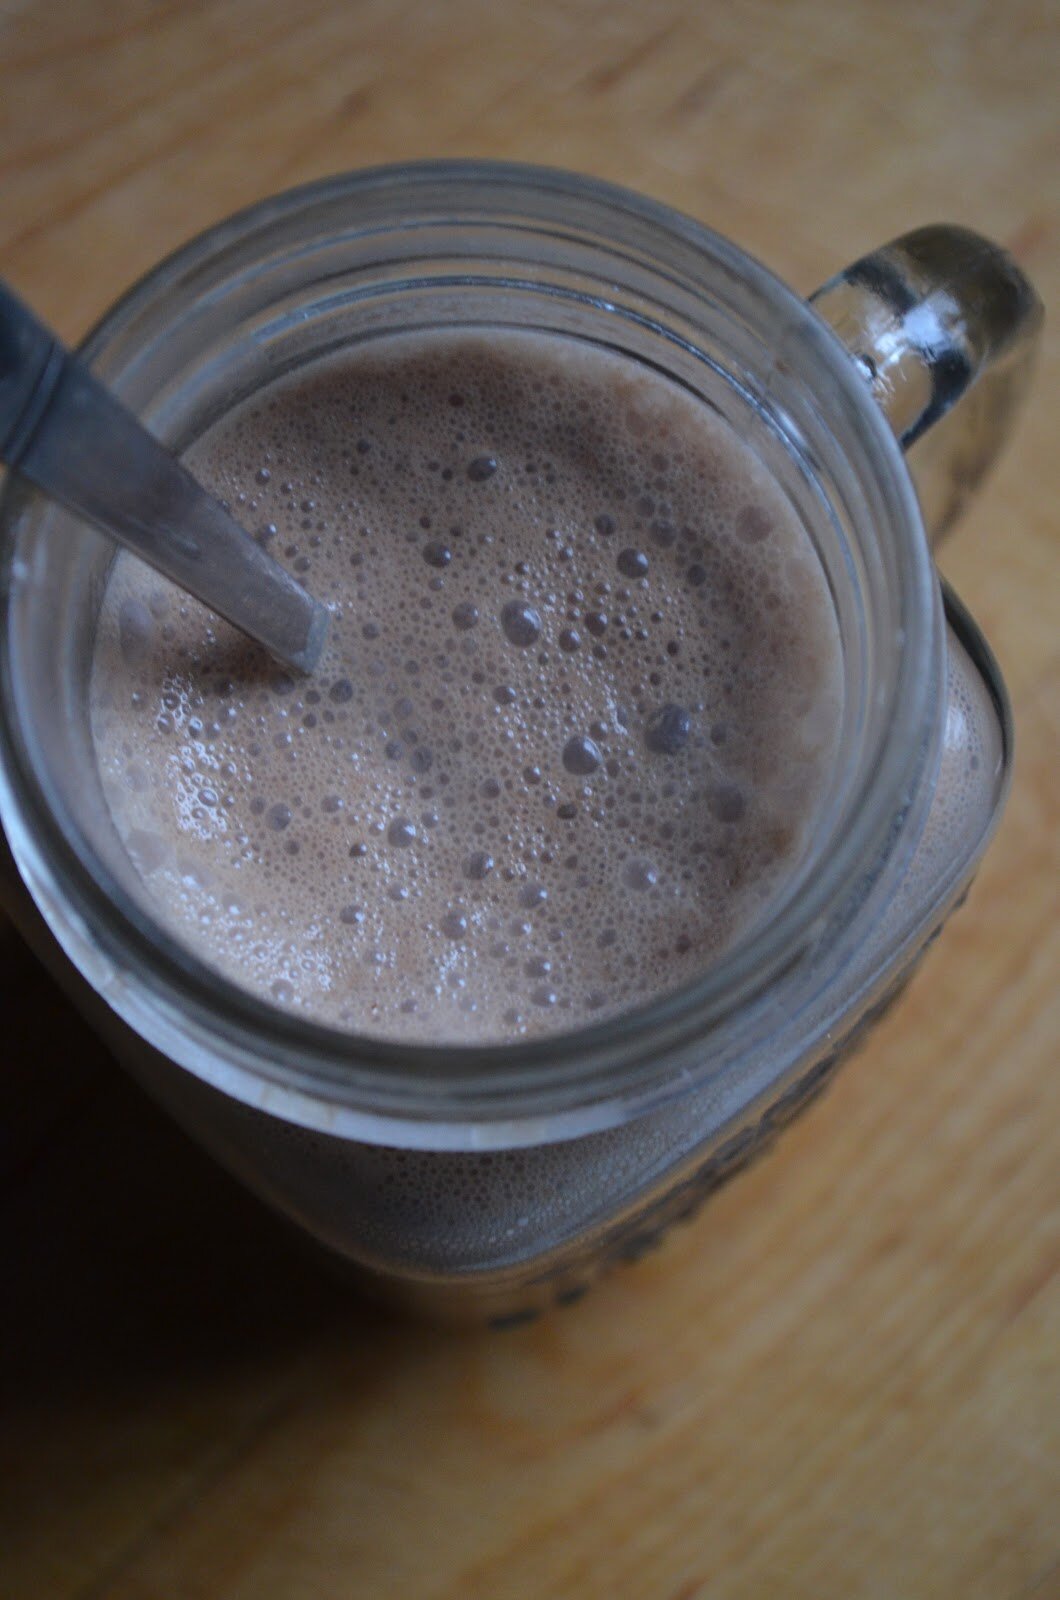
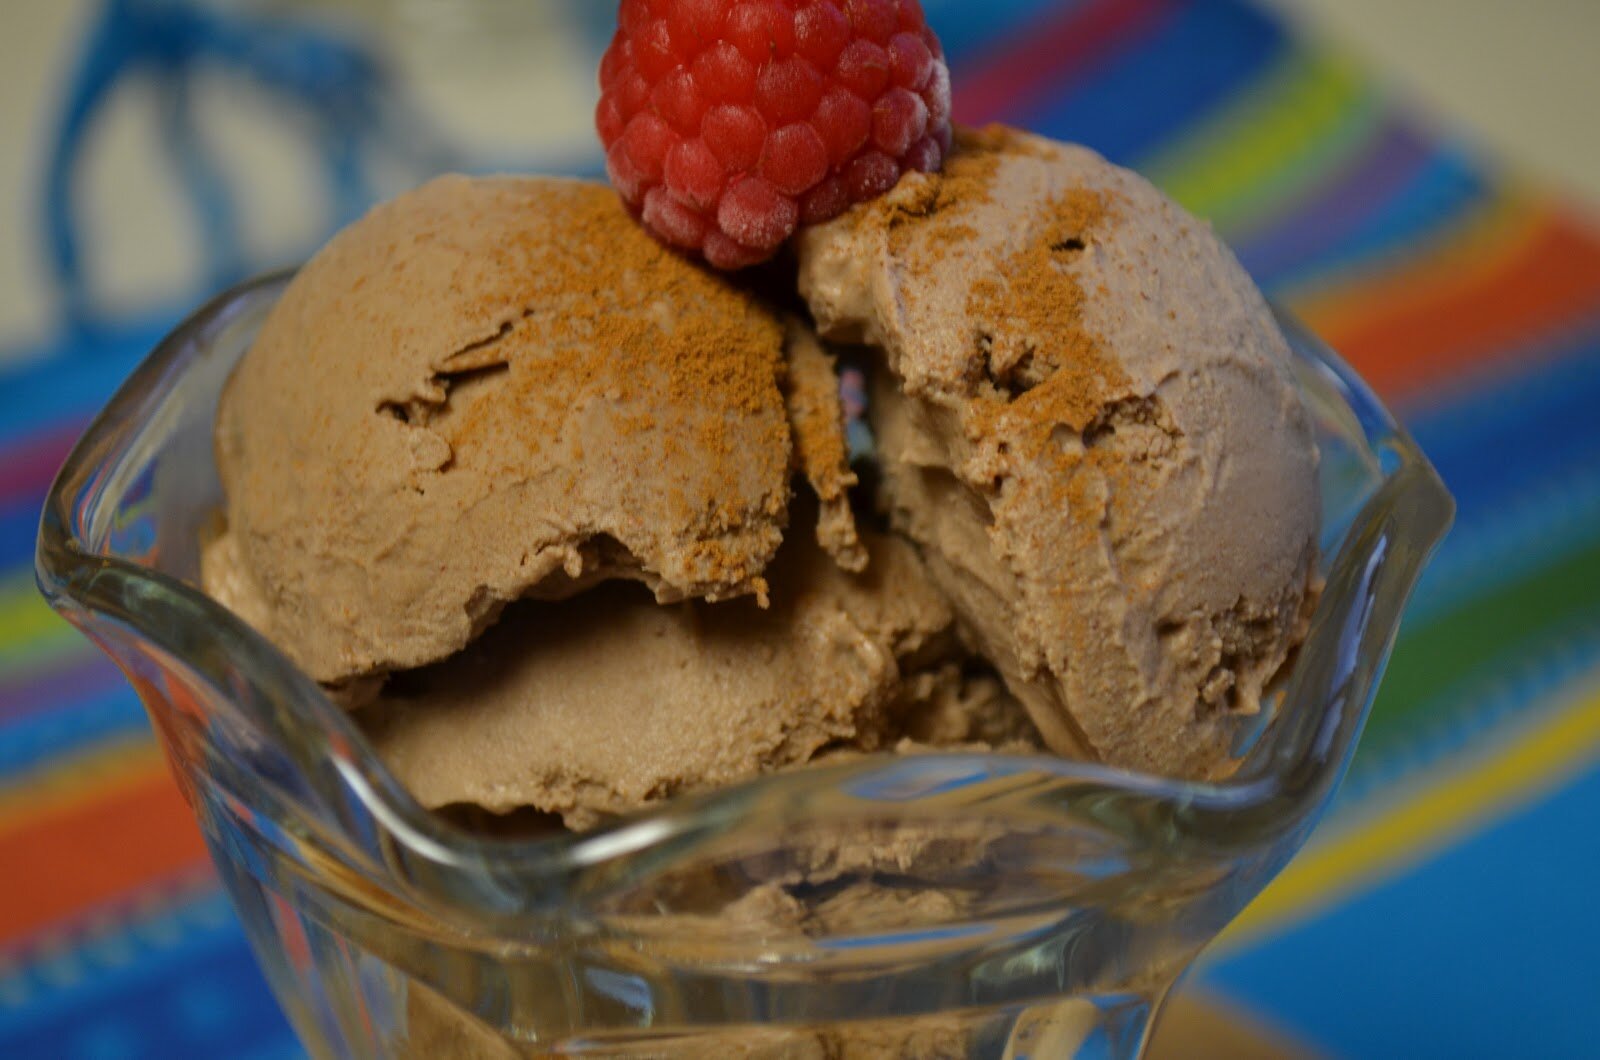
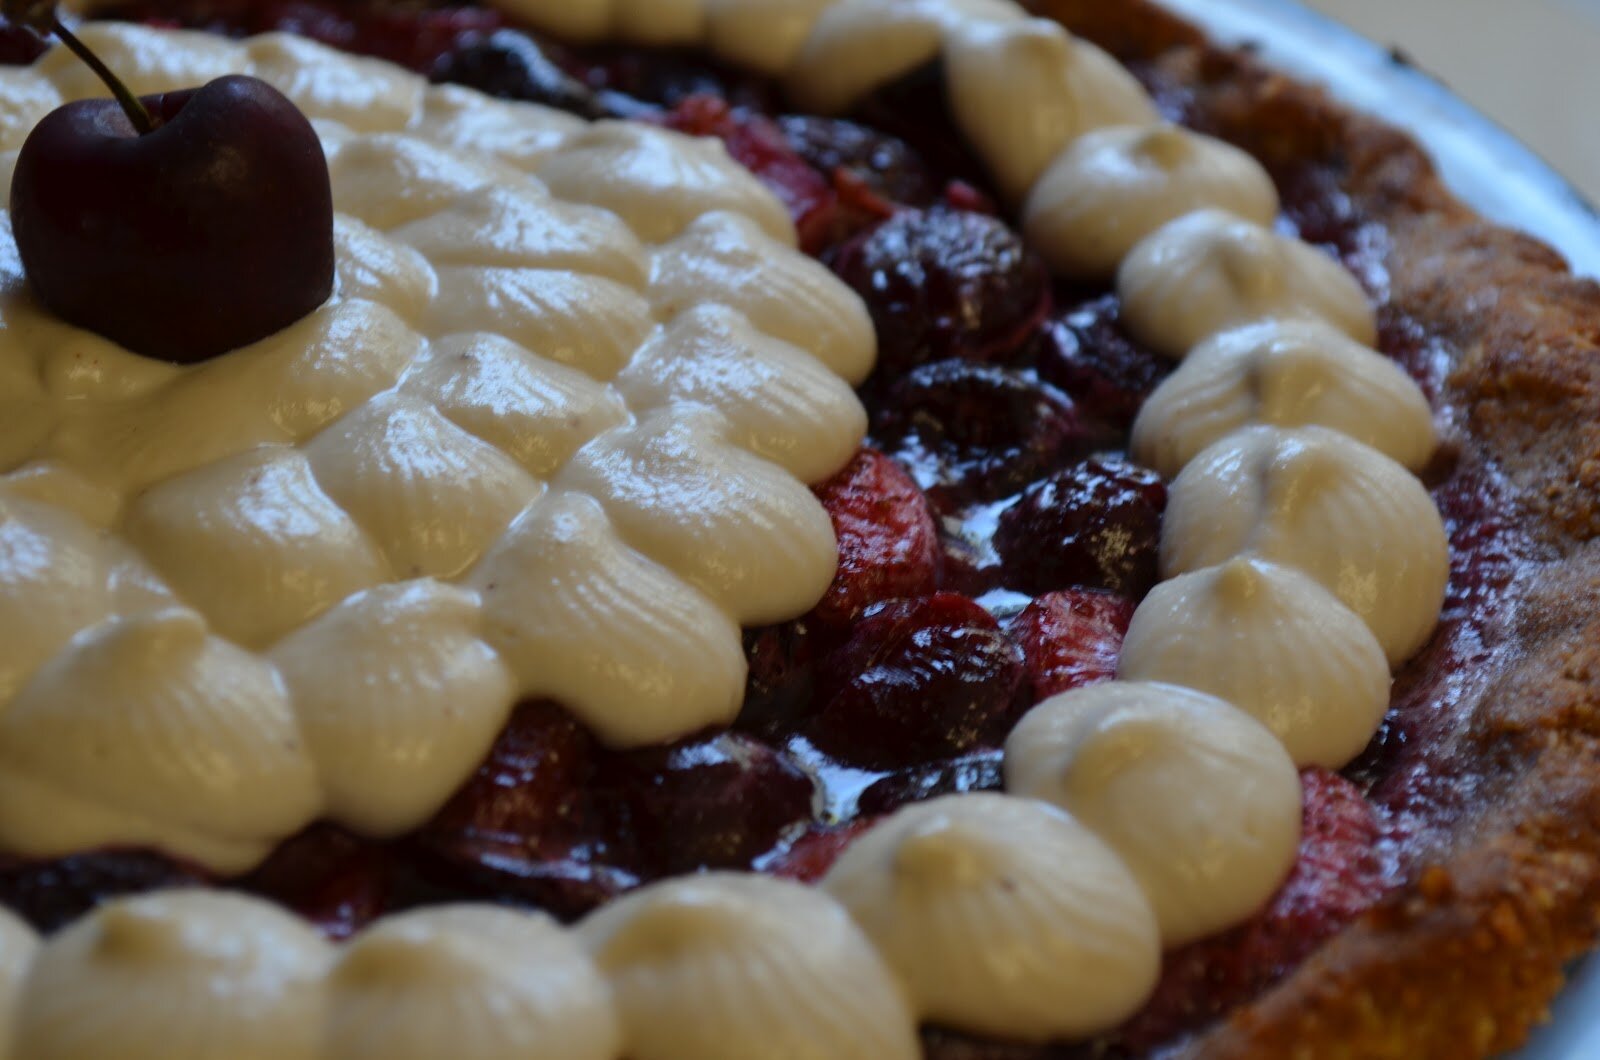
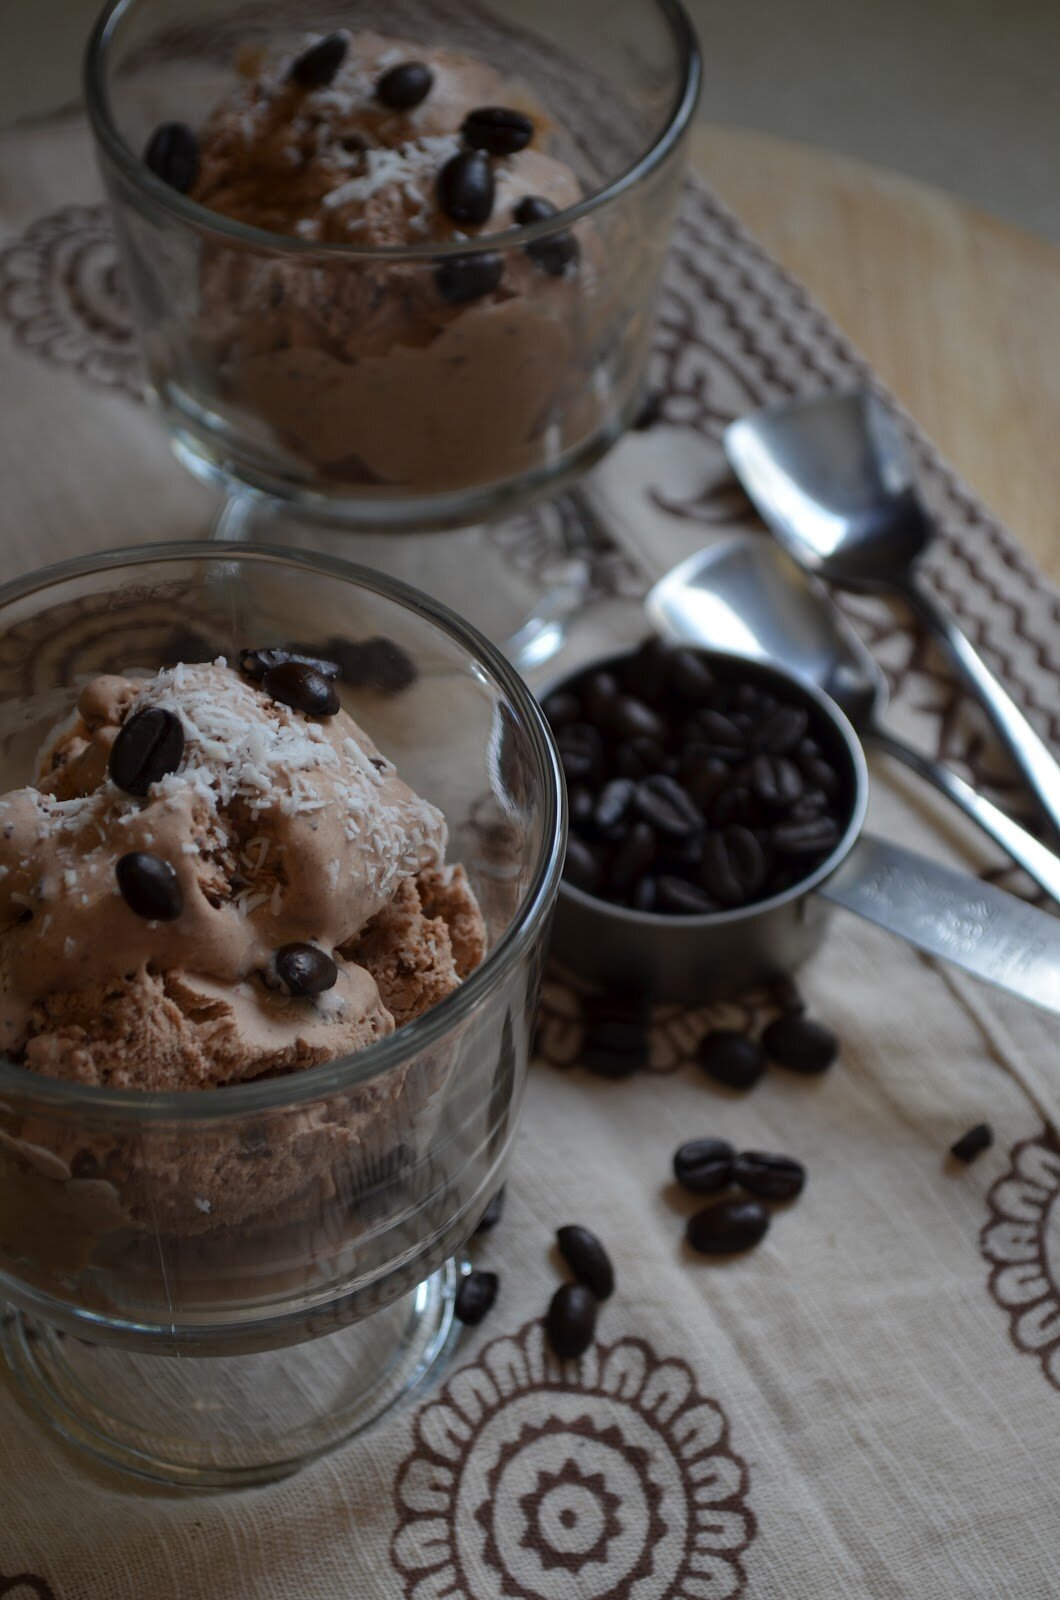
Anytime I visit Berkeley I ALWAYS allow some extra time to stop by my favorite restaurant, Cafe Gratitude.  CG has a variety of delicious milkshakes and my absolute favorite is called “I am Grace.”  It’s made with coconut ice cream, dates, almond butter, and vanilla bean.  I figured out how to make my own version of this at home, incorporating all their ingredients.  This is such a treat and I love it with their raw deep dish pizza.  Crazy good ya’ll
Almond Vanilla Coconut Milkshake

Ingredients:
-2 cups Coconut Vanilla Bean Ice Cream (ingredients include: coconut milk, honey, dates, and fresh vanilla bean). Vegans use maple syrup in place of honey.
-2 cups dairy free milk (I like it with homemade almond milk or walnut milk)
-2 tablespoons creamy almond butter
-2 teaspoons vanilla extract

How To:
1.  Add above ingredients to a blender (high speed or otherwise) and blend until everything is full incorporated.  
2.  Add in more milk or ice cream to create your preferred consistency.     
3.  Enjoy anytime of year!
Shared on: Raw Foods Thursday, Wellness Weekend 
Posted by Amber at

Labels: cane sugar free, dairy free, dessert, drinks, SCD, summer cuisine.

8 Comments

Leave a Reply

Your email address will not be published. Required fields are marked *

* Copy This Password *

* Type Or Paste Password Here *

You may use these HTML tags and attributes: <a href="" title=""> <abbr title=""> <acronym title=""> <b> <blockquote cite=""> <cite> <code> <del datetime=""> <em> <i> <q cite=""> <strike> <strong>

Saturday, November 17, 2012

Rainy Saturday Morning Hot "Cocoa" (vegan, dairy free, cane-sugar free)

Finallyrain!  Glorious fall rain that we desperately need here in drought-ridden Northern California.  It’s a warmish storm, but we’ll take it.  Snow is falling in the mountains, just a short drive away, and waiting for us to come play.  Soon, soon.  But for now we will enjoy this wet weather here in the valley and sip on some sweet, warm “cocoa.” 
Ingredients:
-3 cups dairy free milk (I use homemade walnut milk)
-3 tablespoons carob powder*
-3 tablespoons maple syrup
-1 teaspoon vanilla 
-(optional: 1/4 teaspoon peppermint extract) 

How To:
1.  Combine above ingredients in blender and blend on high for 30 seconds
2.  Transfer liquid to small sauce pan and gently heat, stirring frequently 
3.  Serve warm (or hot) – warm is good enough for the kiddos
Notes:
*By all means, use chocolate in place of the carob (such as raw cacao powder).  
Shared on: Allergy-Free Wednesdays,  Wellness Weekend
Posted by Amber at

Labels: cane sugar free, dairy free, drinks, fall cuisine, vegan.

10 Comments

Leave a Reply

Your email address will not be published. Required fields are marked *

* Copy This Password *

* Type Or Paste Password Here *

You may use these HTML tags and attributes: <a href="" title=""> <abbr title=""> <acronym title=""> <b> <blockquote cite=""> <cite> <code> <del datetime=""> <em> <i> <q cite=""> <strike> <strong>

Sunday, November 4, 2012

Super Easy Homemade Cranberry Apple Jelly/Sauce (cane-sugar free) with Vegan and SCD Options

Hello friends.  As soon as cranberry season comes rolling around I like to make a batch of cranberry jelly (sauce) each week.  If you follow my blog, then you know I am NOT a big sweet tooth.  Jelly always seems a bit too sweet for me.  Even the cane-sugar free jelly I buy, yes, often too sweet.  So you can imagine how much I love the tartness of cranberries.  This jelly comes together super quick.  You can sweeten it with anything you like and to your sweetness preference.  This also makes a fabulous Thanksgiving cranberry sauce.  See here for my other cane-sugar free cranberry sauce recipe.  Also seen in the above picture is my all-time favorite bread from Danielle at Against All Grain.  I make it nearly every week!  I like to add 2 1/2 tablespoons of honey.  This gives the bread a gentle sweetness and incredibly soft texture.  Together, this bread and jelly makes a lovely breakfast or anytime snack.  
Ingredients:
-16 ounces fresh cranberries (about 5 cups) 
-1 1/2 cups filtered water 
-1/2 cup (3 ounces) Medjool dates, seeded and diced
-3/4 cup sweet red apple, peeled and very small chop 
-1/4 cup honey (vegans use maple syrup, coconut nectar or coconut sugar and adjust to your sweet preference)
-1/4 teaspoon liquid stevia (SCDers use additional 3 tablespoons honey)

How To:
1.  In a medium sauce pan add the fresh cranberries and water and bring to a boil.  After the mixture comes to a boil, give it a stir and turn it down to a rapid simmer.  Add in the dates and apples.  Rapid simmer for about 10 minutes stirring frequently.  
2.  After 10 minutes it should look fairly thick and the cranberries should all be cooked down.  At this point add in the honey (or sweetener of choice), turn down heat to a soft simmer for about 5 minutes, stirring frequently.
3.  Turn off heat and add in the stevia.  Stir.  Allow mixture to cool before serving.  Total cook time is around 20 – 25 minutes.  
Serves 6 to 8 (depending on serving size). 
  Shared on: Melt in your Mouth MondaysMotivate Me MondaysMonday Mania, Mealtime Monday My Meatless Monday, Just Another Meatless Monday, On The Menu Monday, Mix It Up Monday, Meatless Monday, Gluten Free Monday, Slightly Indulgent Tuesdays, Fat Tuesday, Allergy-Free Wednesdays, Keep It Real Thursdays, Wellness Weekend Whole Foods Friday,Whole Foods Friday,  
Posted by Amber at

Labels: cane sugar free, fall cuisine, sides, spreads, thanksgiving side dishes.

15 Comments

Leave a Reply

Your email address will not be published. Required fields are marked *

* Copy This Password *

* Type Or Paste Password Here *

You may use these HTML tags and attributes: <a href="" title=""> <abbr title=""> <acronym title=""> <b> <blockquote cite=""> <cite> <code> <del datetime=""> <em> <i> <q cite=""> <strike> <strong>

Monday, July 16, 2012

Raw Mexican Chocolate Ice Cream (vegan, dairy free, cane-sugar free)

Since reviewing their products, I’ve been dreaming about Blue Mountain Organics’ cashew based ice creams.  They are so creamy and flavorful.  Such a healthy summer treat.  So last week, I finally got around to making my own cashew based ice cream.  I’m quite used to making coconut milk based ice creams, so I wasn’t sure how this was going to turn out.  But it did, and deliciously so.  What we have here is a raw, vegan, dairy free, cane-sugar free, chocolate ice cream that’s so creamy it feels like velvet in your mouth.  It goes without saying that my chocoholic husband proclaimed this as his new favorite dessert.  Good, because it’s super easy to make and super good for you. Knock yourself out my dear. 

Ingredients
-2 cups cashews (soaked for up to 6 hours)
-2 tablespoons coconut oil
-1/4 cup raw cacao (or more for you chocoholics) 
-1/3 cup grade B maple syrup (or to your sweetness, you could also add in a few drops of liquid stevia if you’re a super sweet tooth)
-1 tablespoon vanilla
-1/4 cup dates (about 4) seeded and soaked in 1 cup filtered water for at least 2 hours (I soak mine for 4)
-1 cup date water + 1/2 cup filtered water
-1/4 teaspoon coffee flavor
-1 teaspoon cinnamon
-Dash of cayenne (optional) 

How To:
1.  To a blender add drained cashews, coconut oil, cacao, maple syrup, vanilla, dates with date water plus an extra 1/2 cup water, coffee flavor, and cinnamon.  Blend until incorporated (if mixture gets warm from blending, wait until it has cooled before adding it to ice cream maker).
2.  Add to ice cream maker and churn until thick.
3.  Transfer to glass container and store in freezer for at least four hours.
4.  Remove from freezer 20 minutes before serving.

Notes:
*I use this ice cream maker and it works great, and it’s a perfect middle ground size.  

Shared on: Melt in your Mouth Mondays, Keep It Simple Mondays, Monday Mania, Mealtime Monday,Fresh Bites Friday, Fight Back Friday, Friday Food, Show Off Friday, Freaky Friday, My Meatless Monday, Just Another Meatless Monday, Fat Tuesday, Traditional Tuesdays, Slightly Indulgent Tuesdays, Scratch Cookin’ Tuesdays, Recipe Lunchbox Tuesdays, Allergy-Free Wednesdays, Gluten Free Wednesdays, Real Food Wednesdays, Keep It Real Thursdays, Full Plate Thursday, Tastetastic Thursday, Raw Foods Thursdays, Wellness Weekend, Fresh Bites Friday, Fight Back Friday, Friday Food, Show Off Friday, Freaky Friday, 

Posted by Amber at

Labels: cane sugar free, dairy free, dessert, ice cream, raw, summer treats, vegan.

29 Comments

Leave a Reply

Your email address will not be published. Required fields are marked *

* Copy This Password *

* Type Or Paste Password Here *

You may use these HTML tags and attributes: <a href="" title=""> <abbr title=""> <acronym title=""> <b> <blockquote cite=""> <cite> <code> <del datetime=""> <em> <i> <q cite=""> <strike> <strong>

Thursday, July 5, 2012

Strawberry Cherry Pie with Cashew Cream Topping (gluten free, grain free, dairy free, cane-sugar free, SCD friendly)

This pie is fantastic.  I do believe cherry pie is the greatest thing EVER.  I made this for my sweetie pie (my husband) for our 10 year anniversary.  He LOVED it and I’m so excited to share it with you (and psst, it’s SCD friendly) hooray!  As you might know, us folks on the SCD don’t have a lot of options in the thickening department.  Gelatin (while not my first choice otherwise) is great at thickening desserts.  But fruit does contain natural pectin, so this may thicken up a bit without the gelatin, but won’t hold its shape.  For vegans not following SCD, I’ve provided options below.  
Enjoy!   


Pie Filling Ingredients:
-1 pound seeded black cherries
-1 pound strawberries
-1/4 cup honey (vegans use 1/4 cup agave or maple syrup)
-3 dates, seeded and chopped
-1/4 cup orange juice
-1/3 cup cool water
-1 packet of gelatin which is 1 tablespoon (vegans use guar gum)*

How To:
1.  Wash and trim strawberries.  Wash and seed cherries (see below for how I seed cherries).
2.  To a medium sauce pan, add strawberries, cherries, honey, chopped dates, and orange juice.  Bring to a boil and then turn down to a simmer for about 10 minutes.  
3.  Remove pot from heat.  In a small bowl, mix 1/3 cup cool water with 1 packet of gelatin.  Pour gelatin into hot berry mixture.  Stir to incorporate.  You will see it start to thicken up a bit.  
4.  Pour hot berry mixture into baked pie crust (you will have some leftover, so don’t overfill crust.  This leftover mixture makes a tasty jello, so place in a small glass container and store in fridge, when firm, top with cashew cream for a yummy snack).
5.  Allow pie mixture to cool at room temperature.  When cool, place in fridge and allow to set up for at least 4 hours.
6.  Top with cashew cream and serve.

Crust:
-I used this cookie recipe for the crust (omit cacao for SCD and add 2 tablespoons coconut flour)
-It helps to oil the entire glass pie dish, line the bottom with wax or parchment paper, then push in the dough.  Poke some holes in the bottom of the crust before baking. Bake 375 for 12 minutes.  See notes for additional crust recipes. 

Cashew Cream Topping:
-2 cups cashews soaked for 4-6 hours
-1/4 cup coconut oil
-1 1/2 tablespoons vanilla 
-1/3 cup honey (vegans use agave or maple syrup) 
-3/4 cup liquid + more to blend up properly (you can use date sweetened water, nut milk or just plain water for the liquid).  
-2 tablespoons vegetable glycerine  (optional) 
-1 teaspoon lemon flavor (optional)

How To:
1.  In high speed blender, blend above ingredients.  Add the initial 3/4 cup liquid and blend.  Add more liquid until a soft, creamy texture is acheived.  
2.  Transfer into glass storage and place in fridge for at least 4 hours (this mixture will thicken in the fridge)
3.  Top pie

Notes:
*As a general rule, if a recipe calls for 1 packet of gelatin, vegans can substitute 3/4 teaspoon of guar gum.  This resource says to replace gelatin with guar gum at a ratio of 1 part guar gum for every 5 parts gelatin (e.g., 1/2 teaspoon guar gum will replace 2 1/2 teaspoons gelatin). 
*Additional SCD crust recipes: (1) Honey Gram Cracker Crust, (2) Dan’s Awesome Pie Crust, (3) Vegan Raw Pie Crust, (4) Deep Dish Pie Crust

I use one of my stainless steel straws to seed the cherries – they pop right out!
Serve with coconut vanilla bean ice cream (SCD friendly) 


Shared on: Just Another Meatless Monday, Melt in your Mouth Mondays, Monday Mania, My Meatless Mondays, Mealtime MondayFat Tuesday, Slightly Indulgent Tuesdays, Tastetastic Thursdays, Real Food Wednesdays, Pennywise Platter Thursdays, Simple Lives Thursdays, Frugal Food Thursdays, Wellness Weekend, Simple Living Friday, Show Off Friday, Friday Food, Fight Back Friday Fresh Bites Friday, Potluck Party Friday, Recipe Box Tuesdays,  Traditional Tuesdays, Allergy-Free WednesdaysGluten Free Wednesdays, 
Posted by Amber at

Labels: cane sugar free, dairy free, dessert, gluten free, grain free, SCD, summer treats.

25 Comments

Leave a Reply

Your email address will not be published. Required fields are marked *

* Copy This Password *

* Type Or Paste Password Here *

You may use these HTML tags and attributes: <a href="" title=""> <abbr title=""> <acronym title=""> <b> <blockquote cite=""> <cite> <code> <del datetime=""> <em> <i> <q cite=""> <strike> <strong>

Sunday, June 17, 2012

Happy Father’s Day Chocolate Tarts (grain free, dairy free, cane-sugar free, paleo))

Something a little sweet and a lot healthy for my special husband on Father’s Day.  

To the best man I know.  To the love of my life.  Thank you for being you, and for being the most amazing father to Sky and Ethan. You’re adored and loved more than you’ll ever know.  

Ingredients:
For the chocolate filling
-3 cups cashews, soaked for 6-8 hours
-5 dates, soaked in 1 1/2 cups filtered water for 4 hours
-1 cup date water (or a little more until smooth texture is achieved) 
-1/4 cup honey (use agave or maple syrup for vegan) 
-1/4 cup coconut oil
-1/4 raw cacao (or more to taste) 
-1 tablespoon vanilla
-Grain free crust*

How To:
1.  Drain and rinse cashews.  
2.  Add cashews with other ingredients to high speed blender.
3.  Blend on high to create a nice, smooth texture – use tamper if needed to move the mixture around (add a little more date water if needed).  Blending this in a food processor will yield a gritty texture.  I’m not sure how a regular blender would work, please leave a comment below if you blend in a regular blender (meaning, not with a high speed). The mixture should be thick and smooth.  
4.  Scoop chocolate filling into crusts and decorate with your favorite fruits or other choice toppings.  
5. Transfer to fridge and allow filling to set up (at least 4 hours). 

Notes:
*This crust was inspired by Amy from SS&GF.  
For the crusts I soaked 2 cups of walnuts for 8 hours, then roasted.  I blended them in a food processor with 3 soaked dates and 2 tablespoons of coconut oil.  Then I baked the crusts at 375 for about 15 minutes (not the best crust to remove from tart pan, it sort of falls apart, but still super tasty).  I’ll keep trying.  The walnuts might not have been completely dried and I may need to add less oil.  
*Here are some additional crust recipes: (1)  Grain Free Pie Crust from Elana’s Pantry, (2) Grain Free Crust from My Life in a Pyramid, (3) Grain Free Pie Crust from The Food Lovers, (4) Grain Free Honey Graham Cracker Pie Crust from Against All Grain, (5) Grain Free Pie Crust from Cooking Gluten and Dairy Free 
Serve with homemade nut milk, such as hazelnut 
Shared on: Just Another Meatless Monday, Melt in your Mouth Mondays, Monday Mania, My Meatless Mondays, Mealtime MondayMade From Scratch Monday, Fat Tuesday, Slightly Indulgent Tuesdays, Traditional Tuesdays, Allergy-Free Wednesdays, Whole Food Wednesdays, Real Food Wednesdays, Gluten Free Wednesdays, Wellness Weekend, Simple Living Friday, Show Off Friday,  Friday Food,  Fight Back Friday,  Fresh Bites Friday, 
Posted by Amber at

Labels: cane sugar free, dairy free, dessert, gluten free, grain free, Paleo, summer treats.

14 Comments

Leave a Reply

Your email address will not be published. Required fields are marked *

* Copy This Password *

* Type Or Paste Password Here *

You may use these HTML tags and attributes: <a href="" title=""> <abbr title=""> <acronym title=""> <b> <blockquote cite=""> <cite> <code> <del datetime=""> <em> <i> <q cite=""> <strike> <strong>

Tuesday, June 5, 2012

Delightful Double Chocolate Coffee Ice Cream (Vegan & Cane Sugar Free)

Last month I shared this recipe with Dairy Free Betty. 
You can see the full guest post here

Ingredients:

-2 cans coconut milk (this brand has BPA free lining)   
-1/4 cup raw cacao 

-1/3 cup grade B maple syrup

-1 tablespoon vanilla extract

-1 teaspoons coffee flavor  
-1/2 cup shaved chocolate bar (this is my favorite chocolate, only sweetened with beet sugar, it does contain soy lecithin)  

How To:

1.  Mix above ingredients in a blender, high speed or otherwise. 

2.  Transfer to ice cream maker and churn

3.  Just before you remove mixture from ice cream maker, add in your chocolate shavings, and churn for about 30 seconds

4.  Transfer to glass storage and freeze at least 4 hours

5.  Remove from freezer 20 minutes before serving

6.  Garnish with additional chocolate shavings, shredded coconut, or coffee beans. 
Serves 6-8


Notes:

*An ice cream maker aerates the mixture, creating a lovely creamy traditional texture.  You could just blend then transfer to glass storage and freeze, but it gets icy and doesn’t mimic traditional ice cream.  If you’re in the market for an ice cream maker, I LOVE this one. 
Shared onJust Another Meatless Monday, Melt in your Mouth Mondays, Monday Mania, My Meatless Mondays, Mealtime Monday, Fat Tuesday, Slightly Indulgent Tuesdays, Traditional Tuesdays, Allergy-Free Wednesdays, Whole Food Wednesdays, Real Food Wednesdays, Fresh Food Wednesday, Frugal Food Thursday, Tastetastic Thursday, Simple Lives Thursday, Pennywise Platter Thursday, Wellness Weekend, Fresh Bites Friday, Friday Food, Foodie Friday,  Potluck Party Friday, Sweet Saturday, 


Posted by Amber at

Labels: cane sugar free, dessert, ice cream, vegan.

17 Comments

Leave a Reply

Your email address will not be published. Required fields are marked *

* Copy This Password *

* Type Or Paste Password Here *

You may use these HTML tags and attributes: <a href="" title=""> <abbr title=""> <acronym title=""> <b> <blockquote cite=""> <cite> <code> <del datetime=""> <em> <i> <q cite=""> <strike> <strong>

Friday, May 25, 2012

Lemon Ginger Cookie Chews with Lemon Cream Icing (grain free, low glycemic, vegan)

Something about the combination of ginger and lemon is incredibly pleasing to me.  I use it together in many recipes (especially soups, and my mint ginger lemonade, that I look forward to sharing with you next month).  And when it comes to cookies, I just can’t think of a better combination.  I simply adore ginger snap cookies, but I must admit, I love a soft, chewy cookie.  I hope your family enjoys this recipe as much as we do!

Ingredients 
-100 grams almond flour* (1 cup)
-15 to 30 grams coconut flour (2 to 4 tablespoons) 
-15 grams arrowroot powder (2 tablespoons) 
-2 teaspoons ground ginger 
-1/2 teaspoon baking soda
-1/4 teaspoon salt
-1 tablespoon ground chia + 3 tablespoons water
-20 grams coconut sugar (2 tablespoons)
-1 teaspoon vanilla 
-1/4 cup oil (I use grapeseed) 
-1/4 cup yacon syrup
-1 teaspoon lemon zest + 1 tablespoon lemon juice
-1/4 teaspoon lemon flavor (optional) 

How To:
Preheat oven to 350
1.  In a bowl add chia and water, mix until incorporated.  Let rest for a few minutes.  
2.  To chia add coconut sugar and mix until incorporated.  Then add vanilla, oil, yacon, lemon zest and juice (and optional lemon flavor).  Mix.
3.  In a separate bowl, mix together almond flour, baking soda, salt, ginger, and arrowroot.
4.  Add dry ingredients to wet, mix.
5.  Start adding in the coconut flour until a thick, sticky batter develops.  For homemade almond flour, I use 4 tablespoon.  
6.  This is a thick, sticky batter (and needs to be so to create these soft, chewy cookies).  So oil your hands well, and make little balls, then press slightly into cookies.  Don’t be afraid of this batter, they will turn out, I promise.
7.  Bake for 12-13 minutes on non-stick surface (I keep mine in for exactly 13 minutes).  

Notes:
*To make the almond flour, I add 1/2 cup cold (refrigerated) almonds to my Vitamix.  I blend on high for exactly 20 seconds, then turn off and scrape around the blades with a knife, then another blend on high for 10 seconds.  The flour made in a high speed blender is much finer than the food processor.  I was using a coffee grinder to make flour too, but it took forever, and left huge chunks of almonds.  So, I like the Vitamix.  I can’t guarantee recipe results with any other flour, that’s why I have a varied amount of coconut flour.  P
lease let me know if you experiment with other almond flours.  If you’re a seasoned grain-free baker, then you will know what the batter is supposed to feel like when it’s just right.  
*The coconut cream is totally optional.  These cookies are amazing all on their own! 
*For coconut cream icing, add the coconut cream from 1can of full fat coconut milk (keep in fridge for several days).  To the cream, add 2 tablespoons of honey, agave or maple syrup; 1/2 teaspoon lemon flavor, 2 teaspoons vanilla, and 1/4 teaspoon xanthan gum if it needs thickening.  Blend with hand mixer.   

*If you don’t want coconut cream, you can make a cashew cream icing. Soak 2/3 cup cashews for 6-8 hours.  In a small blender, add drained cashews, 2 tablespoons sweetener, 2 tablespoons lemon juice, 1/2 teaspoon lemon flavor, 2 teaspoons vanilla, 2 tablespoons oil, and water until desired consistency. 

Shared on: Just Another Meatless Monday, Melt in your Mouth Mondays, Monday Mania, Ruth’s Real Food 101 (Mondays), Made From Scratch Monday  Slightly Indulgent Tuesdays,  Traditional Tuesdays Fat Tuesdays, Allergy-Free WednesdaysReal Food Wednesdays, Gluten Free Wednesdays Whole Food Wednesdays Make it Gluten Free Tuesdays, Wellness Weekend, Tastetastic Thursday, Simple Lives Thursday, Pennywise Platter Thursday, Friday Food, Potluck Party Back to School Recipes 

Posted by Amber at

Labels: allergy-friendly, cane sugar free, cookies, dairy free, dessert, gluten free, grain free, low glycemic.

22 Comments

Leave a Reply

Your email address will not be published. Required fields are marked *

* Copy This Password *

* Type Or Paste Password Here *

You may use these HTML tags and attributes: <a href="" title=""> <abbr title=""> <acronym title=""> <b> <blockquote cite=""> <cite> <code> <del datetime=""> <em> <i> <q cite=""> <strike> <strong>

Friday, May 18, 2012

Chocolate Caramel Chews (vegan, grain free, low glycemic)

Here’s another chocolate recipe, inspired by Ricki.  I’m no chocolate making expert – this is all new to me.  But can I tell you, I’m having a BLAST experimenting.  I’m sure this recipe, like all things, will evolve over time.  This latest creation is chocolate stuffed full of ooey gooey caramel.  Reminds me of a Caramello (anyone remember those)?  I just can’t eat traditionally made caramel (my stomach hurts just looking at those ingredients).  But I can tell you in all honesty, this is a very, very tasty alternative.  And I feel really good about the ingredients.  I just know Scott is going to go crazy over these when he gets home.  Can you tell I love surprising my husband with chocolate.  I’m working on a few other homemade chocolate recipes: ginger chocolates and bacon chocolates (yes, bacon- I know, crazy, but I hear it’s all the rage). I hope you enjoy these in the meantime.  And you can visit here for my chocolate covered strawberries (sweetened with stevia). 

Ingredients
Chocolate
-2 ounces cocoa butter, shaved 
-1/4 cup cashew butter *
-3 tablespoons raw cacao powder 
-1 to 2 tablespoons raw agave (more or less to your sweetness taste, I went with 2)
-1/2 teaspoon vanilla 
-Pinch of salt 

Caramel
-3 tablespoons yacon syrup
-2 tablespoons coconut sugar
-1/2 teaspoon vanilla
-Pinch of salt


How To:

1.  In a small non-stick pan add chocolate ingredients and melt – taking care to not burn.  I recommend stirring the entire time.  Remove from heat once in a while, continue stirring.  Stir to break down the cashew butter.  When the mixture looks smooth with no cashew butter chunks, transfer to 1 cup glass Pyrex (with pour spout).
2.  Fill each miniature silicone baking cup 1/3 of the way with chocolate. 
3.  Place in fridge or freezer to set up.  (The chocolate will only take a few minutes to set up in the freezer).
4.  While the chocolate is setting up, make the caramel.  In a small non-stick pan, add the caramel ingredients.  Heat ingredients on med/low, and stir the entire time.  You want to heat this slowly and dissolve the coconut sugar.  Remove from heat when the mixture starts to thicken and stir rapidly, then transfer to a small bowl.  
5.  Remove chocolate from fridge for freezer.  They should be completely solid.
6.  Add an equal amount of caramel to each cup, filling to the halfway mark.  I use a slightly oiled spoon to get the caramel out of the bowl.  It will thicken and get very sticky as it cools.  So work quickly.  After you’ve filled each cup, the caramel should be firm inside the cups from the cold chocolate.
7.  At this point, simply fill the cups with the remaining chocolate and place back in the fridge or freezer.  I utilize the freezer.

Notes:
*Because these are made with agave instead of stevia, they melt much quicker at room temperature (and from fingers).  They are best out at room temp for no more than 10 minutes.  It goes without saying, it’s best to store these in the fridge.  The caramel stays ooey and gooey in there too!
*To make cashew butter, add 1 – 2 cups raw cashews to food processor.  Turn on and blend until creamy.  It will get creamy right after the ball of nut butter forms.

*
Melting the chocolate: 
Caramel Sauce: 
Middle layer of caramel:
Sliced open: 
 The caramel stays nice and chewy in the fridge 
Shared on: Just Another Meatless Monday, Melt in your Mouth Mondays, Monday Mania  Ruth’s Real Food 101 (Mondays), Fat Tuesdays, Traditional Tuesdays, Allergy-Free Wednesdays, Whole Food Wednesdays, Gluten Free Wednesdays,  Real Food Wednesdays, Wellness Weekend, Fresh Bites FridayFreaky FridayFight Back Friday, Friday Food, Lunchbox Love Friday, Feed Your Soul Friday, Potluck Party Friday, Super Food Sundays, Sugar Free Sundays, Allergy-Friendly Fridays  
Posted by Amber at

Labels: allergy-friendly, cane sugar free, dairy free, dessert, grain free, low glycemic, vegan.

11 Comments

Leave a Reply

Your email address will not be published. Required fields are marked *

* Copy This Password *

* Type Or Paste Password Here *

You may use these HTML tags and attributes: <a href="" title=""> <abbr title=""> <acronym title=""> <b> <blockquote cite=""> <cite> <code> <del datetime=""> <em> <i> <q cite=""> <strike> <strong>

Monday, April 30, 2012

Raw-licious Lemon Cookies (SCD Friendly)

After I made my raw carrot cake cookies (inspired by these), one of my readers inquired about the lemon cookies.  I’m not sure if you’re familiar with these raw cookies, but you can check them out here.  They popped up in my Coop a few months ago.  I tried the carrot cake cookies first and was shocked by their deliciousness,  but the price tag is rather discouraging ($6 per bag – and it’s a tiny bag folks).  I was successful in making the carrot cookies at home.  Naturally, the lemon cookies have been on my mind.  So a few weeks ago I made a batch and they were outrageously good, the perfect burst of lemon with all the benefits of a raw, live food.  These differ in one respect from the store bought variety, they aren’t a crunchy cookie.  They are soft, but equally wonderful.  I like them both ways, and I have to tell you, the flavor is spot on.  So if you’ve tried these, and love them, try making them at home (this batch yields 60-70 cookies depending on how big or small you make them)!  And you might be able to get that crunch if you dehydrate longer.  I made both cookies and balls with this batch.  And by the way, my kidsLOVE these.  What a super healthy snack.  I’m making these next!
Ingredients 

-14 dates, pitted and soaked in filtered water until soft (the soaking time will depend on how soft or hard your dates are to begin with.  I usually soak mine for 6 hours or until super soft)
-4.5 ounces unsweetened shredded coconut (1 cup)
-1 cup sesame seeds (soaked for 10 hours)
-1/2 teaspoon lemon flavor (or to taste, start with 1/4 tsp)
-1 teaspoon lemon zest

How To
1.  In food processor fitted with the s-blade, add dates and blend into a paste. Add in lemon flavor, blend.   
2.  In another bowl, add coconut, well drained sesame seeds, and lemon zest.  Mix well. 
3.  Add date mixture to coconut, sesame seeds, and lemon zest and with clean hands, mix well. 
4.  Form into little cookies or balls.
5.  Place in your dehydrator (on a mesh fitting) and dehydrate at 105 degrees for 24 hours (or more).  Crank it up to 135 degrees for the last hour. I know this sounds like a long time, but this low temperature really preserves all the beneficial nutrients.  I have no idea how these would work in the oven, but please let me know if you try.  

Notes:

*I put my dehydrator in the laundry room and just forget about it.  
*If making the balls, dehydrate 105 degrees for 12-15 hours.  They will be soft and chewy.  


Shared on: Just Another Meatless Monday, Melt in your Mouth Mondays, Monday Mania, Ruth’s Real Food 101 (Mondays), Slightly Indulgent Tuesdays, Traditional Tuesdays, Fat Tuesdays, Kids in the Kitchen, Real Food Wednesdays, Allergy-Free Wednesdays, Gluten Free Wednesdays, Whole Food Wednesdays, Full Plate Thursday, Pennywise Platter, Simple Lives Thursday, It’s a Keeper Thursday, Wellness Weekend, Raw Foods Thursday, Fresh Bites Friday, Freaky Friday, Fight Back Friday, Friday Food, Lunch Box Love Fridays,  Feed Your Soul Friday, Allergy Friendly Friday, Superfood Sunday 

Posted by Amber at

Labels: cane sugar free, cookies, dairy free, dessert, gluten free, grain free, nut free, raw, SCD, vegan, vegetarian.

33 Comments

Leave a Reply

Your email address will not be published. Required fields are marked *

* Copy This Password *

* Type Or Paste Password Here *

You may use these HTML tags and attributes: <a href="" title=""> <abbr title=""> <acronym title=""> <b> <blockquote cite=""> <cite> <code> <del datetime=""> <em> <i> <q cite=""> <strike> <strong>