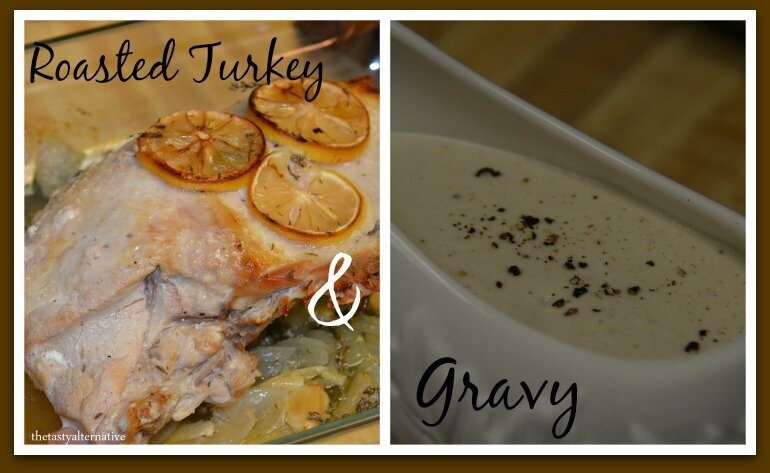
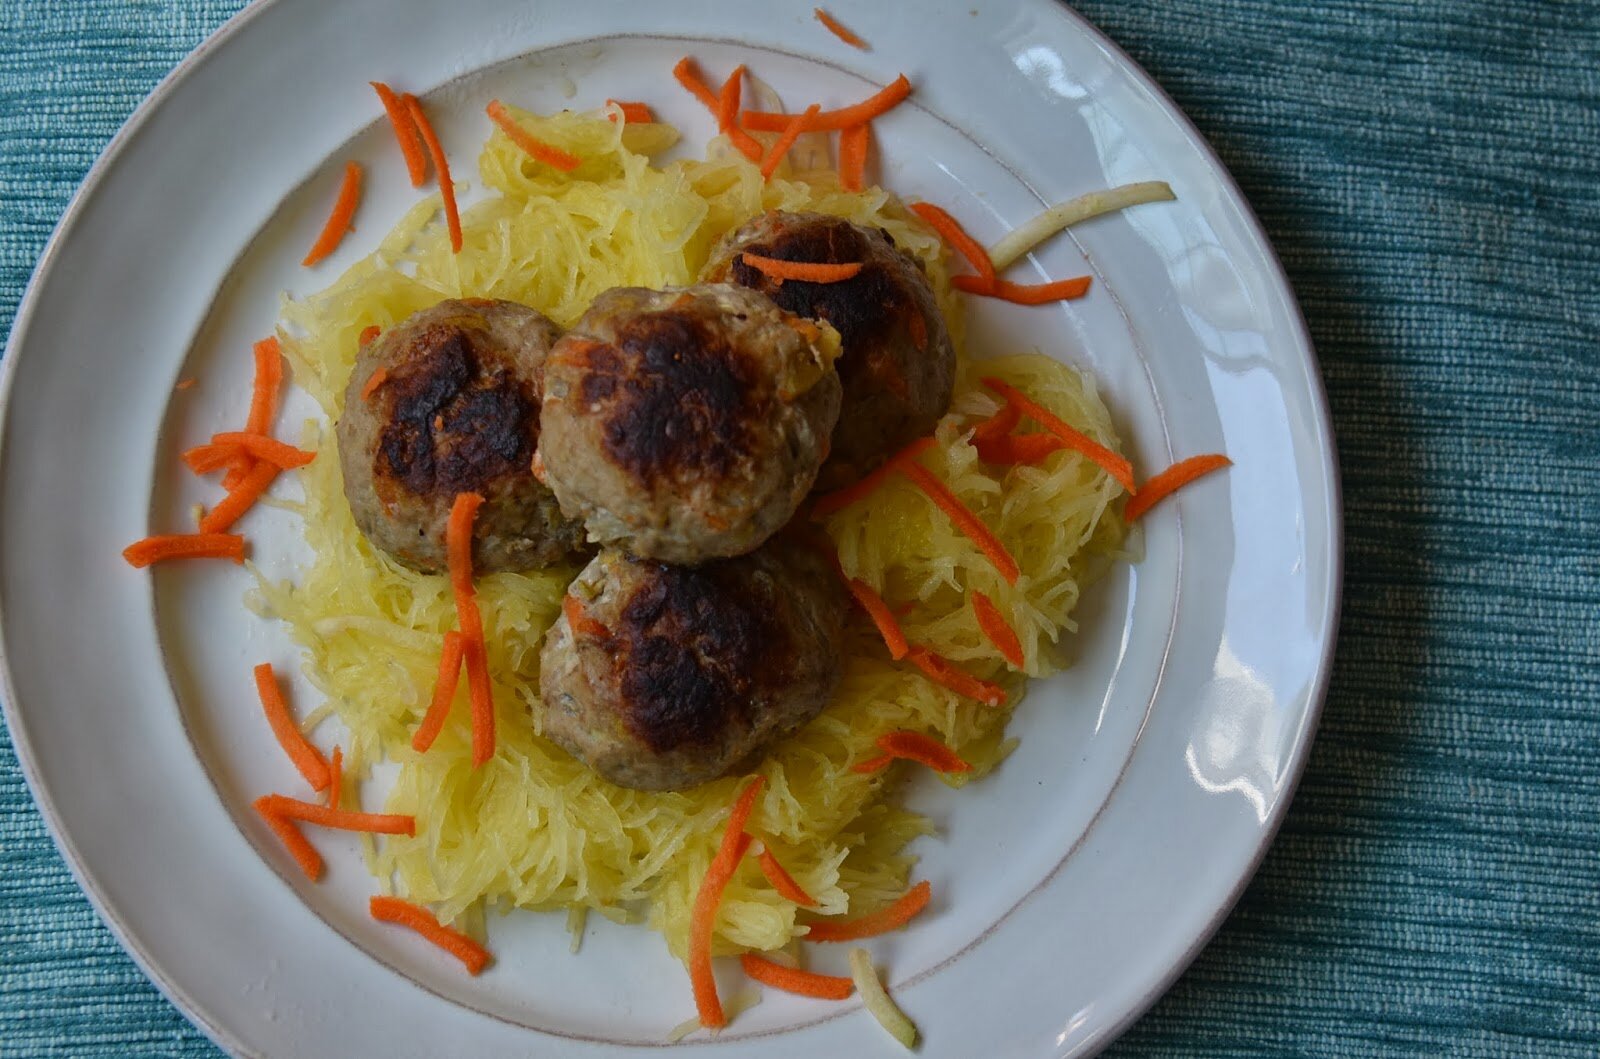
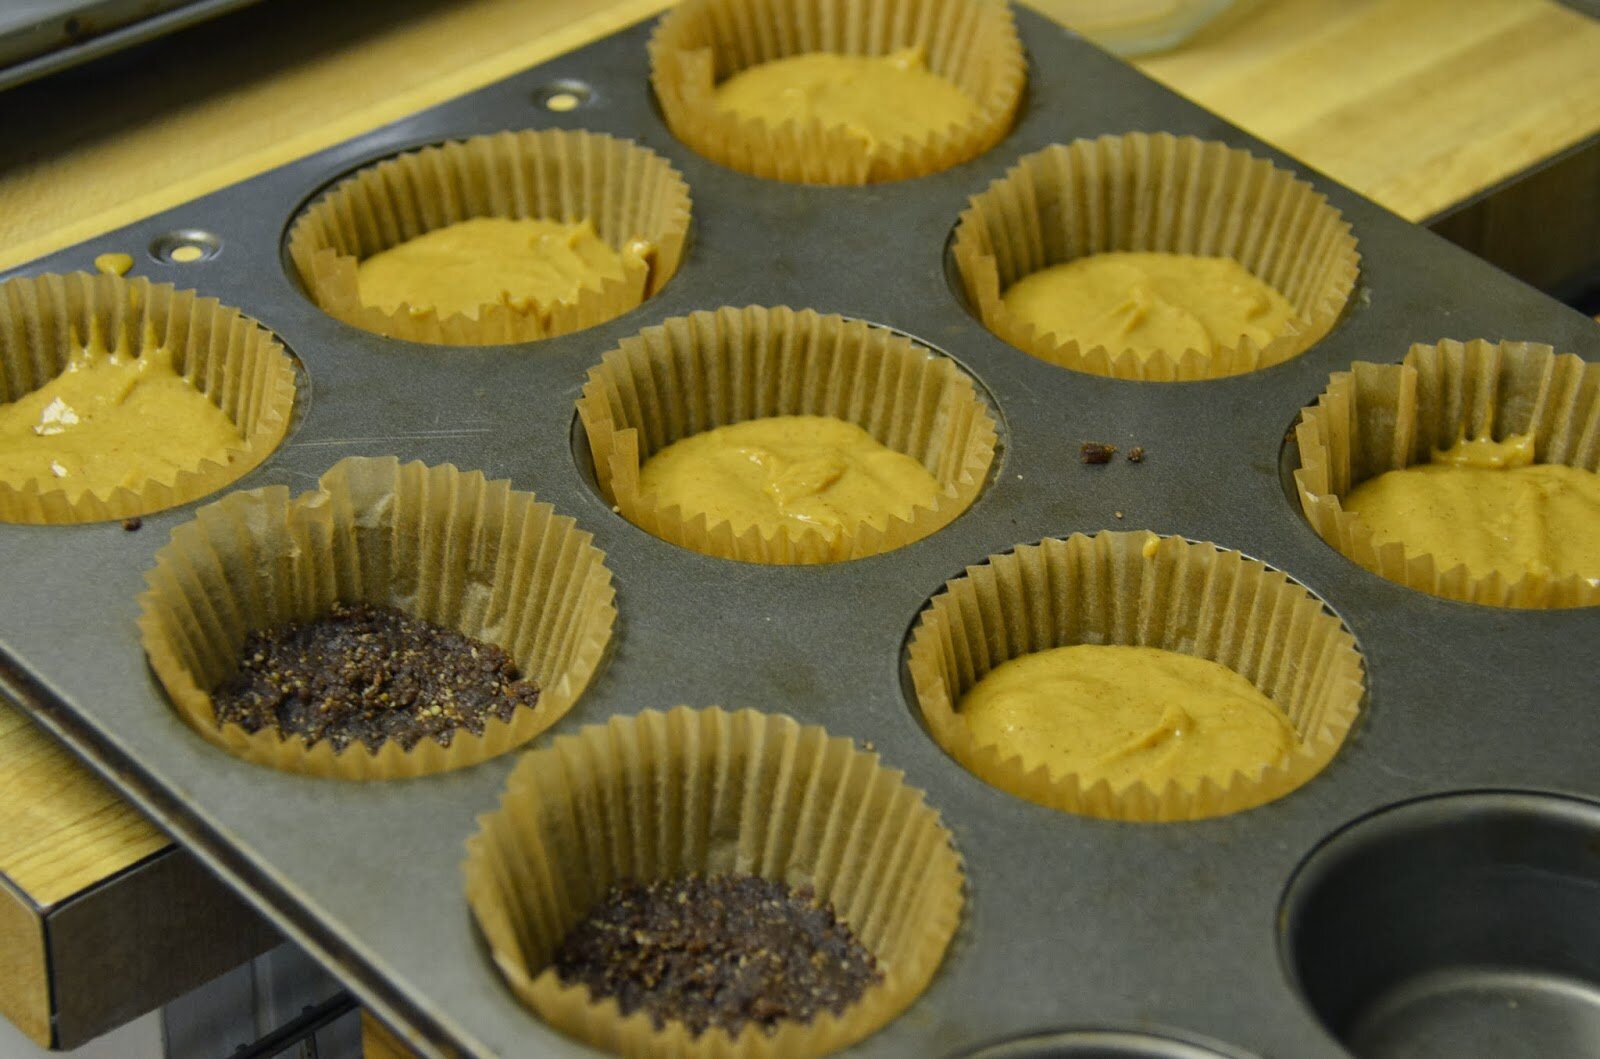
I’ve been hosting Thanksgiving dinner for several years. Because I enjoy cooking and can plan and multitask like no one’s business, Thanksgiving is totally doable for me. And I love that I can make it all gluten, dairy, and cane-sugar free, and everyone always, every year, raves about the food. They can’t tell my stuffing is gluten free, or that the sweet potatoes aren’t swimming in cane-sugar, or the gravy is Paleo (gasp)! So when I started hosting the thought of roasting an entire turkey was completely unappealing. I mean, yes, it looks lovely, but it takes so long and it just made more sense (to me) to buy turkey parts and roast them to their appropriate doneness (as we all know, white meat cooks differently than dark meat). I’ve also noticed that turkey legs are really popular and I like having more than two available. I’ve really enjoyed preparing turkey this way and my guests seem to enjoy it as well. Perfectly moist breast meat and perfectly moist dark meat?! Yes please. I wanted to share my method with you in case you were feeling a little overwhelmed by the whole bird. By the way, brining turkey is a necessary step to that delicious, moist meat…so don’t skip it! Gobble-gobble. Continue reading
Category Archives: fall cuisine
Roasted Turkey with Garlic, Thyme, and Lemon w/ Paleo Gravy


Easy Gluten Free Pumpkin Bread
I was so excited to finally make some pumpkin bread last week! It’s been so darn hot here that baking felt quiet unappealing. This year I made my own gluten-free flour mix, and it worked great for this recipe – yay! If any of you fine folks out there have been following me since I started blogging four years ago, you will know that baking has been a journey for me. I have been experimenting for a couple of years now and I’m happy to say that baking no longer feels like a burden or chore, rather, it’s something I enjoy. It goes to show you that practice makes perfect, err, practice makes comfortably okay. Ha ha. Baking is never perfect, right. I hope you enjoy this recipe. I’ve made it several times with both my gluten-free mix and the suggested flours in the notes section of the recipe. It’s been well received by family and friends. So enjoy…and happy fall. Oh and it rained today! So cozy and wonderful. So happy. xo Continue reading
Labels: Breads, fall cuisine, fall treats, gluten free, holidays, Pumpkin, Thanksgiving.
Leave a Reply


Orange Kissed Apple Pie
When I was a little girl I loved helping my Gramie make apple pie. She did not play around when it came to the apples. She piled them apples a mile high in a huge mound and placed the crust on top. When the pie cooked the apples settled and there was at least a 4 inch space from apples to the top of the crust. I will always remember how cool it looked. When she broke into the pie, the crust fell nicely onto the apples. What I loved most about her apple pie, however, was the filling. She made it thick and gooey. The liquid ran all over the place. The apples were tart yet sharp with sweet cinnamon flavor. I loved extra scoops of the apple pie liquid on my ice cream which was the ultimate flavor combo. We remember those we love through food. When I taste my apple pie it takes me right back to her kitchen – standing there next to her oven, smelling the cinnamon and drooling for that flaky crust. I’m happy to say I’ve perfected my version of her apple pie with a dairy, gluten, and cane sugar free spin. It’s comforting to smell, taste, and physically enjoy a memory. Food has a way of bringing us closer to those we have lost, and really, then, suddenly they don’t feel so far away. Continue reading
Labels: allergy-friendly, dessert, fall cuisine, holidays, pie, summer treats.
Leave a Reply


Dairy and Cane-Sugar Free Pumpkin Pie (SCD, GAPS, Paleo)
- 1¾ cups fresh baked pumpkin or 1 can of pumpkin puree
- cream from 1 can of full fat coconut milk
- ¼ cup honey
- 2 eggs
- 7 large soft Medjool dates (optional)
- 1 teaspoon vanilla extract
- 2 teaspoons ground cinnamon
- ¾ teaspoon ground ginger
- ¼ teaspoon ground nutmeg
- ¼ teaspoon ground cloves
- 1 extra egg for crust (this is an optional step)
- Soak dates in warm water for at least 2 hours before making this recipe.
- Preheat oven to 400 degrees
- To a blender, add in all the above ingredients (except the extra egg) and blend until well incorporated (about 15 seconds), then pour the mixture into a pie crust.
- Beat the extra egg in a small bowl and brush the egg onto the entire exposed crust. I like to cover the crust with this silicone crust shield (it's awesome and my crust never burns).
- Place the pie onto a baking sheet (to catch overflow) and bake for 15 minutes. Then turn the oven temperature down to 350 and bake an additional 35 minutes. When the middle poofs up, your pie is ready. The middle will be jiggly, and that's okay. It will thicken as it cools.
- Remove pie from baking sheet and allow to cool on a cooling rack.
-I like to use dates in pumpkin pie because it adds a natural sweetness and helps thicken the mixture. If you don't want to use dates, just add additional sweetener (another 2 or 3 tablespoons).
-Maple syrup or coconut nectar is a nice substitute for the honey.
- I generally bake my pumpkin pie the night before and let it sit out at room temperature. When ready to serve, top with vanilla bean coconut whipped cream.
- Cream from 1 can of full fat coconut milk
- ½ cup cashews soaked for 4 to 6 hours (for a thicker whipped cream as shown in the picture, use 1 cup of soaked cashews)
- 3 tablespoons honey
- 1 teaspoon vanilla, maple syrup,or coconut nectar.
- 1 vanilla bean cut in half and scraped out
- In a blender (high speed preferably) add all the above ingredients and blend until smooth.
- Transfer to a bowl and refrigerate for 2 to 4 hours.
- Mix well before serving.
Labels: dessert, fall cuisine, GAPS, nut free, Paleo, SCD, Thanksgiving.
Leave a Reply


Perfectly Moist Crock Pot Stuffing (gluten and dairy free)
–7 cups homemade dried bread cubes/crumbs
-2 tablespoons coconut oil
-1 medium yellow onion, chopped
-1 1/2 cups chopped celery
-2 cups chopped mushrooms
-1 apple, peeled and chopped
-2 cups chopped sausage of choice (optional)
-1 tablespoon fresh sage (or 1 1/2 teaspoon dried)
-1 teaspoon poultry seasoning
-2 teaspoons garlic granules
-2 teaspoons of salt
-Few turns of the pepper grinder (roughly 1/2 teaspoon)
-4 cups broth
-1 egg (this makes the stuffing very moist and almost souffle like- which I LOVE)
–1 cup dried cranberries and/or 1/2 cup chopped walnuts (optional)


Pumpkin & Apple Veggie Turkey Meatballs with Sauteed Spaghetti Squash (SCD/Paleo)
Shared on: Fat Tuesdays, Slightly Indulgent Tuesdays


Pumpkin, Banana, Cranberry Muffins (gluten free, dairy free, cane-sugar free, nut free)
Ingredients:
wet
-2 eggs room temperature
-1/2 cup pumpkin puree room temperature
-3/4 cup ripe banana
-1/2 cup coconut sugar
-1/2 cup melted coconut oil
-1/4 cup applesauce
-3 tablespoons full fat coconut milk
-1 teaspoon vanilla
-10 drops stevia
dry
-100 grams sorghum flour (3/4 cup + 2 tablespoons)
-100 grams brown rice flour (3/4 cup)
-60 grams tapioca flour (1/2 cup)
-1 tablespoon cinnamon
-1 teaspoon ground ginger
-1 teaspoon baking powder
-1/2 teaspoon baking soda
-1/4 teaspoon xanthan gum or 1/2 teaspoon psyllium husk
-1/2 cup dried cranberries
How To:
Notes:
*For wet ingredients use a 1 cup glass Pyrex for measuring.
*For dry, use metal measuring cups. And when measuring flours, spoon the flours into the measuring cup, then level off with a knife. Never pack in the flour.
*The muffins will stay moist for 3 or 4 full days at room temp in a container.
*I use these large baking muffin cups.


Butternut Squash Coconut Hemp Smoothie
-3 ice cubes*
*AIP & SCD, omit hemp seeds – they are not permitted.


No-Bake Mini Pumpkin “Cheesecake” with Vanilla Bean Coconut Cream Topping (dairy free, grain free, cane-sugar free)
Crust
-1 cup raw pumpkin seeds
-1 cup Medjool dates (about 7 regular size), seeded and chopped
-1 tablespoon maple syrup*
-2 tablespoons carob powder
Pumpkin Filling
-1 cup raw cashews soaked 4 to 6 hours
-1 cup cooked plain pumpkin puree
-1/3 cup maple syrup*
-1/2 cup melted coconut oil
-1 teaspoon vanilla extract
-1 teaspoon ground cinnamon
-1/2 teaspoon ground ginger
-1/8 teaspoon ground nutmeg
Vanilla Bean Coconut Cream Topping
-3/4 cup cashews soaked 4 to 6 hours
-Cream from 1 can of full fat coconut milk*
-2 tablespoons maple syrup*
-1 vanilla bean
-1 teaspoon vanilla extract
How To:
Crust
In a food processor add the pumpkin seeds and blend for 10 seconds. Add in the chopped dates and blend with the pumpkin seeds until incorporated. With the food processor running, add in the maple syrup and carob. Blend until incorporated. Press the mixture into baking cups or a spring form pan.
Pumpkin Filling
1. Drain and rinse the cashews.
2. In a high speed blender (or high quality blender, such as a Ninja), add in the cashews, pumpkin puree, vanilla extract, and maple syrup and blend on medium speed. Use the tamper to encourage the mixture to move around.
3. Turn the blender on low and drizzle in the melted coconut oil. Repeat with the tamper, encouraging the mixture to flow, and turn on high.
4. Turn down to low and add in the spices, then continue blending.
5. The mixture is ready when it’s creamy and smooth.
6. Add this mixture to the top of the crust. Then place in the refrigerator.
Vanilla Bean Coconut Cream Topping
1. Drain and rinse the cashews.
2. In a high speed blender (or high quality blender, such as a Ninja), add in the cashews, coconut cream, vanilla extract, and maple syrup and blend on medium speed. Use the tamper to encourage the mixture to move around.
3. Scrape out inside of the vanilla bean and add this to the mixture. Blend until incorporated.
4. Add this mixture to the top of the pumpkin mixture. Sprinkle with cinnamon (optional). Place in the refrigerator for at least 2 hours to firm up.
This recipe makes 18 mini cheesecakes or one 8 inch spring-form pie.
Notes:
*Vegans use maple syrup or coconut nectar. SCD use only honey. Paleo use coconut nectar or honey. SCD omit carob and use 2 tablespoons of coconut flour.
*For the coconut cream, place a can of full fat coconut milk in the refrigerator for at least 3 days (I always have 4 or 5 in there). It’s okay if the coconut cream doesn’t separate well after 3 days. Just be sure to NOT shake the can. Gently open the can and pour the coconut cream into the blender. Stop when you get to the watery part. The coconut cream doesn’t need to be super thick for this recipe, you just want the cream and water to be separated so you can get the cream out.
Mini Strawberry Cultured “Cheesecakes”
_________________________________________
{affiliate links included}
Shared on: Allergy-Free Wednesdays, Wellness Weekend, Lunchbox Love, My Meatless Mondays,
Fat Tuesdays


Chicken, Black Bean, and Delicata Squash Enchiladas with Homemade Enchilada Sauce (gluten & dairy free)
**********
Home improvement takes so much time and energy, but it’s so fun to be part of the transformation. I included some pictures below of our home improvement journey thus far. But before I talk about this delicious recipe, I want to share with you this awesome paint I found on-line…and lucky for me it’s distributed at one of my favorite eco-home improvement stores in the nearby town of Berkeley. I love this paint for many reasons, obviously because it’s zero VOC, is free of ozone depleting compounds, formaldehyde reproductive toxins, and very, very low odor, but also because this company is founded and run by two amazing women, Virginia and Janie – I love nothing more than supporting female driven companies – and companies that are in-line with my eco-friendly, green lifestyle. You can read about there story here. Because of these smart, innovative women, folks like me can purchase non-toxic paint for their home and not only spare the air, but spare the health of loved ones. I personally have enough against me with an auto-immune disease and severe chemical sensitivity. I can’t tell you how happy and thankful I am for Virginia and Janie…and Yolo Colorhouse!!
Ingredients:
For the filling
-2 medium cooked chicken breasts, cubed (or shredded)
-3 medium delicata squash, peeled, cubed, and roasted
-2 cups prepared black beans (soaked and boiled, preferably)
-One bag room temperature Rudi’s Gluten Free plain Tortillas
Enchilada sauce
-1 pound green anaheim peppers or gypsy peppers*
-1 medium yellow onion, chopped (about 1 1/4 cups)
-1 cup water
-1/2 teaspoon salt
-1/2 + 1/2 teaspoon garlic granules
-1/2 teaspoon cumin
-2 tablespoons oil
-Optional 1/4 – 1/2 teaspoon chili powder
How To:
1. Preheat oven to 400 degrees
2. Wash and seed your peppers of choice, or what is seaonsal. Chop peppers in half or quarters. Add peppers and chopped onions to a small 9×9 glass Pyrex (or whatever you have on hand), and to that dish add 2 tablespoons oil and 1/2 teaspoon garlic granules. Toss ingredients and roast for 30 minutes. You want the peppers to start browning a little. When the peppers are done roasting, remove from oven and set aside. The peppers can be made earlier in the day and set aside for several hours. When you are ready to make the sauce, simply add the onions and peppers to a blender (I use a Vitamix), along with the 1 cup of water, 1/2 teaspoon salt, 1/2 teaspoon garlic granules, 1/2 teaspoon cumin and optional chili powder. Blend until well incorporated.
-I recommend roasting the chicken and squash at the same time with the peppers, in different dishes of course. For the squash, I drizzle on some oil and add a few shakes of garlic granules. For the chicken I drizzle on some oil, and add a few shakes of salt and garlic granules. Everything should be done at the same time. Check the chicken’s internal temp at 30 minutes (needs to be at least 180 degrees), and check the squash for doneness.
3. After your finished with your roasting, turn oven down to 375
4. Get your room temperature tortillas and start stuffin’. I lay mine flat then add chicken, squash, and the black beans. Don’t stuff too full…you want to be able to fold them at least. Just roll closed, you don’t have to fold down the corners or anything fancy.
5. Place tortillas in a Pyrex. You should fit 8 in there. Don’t be shy, push them around a bit if you have to.
6. Pour the enchilada sauce over the tortillas. Bam, now you have some gnarly enchiladas going on. Bake COVERED for 30 minutes (I cover with a stainless steel backing sheet – remember, I don’t use foil in my kitchen, so I get crafty and find other ways to cover dishes).
7. After 30 minutes, remove from oven, uncover, and allow to cool for about 20 minutes.
-Serve on a bed of fresh romaine lettuce along side fresh avocado, salsa of choice, cashew sour cream, chopped red onion, and a dash of hot sauce.
Notes:
*I have used three different peppers for the enchilada sauce. Here’s the breakdown: (1) your basic green peppers yield a very bitter sauce and I do not recommend, (2) Anaheim can be a little spicy if you accidently get a seed in there, but using this variety will yield a more authentic tasting enchilada sauce – I definitely recommend anaheim, and (3) gypsy peppers yield a slightly sweet sauce, I also really love using these.
*You can also use brown rice tortillas, but you will have to warm with with some oil so they become more pliable. I have a few pictures of the brown rice tortillas batch below.
Shared on: Melt in your Mouth Mondays, Motivate Me Mondays, Monday Mania, Mealtime Monday, Just Another Meatless Monday, On The Menu Monday, Mix It Up Monday, Fat Tuesdays, Slightly Indulgent Tuesdays, Allergy-Free Wednesdays, Keep It Real Thursdays, Pennywise Platter Thursdays,
Fight Back Friday, Fresh Bites Friday, Whole Foods Friday, Gluten Free Fridays, Sweet Saturday,
Labels: dairy free, fall cuisine, gluten free, main dish, winter cuisine.
Leave a Reply


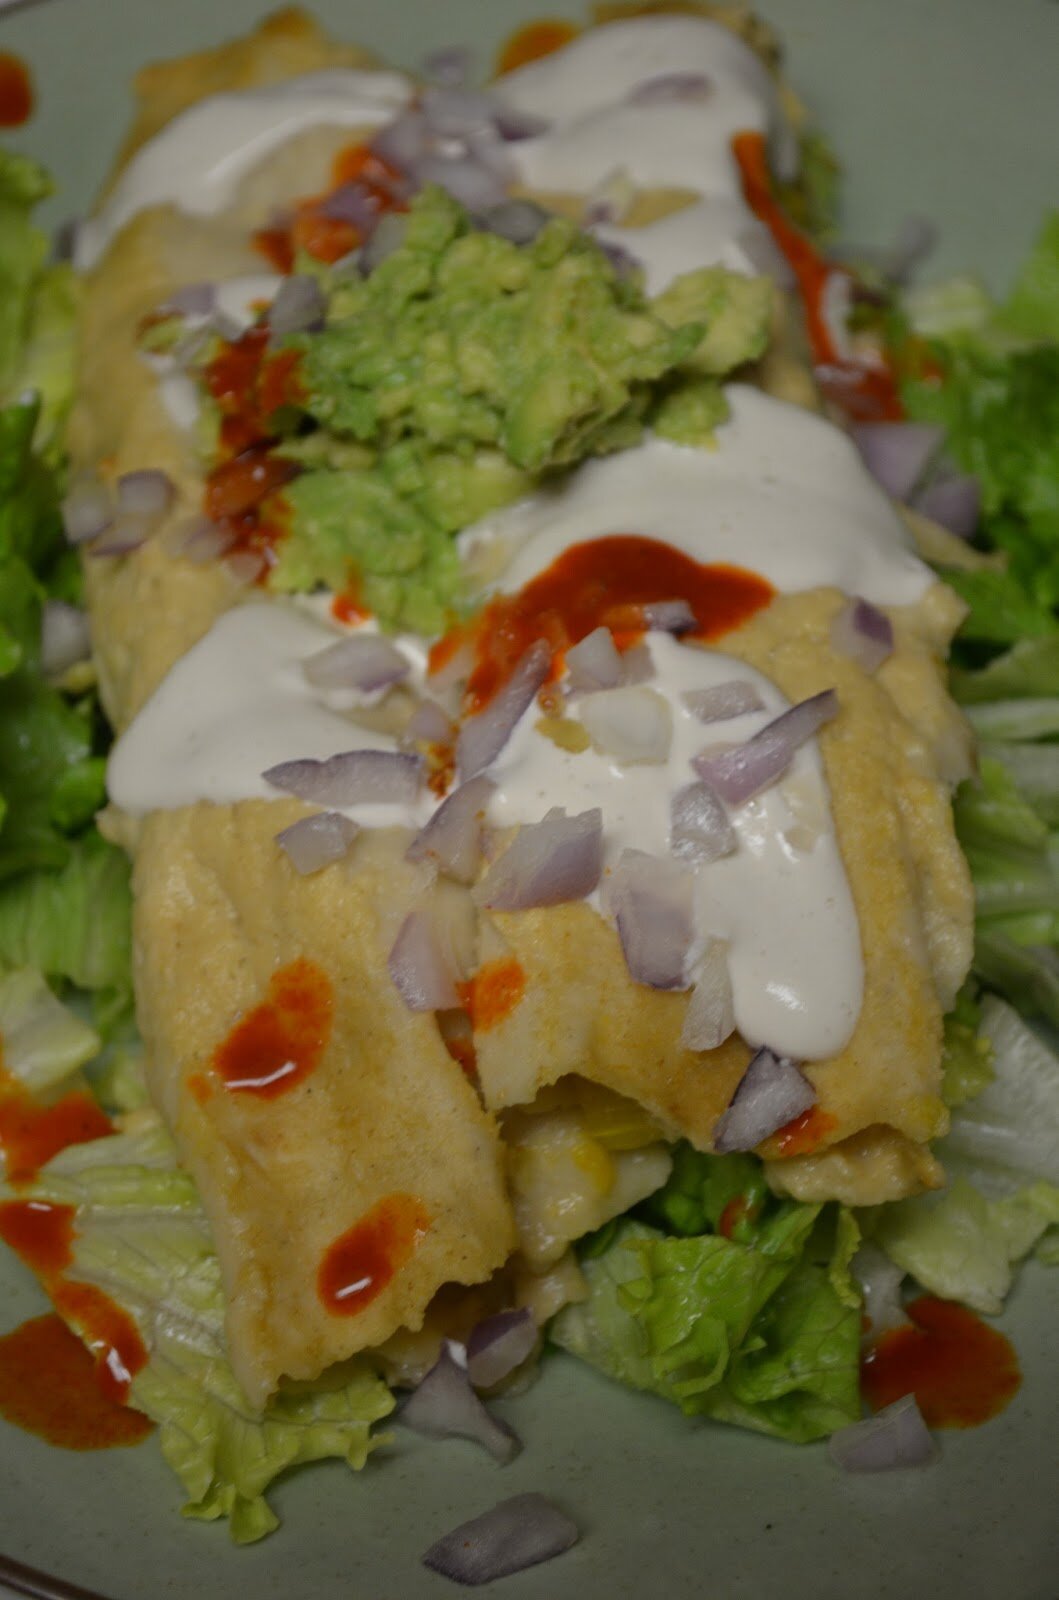
I’d LOVE to come your Thanksgiving dinner…your cranberry sauce is one of favs!! This looks delicious too…the cashew gravy looks to die for!
Awe, thanks Tessa! That would be a meal to remember for sure! Can you imagine. 🙂
So glad you are still enjoying the cranberry sauce. So fun. 🙂
That gravy looks so thick and delicious! Thanks for sharing this at Savoring Saturdays!