Category Archives: allergy-friendly

Tuesday, November 1, 2011

How to Make Homemade Hemp Milk

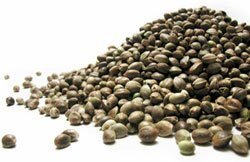
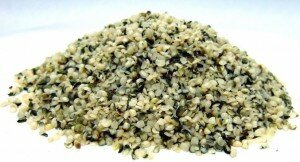
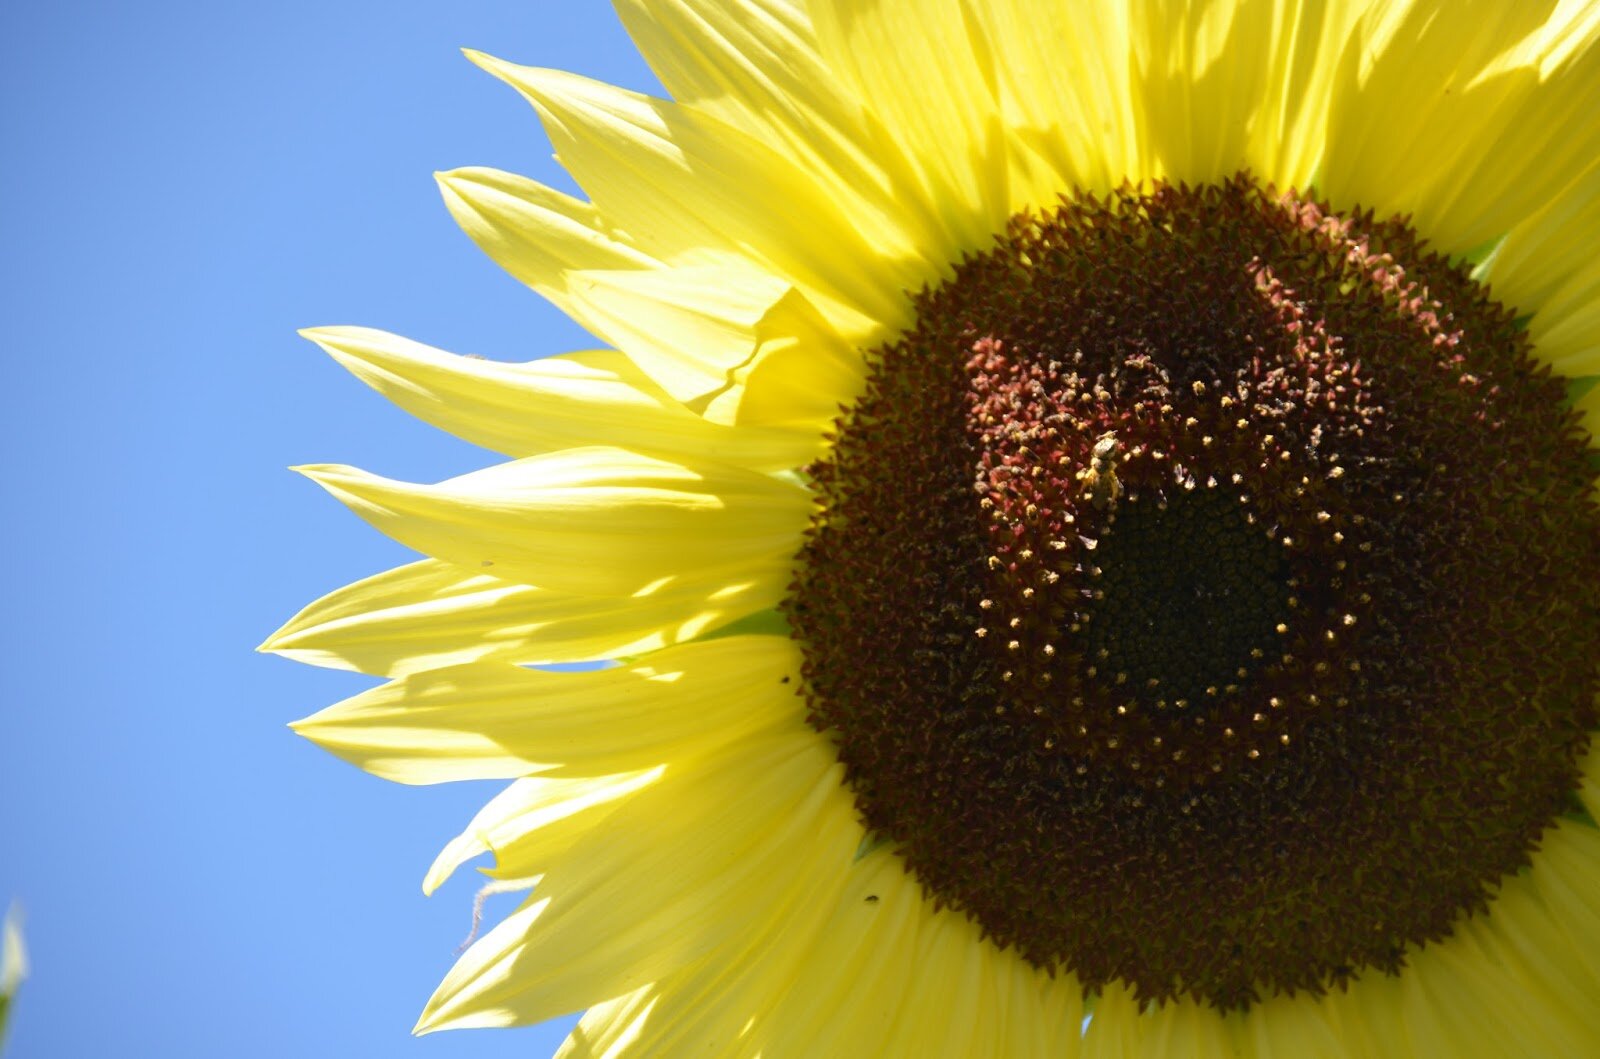
What are hemp seeds anyway?
Good question.
Start here for healthful information about hemp seeds
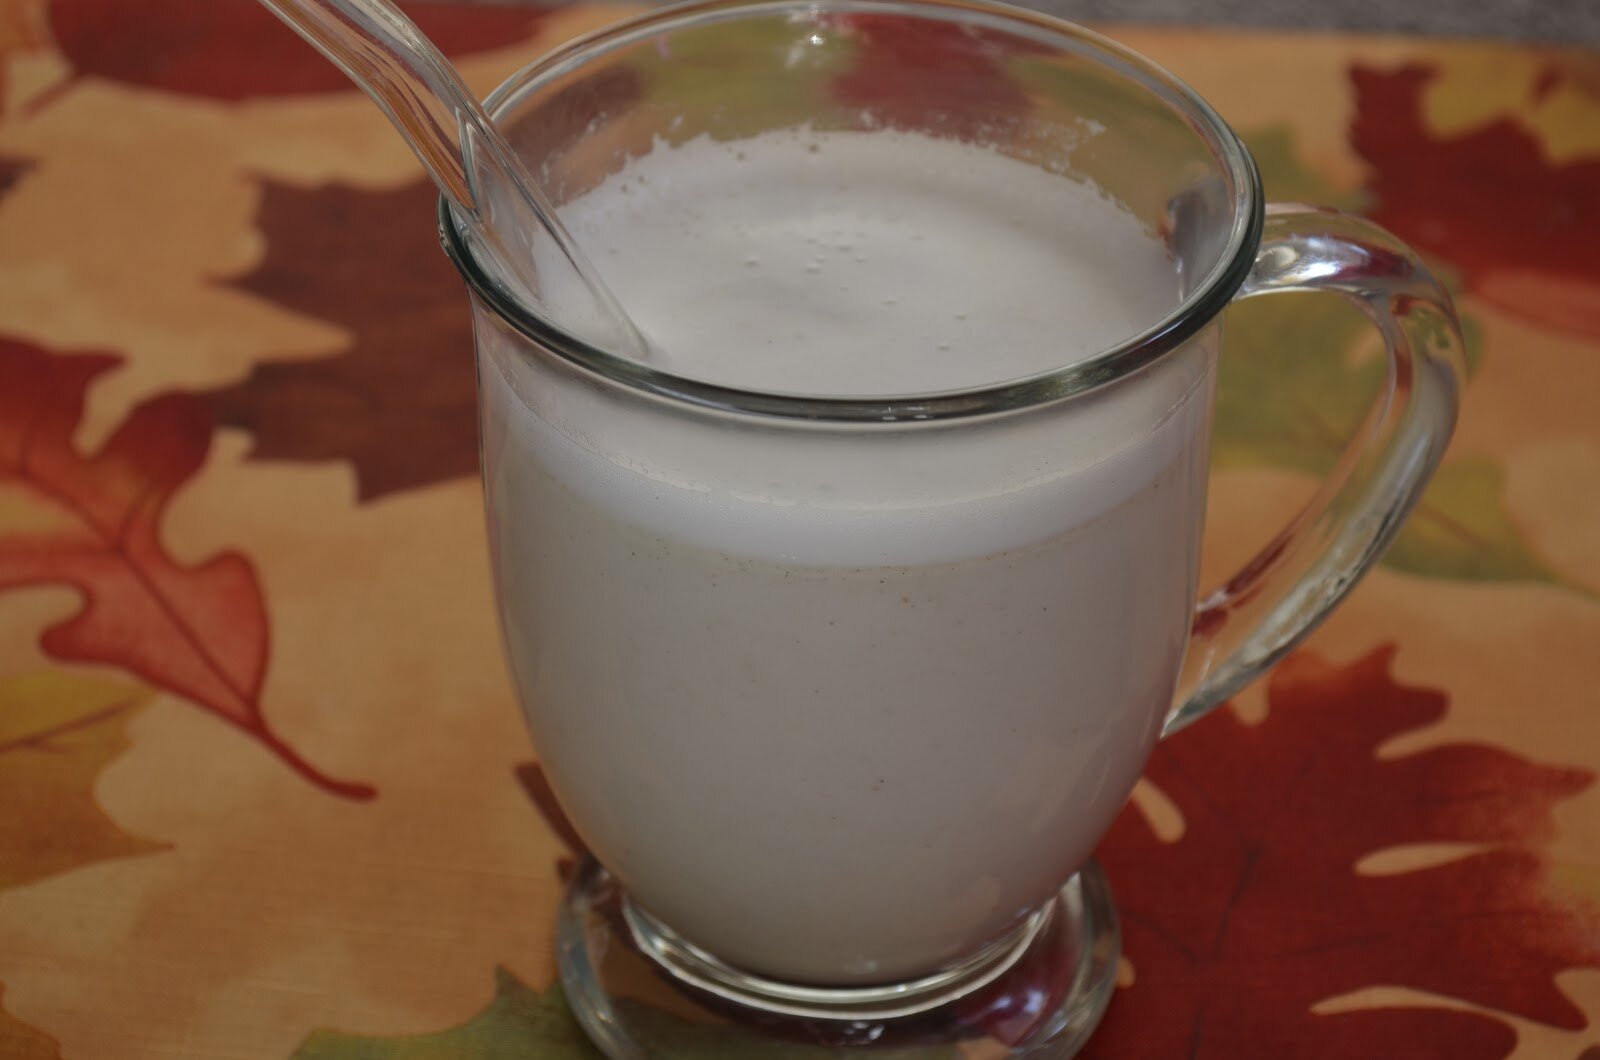
Why hemp milk?

Another excellent question.
One 8-Ounce glass contains the following healthy nutrients:
  • 900mg Omega-3 Fatty Acid
  • 2800mg Omega-6 Fatty Acid
  • All 10 Essential Amino Acids
  • 4 grams of Digestible Protein
  • 46% of RDA of Calcium
  • 0% Cholesterol
  • Potassium
  • Phosphorous
  • Riboflavin
  • Vitamin A
  • Vitamin E
  • Vitamin B12
  • Folic Acid
  • Vitamin D
  • Magnesium
  • Iron
  • Zinc
  • And more…

So how do I make hemp milk?
I like where you’re going with this
Hemp milk is so very easy to make.  
Check it out
Ingredients:
-1/4 cup organic shelled hemp seeds, soaked for 5-8 hours or overnight
-3 cups filtered water
-3 dates, soaked in 1 cup of water for 2-4 hours
-1 teaspoon vanilla

How To:
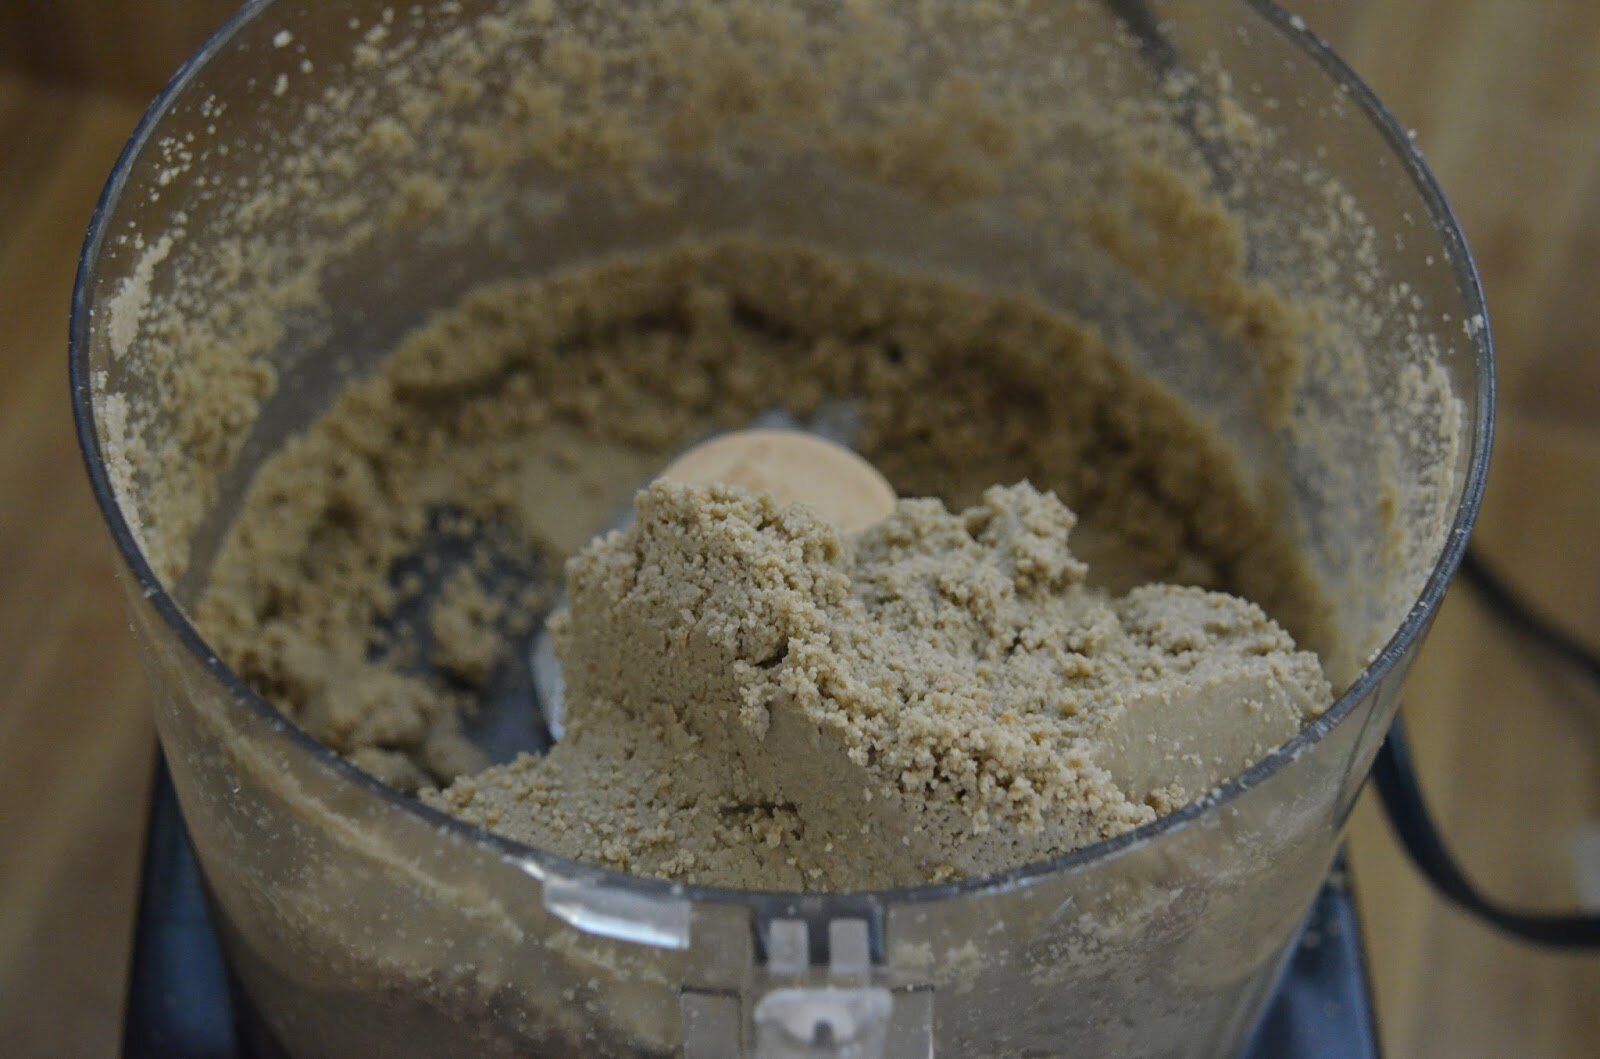
In blender (I use Vitamix)
1.  Drain hemp seeds from water and add seeds to blender
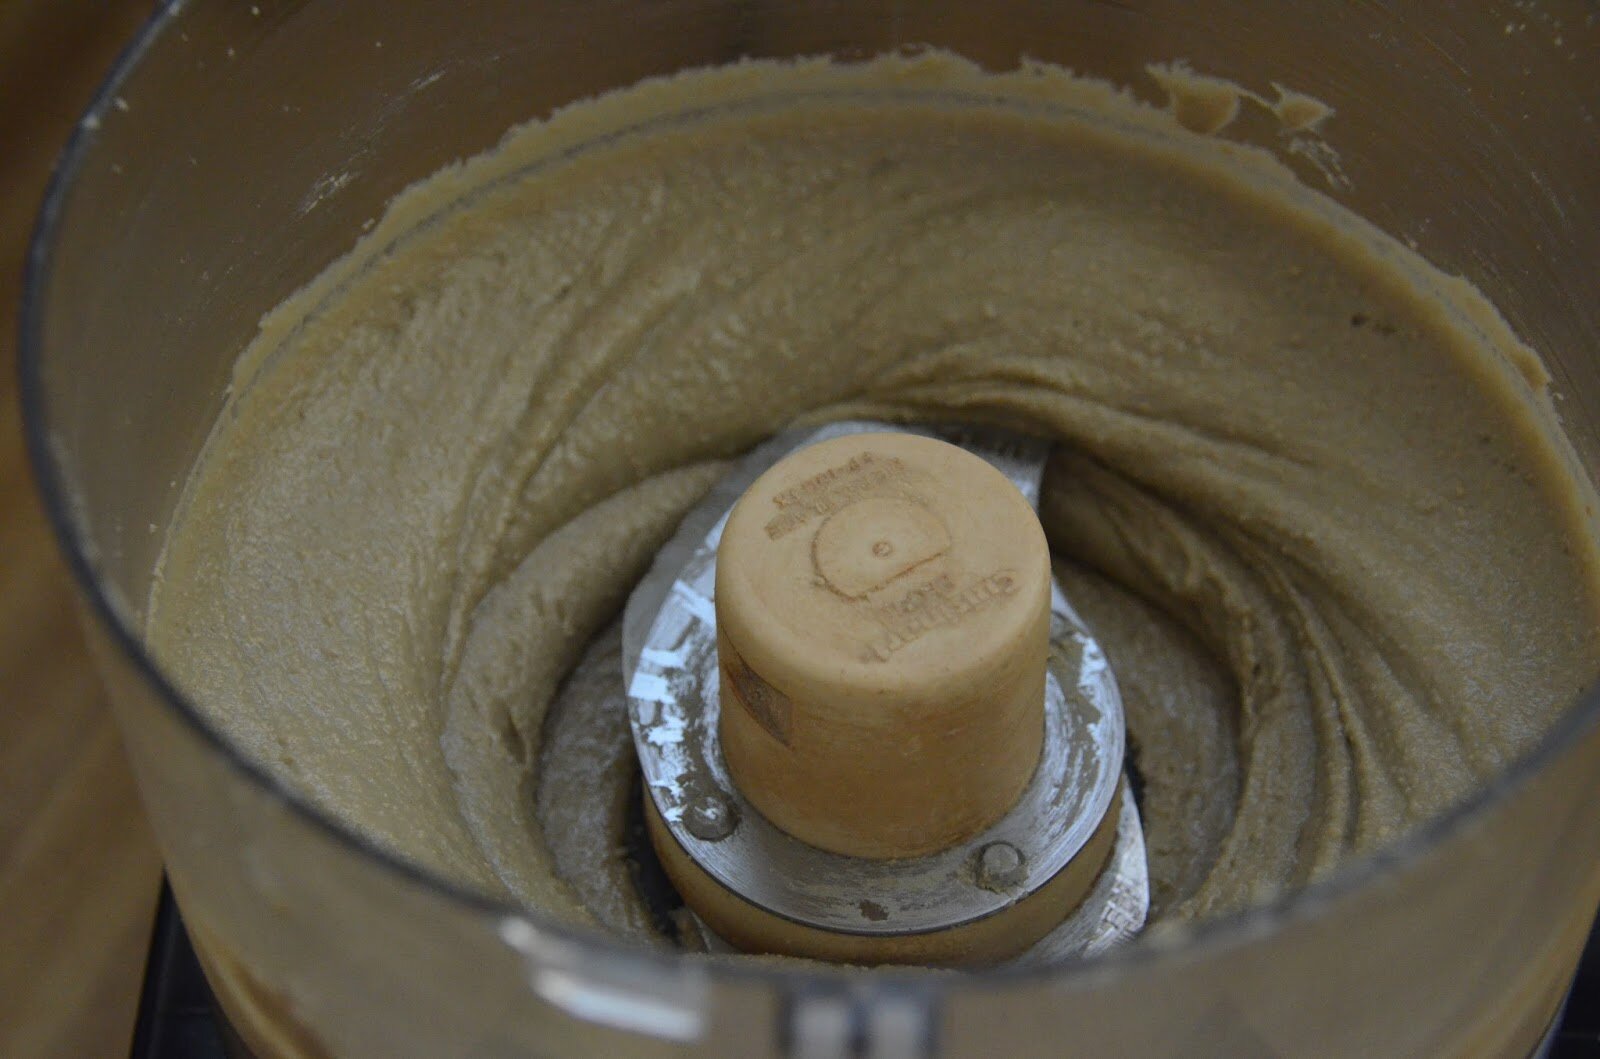
2.  Add 3 cups filtered water
3.  Add dates with date-soaked water and vanilla and blend until well incorporated, 90 seconds should do it. 
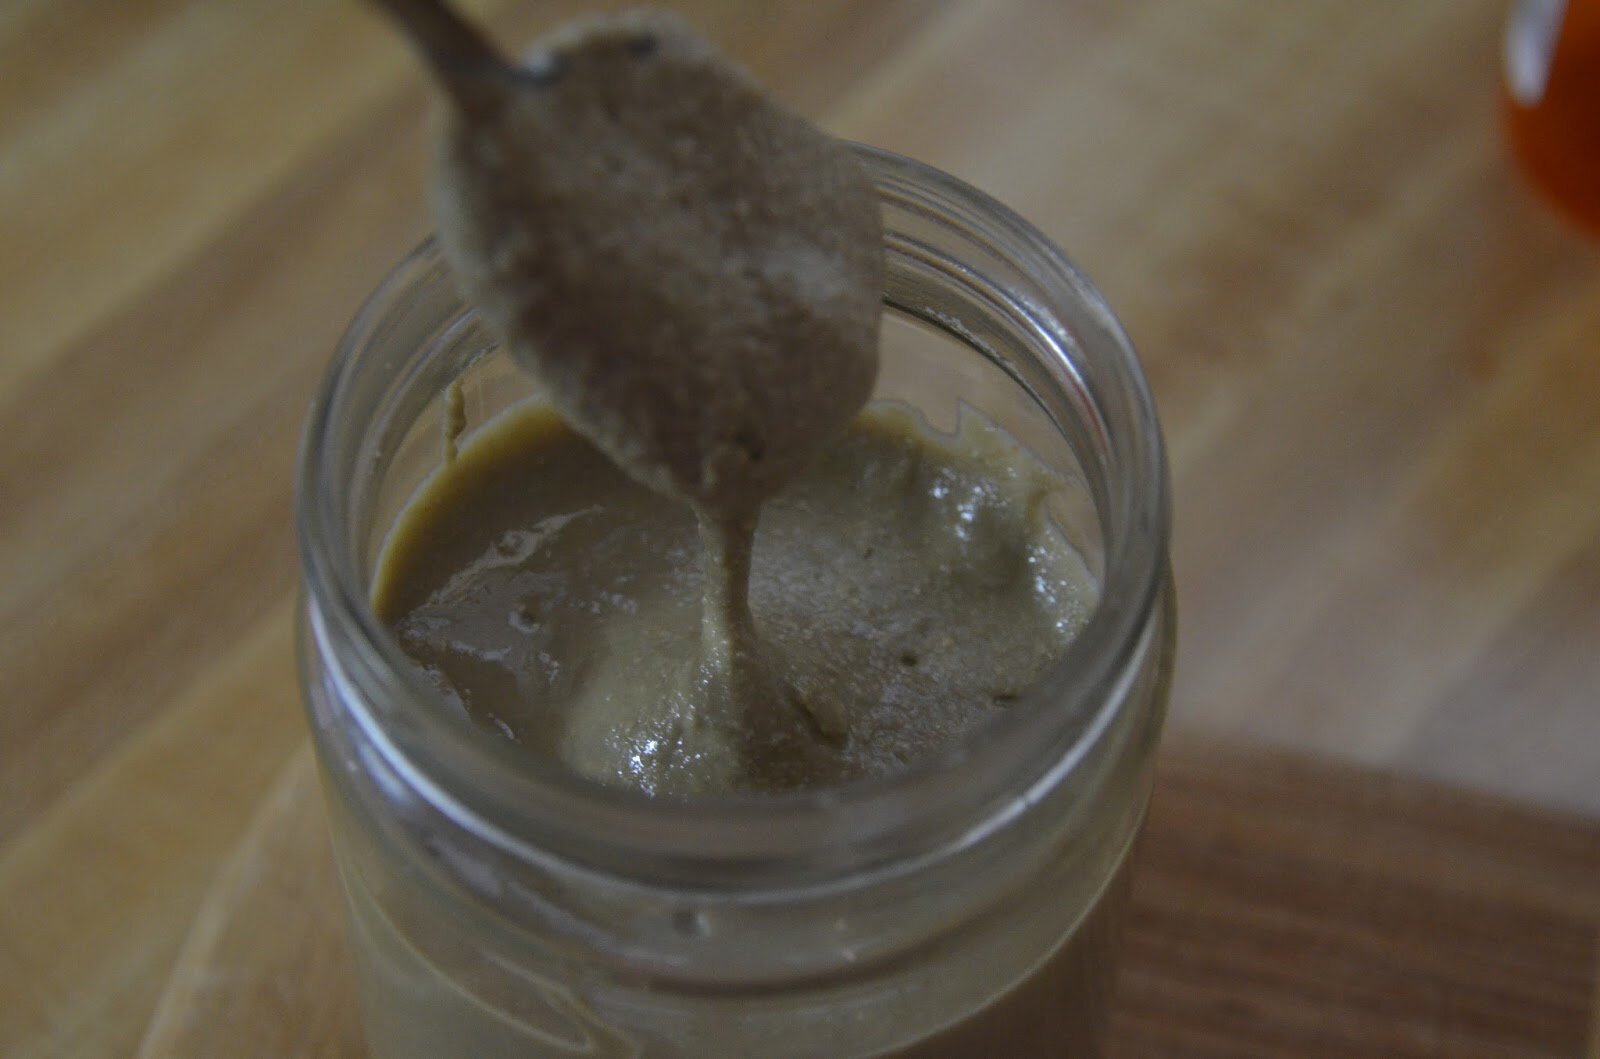
4.  Let sit for a bit and skim off foam
5.  Store in glass container with lid in fridge up to 4 days 

Notes:
*You can most certainly strain this milk if you prefer a smooth texture.  I prefer the thick milk with the seed and date pulpplus I am benefiting from the raw seeds and all their healthful nutrients.

Enjoy and be well.
_____________________________________
Shared on Traditional Tuesdays
Posted by Amber at

Labels: allergy-friendly, beverages, nut free, seed milk.

2 Comments

Leave a Reply

Your email address will not be published. Required fields are marked *

* Copy This Password *

* Type Or Paste Password Here *

You may use these HTML tags and attributes: <a href="" title=""> <abbr title=""> <acronym title=""> <b> <blockquote cite=""> <cite> <code> <del datetime=""> <em> <i> <q cite=""> <strike> <strong>

Thursday, October 13, 2011

Homemade Sunflower Seed Butter (Sunbutter)

I am deathly allergic to peanuts.  It’s no fun to have an allergy but I’m so impressed with how far we’ve come with peanut allergy awareness.  What a difference I’ve seen.  I remember as a young child riding on an airplane and feeling so sick to my stomach at the very smell of the peanutsand hungry because I was out of luck in the snack department.  A few years later they started serving pretzels as an alternative to peanuts on flights.  I don’t even think they give out peanuts anymore, do they?  Skylar, my daughter, is not allergic to peanuts and I don’t know if my son Ethan has inherited this allergy?  At any rate, we’ve been using sunbutter for quite some time as an alternative to peanut butter.  It’s a nice change from the usual almond butter.  I like this brand but don’t love the price and don’t love the plastic container.  So I decided to make it myself.  And you know what……SUPER EASY!!! Sky couldn’t even tell the difference between my homemade version and the store bought variety.  And that’s all I needed to move into permanently making sunflower seed butter.  Hooray! 
gorgeous sunflower from my garden!

Homemade Sunflower Seed Butter 


Ingredients:
-3 cups of organic raw sunflower seeds
-Pinch of salt (optional) 

How To
1.  Toast sunflower seeds for a bit until fragrant and slightly brown.  Cool seeds.  
2.  Add the cooled seeds to a food processor and start blending; scrape down sides every minute or so for about 5 minutes.  
3.  After about 6 minutes the seeds will form a ball then become thinner as the oils in the seeds are released.  
4.  After about 8 minutes of processing you can add in a pinch of salt, but this is totally optional. It should be properly blended by this time.  Store in class container in the refrigerator.  
Yields 1 1/4 cups of sunbutter
I have a small, OLD food processor and it works great.  
Just be sure to scrape down the sides a few times so the
mixture has contact with the blades.
Speaking of Sun
It has been so gorgeous here in Northern California.  Finally, finally, cool fall weatheralthough it’s supposed to be up near 90 degrees today, there is still a soft, clean feel to the air.  I adore this time of year.  Below are some pictures from around our yard.  Wish I could just bottle up this weather.
Our neighbor’s lemon tree is showing some action!  
They let me go over there whenever I have the need and pick to 
my heart’s content.  
Our other neighbor has a nice fig tree with a sizable
bunch hanging on our side of the fence!  
So excited for these!
We still have watermelons to harvest!
We had quite the bounty this year.
Our tomato plant is out of control, but still providing 

us with sweet, gorgeous cherry tomatoes.

Shared on: Allergy-Free Wednesdays, Freaky Friday, Fresh Bites Fridays, Lunch Box Love Fridays, Fight Back Friday, Friday Food,  Potluck Party Back to School Recipes,  Raw Foods Thursdays,, Wellness Weekend 
Posted by Amber at

Labels: allergy-friendly, dips and spreads, GAPS, lunch, nut free, Paleo, SCD, snacks, vegan.

12 Comments

Leave a Reply

Your email address will not be published. Required fields are marked *

* Copy This Password *

* Type Or Paste Password Here *

You may use these HTML tags and attributes: <a href="" title=""> <abbr title=""> <acronym title=""> <b> <blockquote cite=""> <cite> <code> <del datetime=""> <em> <i> <q cite=""> <strike> <strong>

Wednesday, August 17, 2011

Raw Vegan Banana Fudgesicles (dairy free, cane-sugar free)


Hello and welcome to The Tasty Alternative!  My name is Amber and this blog is a combination of alternative cuisine, organization, green living and holistic healing.  You can read more about me and this blog from the links above.  I’m just thrilled to create my first post today.  I thought it would be fun to kick things off on a sweet note and make one of my daughter’s (and son’s) favorite desserts, and of course she is helping me out today.  Please let me know how you like this delicious and healthy spin on one of my favorite childhood treats.

Ingredients:
-1 large ripe banana
-1 can of full fat this or this
-3 tablespoons of grade B maple syrup (also sub: honey, coconut sugar or coconut nectar)
-2 teaspoons vanilla
-2 tablespoons raw carob power (or raw cacao power)
*I am using carob powder here because chocolate aggravates eczema (my son suffers from this skin condition) and overall, chocolate is far too stimulating for my little ones. 

How To:
1.  Blend ingredients in any blender
2.  Pour into popsicle molds and freeze 4-5 hours
3.  Eat
4.  Enjoy
Yum, yum…tasty!

**********
Into the freezer

Shared on: Just Another Meatless Monday Melt in your Mouth Mondays, Monday Mania, My Meatless Mondays, Mealtime Monday, Made From Scratch Monday, Wellness Weekend, Slightly Indulgent Tuesdays, Whole Food Wednesdays, Real Food Wednesdays, Gluten Free Wednesdays,, Raw Foods Thursdays 

Posted by Amber at

Labels: allergy-friendly, dessert, raw, summer treats.

5 Comments

Leave a Reply

Your email address will not be published. Required fields are marked *

* Copy This Password *

* Type Or Paste Password Here *

You may use these HTML tags and attributes: <a href="" title=""> <abbr title=""> <acronym title=""> <b> <blockquote cite=""> <cite> <code> <del datetime=""> <em> <i> <q cite=""> <strike> <strong>