
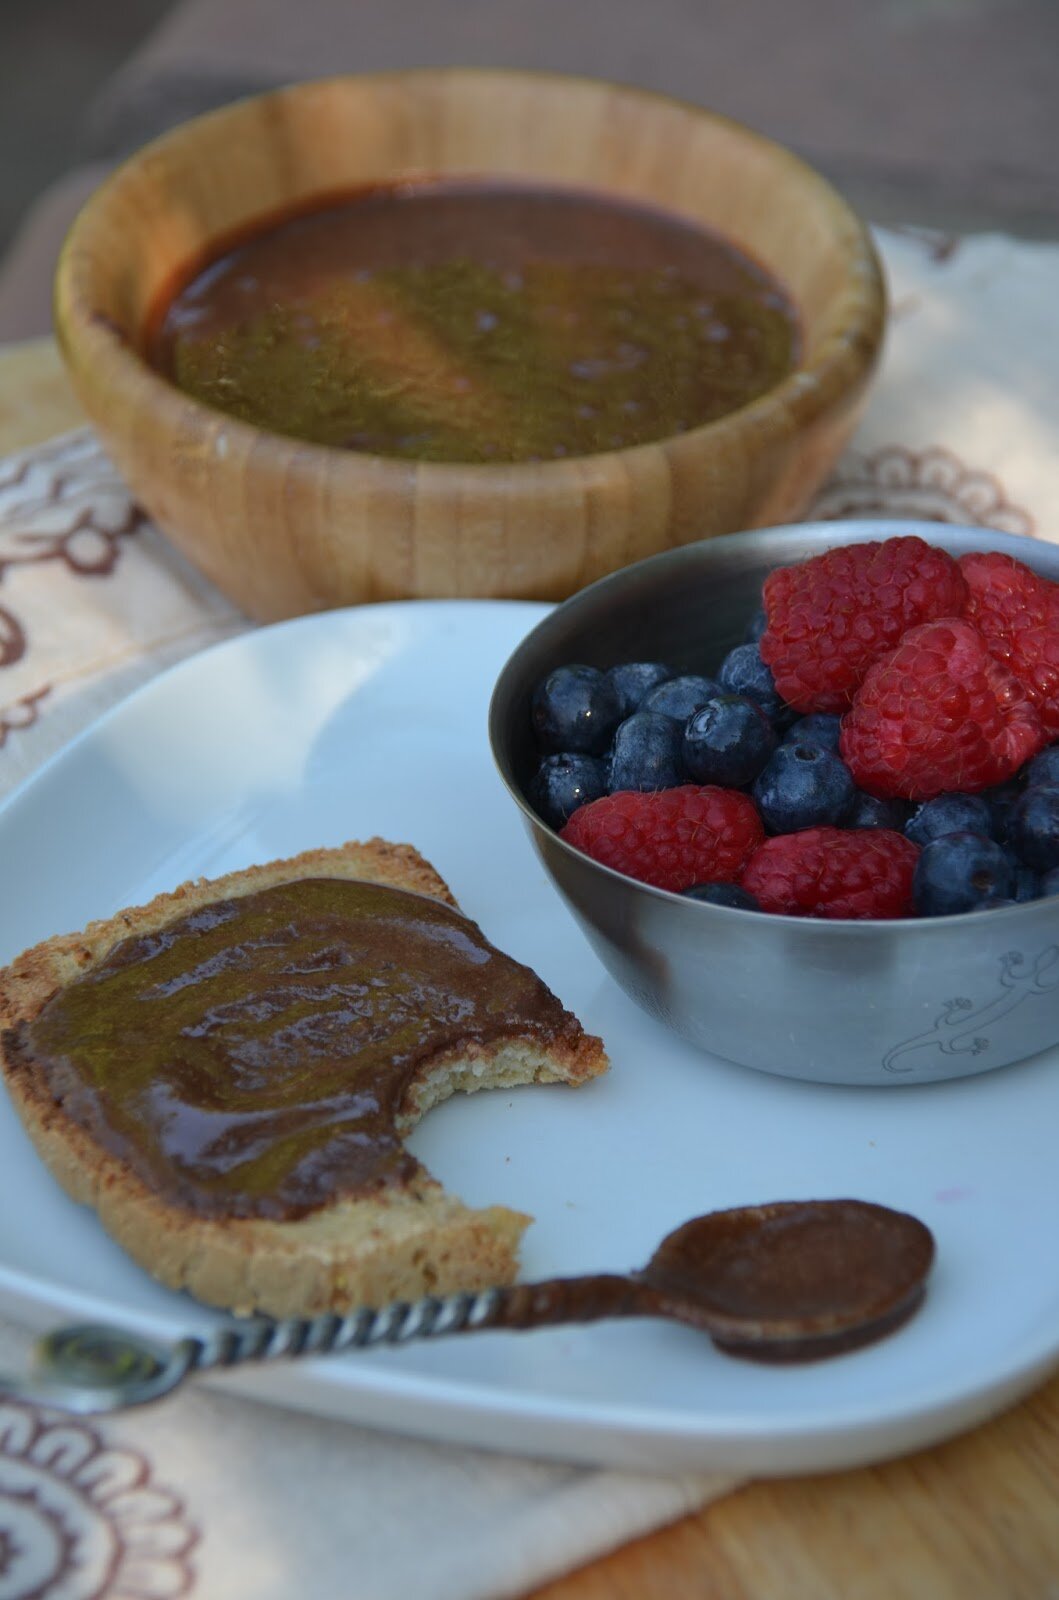
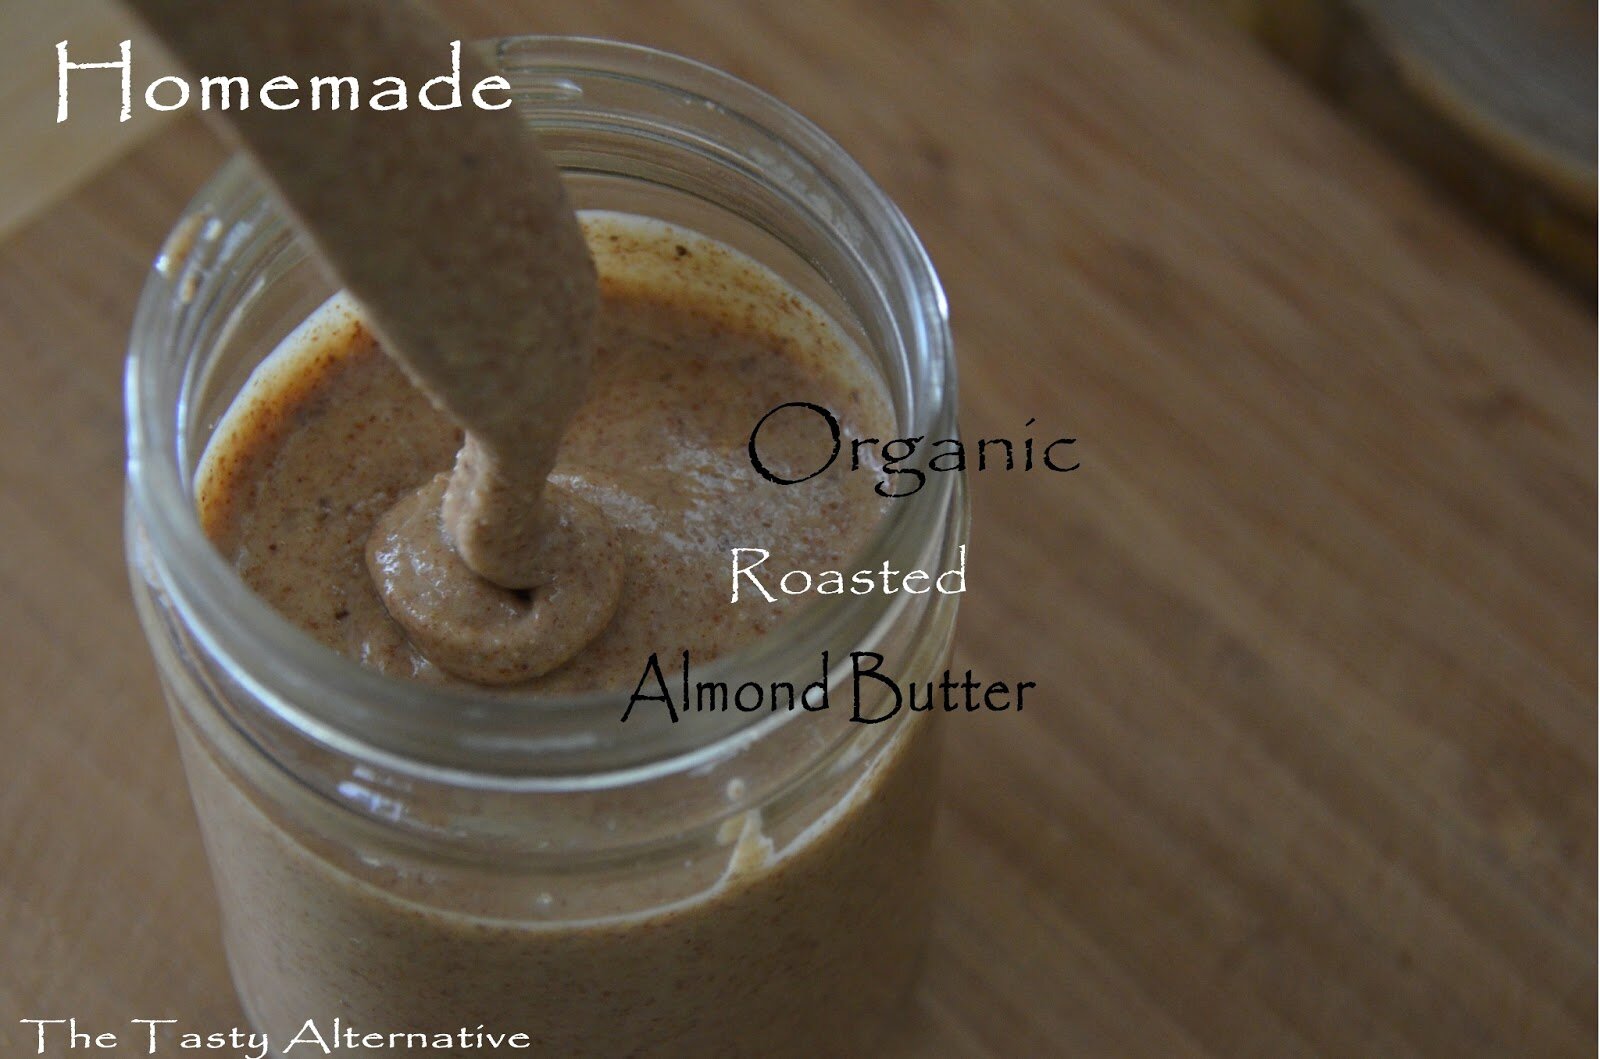
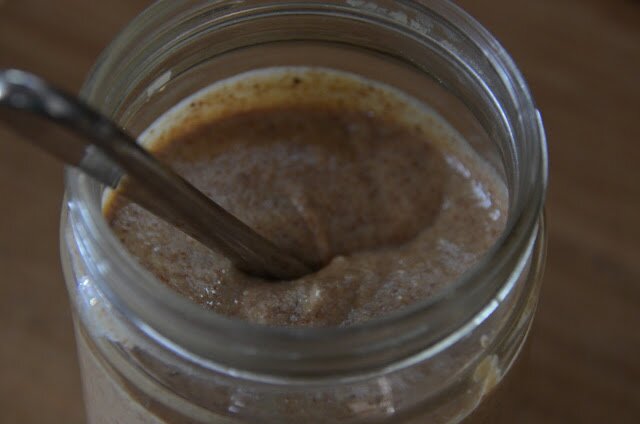
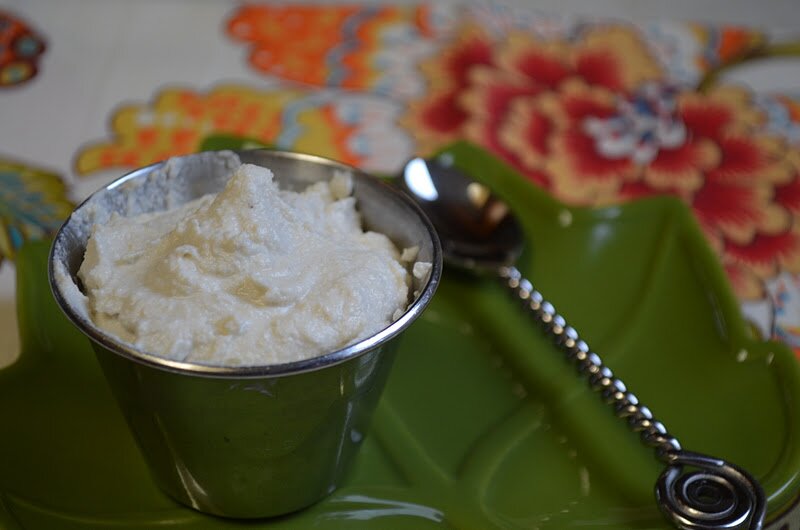
The Nutella you’ll find in the store is made up of 55% refined sugar. Yep. There’s dairy in there too, along with soy and yes a few hazelnuts I wouldn’t call this a health food…or even a healthy choice for breakfast (or any time of the day). Okay, let’s put this into perspective…eating Nutella is like eating a milk chocolate bar for, what some would agree, is the most important meal of the day. Now if that’s your thing, than you go for it, but you know how I feel about cane-sugar, so I say boo to Nutella. They were actually sued for mislabeling as a “health food.” Ha ha, I think they considered it healthy because it had a few hazelnuts in there. I love indulgences as much as the next gal, but I try REALLY hard to make good choices when it comes to food, especially when it comes to my kiddos. If something can be made at home, I give it a go. Now Nutella, what is the appeal here really? It’s the CHOCOLATE! It spreads. It’s sweet. It’s different…okay, so it’s clearly appealing. Agreed. I mean, it’s chocolate in a jar! So I’ve created a chocolaty, sweet, spreadable, and nut free version that is quite a tasty alternative. I actually use carob when I make this, as it’s better for our inflammatory issues. Whether you use carob or chocolate, it’s fun to mix it up for snack time. Give it a go and let me know what you think.
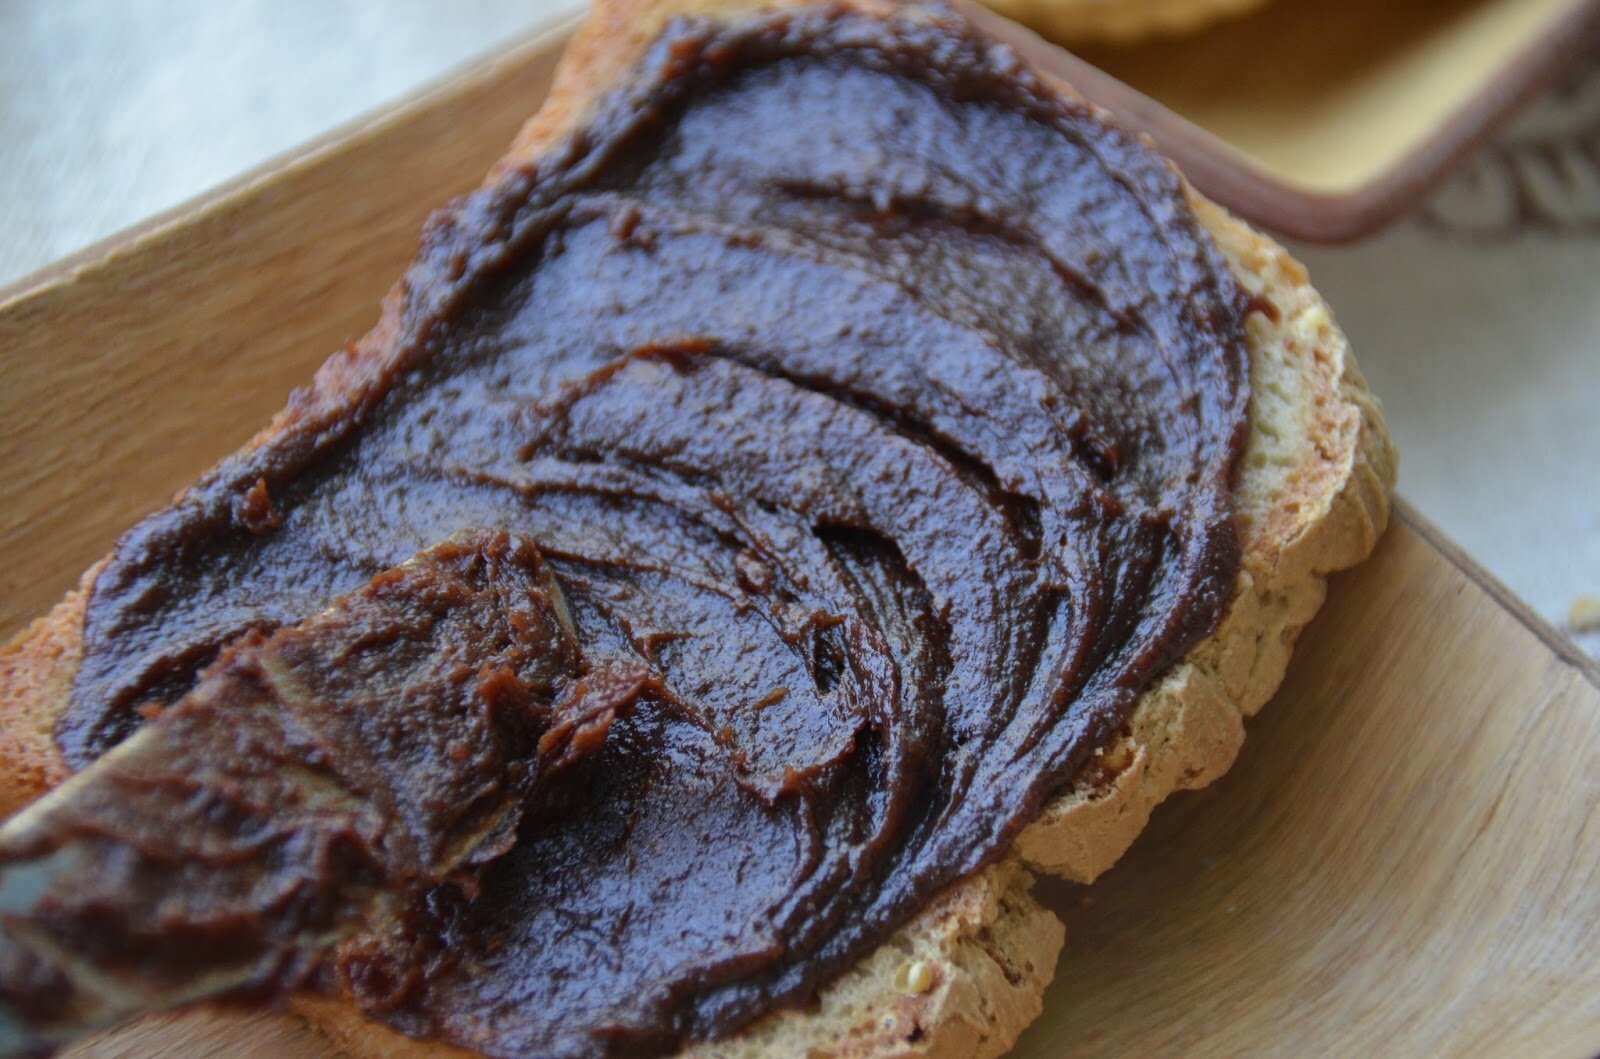
Homemade NUT-Free Nutella
Ingredients:
-6 large dates
-2 tablespoons melted coconut oil
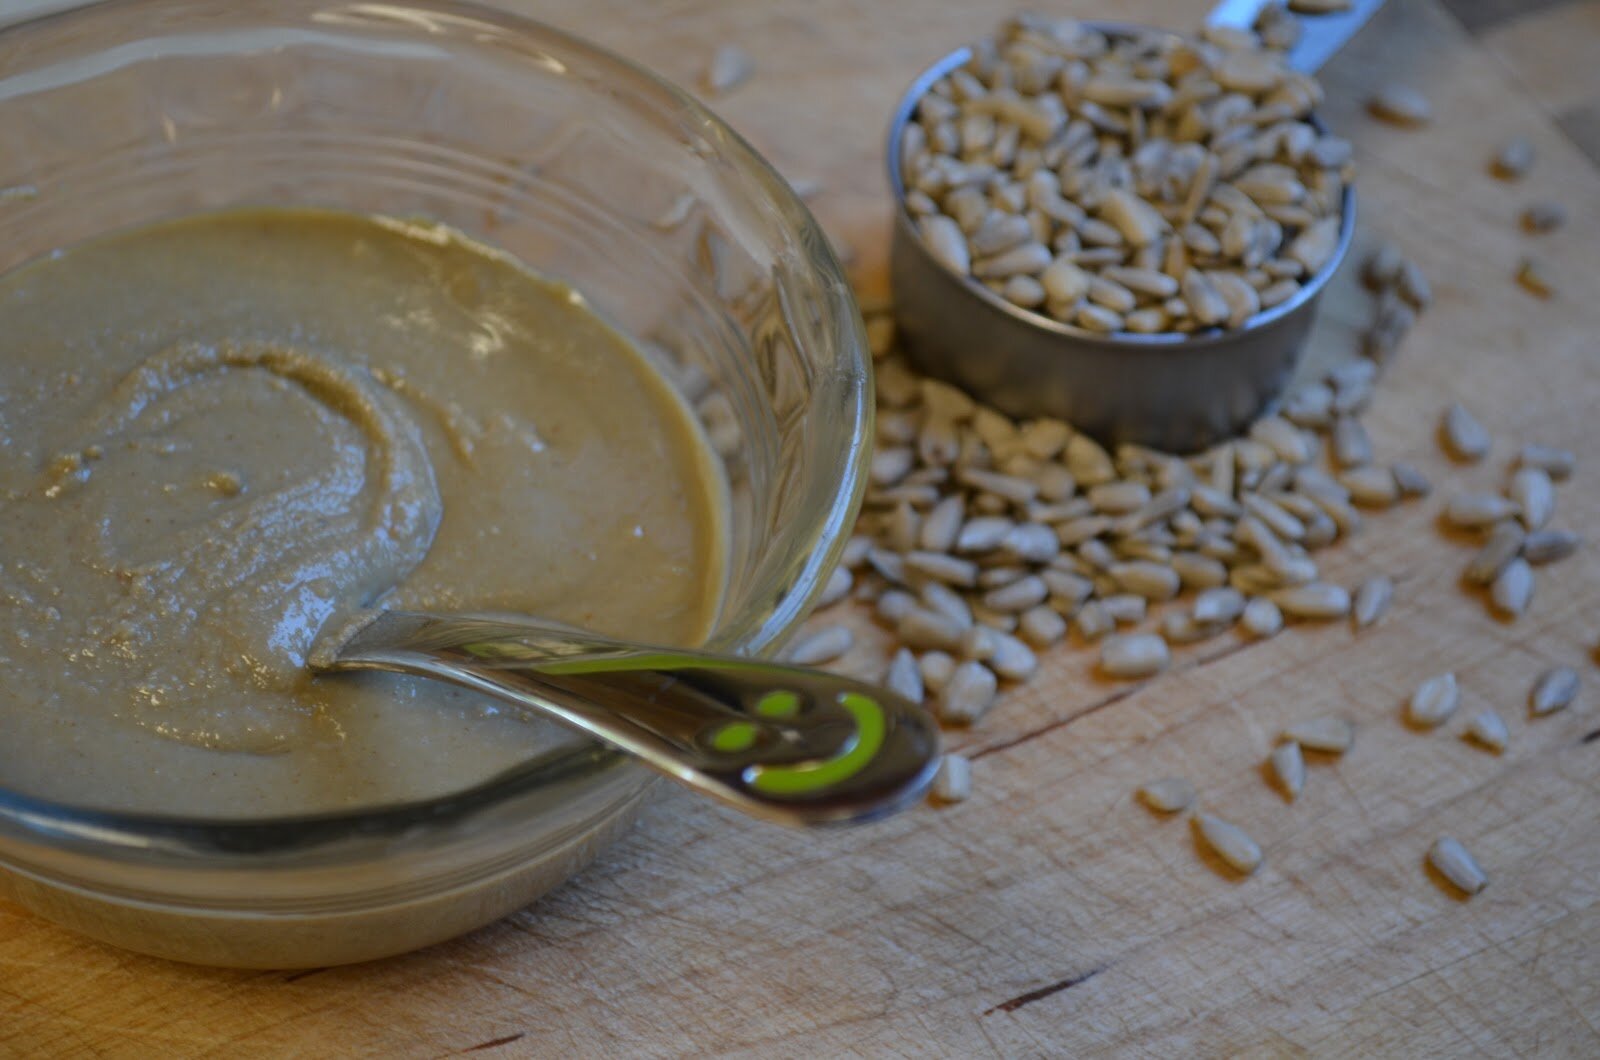
-1/3 cup homemade sunflower seed butter or this brand is good too.
-3 tablespoons raw cacao powder or carob powder.
-2 tablespoons honey (vegans use grade B maple syrup, coconut nectar, or yacon syrup)
-2 teaspoons vanilla extract
-Tiny pinch of salt
How To:
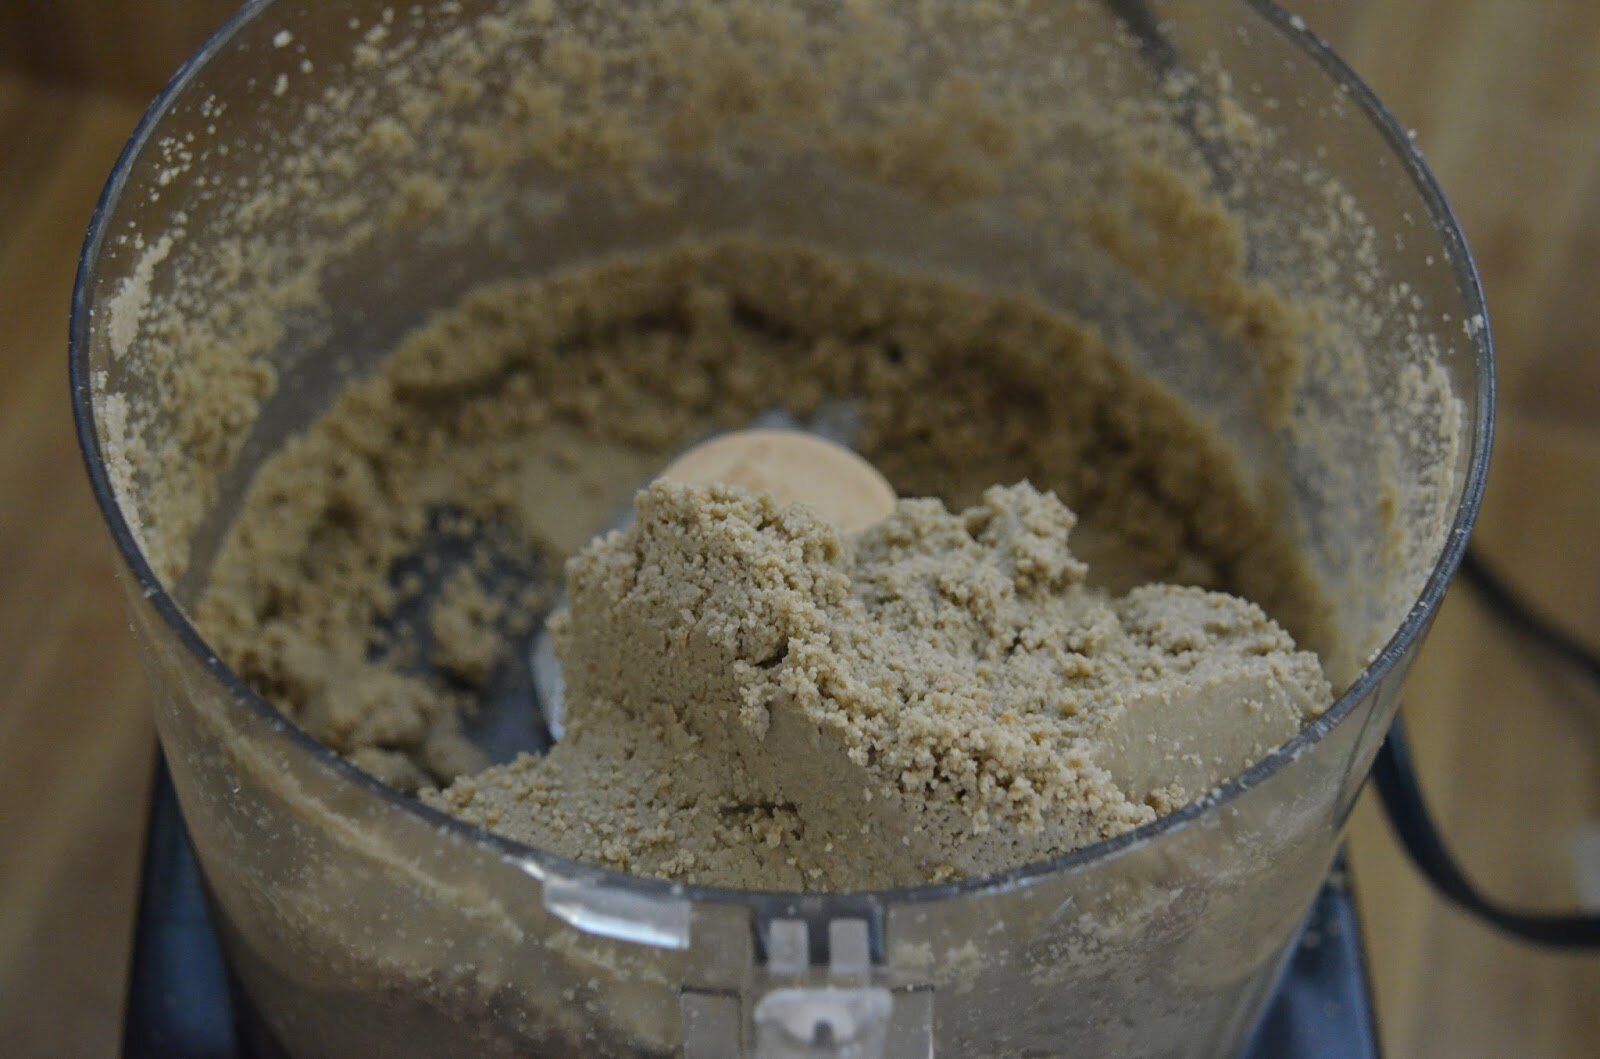
1. Seed the dates and soak them in water for 2 to 3 hours.
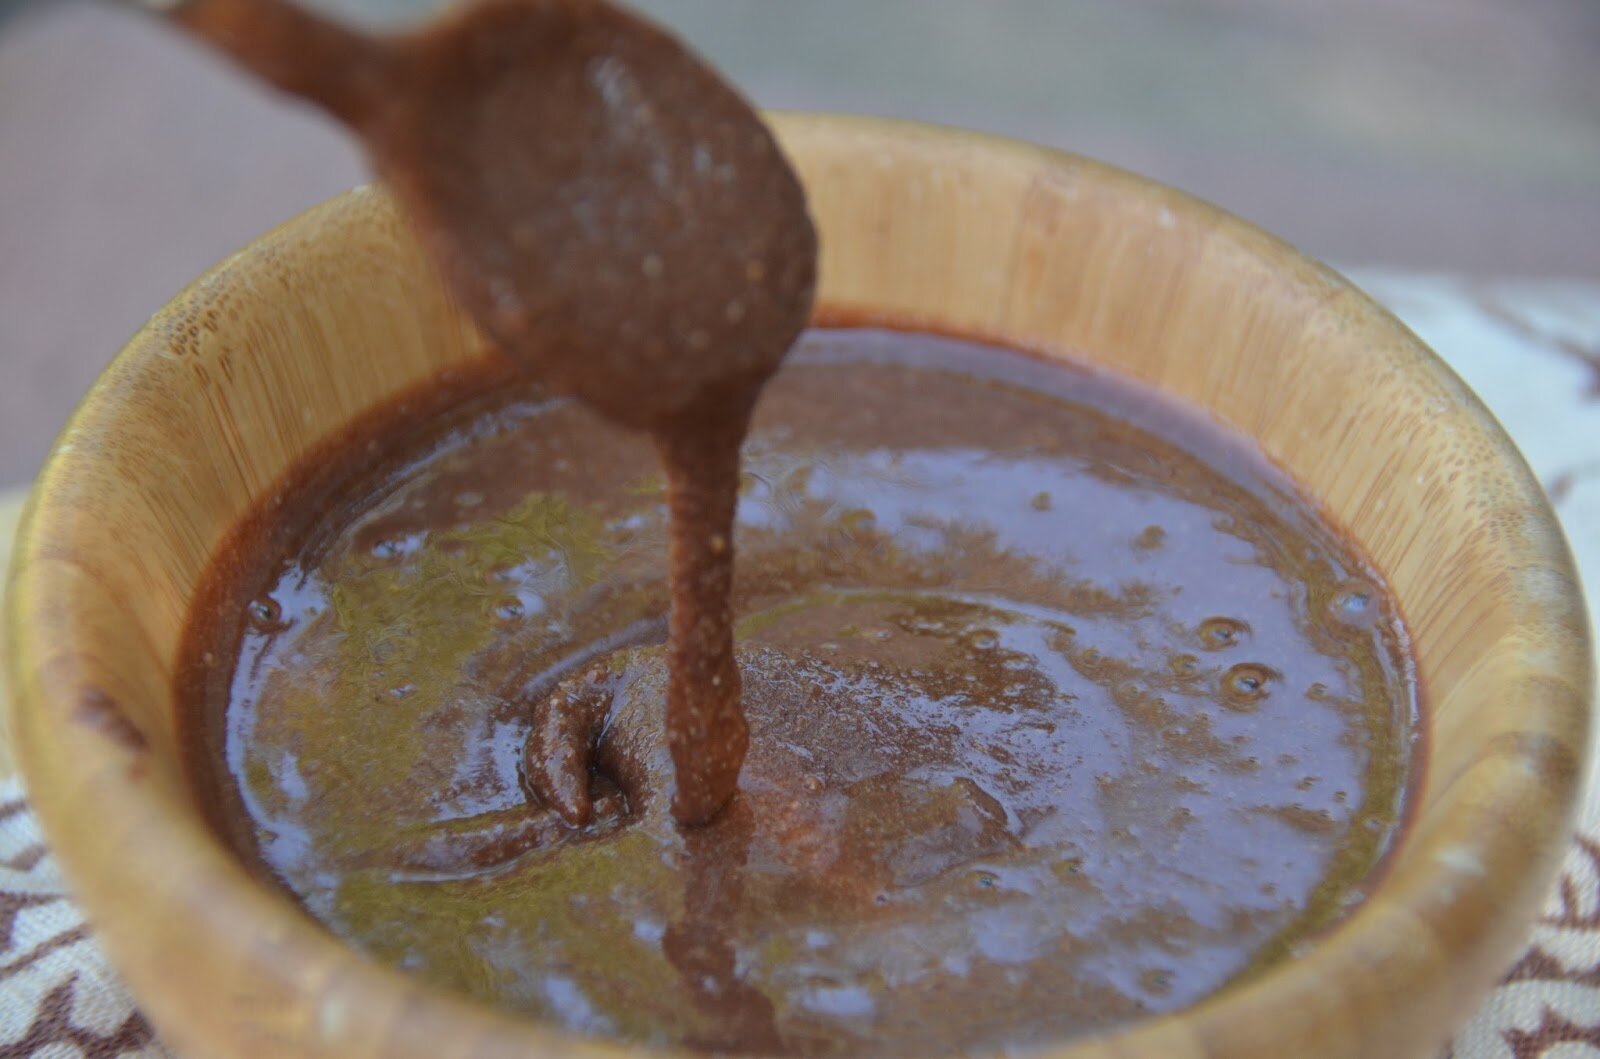
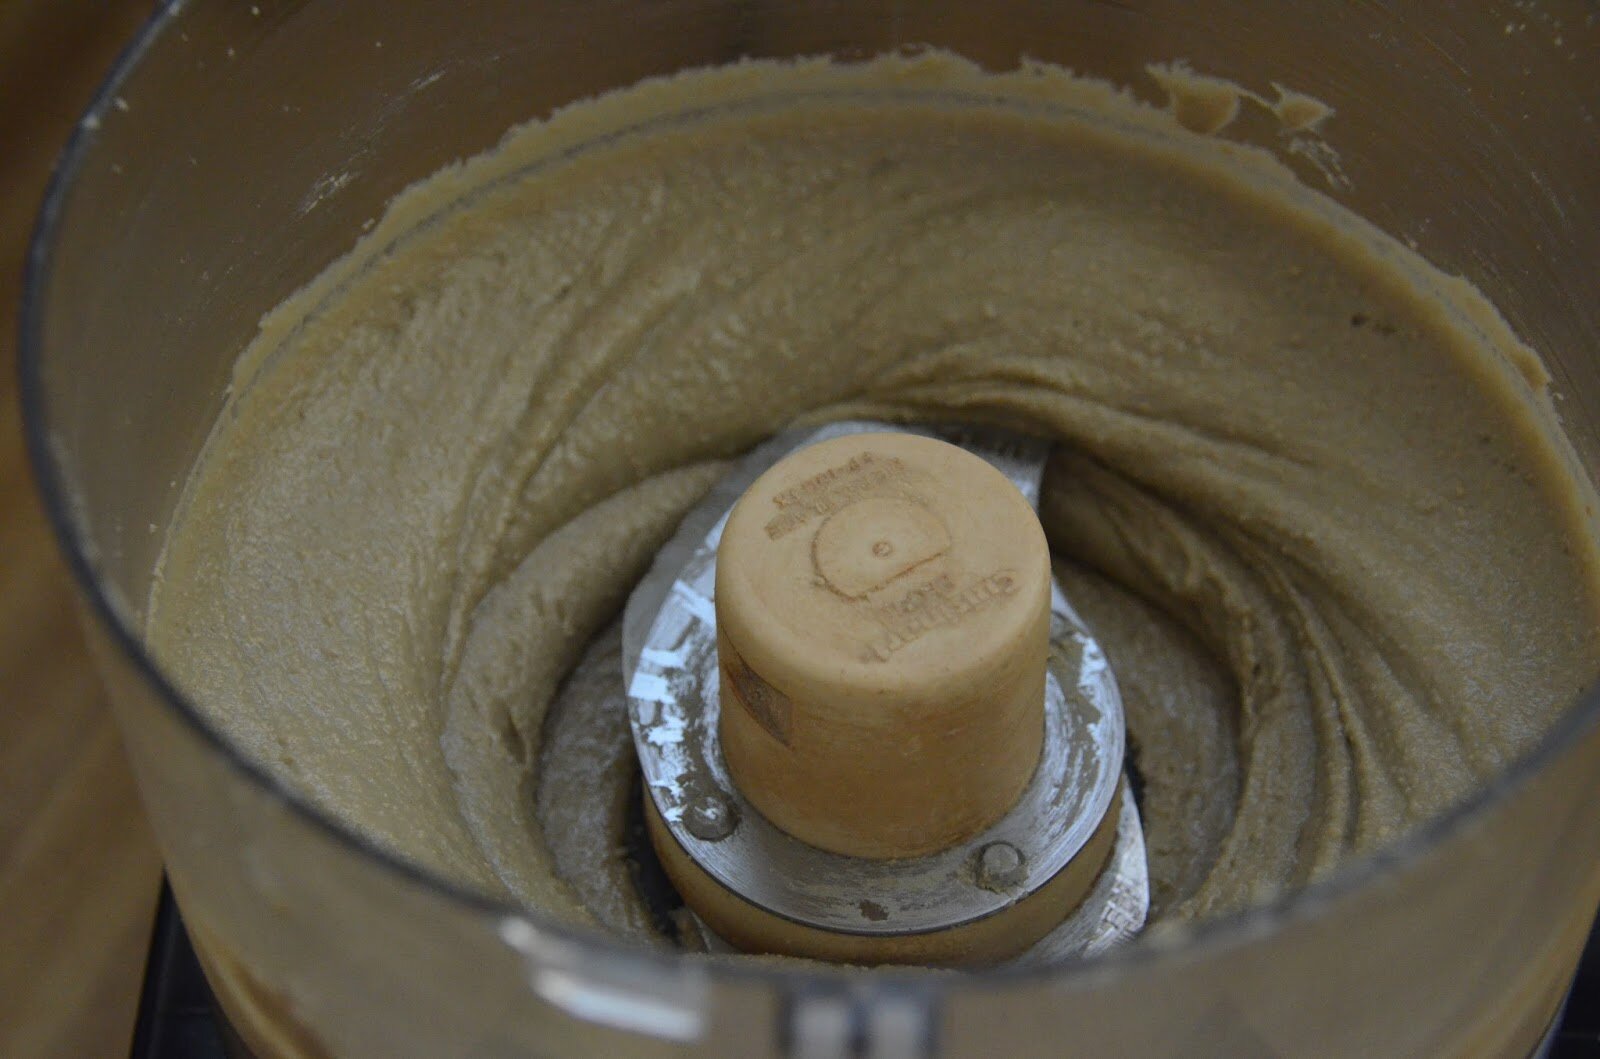
2. Drain the dates (save the date water for smoothies) and add the dates to a food processor with all the other above ingredients.
3. Blend until well incorporated.
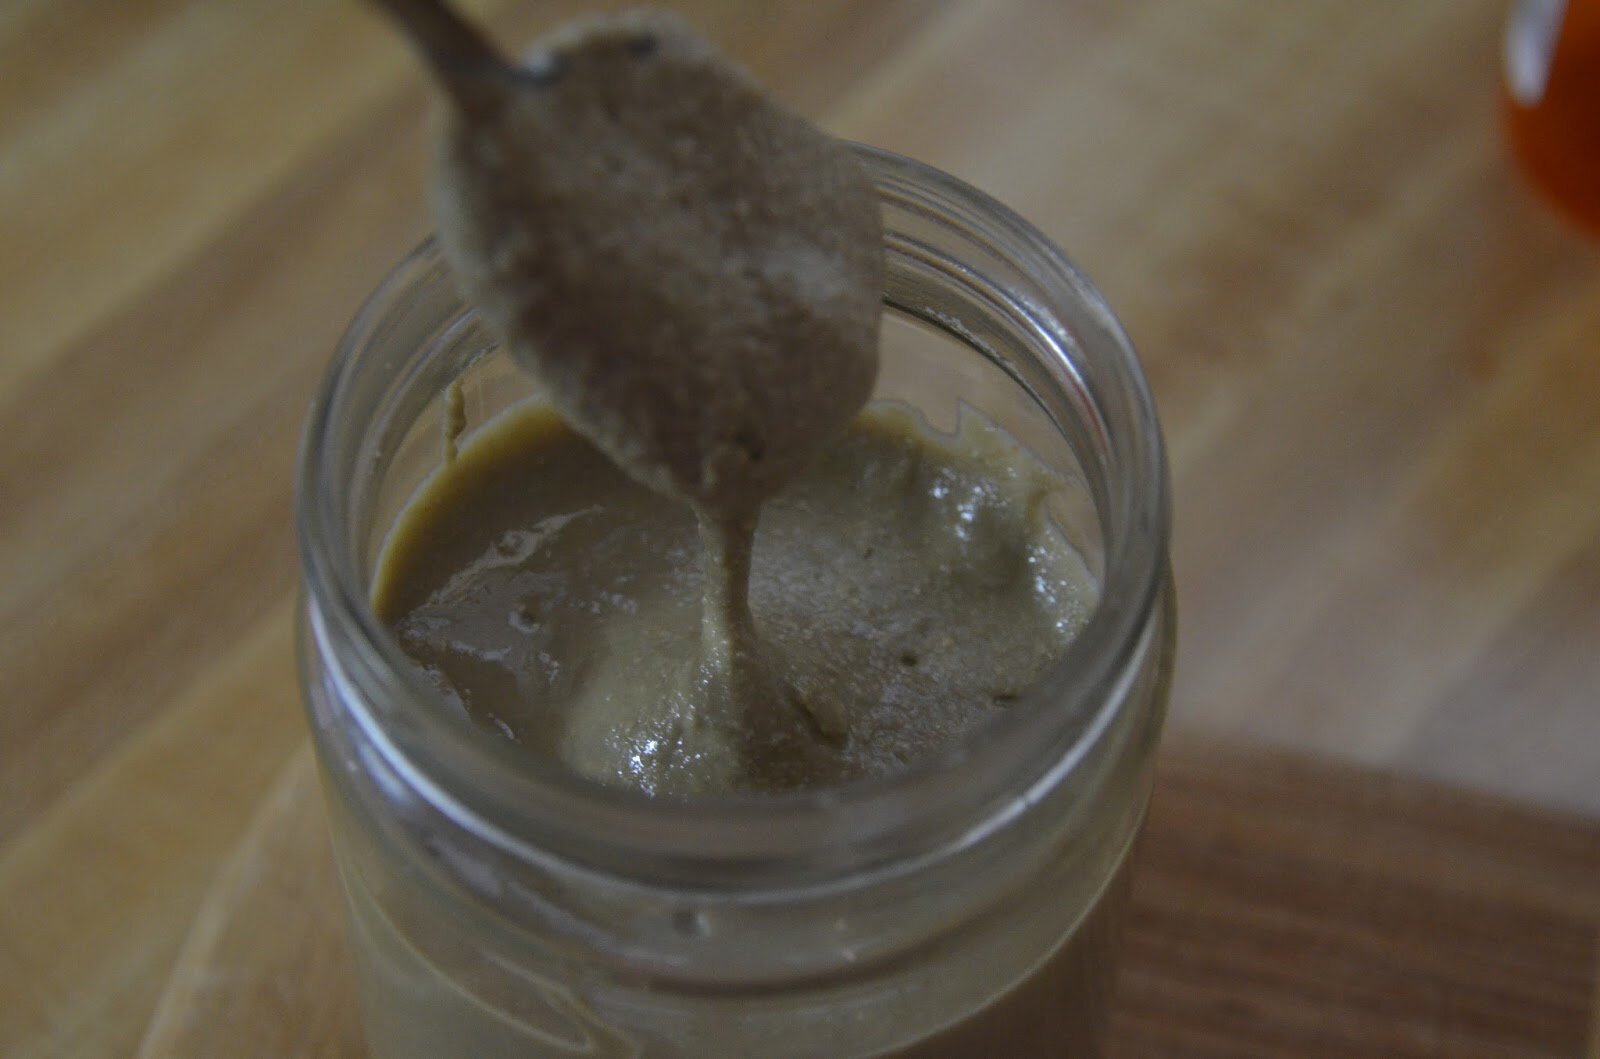
4. Store spread in fridge. Allow it to sit at room temperature for a bit so it softens up. Makes it easier to spread.
Notes:
*This recipe is also fabulous with carob powder (instead of the cacao)
*Can’t do dates? Try the same amount of figs or 1 cup of raisins – soak as you would the dates.
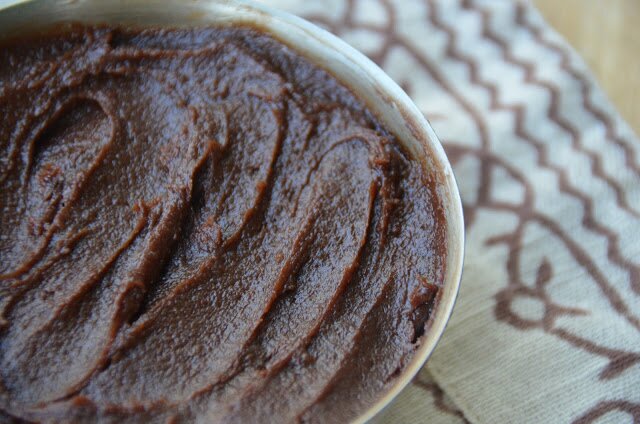
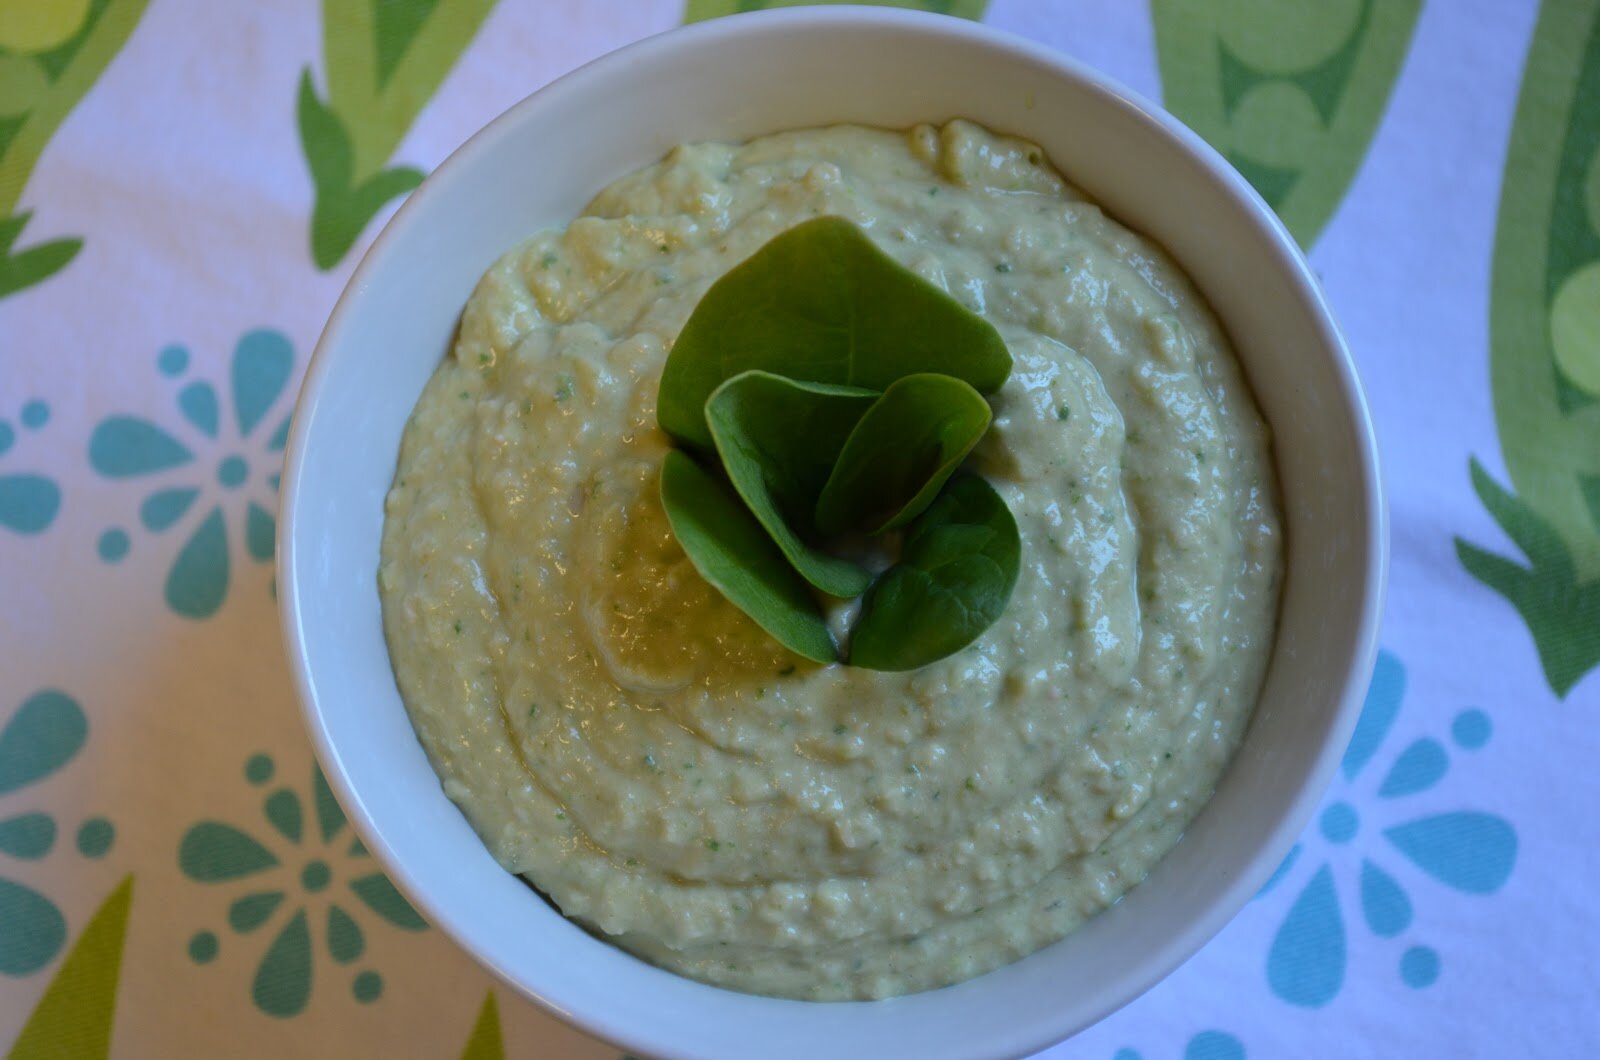
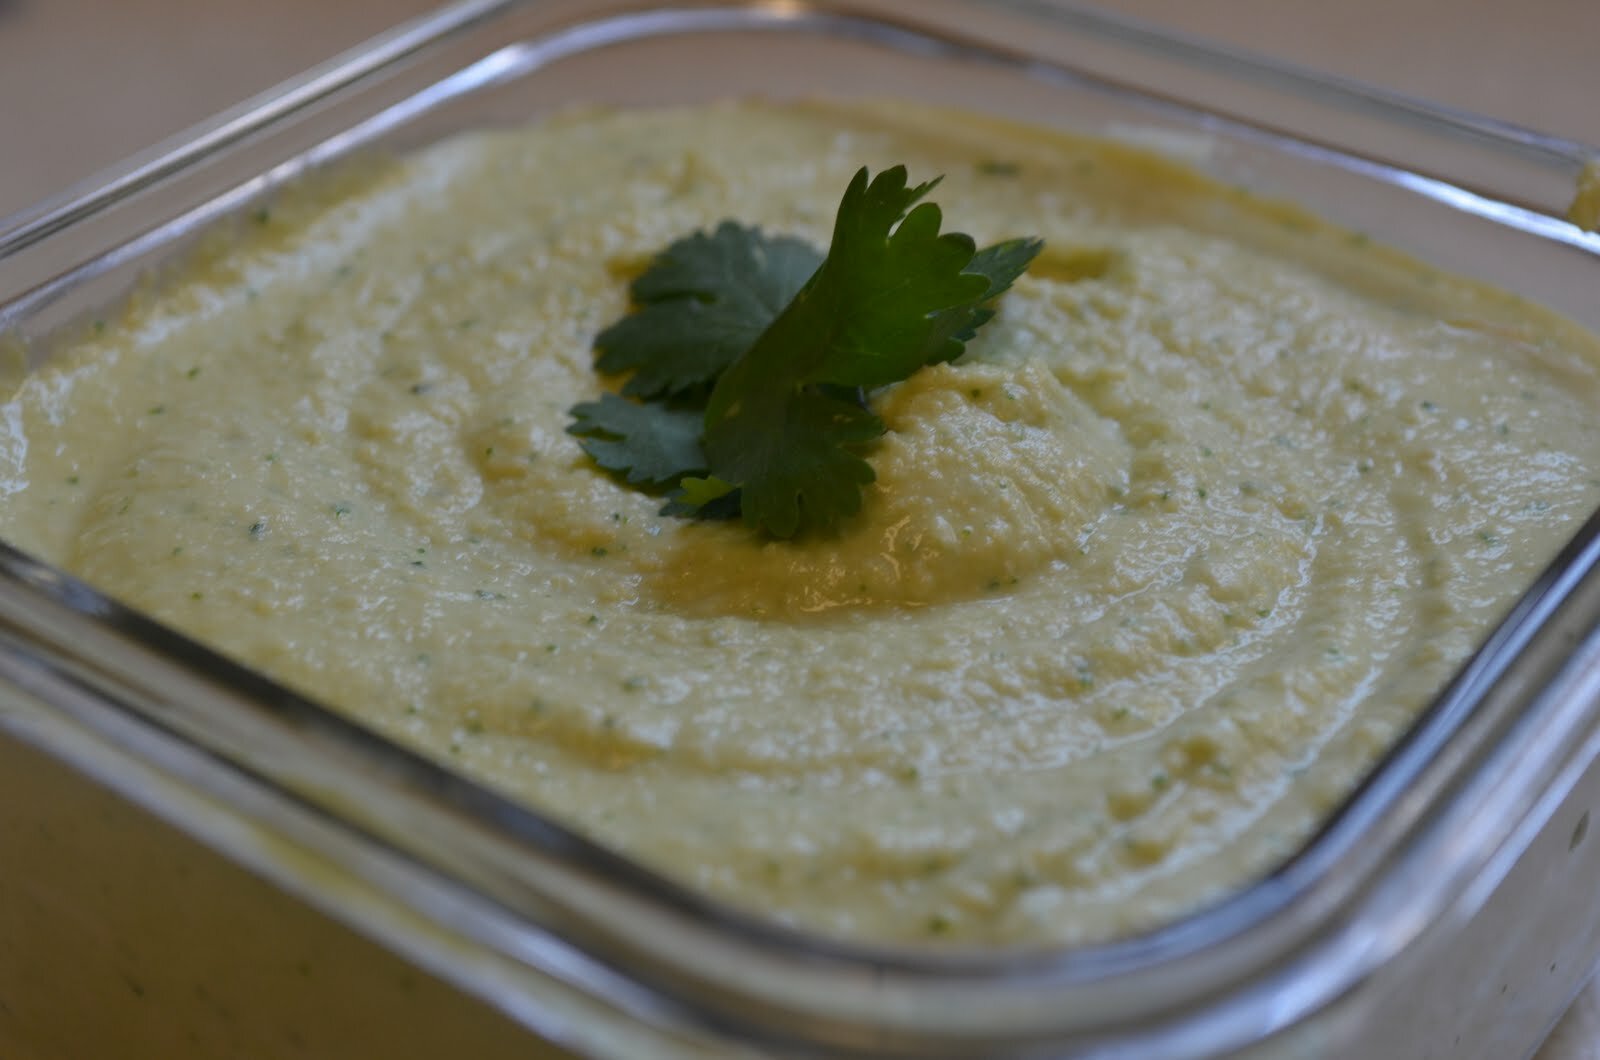
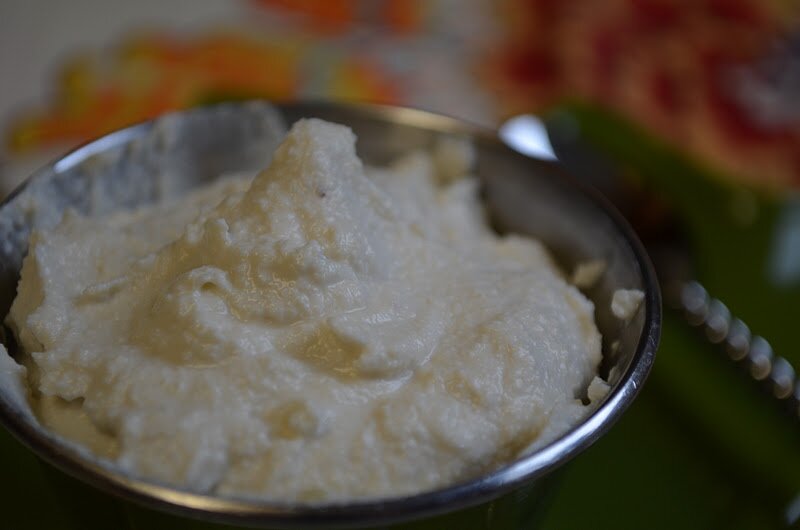
Here is a date free version I tried that’s not as creamy, but still delicious and spreadable:
-1/4 cup coconut oil, liquid state
-1/2 cup homemade sunflower seed butter or cashew butter
-3 tablespoons raw cacao
-2 tablespoons honey (vegans use grade B maple syrup, coconut nectar, or yacon syrup)
-2 teaspoons vanilla extract
-Tiny pinch of salt
(Blend everything in a food processor)
Here is a picture of this date-free version at room temp.
It gets really firm in the fridge – sort of tastes like fudge!
*


Shared on: My Meatless Monday, Fat Tuesdays, Slightly Indulgent Tuesdays. Allergy-Free Wednesdays, Wellness Weekend,


I am sooo going to make this for my French husband…The Ultimate Nutella Lover!! I can’t wait to try this tomorrow for the whole family-perfect idea before school starts next week. Sharing this 🙂
Thanks Laura. I am curious about your husband’s verdict. He would probably like good-ole homemade Nutella (with hazelnuts). That’s also so super easy. My tummy just can’t do nuts these days. Seeds are much easier to digest. 🙂
Thank you so much for this!!! I totally agree with you about Nutella being full of junk ingredients. I can’t wait to try this and I love that it looks simple to make 🙂
XO,
Cassidy
Thanks, Cassidy. I hope you enjoy it.
must try this – putting the dates in to soak right now – choccy spread for breakfast tomorrow (Sunday)
Woot! Hope it was great for you. 🙂
That’s great! I freakin’ love that. It’s so surprising to me what people will eat because something says healthy on it or it’s marketed that way. They never read the label! Just goes to show you can have something yummy and a little naughty without having to over load the body with nasty processed ingredients.
Hi France,
I know, right! It’s sad that companies *trick* us like that. Glad to get your stamp of approval on this recipe. 🙂
I enjoyed this on toast for breakfast this morning, quick and easy to make after soaking the dates overnight, the remainder is in a jar in the fridge:) I used cashew nut butter though, as I’m not nut free!
Love that! I’ve also used cashew butter! So good. Cashew butter is a great alternative to hazelnuts for this spread. So glad you enjoyed it.
Amber- you amaze me! These photographs are beautiful and now I’m drooling. I’m soaking sunflower seeds as we speak to try for reintroduction and if all goes well, I’d love to try this! The toast in the pic looks so good with it spread on, but I’m thinking it would be great spread on pears or apples….
This would be a great snack I would feel good about giving to my kids.
You’ve done it again! Thank you girl!
XXOO
Jen
Oh Jen, I really hope SEEDS don’t give you any trouble. And yes, this is great spread on apples. Like thinly sliced apples as a little sandwich! Good luck and let me know how the seed introduction goes. You’re so sweet…I always love your comments.
Hugs
What can I say – awesome recipe, I feel like climbing into my computer screen to grab one of those little biscuits!
Another reason for my visit is to nominate you for the Versatile Blogger Award! You certainly deserve it, I love reading your recipes and your green tips and advice Please see my post here for further details.
http://glutenfreescdandveggie.blogspot.co.uk/2013/08/the-versatile-blogger-award.html
Hope you have a lovely week!
Vicky x
Hi Vicky,
What an honor, Vicky! Thank you. I’ll head over there and check it out.
xoxo
I recently did a homemade Nutella too, great minds think alike 😉 I love that yours is nut-free! And uses dates for sweetness. All goodness!
Indeed, Gabby…indeed. 🙂
Hi Amber,
I’ve never had Nutella, but I’m so looking forward to trying this. I seriously just want to stick my whole head in that bowl. Do you think I could get away with pulling a Winnie the Pooh? 🙂
I hope you are feeling well! Does the changing of seasons seem to bother you? Every year as summer changes to fall/winter I seem to struggle. Nothing major yet, but I’m definitely more achy than normal.
I hope you guys are doing well.
xoxo,
M
Hi Megan,
Ha ha! I was eating this with my fingers, like sloping it up. I kept looking around the house and making sure my kids could not see me.
I’ve made healthy homemade Nutella with hazelnuts before and it’s really yummy. Nuts have been giving me trouble, so I thought a nut-free version would a fun idea. But do try with the hazelnuts too if you get a chance. I’m pretty sure Tessa has a recipe on her site.
Sorry to hear the winter brings you pain. Have you been doing well lately? I hope you enjoyed your trip and had a great time connecting with friends. The worst season change for me is winter to spring. Allergies always tax my immune system and I usually get a lupus flare in my lungs/heart. I had a flare up in June. Not fun! But I know what to do so it doesn’t get too out of control. I have noticed in the winter the tips of my fingers get numb (and sort of blue) when it just gets cold. But it doesn’t happen all the time. I just actually came off of a Crohn’s flare up (that started two weeks ago). It’s under control now. I was going through some stress and then my hormones changed (I experience symptoms around ovulation and menses), so things are calming down. I haven’t had a CD flare in a while.
But all is good now. Getting better. Feeling stronger. Kids are happy doing some play dough as I check my email here and make dinner. Can’t complain 🙂
Have a great week.
xo,
–amber
Amber, the tips of your fingers going blue in the cold might be a condition called Raynards. You should talk to your medical doctors about it. It goes with autoimmune conditions. Good luck.
Kat
oh gosh, amber. 2 words: GAME CHANGER!
Thanks Caroline! 🙂 You’re so funny.