Category Archives: lunch

Monday, August 24, 2015

How to Create a Waste-Free Lunch

Untitled

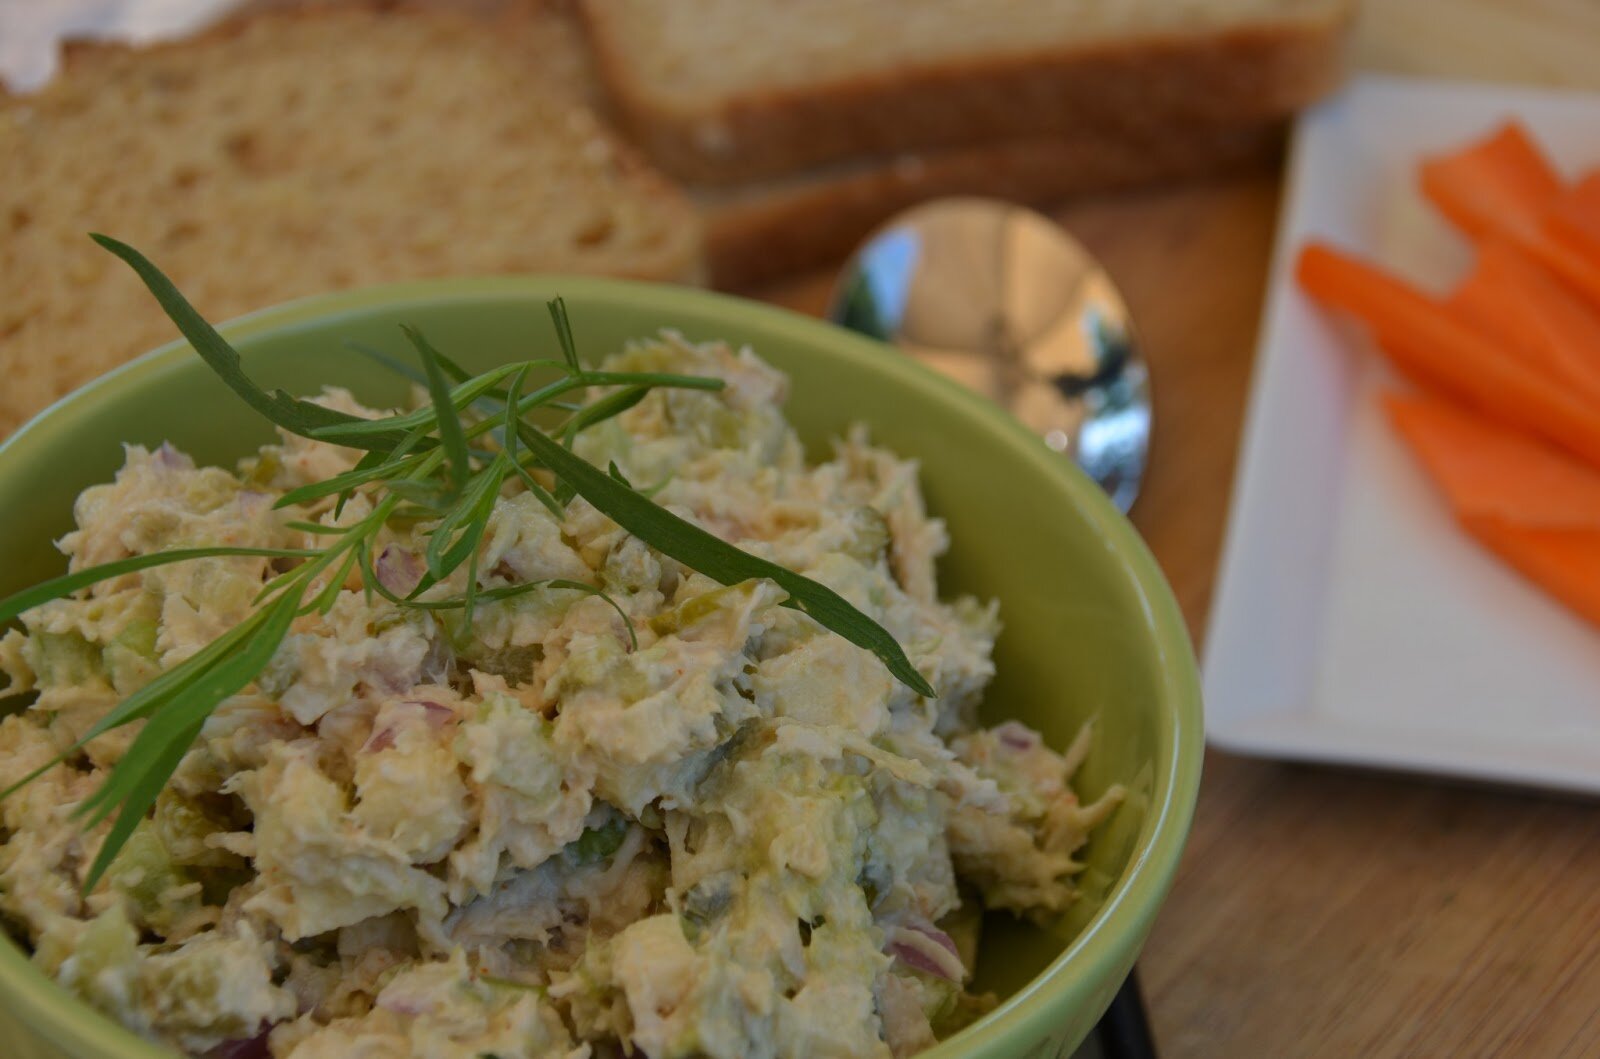
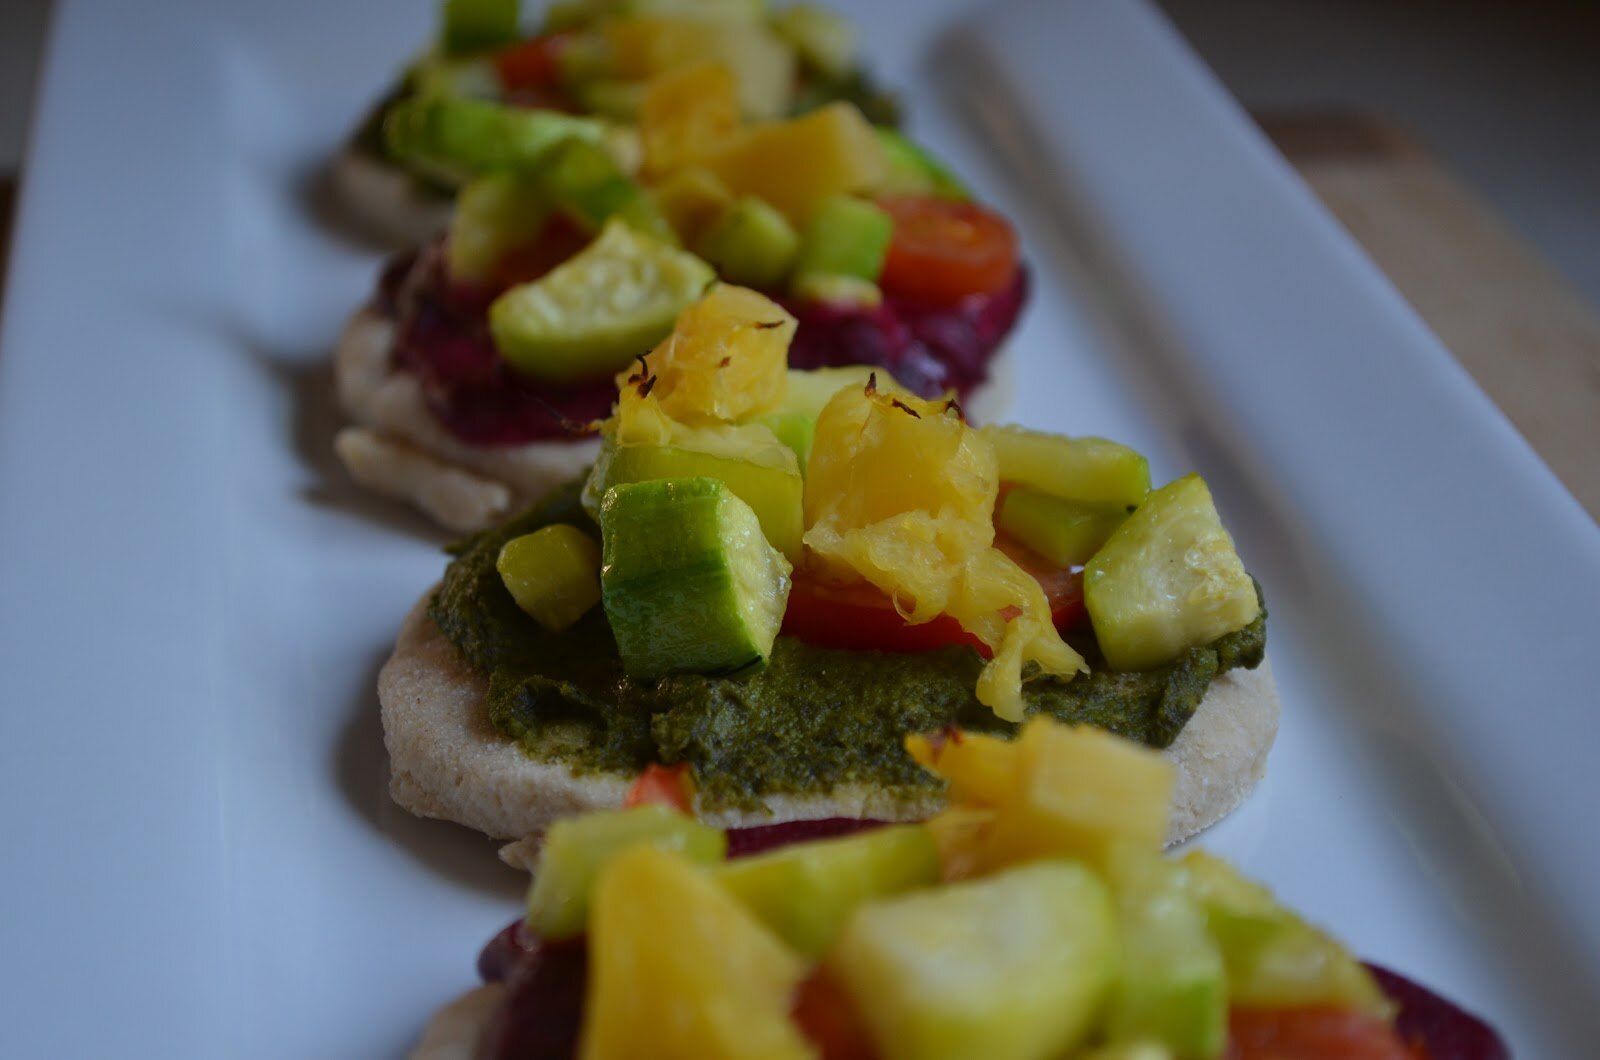
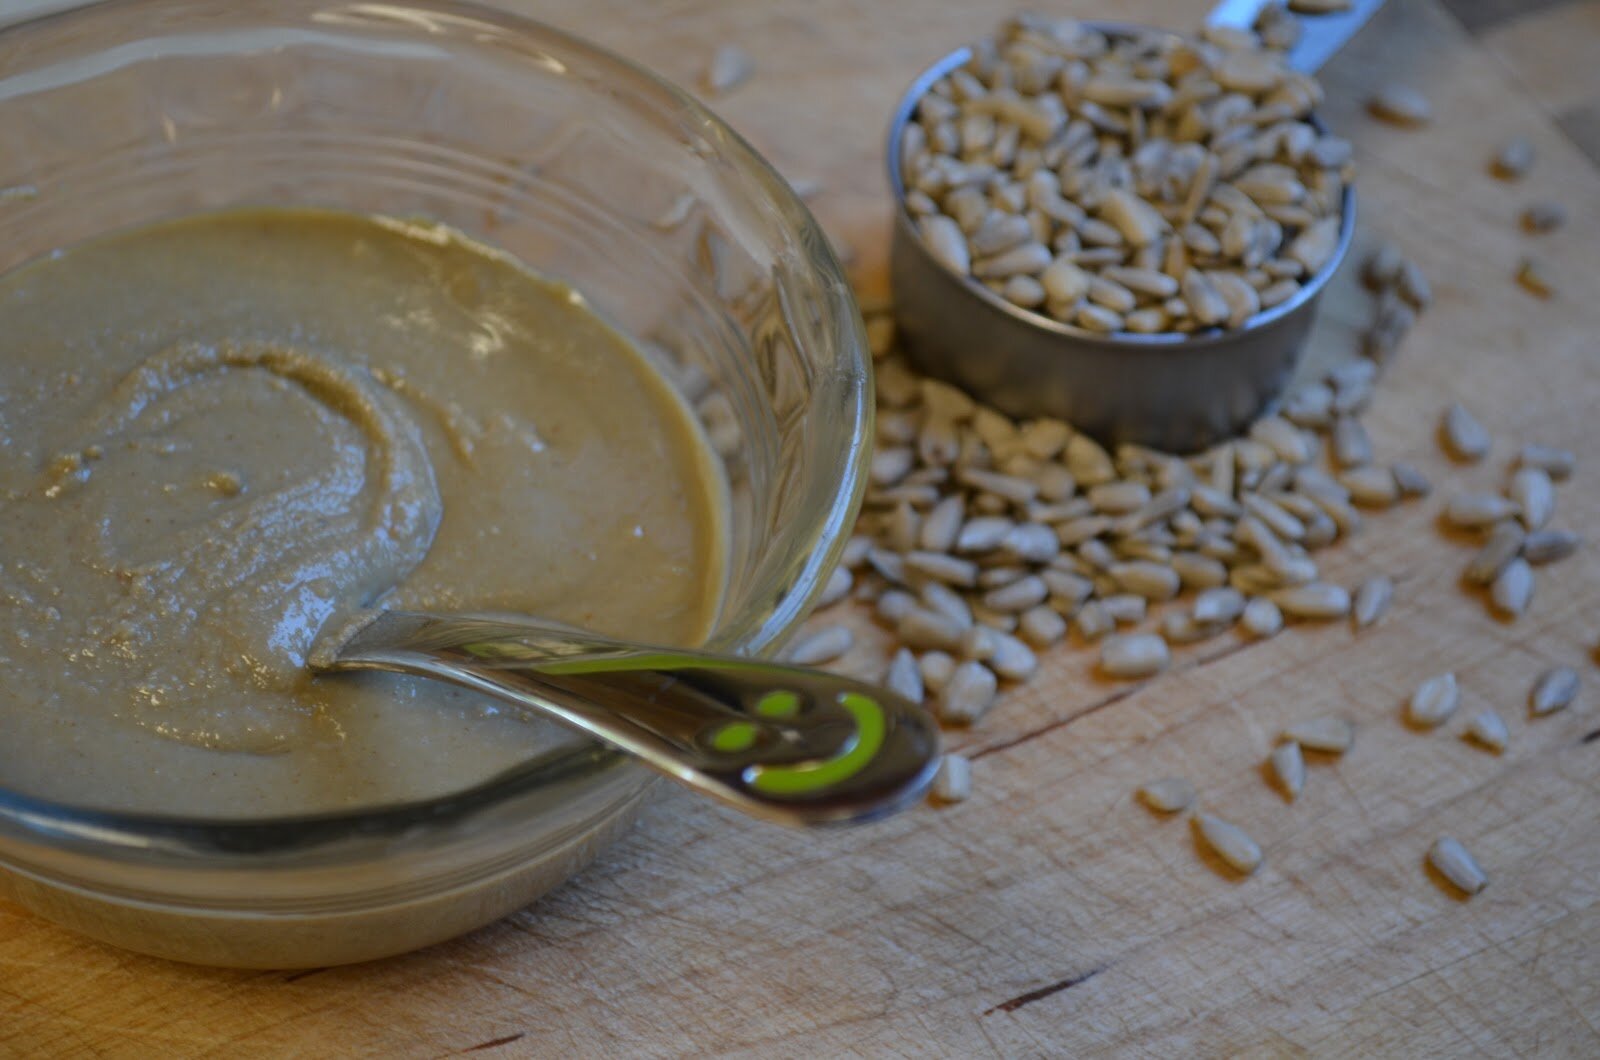
There are two approaches to creating a waste free lunch.  First, you have the actual lunch itself and the amount of waste produced at the location in which you eat that lunch.  If you don’t produce any waste, I would consider this waste free, so hooray for you! And two (and here’s the tricky part), there is the process of making the lunch and the waste produced from this process. It’s really difficult to go waste free when making the lunch (think about all the packaging that comes from the basics, such as lunch meat, bread, cheese, chips, etc).  My goal in the lunch making process has always been “low-waste” as I feel it’s too much pressure to be 100% waste free in this area (see end of post for tips and suggestions on this topic). That being said, and moving froward, here’s what’s important to remember: START SOMEWHERE.  So let’s start with the lunch itself and ways to eliminate the need for a garbage can. Continue reading

Posted by Amber at

Labels: green living, kitchen tips, lunch.

6 Comments

Leave a Reply

Your email address will not be published. Required fields are marked *

Saturday, June 15, 2013

My Favorite Chicken Salad ~ With Apples and Fresh Tarragon

I flippen LOVE chicken salad.  Especially with lots of add-ins.  Oh the flavor and texture combination can be magnificent.  And I am one who loves to mash food together. There are no boundaries between food on my plate.  It’s a friendly place.  I will mix everything together on my plate so each bite equally represents each food.  That must be why I love things like chicken salad.  Everything is nicely mixed together and I just love it.  I can eat chicken salad for any meal (yes, even breakfast).  I hope you enjoy this recipe.  It’s super easy and a fantastic way to use up that leftover chicken (see the notes section for additional add-ins).    
Chicken Apple Salad with Fresh Tarragon 

Ingredients:
-2 cups shredded chicken*
-1/2 cup dill pickle, small chop
-1/2 cup celery, chopped 
-1/2 cup peeled apple, small chop 
-1/3 cup diced red onion
-1/3 cup mayo ~ here or here , vegan or homemade vegan
-1 teaspoon Dijon or stone ground mustard (optional) 
-1/2 teaspoon garlic granules 
-1/4 teaspoon salt (or to taste)
-1 teaspoon fresh chopped tarragon or 1/2 teaspoon dried

How To:
1.  To a bowl add in the above ingredients and mix.
2.  Best if made 4 – 6 hours before serving.  

Notes:
*The best way to “shred”  chicken is in a food processor.  Simply add in the two cups of chicken and give it a whirl.  Personally, I like to cook chicken in the crock-pot, this makes it shred naturally.  So I use leftover crock-pot chicken for my chicken salad.  You could also used cubed chicken, it’s really up to you.  
*There are endless possibilities with chicken salad.  Here are some of my other favorite add-ins: sliced grapes, sweet yellow or red peppers, cucumber, hard boiled egg, radish, green onions, fresh dill, cashews, mango, slivered almonds, walnuts, kalamata olives, bacon, curry spice, or dried cranberries.  Go crazy folks.  

Posted by Amber at

Labels: allergy-friendly, dairy free, gluten free, lunch, snacks, summer cuisine.

3 Comments

Leave a Reply

Your email address will not be published. Required fields are marked *

Friday, September 7, 2012

Mini Vegan Garden Pizzas (allergy-friendly, gluten free, dairy free)

Last weekend I wanted to make something fun for lunch.  Pizza sounded good – garden pizza sounded GREAT.  Although we have many more warm days ahead here in Northern California, I have been dreaming about my winter garden.  So I picked some of our last tomatoes and zucchini and used them for mini pizza toppings.  Some sweet pineapple rounded out the flavors perfectly.  Beet cashews spread (beet “cheese” spread) was a delightful contrast with the pesto sauce.  I hope you enjoy this fun little spin on traditional pizza – and what great way to use up your summer garden veggies.     
Ingredients:
-Pesto sauce here or here 
-Cashew beet sauce (recipe can be found here)
-3 medium zucchinis, peeled, chopped and sauteed with salt 
-2 cups cherry tomatoes, sliced
-1 1/2 cups pineapple chunks 
How To:
1.  Make pizza dough as specified.  Don’t be shy with the flour, as this will help you roll out the dough.  Treat it like any other dough.  
2.  Roll out and use a cookie cutter to make the mini pizzas.  Transfer to non-stick surface (such as a silicone mat).  Place the mat directly on a cooling rack to bake or use something like this pizza rack with some parchment paper, and bake for 8 minutes (at 400 degrees).  
3. After baking, remove crusts from mat and cool on the cooling rack (do not cool the pizzas on the mat, as moisture will form).  
4.  Build your pizzas and bake (directly on the cooling rack, no mat) for 8 – 10 minutes.   
Serves 4

Shared on: Melt in your Mouth Mondays, Motivate Me Mondays, Monday Mania, Mealtime Monday My Meatless Monday,Just Another Meatless Monday, Fat Tuesday, Slightly Indulgent Tuesdays, Allergy-Free Wednesdays, Gluten Free Wednesdays, Real Food Wednesdays,  Whole Foods Wednesdays, Tastetastic Thursday, Keep It Real Thursdays, Pennywise Platter Thursdays,Wellness Weekend, Fight Back Friday, Fresh Bites Friday, Freaky Friday, Friday Food, Whole Foods Friday

My Birthday Pot Luck Party Friday, 

Posted by Amber at

Labels: dairy free, gluten free, lunch, summer cuisine, vegan, vegetarian.

19 Comments

Leave a Reply

Your email address will not be published. Required fields are marked *

Thursday, October 13, 2011

Homemade Sunflower Seed Butter (Sunbutter)

I am deathly allergic to peanuts.  It’s no fun to have an allergy but I’m so impressed with how far we’ve come with peanut allergy awareness.  What a difference I’ve seen.  I remember as a young child riding on an airplane and feeling so sick to my stomach at the very smell of the peanutsand hungry because I was out of luck in the snack department.  A few years later they started serving pretzels as an alternative to peanuts on flights.  I don’t even think they give out peanuts anymore, do they?  Skylar, my daughter, is not allergic to peanuts and I don’t know if my son Ethan has inherited this allergy?  At any rate, we’ve been using sunbutter for quite some time as an alternative to peanut butter.  It’s a nice change from the usual almond butter.  I like this brand but don’t love the price and don’t love the plastic container.  So I decided to make it myself.  And you know what……SUPER EASY!!! Sky couldn’t even tell the difference between my homemade version and the store bought variety.  And that’s all I needed to move into permanently making sunflower seed butter.  Hooray! 

gorgeous sunflower from my garden!

Homemade Sunflower Seed Butter 


Ingredients:
-3 cups of organic raw sunflower seeds
-Pinch of salt (optional) 

How To
1.  Toast sunflower seeds for a bit until fragrant and slightly brown.  Cool seeds.  
2.  Add the cooled seeds to a food processor and start blending; scrape down sides every minute or so for about 5 minutes.  
3.  After about 6 minutes the seeds will form a ball then become thinner as the oils in the seeds are released.  
4.  After about 8 minutes of processing you can add in a pinch of salt, but this is totally optional. It should be properly blended by this time.  Store in class container in the refrigerator.  
Yields 1 1/4 cups of sunbutter

I have a small, OLD food processor and it works great.  
Just be sure to scrape down the sides a few times so the
mixture has contact with the blades.
Speaking of Sun
It has been so gorgeous here in Northern California.  Finally, finally, cool fall weatheralthough it’s supposed to be up near 90 degrees today, there is still a soft, clean feel to the air.  I adore this time of year.  Below are some pictures from around our yard.  Wish I could just bottle up this weather.
Our neighbor’s lemon tree is showing some action!  
They let me go over there whenever I have the need and pick to 
my heart’s content.  
Our other neighbor has a nice fig tree with a sizable
bunch hanging on our side of the fence!  
So excited for these!
We still have watermelons to harvest!
We had quite the bounty this year.
Our tomato plant is out of control, but still providing 

us with sweet, gorgeous cherry tomatoes.

Shared on: Allergy-Free Wednesdays, Freaky Friday, Fresh Bites Fridays, Lunch Box Love Fridays, Fight Back Friday, Friday Food,  Potluck Party Back to School Recipes,  Raw Foods Thursdays,, Wellness Weekend 
Posted by Amber at

Labels: allergy-friendly, dips and spreads, GAPS, lunch, nut free, Paleo, SCD, snacks, vegan.

12 Comments

Leave a Reply

Your email address will not be published. Required fields are marked *