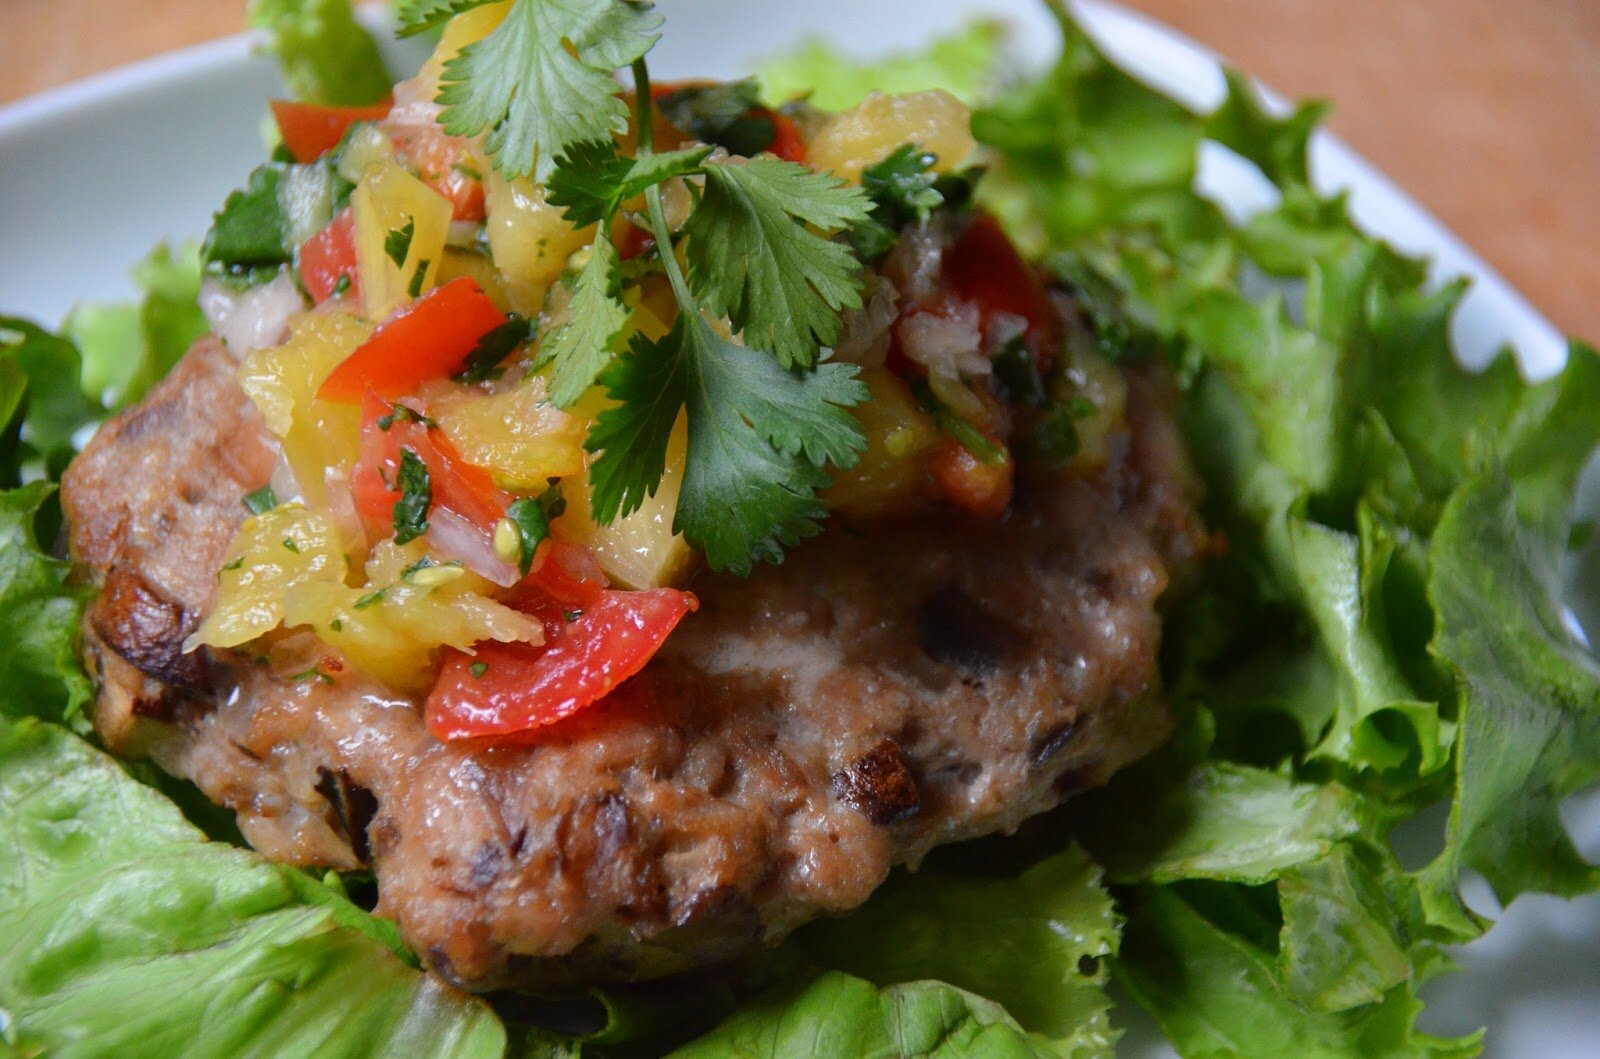
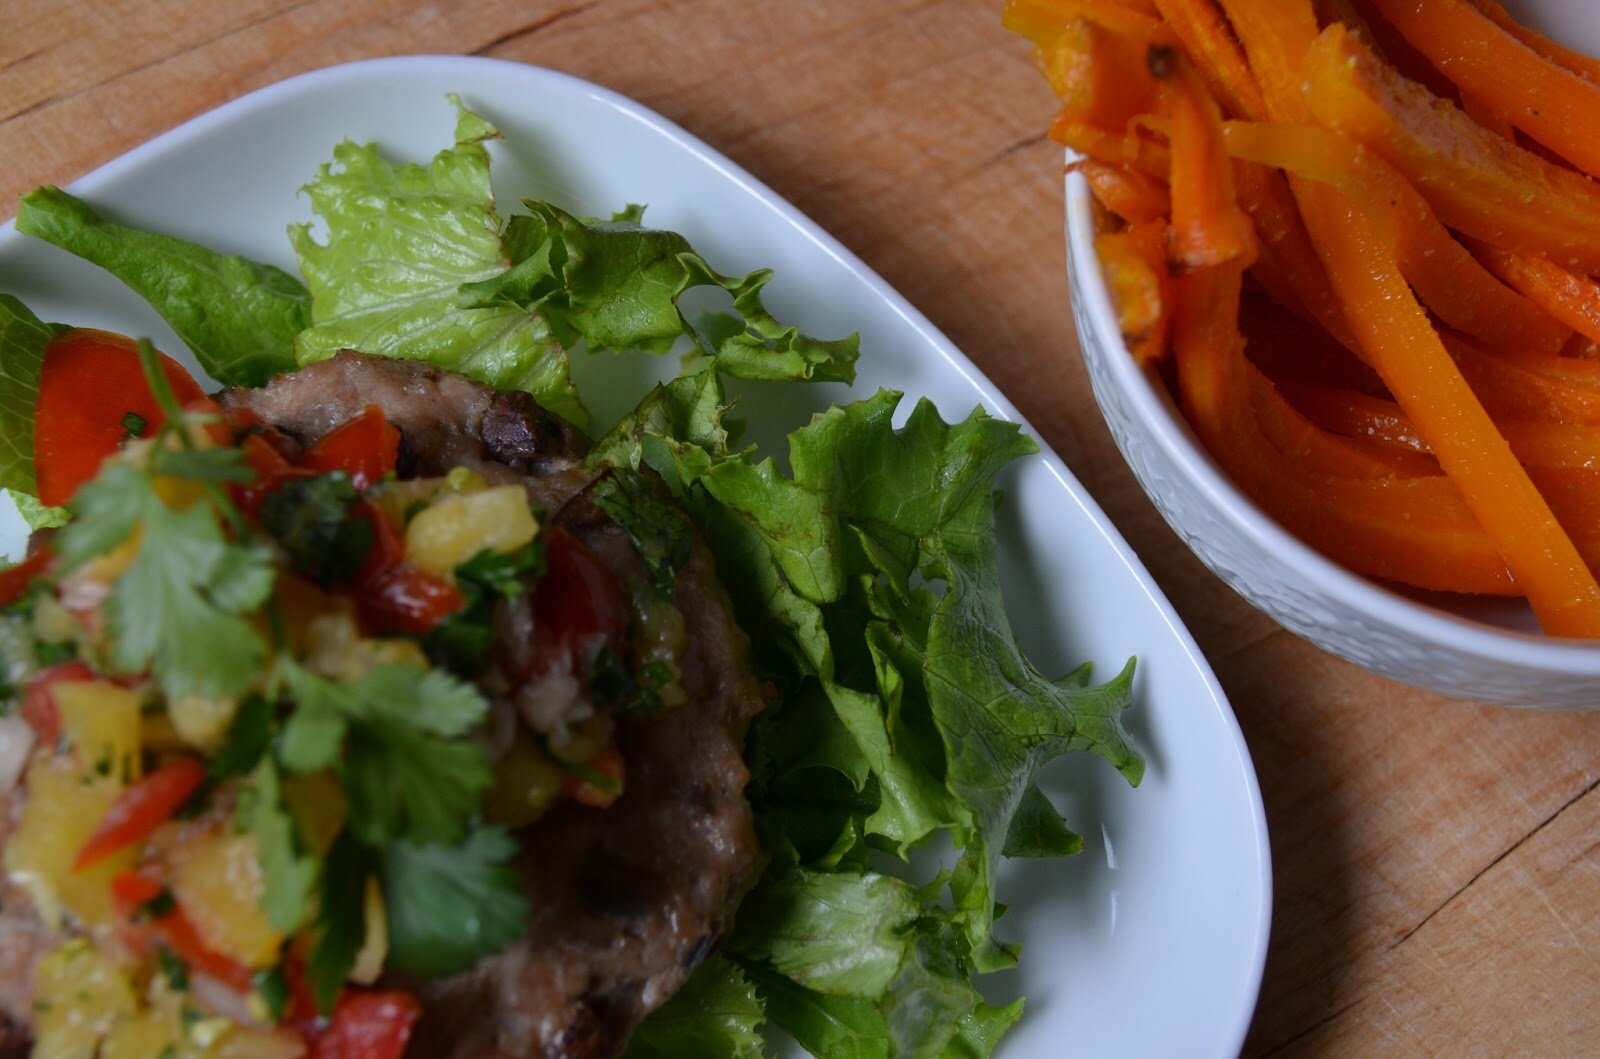
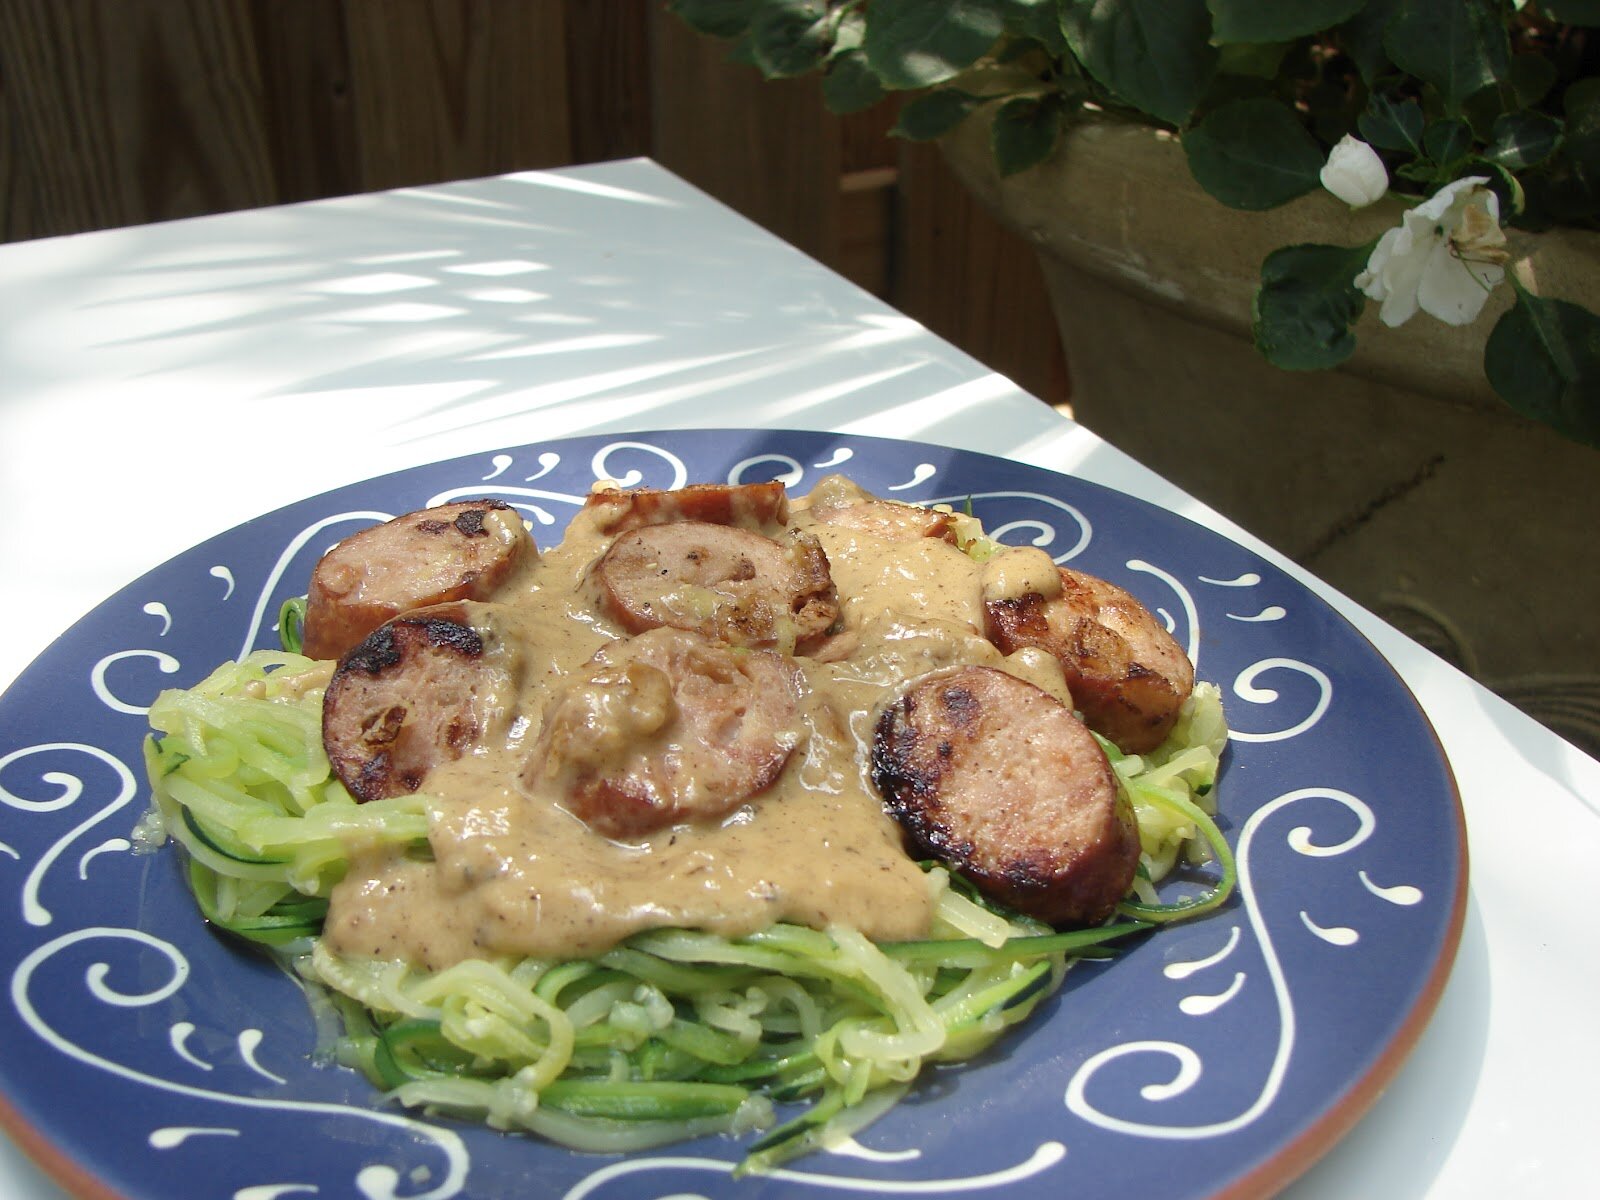
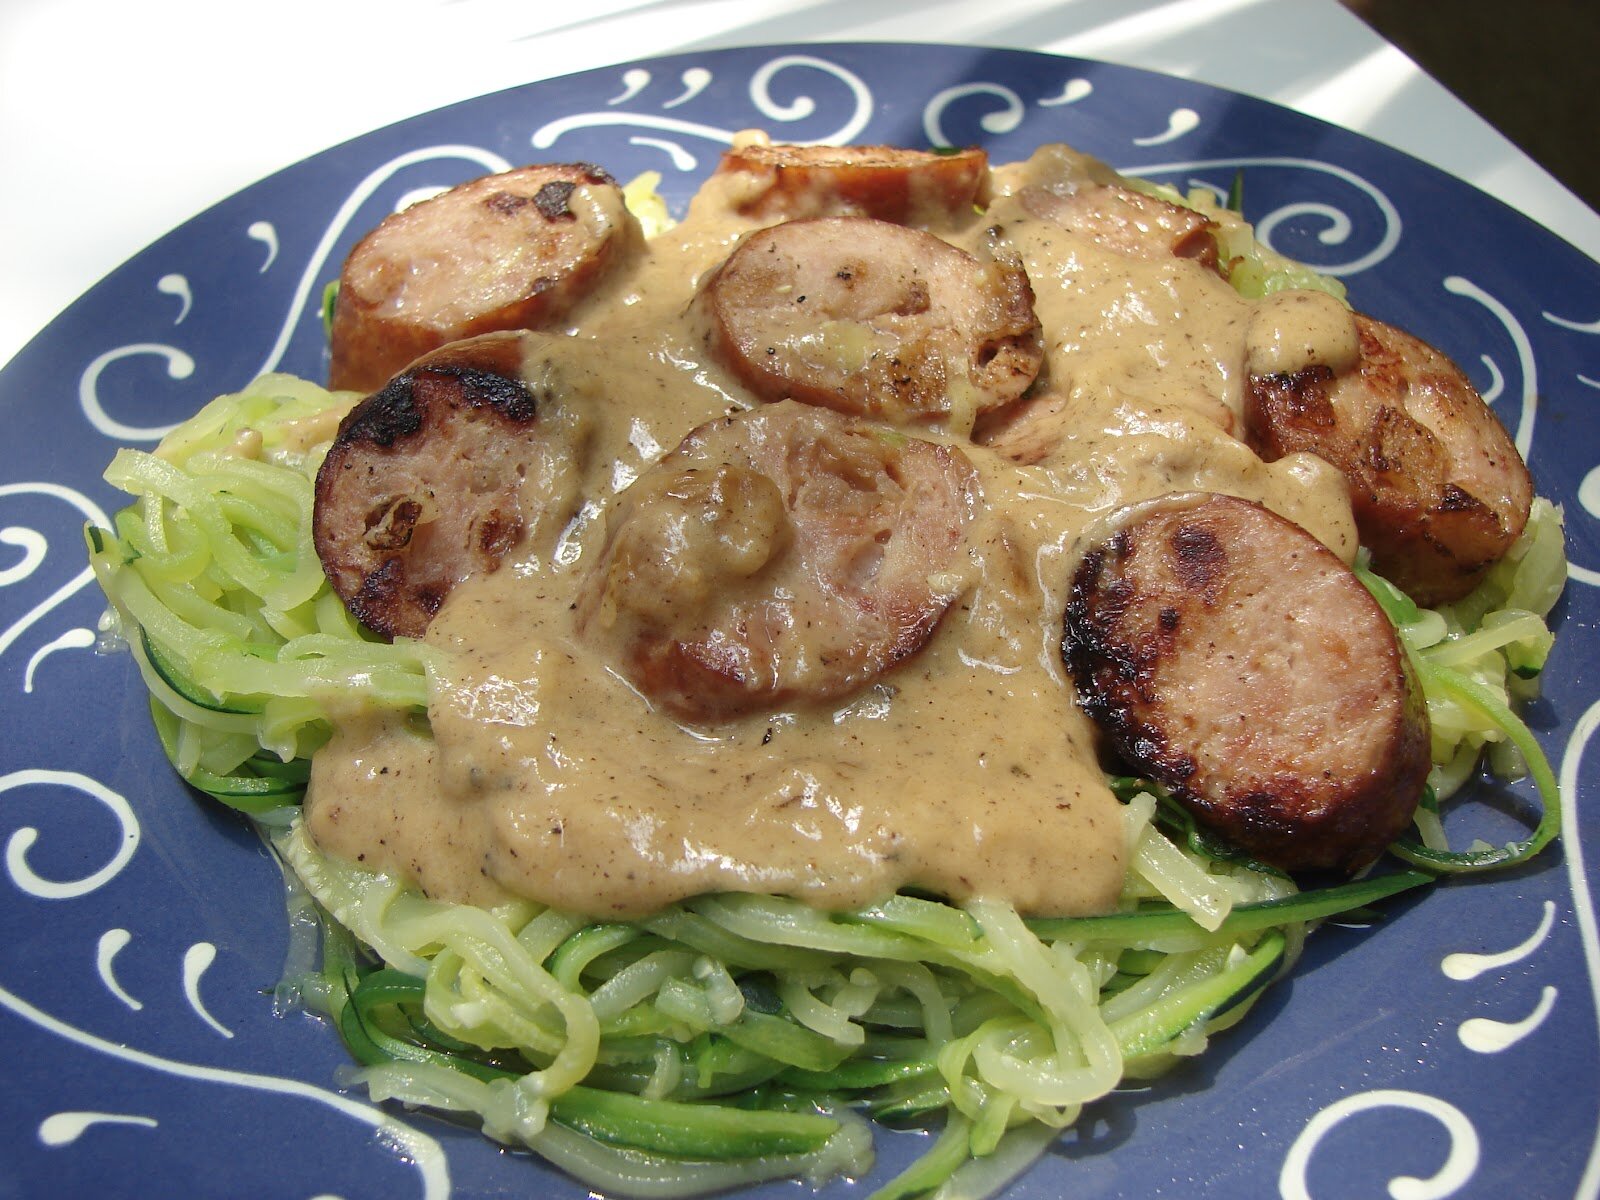
Mmmm, burgers. Burgers are one of the easiest dinners to make. And I’m all about easy (I mean really, who wants to get cooking burn-out on Monday). If you’re like me, you make just about everything from scratch, so it’s nice to have an easy dinner to jump-start the week. We don’t eat beef but LOVE to use ground turkey or chicken for our burgers. The addition of sauteed mushrooms and onions to this recipe really kicks the yum factor up a notch. These are super delish and I just adore the sweet savory touch from the salsa. I like to tinker around with different ingredients to spice things up (see my veggie and sun dried tomato burgers for another great recipe). I hope everyone enjoyed their Monday. Happy Memorial Day.
Ingredients:
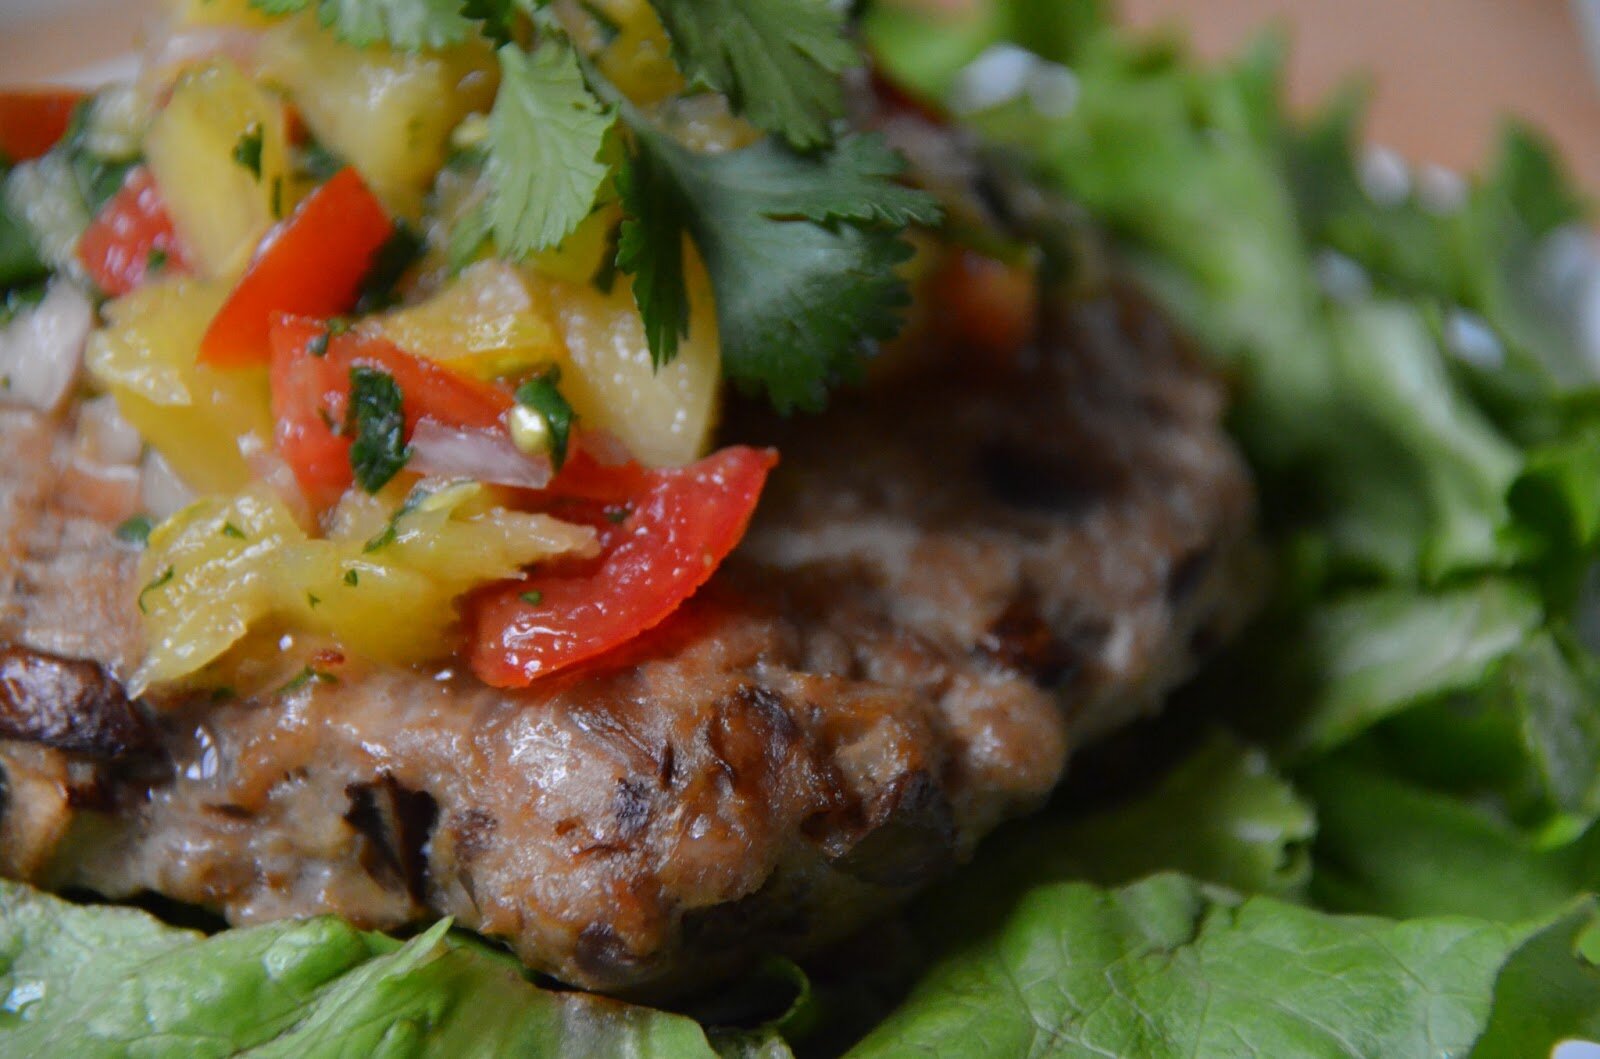
Mushroom Burgers
-1 1/2 pounds ground turkey (preferably organic free range)
-2 cups crimini mushrooms, chopped
-1 cup red onion, small chop
-2 teaspoons coconut aminos (or gluten free Worcestershire sauce – but this is not SCD/Paleo/GAPS) – omit both coconut ominos and Worsh if strict SCD.
-1/4 teaspoon salt + 1/2 teaspoon salt
-1 teaspoon onion granules
-2 teaspoons garlic granules
-2 tablespoons oil
How To:
Preheat oven to 400 degrees
1. In a medium skillet, add in the oil, mushrooms, onions, and 1/4 teaspoons salt. Saute on medium heat until soft and well sauteed. Set aside.
2. In a large bowl, add the meat, coconut aminos (or Worcestershire), 1/2 teaspoon salt, onion granules, garlic granules. Mix.
3. Add in the mushroom and onion mixture. Mix.
4. Form into patties and bake for 25 – 30 minutes (or until internal temp reaches 180 degrees).
*Makes 6 patties
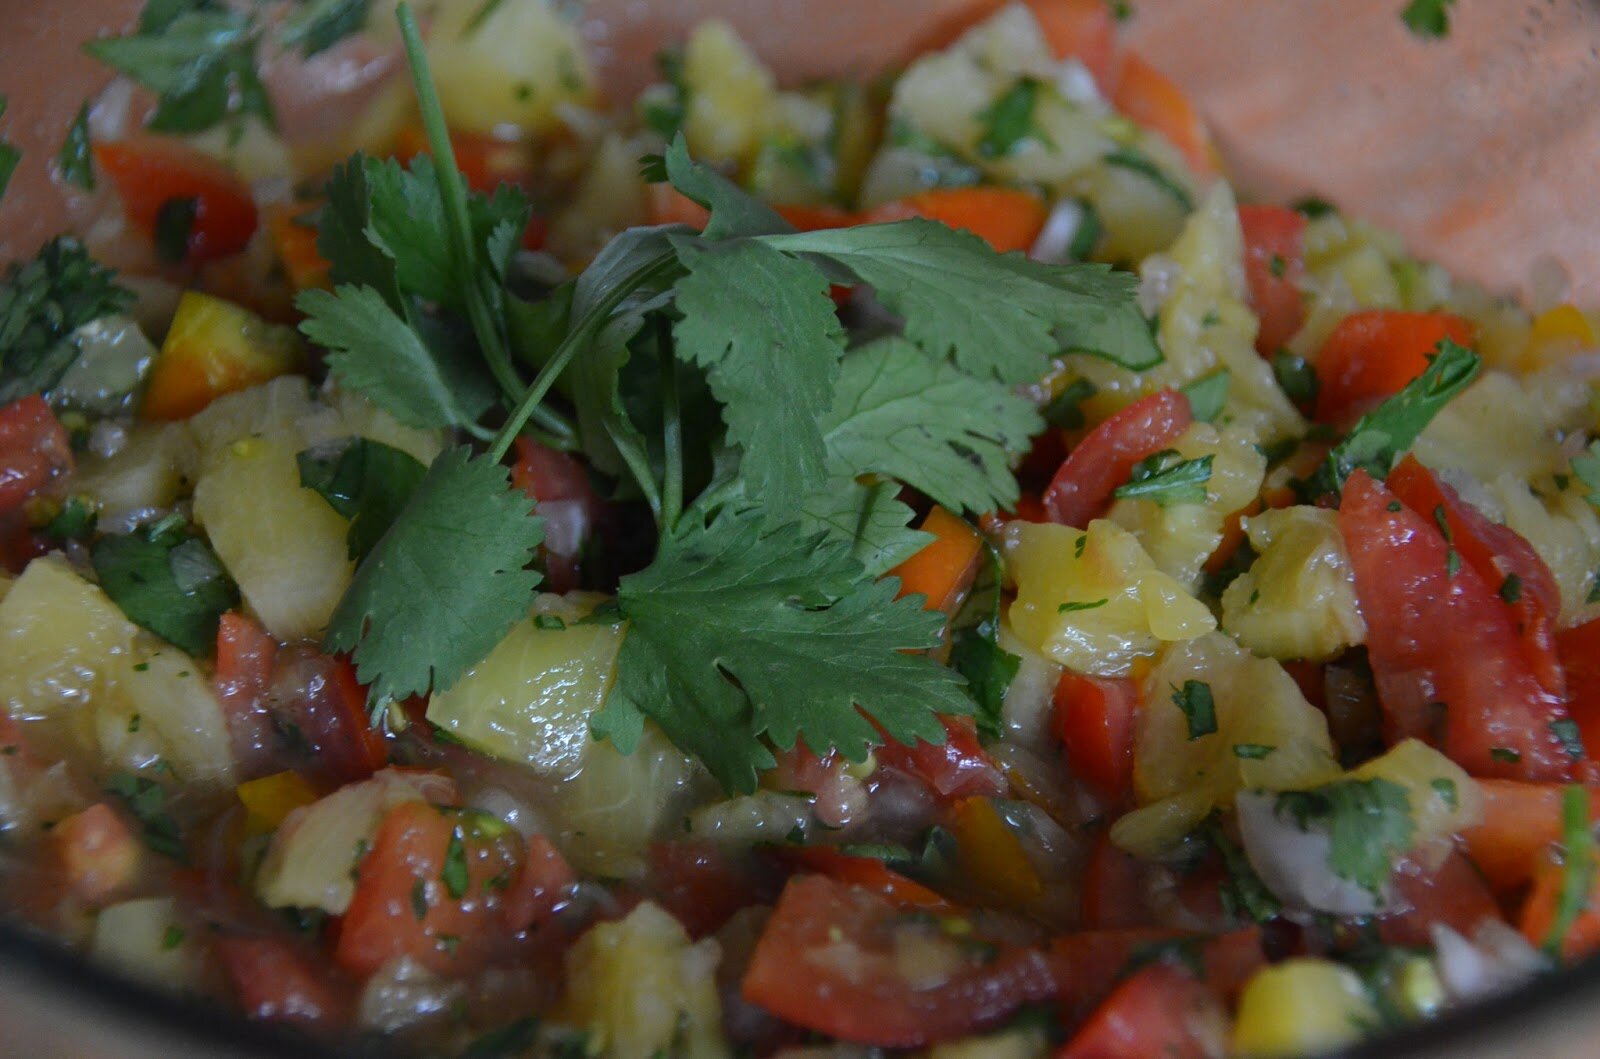
Cherry Tomato Pineapple Salsa
-1 can organic pineapple chunks, drained (use 1 cup fresh if in season)
-1 1/2 cups chopped cherry tomatoes
-2 1/2 tablespoons diced shallot
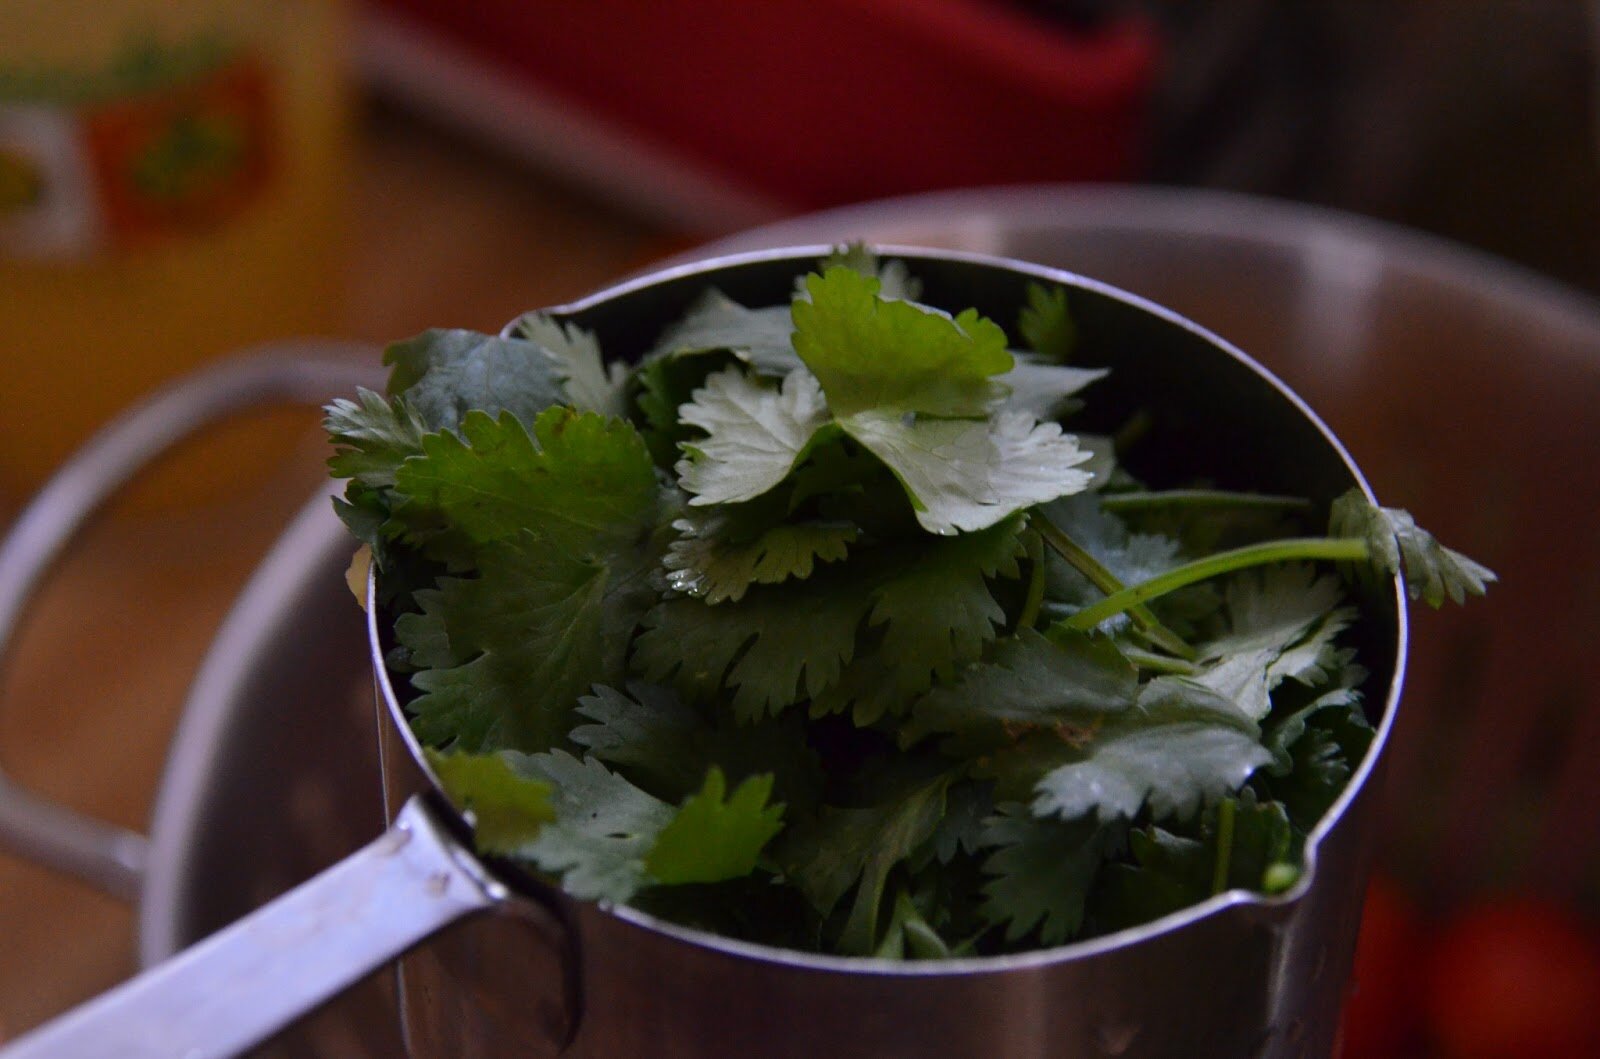
-1 cup fresh cilantro, chopped
-Juice from 1 lime
-3/4 teaspoon garlic granules
-1/2 to 1 teaspoons salt (to taste)
How To:
Salsa is best made a few hours ahead of time
1. Drain the pineapple juice from can (save this juice, it’s great, kids love it). Chop the pineapple to desired chunkiness.
2. To your pineapple add in the chopped cherry tomatoes, and the rest of the ingredients. Mix and refrigerate until ready to serve.

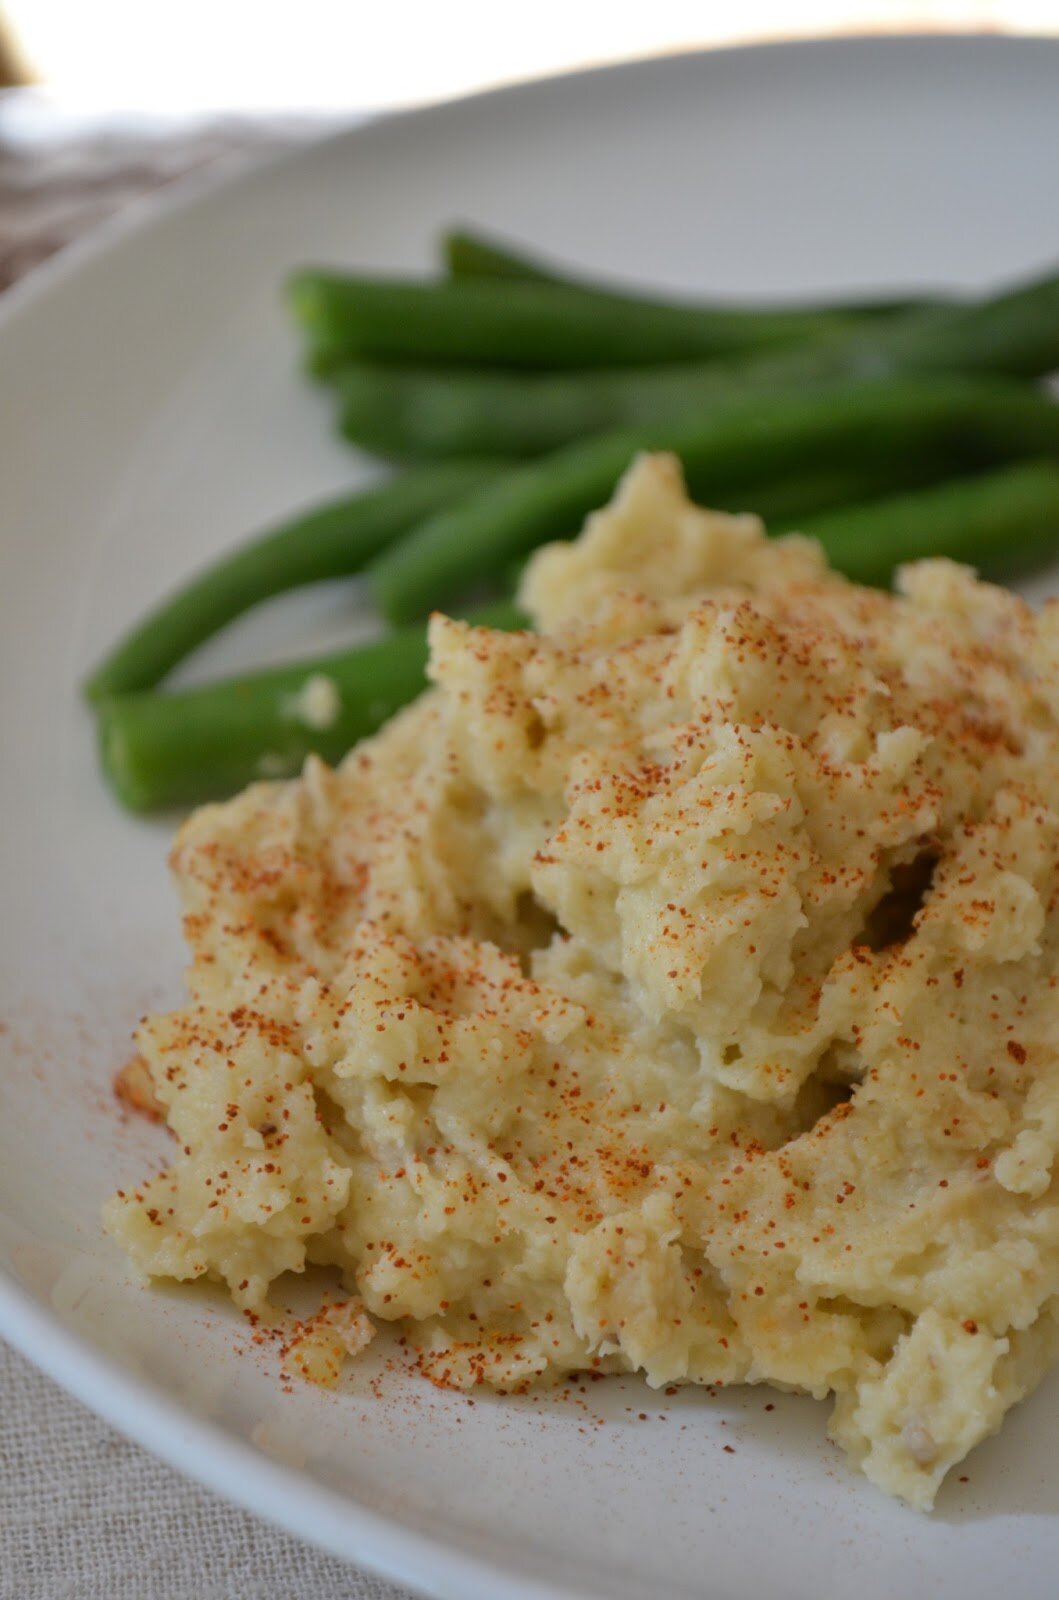
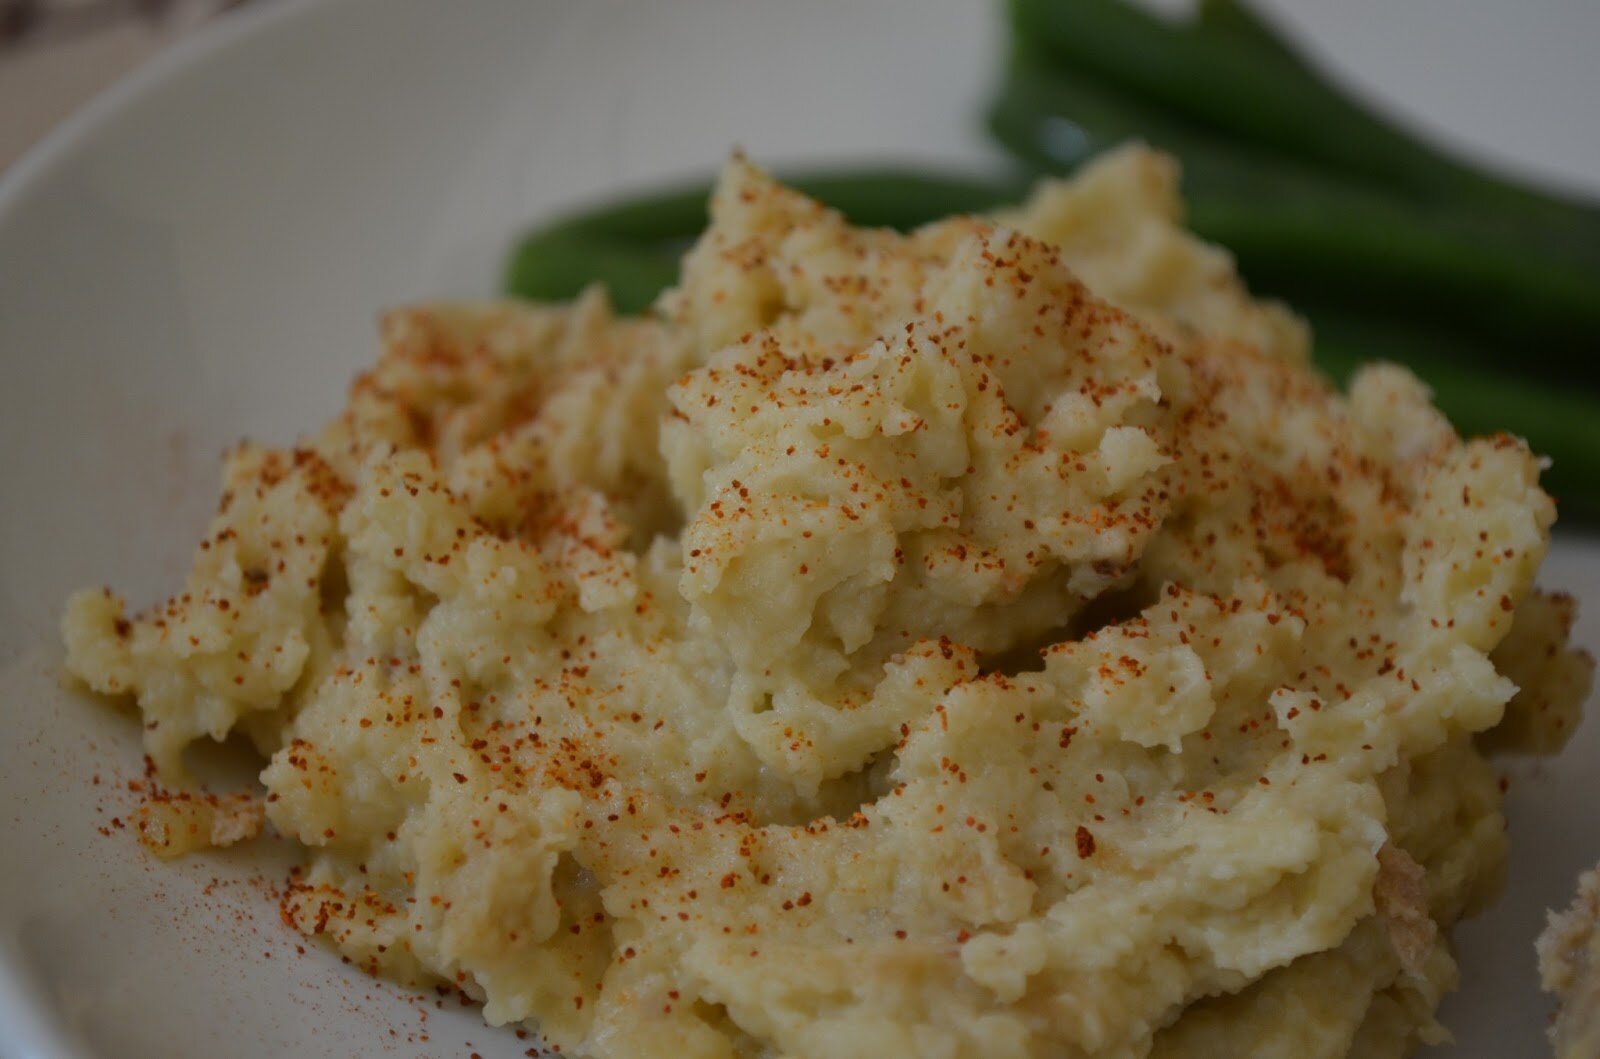
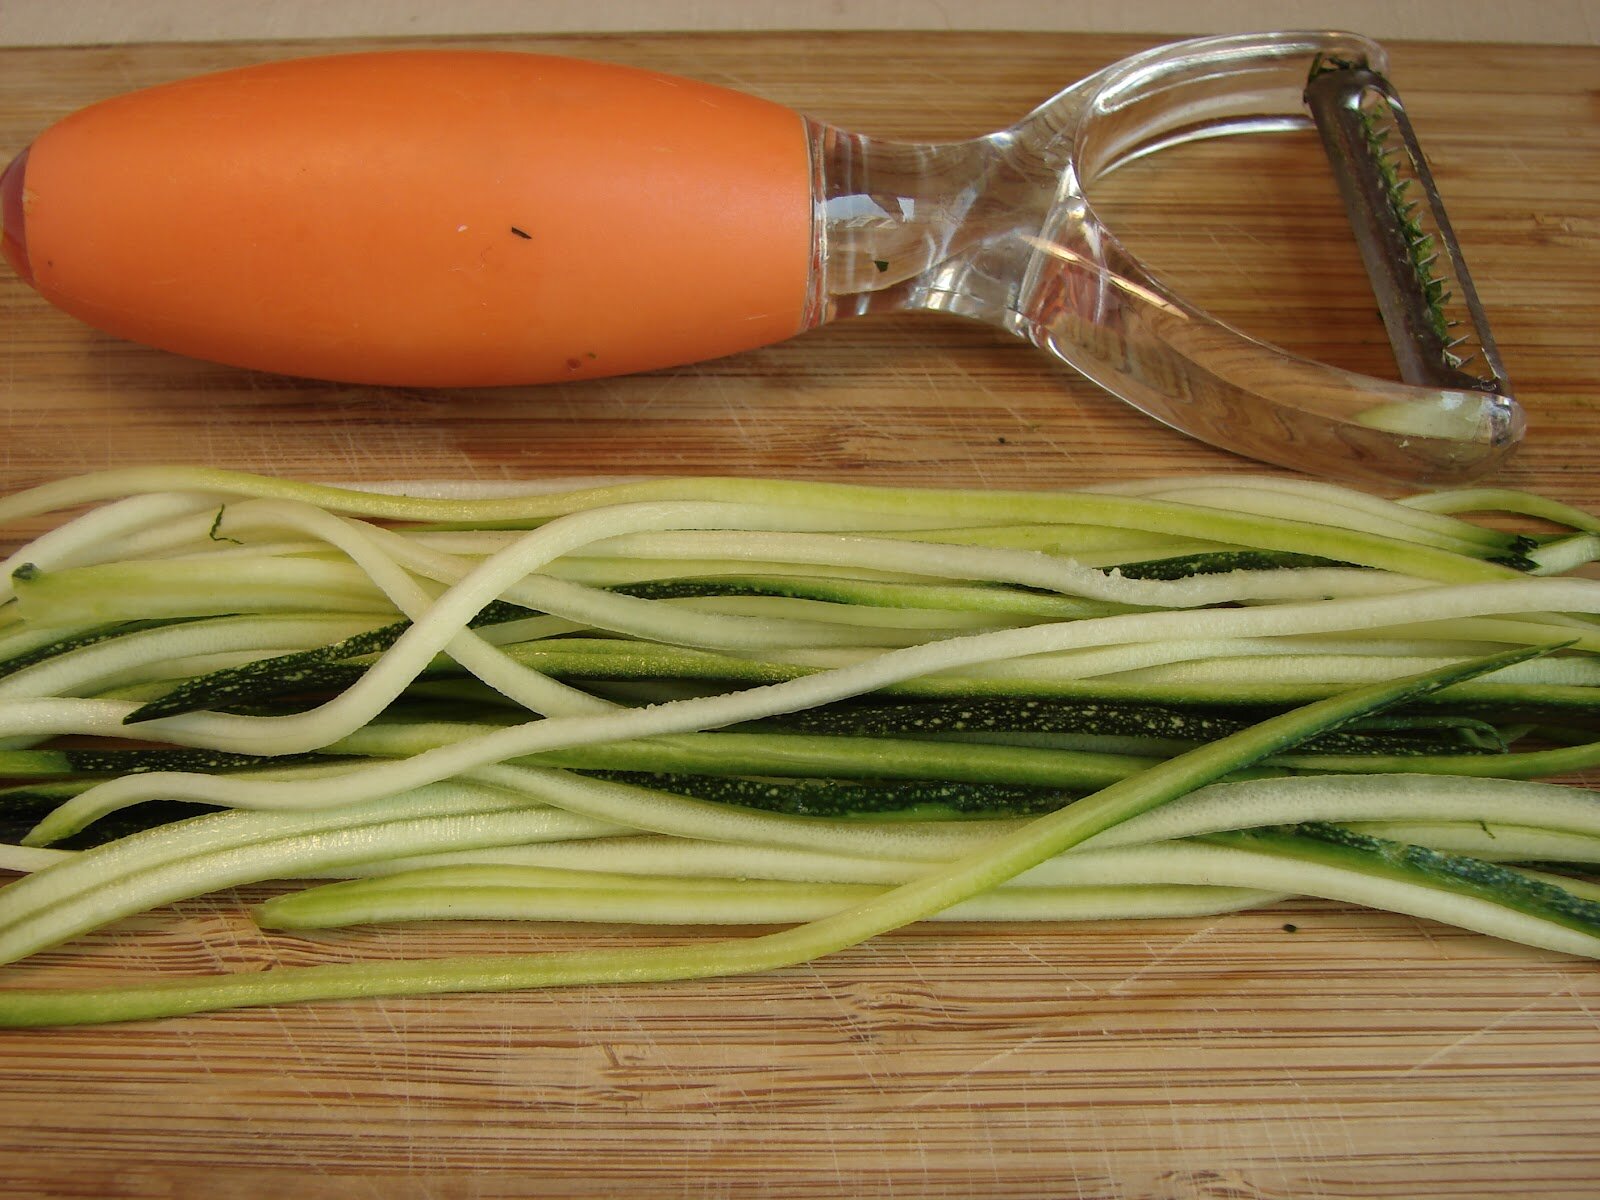
For an easy side dish, try sliced roasted carrots. Simply slice carrots and toss with salt, garlic granules, coconut oil and roast on 400 degrees for 45 minutes.

Here are some other super easy side dish ideas for your burger night
*
Shared on: Whole Food Fridays


Amber! I love these! I especially like that you used turkey and incorporated veggies into them. I most definitely will be trying these soon.
Hugs to you! I hope you had a great holiday weekend!
 Megan
Megan
Thanks, Meg. I hope you enjoy them.
Ohhh sounds good. I like the idea of sauteing the mushrooms and then adding them to the turkey mix.
Hi Sarah, I think you will really liked these burgers!! Let me know if you give them a try.
Ok organic ground turkey is on my grocery list as of now! These burgers look fabulous Amber and I’m a big fan of mushrooms too.
Thanks, Laura.
Hope you’re well friend.
I’m thinking that my paleo husband would love these burgers! And I’m putting that salsa all OVER my next salad. YUM!!
oh amber…that salsa sounds truly magnificent!! it’s literally making my mouth water!! hope you’re having a great day!
These
were
AWESOME!!!!!!! absolutely amazing! made them last night and immediately saved the recipe in my recipe book (with “yum” written by the title!!). Thanks!!