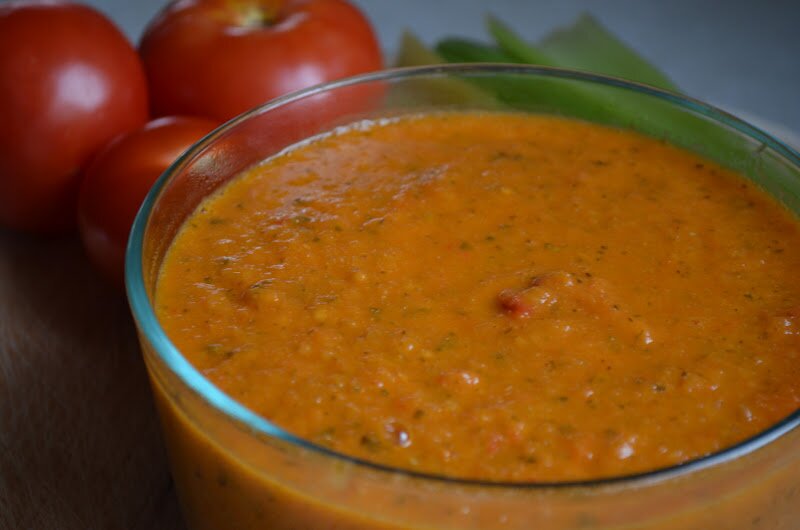
I’ve been working on a SCD lasagna recipe. Almost there! Can’t wait to share the recipe with you soon. In the meantime, I wanted to share my homemade marinara sauce. I have trouble with store bought pasta sauces, as they are just too salty for me. So with homemade I can control the seasoning. Plus making your own sauce is a great way to cut down on your kitchen waste (no cans or jars to throw out). There are a zillion recipes for marinara sauce out there. What I have for you today is a base sauce, this is delish on its own, but from here you can add in a variety of other ingredients. See below in notes for some suggestions. A quick word about tomatoes. It’s very important to choose meaty tomatoes, or the sauce gets a bit watery. I find that little slicer tomatoes are very meaty with little juice. And in the summer it’s all about those gorgeous heirlooms. I’ve also made marinara with Romas, but the sauce was awfully acidic and watery (see notes below about how to make a less watery sauce, especially if making this sauce for lasagna). If you find your sauce too acidic, add in a little honey or other sweetener of choice. Or add in some cashew milk, other thickened nut milk, or full fat coconut milk (just a few tablespoons or until desired taste/texture). This will create a creamy sauce and cut down on the acid factor. It’s fun to experiment with marinara. I hope this recipe will serve as a nice base and get you going.

Ingredients
-1 medium yellow or red onion, chopped
-3 stalks celery, chopped
-2 1/2 lbs organic tomatoes, chopped (find small slicers during winter and big fat meaty heirlooms during the summer). If using this sauce for a lasagna, make sure you squeeze the juice out of each tomato. This yields a thicker sauce. I don’t recommend Romas. Round slicers or any meaty heirloom works the best – they are lower in water content and have more tomato meet.
-A big handful of fresh basil (about 1 1/2 cups)
-1 teaspoon celtic sea salt
-1 tablespoon garlic granules (or 3 cloves fresh garlic, chopped)
-1 teaspoon Italian seasoning
-2 bay leaves
-Oil of choice
-Fresh ground pepper
How To
1. Coat the bottom of your favorite pot with oil, add onions and salt and saute for 3-5 minutes. Add celery and saute for additional 3-5 minutes.
2. Add chopped tomatoes, stir and add in garlic granules, Italian seasoning, and basil. Stir until well combined.
3. Mix in bay leaves and fresh ground pepper
4. Cook uncovered on med heat/low heat until tomatoes release their juice (about 10 minutes).
5. Cover and cook on low for 20 minutes.
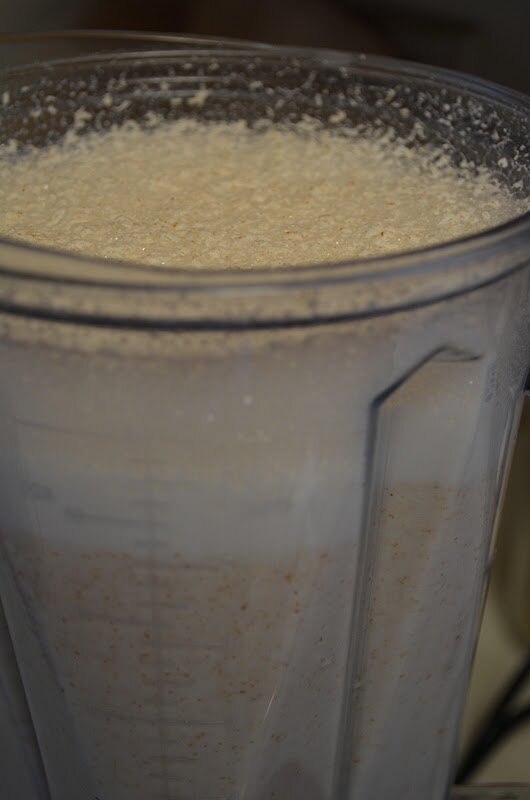
6. When tomatoes are cooked down, remove bay leaves and blend. I use an immersion blender. This yields a thick and slightly chunky sauce. For a smooth sauce, blend with high speed blender or any other counter blender.
Notes:
*If you are making this sauce for a lasagna, be sure to squeeze all the juice out of the tomatoes before you put them in the pot. A watery tomato sauce will not work well with lasagna.
*Here are a few other veggie suggestions for your marinara sauce.
-Red, green, or yellow bell pepper
-Zucchini
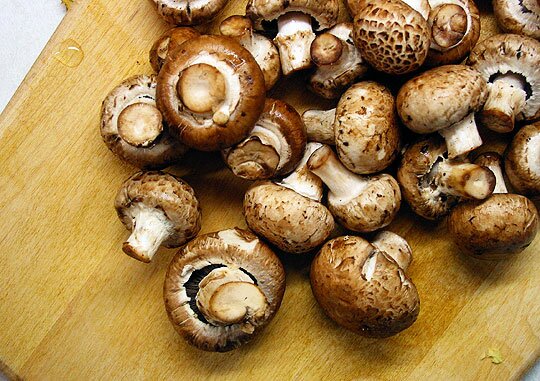
-Mushrooms
-Yellow winter squash
-Roasted cauliflower
-Carrots
-Celery root
-Fennel
-Roasted Parsnips
Notes:
*If you are making this sauce for a lasagna, be sure to squeeze all the juice out of the tomatoes before you put them in the pot. A watery tomato sauce will not work well with lasagna.
*Here are a few other veggie suggestions for your marinara sauce.
-Red, green, or yellow bell pepper
-Zucchini
-Mushrooms
-Yellow winter squash
-Roasted cauliflower
-Carrots
-Celery root
-Fennel
-Roasted Parsnips


*
I always say: start the week (or day) off on a funny note. I love this girl – she always makes me giggle! So awesome. I’ve said like 99% of this stuff at one point or another. Come on, you just have to laugh!!
Just Another Meatless Monday, Melt in your Mouth Mondays, Monday Mania, Ruth’s Real Food 101 (Mondays), Slightly Indulgent Tuesdays, Fat Tuesdays Real Food Wednesdays, Gluten-Free Wednesdays, , Whole Food Wednesdays, Wellness Weekend, Freaky Friday, Fresh Bites Fridays, Friday Food Fix


I need to find a good dairy-free option for marinara, so thanks for sharing this!
My pleasure Natalie!
Be Well,
–Amber
Amber, this recipe is totally awesome! I can only imagine how fantastic this sauce tastes–yum! I laughed over the video. I’ve said quite a few of those things myself! Last, can’t wait for that lasagna recipe, girl … bring it on.
xo,
Shirley
I love it, another no-can sauce! That video is hilarious. I’m guilty of saying at least 1/2 of those.
Thanks Sarah! Hooray for no waste!
It sounds great! Doesn’t look very tomato-y though; the red sauce look I mean. But it has all the right ingredients so am looking forward to trying it. I also think Spaghetti Squash would be a good veggie for it.
Hello,
Hope you enjoy making your own.
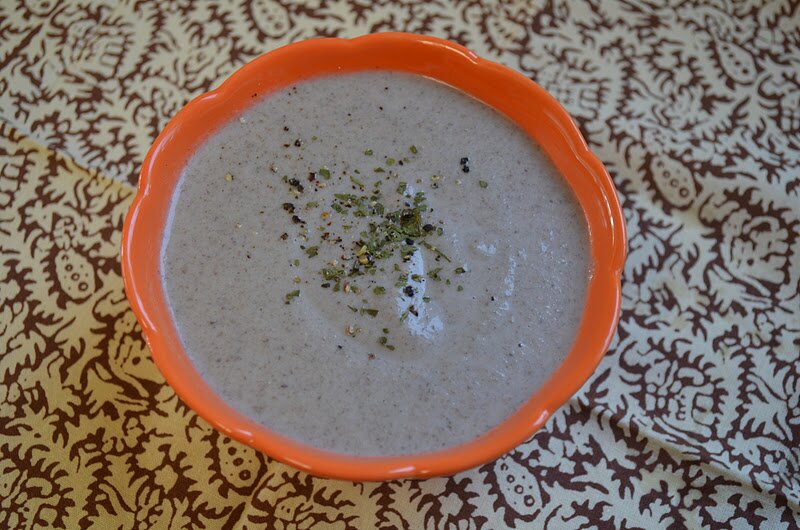
In the years I’ve been making marinara sauce, it has never been the bright red color of store bought. It’s always orange-ish. I don’t use tomato paste, perhaps that’s why. At any rate, still yummy and I prefer homemade to store bought. Just remember that the tomatoes you use will greatly impact the final product, so go for high quality, organic if you can! Spaghetti squash sounds interesting. It would definitely create a creamy sauce!
Be Well,
–Amber
Thanks, Amber. I hadn’t thought of that regarding color. Anyway, I was thinking of the spaghetti squash as a sub for the pasta — just a thought.
Ha ha! Got it. Yes, that would be interesting and a nice way to keep it grain free. You might also want to try zucchini pasta. So delish with a really nice texture and quite substantial (not mushy).
Happy experimenting!
–Amber
https://thetastyalternative.com/2011/11/raw-pasta-two-ways-with-two-delicious.html
Perfect timing Amber. I have been experimenting making my own marinara sauce at home since I found out “natural flavors” even in organic store bought pasta sauce can contain gluten. This sauce is so easy to make and made of such wonderful foods. Thanks for another great recipe!
Thanks Laura.
You’re so right. You just can’t trust store bought with gluten issues – so scary. Well I hope you enjoy this recipe. I’m sure you will jazz it up with your own rendition. Bell peppers are so yum in marinara! It’s fun to experiment. And hey, why not make a double batch (one for the freezer)!
Hugs,
–Amber
Thanks for the recipe – celery is one veggie I haven’t tried adding to marinara yet! Funny video too!
I hope it works for you! We enjoy it.
Be Well,
–Amber