
This week on Facebook I shared three videos (1, 2, & 3) featuring Elaine Gottchall speaking about gut health and the Specific Carbohydrate Diet (SCD). Elaine is the author of the popular and ground breaking book, Breaking the Vicious Cycle. Her book delineates the SCD and her research and science behind the nutrition, the mind/gut connection, and why it’s important to avoid certain foods when healing a compromised digestion. Here is more about this inspiring lady. I highly recommend this book to anyone looking into healing their gut and immune system. Personally, I’ve been on a healing journey since diagnosed with Crohn’s disease nine years ago, and just discovered this diet last year, crazy!
I learn more and more about my body each year. For example, it has become quite apparent that I am unable to digest nuts (even nuts that have been soaked and dehydrated). As you know, nut flour is a staple in the grain free diet. However, I eat nut flours very sparingly. Since I don’t use a lot of almond flour, I rely on coconut flour, which is one of the three ingredients in this recipe. These banana pancakes are 100% inspired by Elaine and her recipe suggestion in this video.
I just HAD to give it a try.

3-Ingredient Grain Free Banana Pancakes
The recipe is Paleo, SCD, and GAPS friendly.
Author: Recipe inspired by Elaine Gottchall.
Ingredients
- 8 ounces ripe peeled banana (a little more than 2 medium - please weigh the banana for accuracy)
- 2 large whole eggs + 1 egg white (my eggs weigh around 2.0 - 2.2 ounces each)
- 3 tablespoons + 1 teaspoon coconut flour*
- 2 to 3 teaspoons coconut oil (for cooking/frying)
Instructions
- Smash the bananas in a bowl with a fork until the mixture is wet and smooth.
- Add in the two whole eggs and the one egg white and whip with a fork until well incorporated.
- Add in the coconut flour and mix thoroughly. Allow to rest for 3 to 5 minutes.
- While the batter is resting, heat the coconut oil in a non-stick pan or cast iron skillet.
- Mix the batter again and add to the skillet in small scoops (I like doing two tablespoons at a time). Remember to cook on a low heat so the inside cooks through without burning the outside. Cook on each side for about 3 minutes. Cooking in oil like this takes a little skill. It's new to me, so it took me a few tries to get the heat right and to know when to flip. The less batter you use obviously, the easier they are to manage.
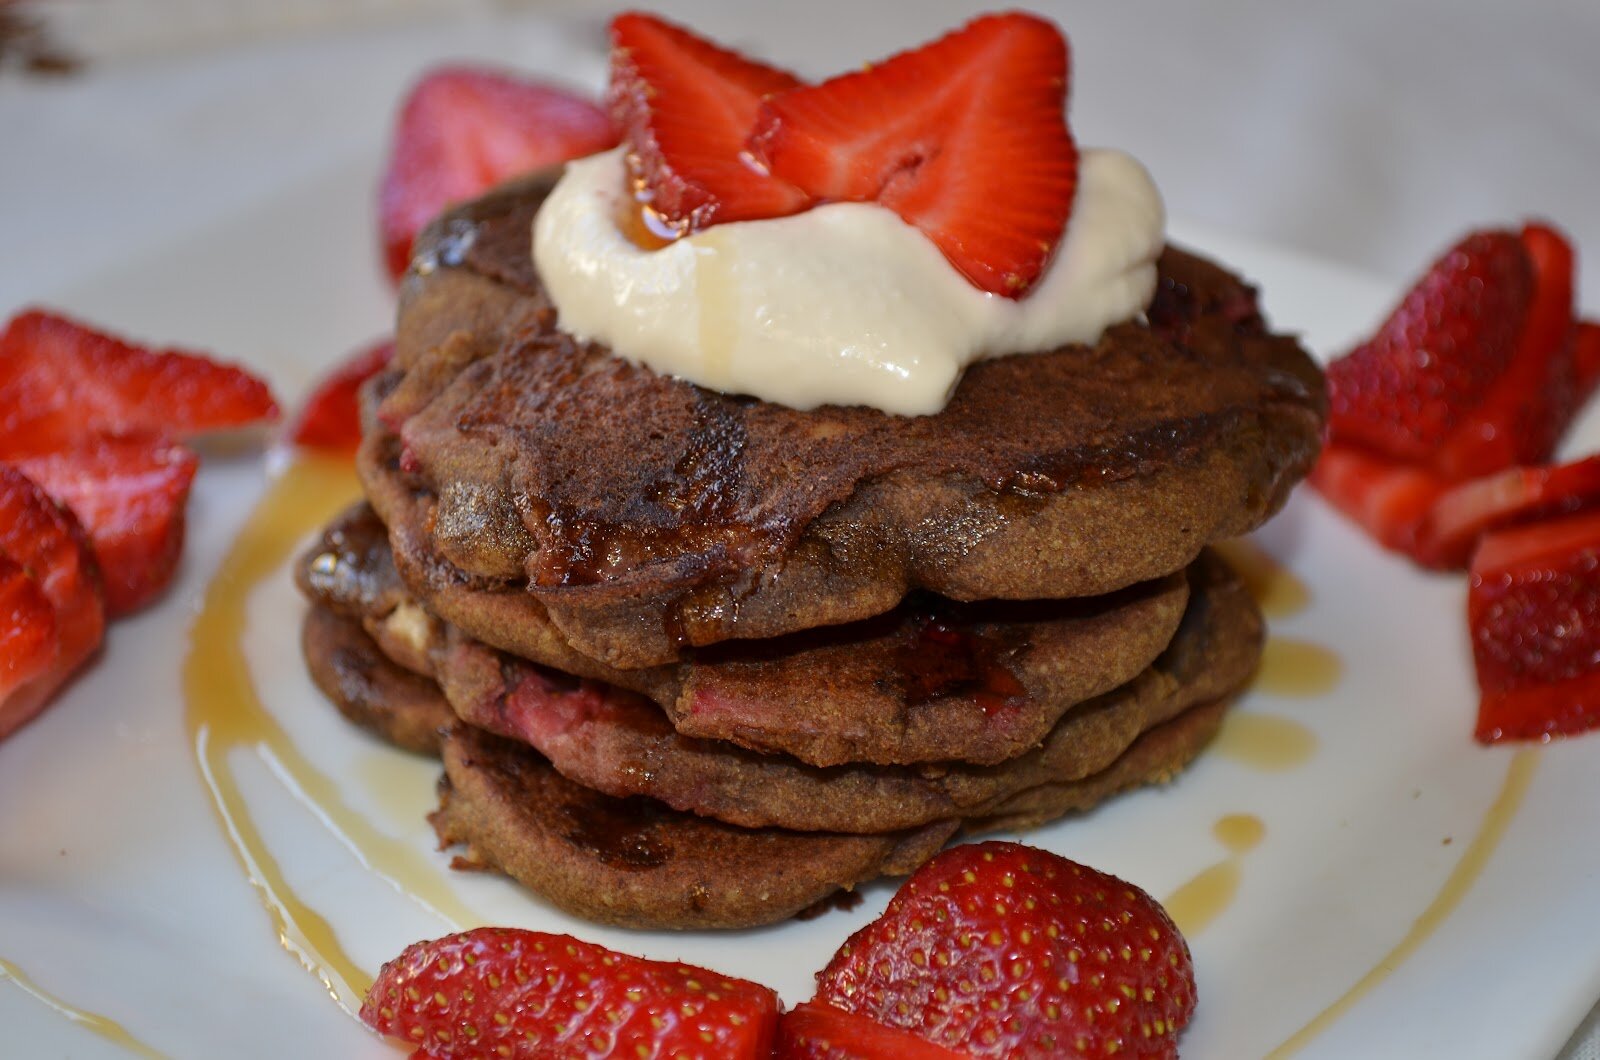
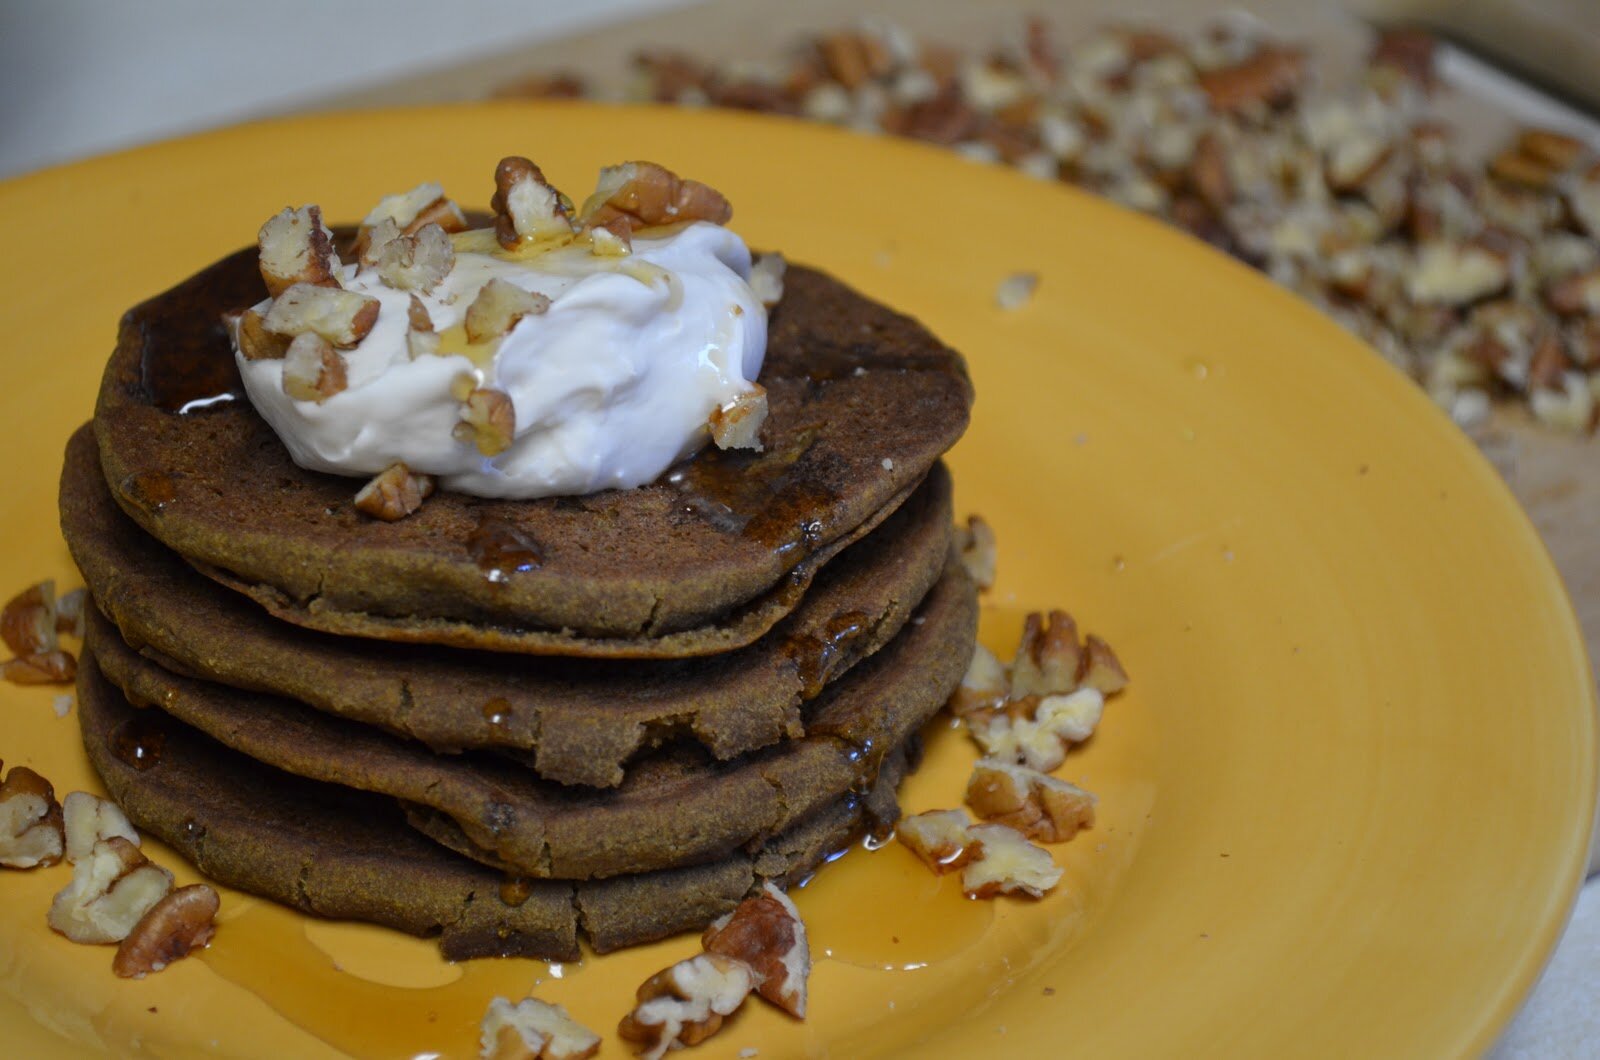
- Transfer to a plate and drizzle with honey!
Notes
*When measuring coconut flour: (1) scoop (2) level off.
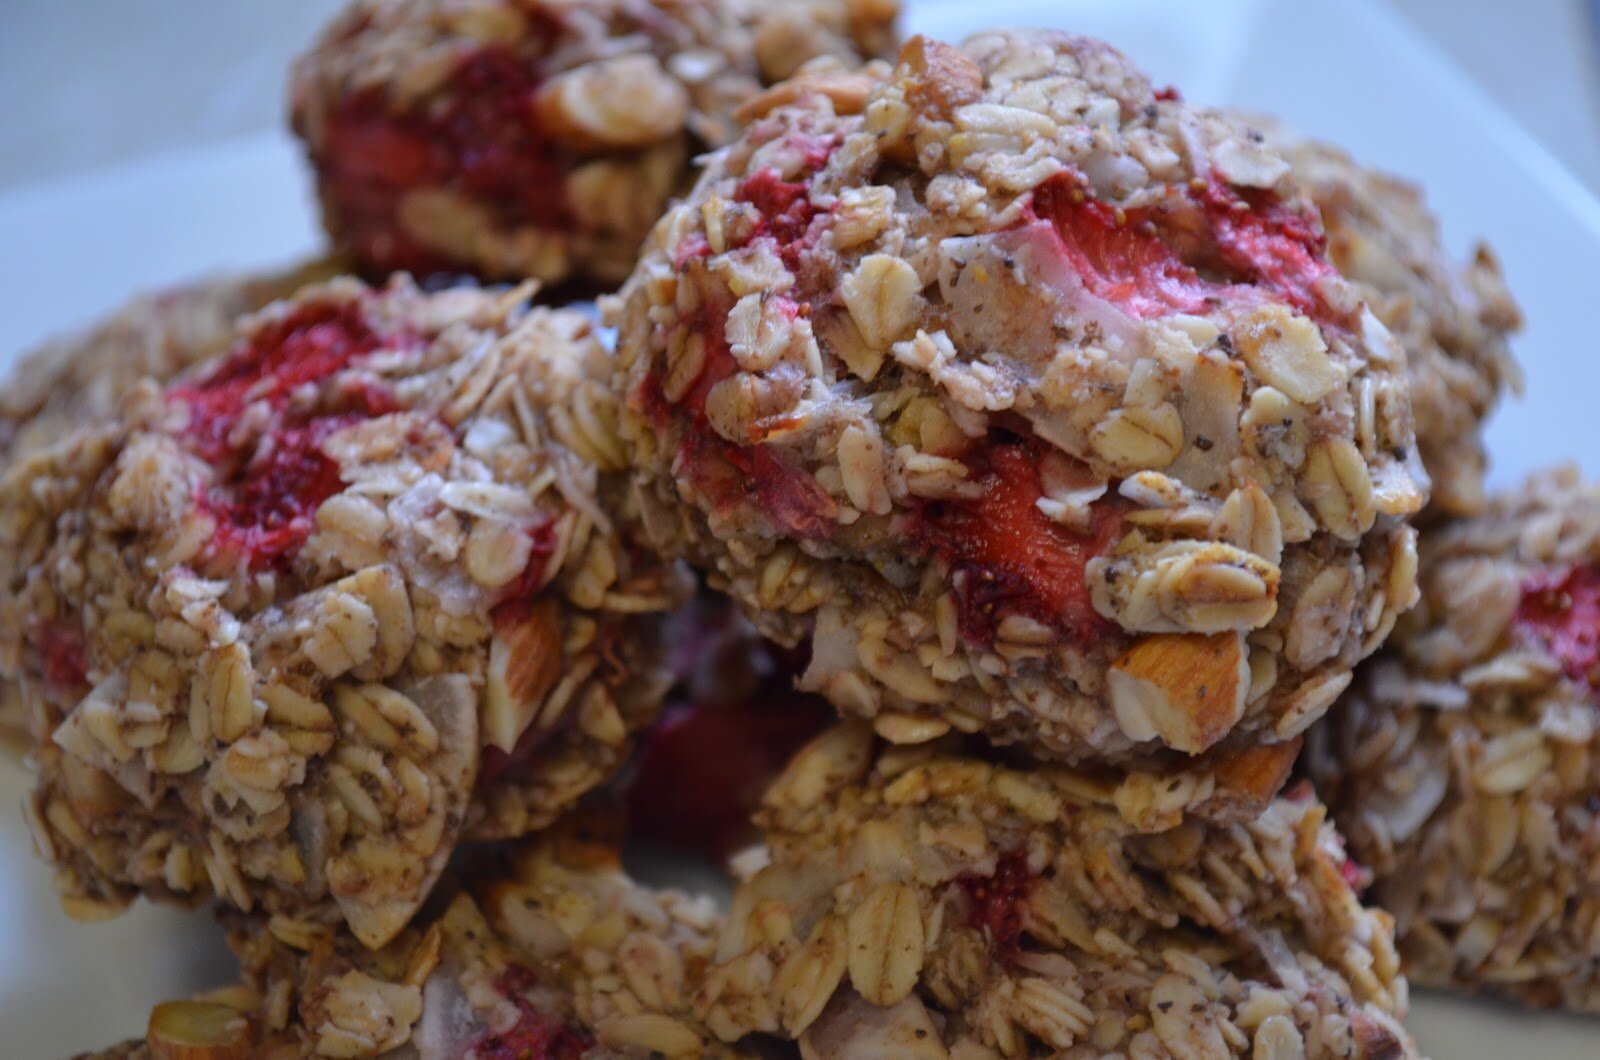
Smaller scoops are easier to manage (about 2 heaping tablespoons of batter each)
Smaller scoops are easier to manage (about 2 heaping tablespoons of batter each)


A drizzle of honey tops these puppies off perfectly

Shared on: Gluten Free Wednesdays, Real Food Wednesdays, Whole Foods Wednesdays, Whole Food Fridays, Fat Tuesday, Slightly Indulgent Tuesdays,


These look lovely! Not coming from a nation of pancake eaters, I tried making some when my son was home at Christmas – fail! I make wonderful ones with GF flours but I burn the ones with nut flours!
Love the pictures!
Vicky
Hi Vicky. I also burn those nut flour ones. I’ve burned a few of these banana ones too though. But I think I have it down now. The first batch is always a throw away…why is that!! Crazy.
MUST make this recipe! 3 ingredients…I’m sold 🙂
Thanks Laura. My kids LOVE these little pancakes. I had NO idea they would be such a hit, or if they would even taste good.
I’m made banana pancakes before and enjoyed them, but they didn’t include coconut flour. I bet these are wonderful, Amber! Thanks for sharing, and also for sharing the SCD info. I think that being on the SCD is life changing and lifesaving for many. I’m so glad you’re one of them!
Shirley
Thanks, Shirley! And I totally agree! 😉
I love nuts but have difficulties as well to digest it. Have to keep it in moderation. But I do love to indulge in my raw cakes with nuts… simply have to choose my occasions!! Like your blog. Filled with Amazing pics!!!
Thanks so much! 🙂
These look delicious! I’ll have to look into Elaine’s book and website! I’ve noticed I don’t feel well and get extremely tired every time I eat now but I haven’t figured out what it is 🙁 Thanks for the information and recipe, I’ve never made banana pancakes!
Hi Cassidy. I’m sorry to hear about your lethargy, especially when you eat. Very interesting. Whenever I am feeling really off I just go in and get some blood work done – just to make sure my levels are okay. I am also prone to anemia so I always check this too. I take a Vitamin B complex everyday and I really think it helps with my energy. Keep me posted on what you find out! 🙂
Yum. Does the flour impart a coconut flavor?
Hi Miachel,
Yes, it does. From the flour and the oil. 🙂
These look wonderful! I don’t actually have coconut flour s… do you think almond flour would work well?
Hi Elise,
Well, I don’t know about the almond flour. But please note that these can be made WITHOUT the coconut flour. I added it in to increase the fluff favor in the pancakes. But you can just use bananas and eggs. Error on the side of more banana and less egg, so the mixture it’s too runny. For example, maybe leave out the extra egg white. I would give it a try with the almond flour though, but I have no idea how much or how it will respond to frying. I do know these will work with no coconut flour, you just need to make sure the batter is thick, rather than runny. Please come back and let me know what you did and how it worked for you. Thanks.
Thanks! I did it with the almond flour and they turned out great! They do brown really quickly, so we cooked them at a lower temp. than regular pancakes.
These sound delicious! Do you know the carb content for a pancake? I’m a type 2 diabetic and have to be very careful of carbs. I know bananas are loaded with sugar-natural, but still sugar. Thanks.
Ethel
Hi Anonymous. No, sorry I do not know the carb content. But this is something you can probably research on line. I don’t know if bananas are radically different in their carb count with each day of aging (or if the carb count stays the same once they ripen). I say this because even if I figured out the carb content for the banana (say from my bananas ripening for 6 days), the carb count might be way more if yours ripen for, say, 8 days. You are right in that they are loaded with natural sugar. So I would not make this recipe if you are type 2 diabetic. But, that’s just my opinion. I am not a doctor. 🙂 Just be safe and be careful.
Would this work with egg replacer? Thanks, Nancy.
Not sure. Give it a try and let me know how it turns out. You could also try a chia or flax egg (1 T ground seed to 3 T water). Thanks.
These look delicious! I normally do a similar pancake with almond butter but I will have to try these with coconut flour!
Thanks Michelle. You will have to let me know how you like the coconut flour. 🙂
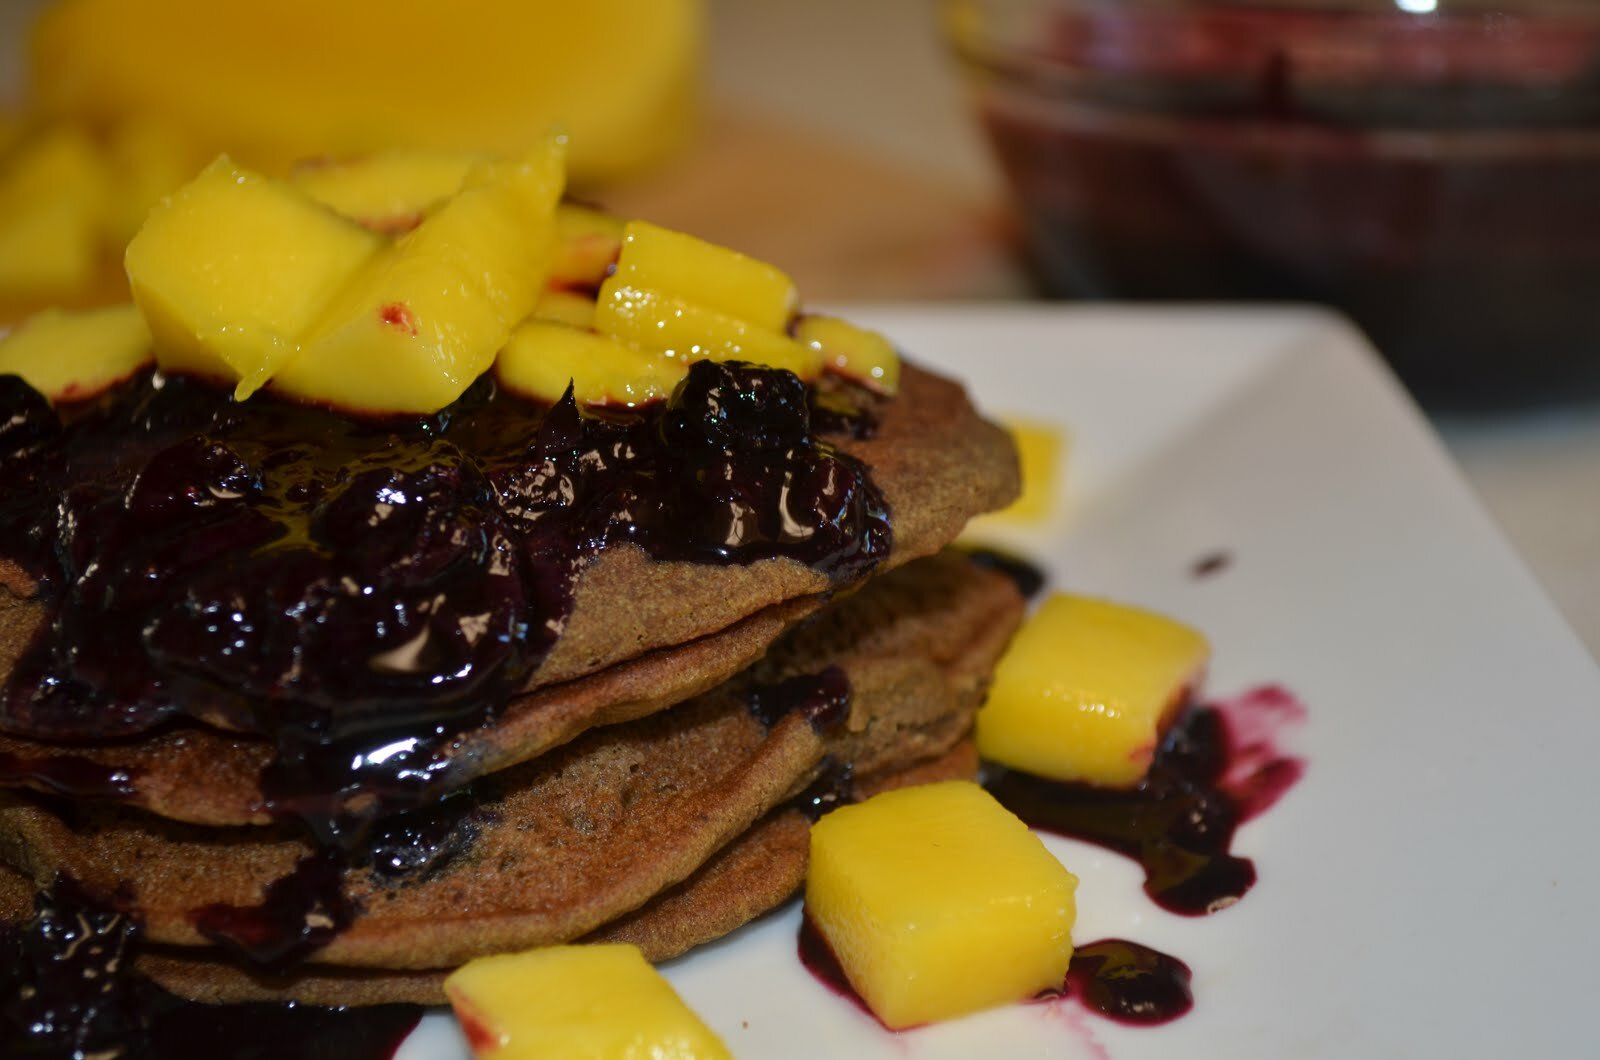
These were amazing! I made some coconut flour with the leftover pulp from making coconut milk, and these were my first foray into the world of coconut flour. Instead of honey, though, I blended a mango and an orange and used that for topping. Yum! Thanks for sharing!
Sounds absolutely delish! Thank you so much for sharing your version. I love how you made coconut flour from your leftover coconut milk. SOOO smart!!
I made these last night after a 7 mile run and they were so delish! Totally hit the spot. I used plantains instead of regular bananas, and added a bit of cinnamon, vanilla, cloves, and ground ginger. I kept the size pretty small and didn’t have any problems with them burning or even falling apart. I also used my Ninja blender to blend the ingredients instead of trying to mash them by hand (gotta love technology). Muuuch easier and efficient! I would absolutely make these again! Thanks for the fantastic idea.
Hi Rebecca,
Wow, thank you for your awesome comment. 🙂
What great ideas. I love it when readers like you take a moment to drop a note and share their variations and methods. Your version sounds delicious. And I love that you used plantains. I have yet to try those. 🙂
Be Well,
–Amber
[…] almond flour and coconut oil – try this recipe or this one – or attempt an even easier 3-ingredient pancake that’s super light and quick to […]