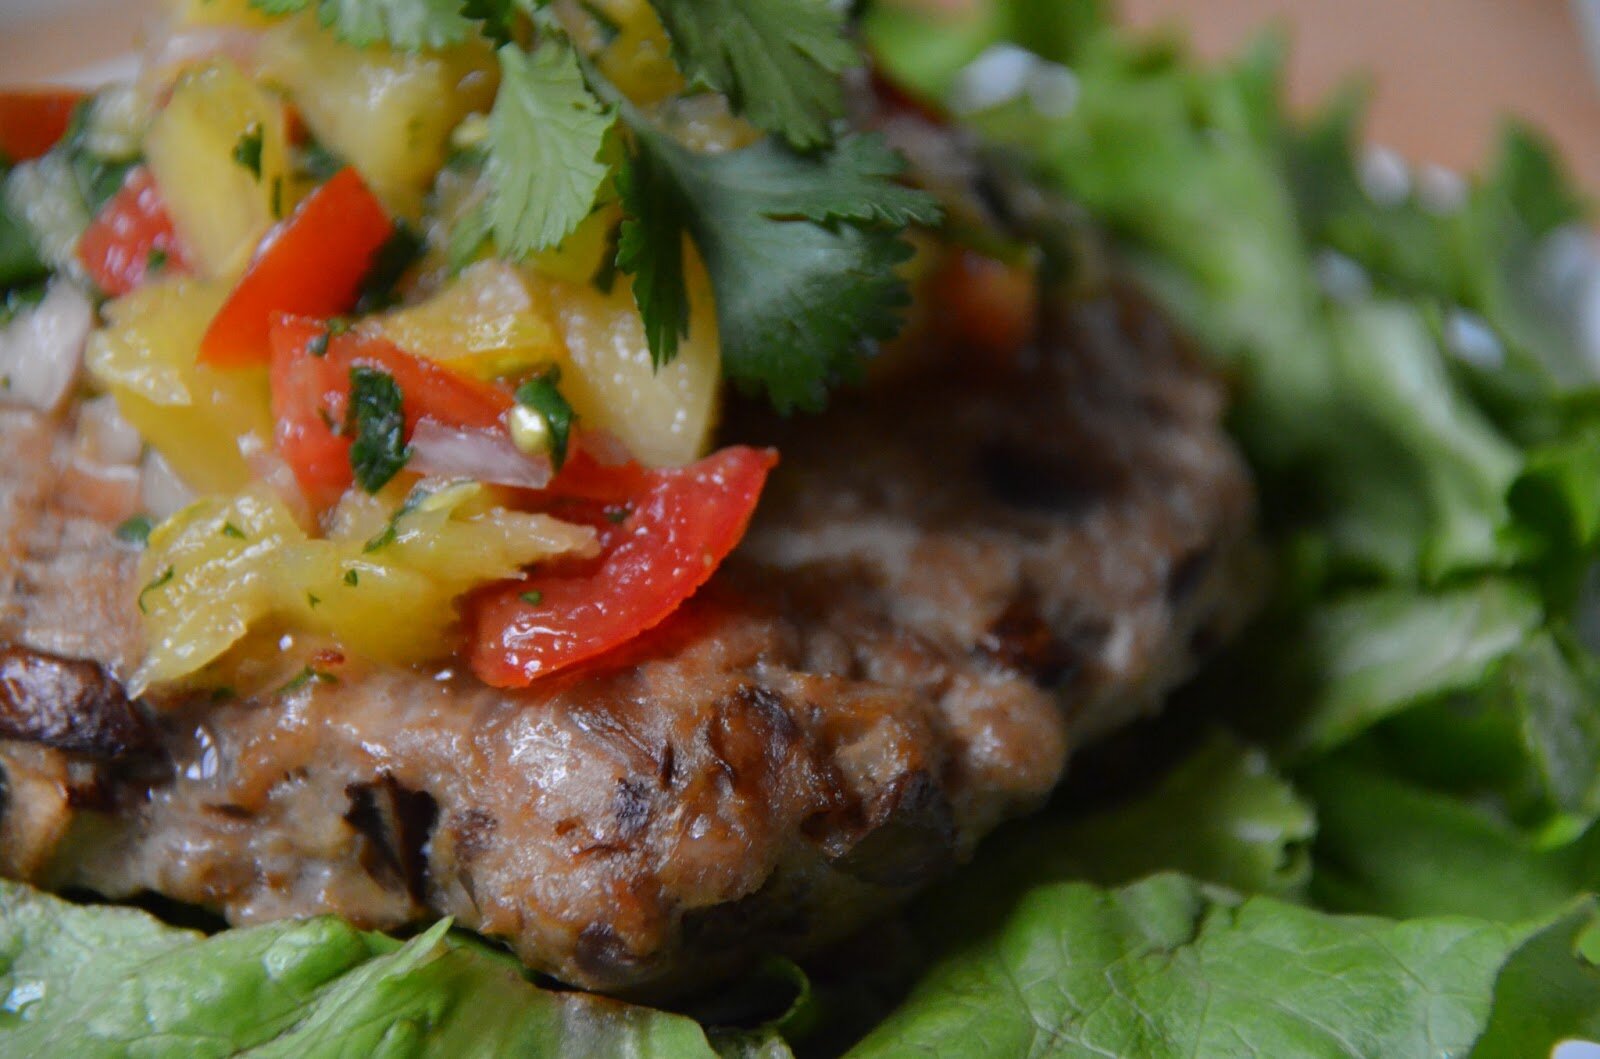
I don’t know about you, but I am always on the hunt for dinner ideas. I like to keep things fresh and different. For one, it helps me stay motivated to cook the dinner, and two, I think variety is important. I made this last week for dinner and everyone loved it. For me, the cashew cream sauce really made the dish and the overall favors were quite pleasing. The sweet butternut squash is nicely complimented by the sweet and tart tomatoes. The savory chicken adds in a nice texture and the fresh herbs with their earthy, fresh taste. The sauce is lemony with just the right amount of garlic, light and so creamy. You can add as much or as little sauce as you like…or none at all. It’s sort of like an Alfredo sauce, but it won’t kill your gut. Vegetarians can leave out the chicken and add more veggies or white beans would be great.
Salud.

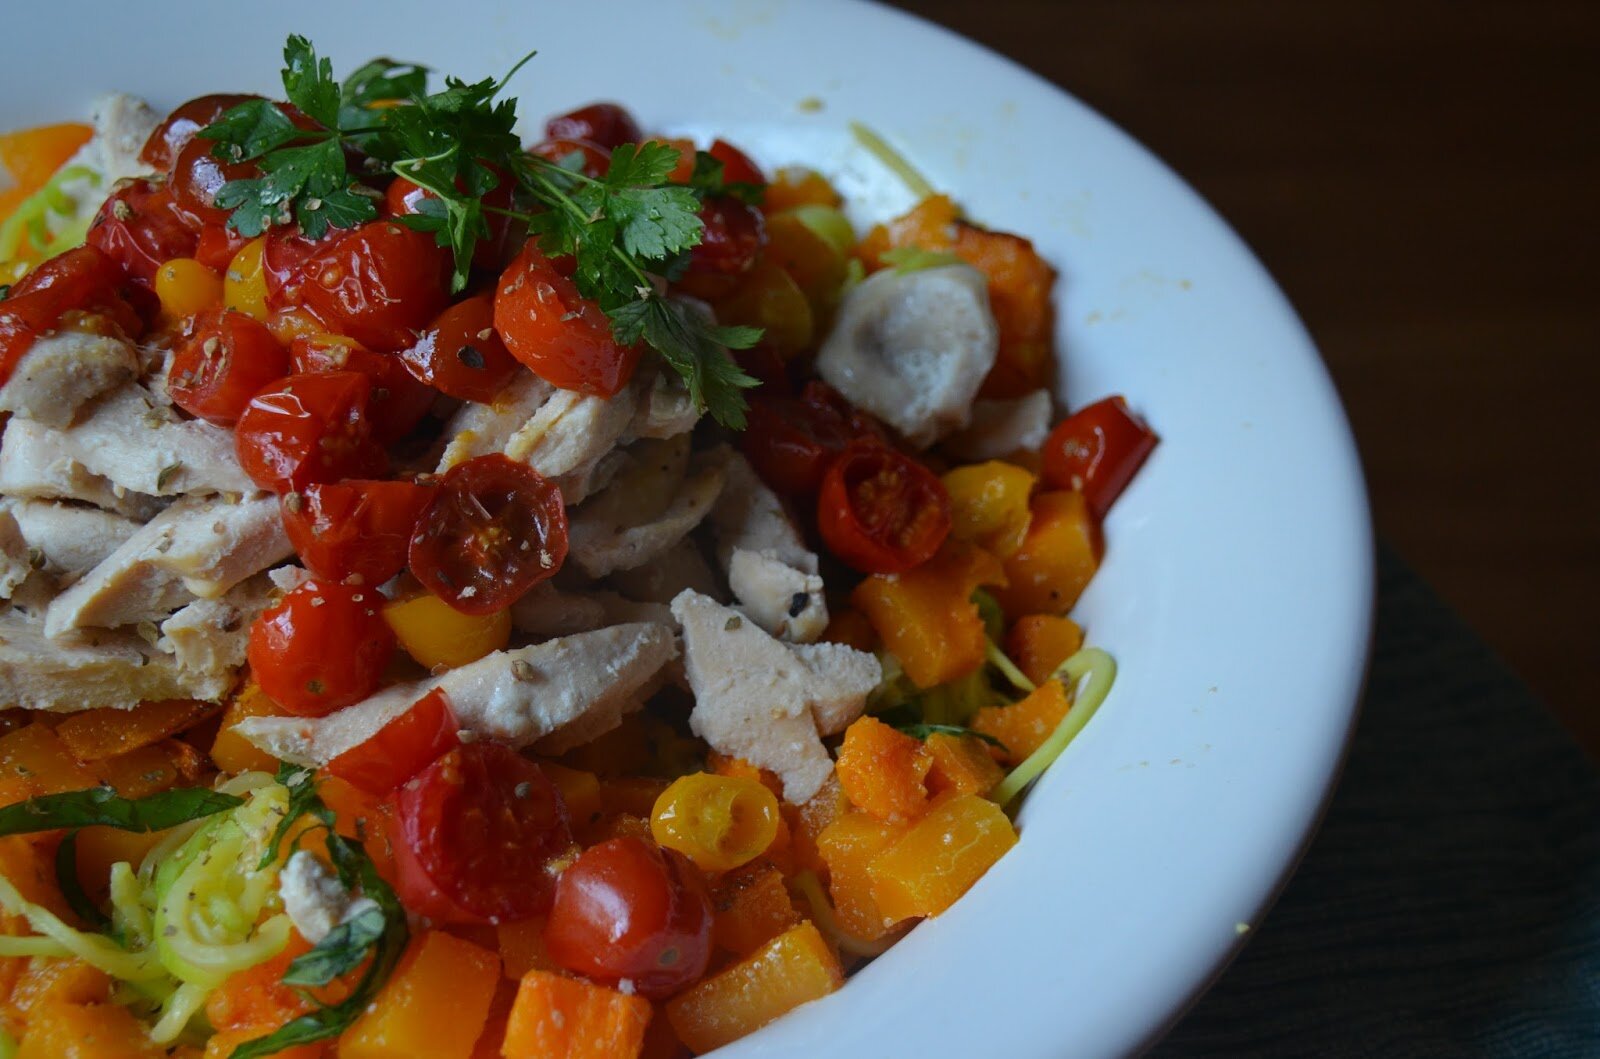
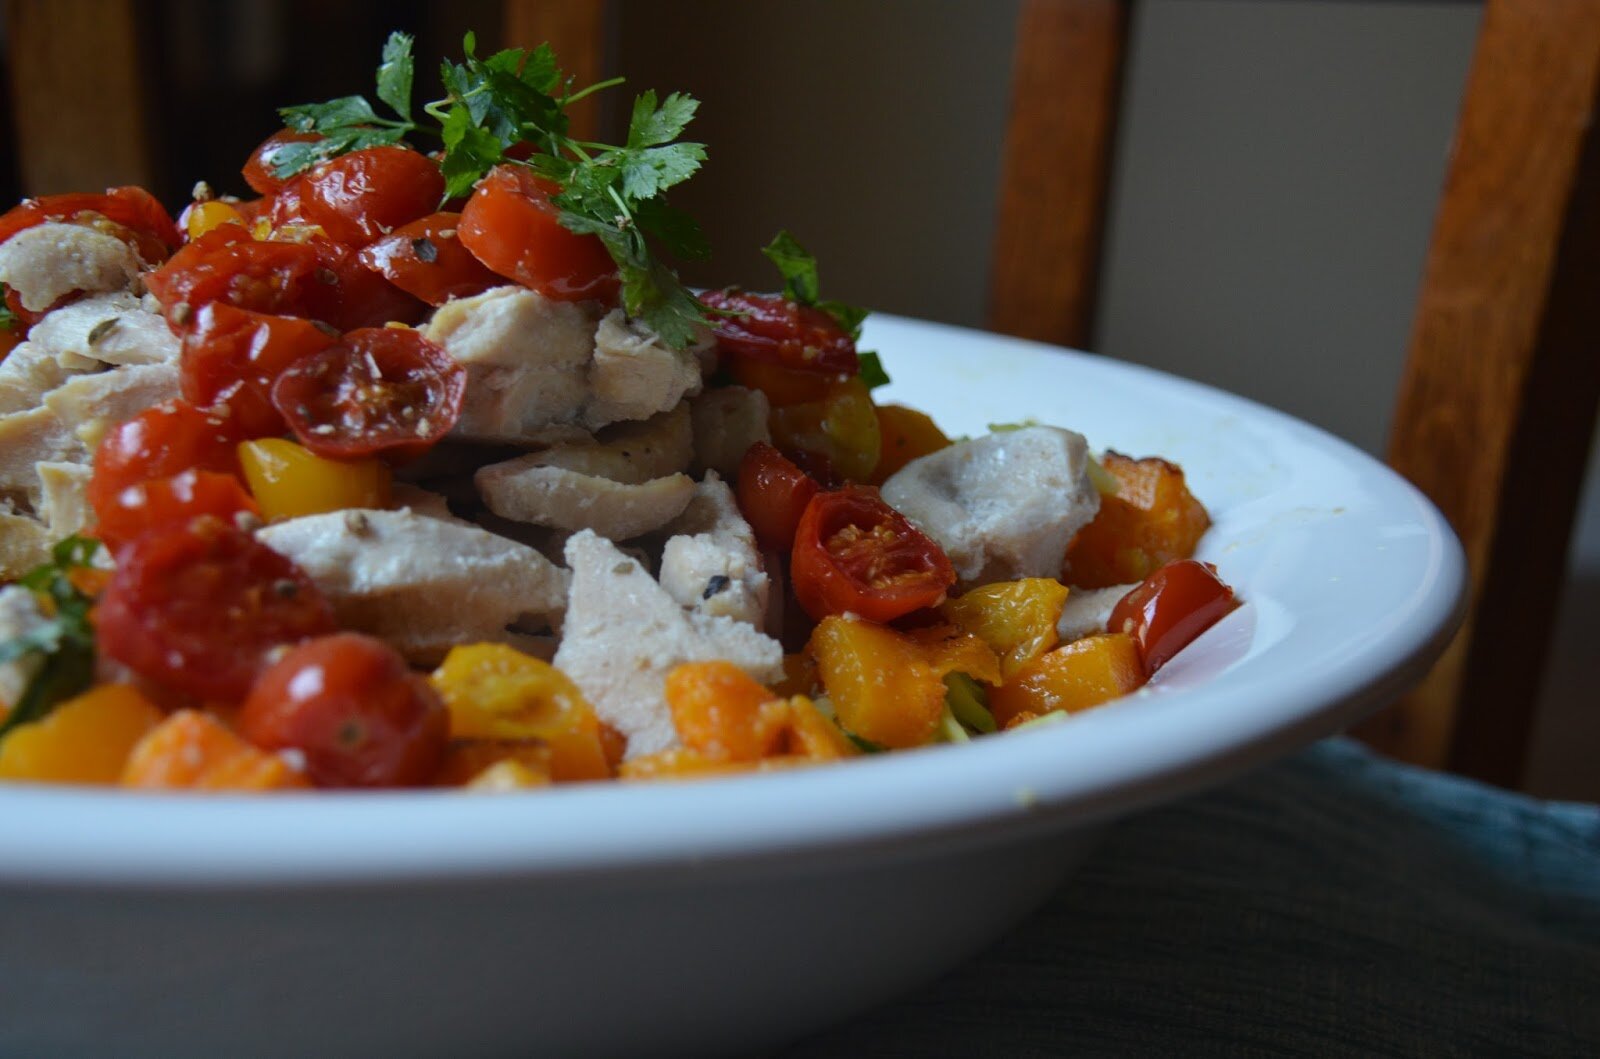
Zughetti with Roasted Butternut Squash, Roasted Cherry Tomatoes and Baked Chicken Topped with Lemon Garlic Cashew Sauce
(SCD, GAPS, Paleo)
Ingredients:
Zughetti
-1 medium butternut squash
-2 1/2 cups cherry tomatoes
-2 pounds chicken
-3 1/2 pounds zucchini
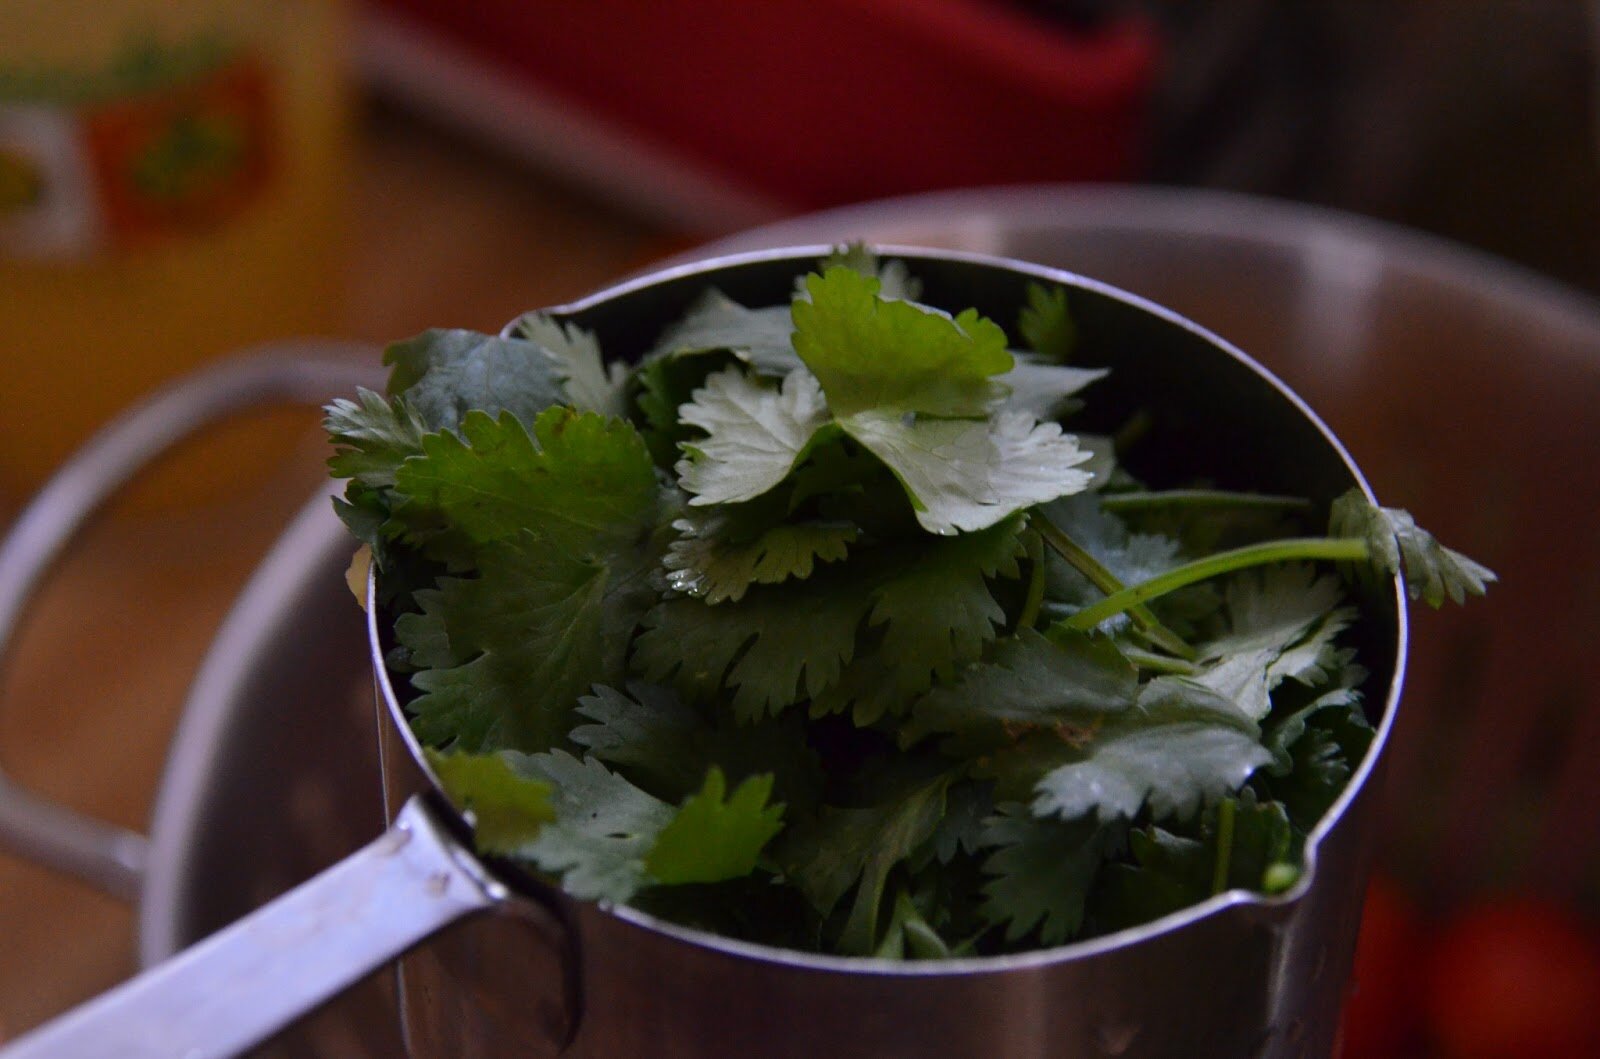
-A handful of fresh parsley and/or basil
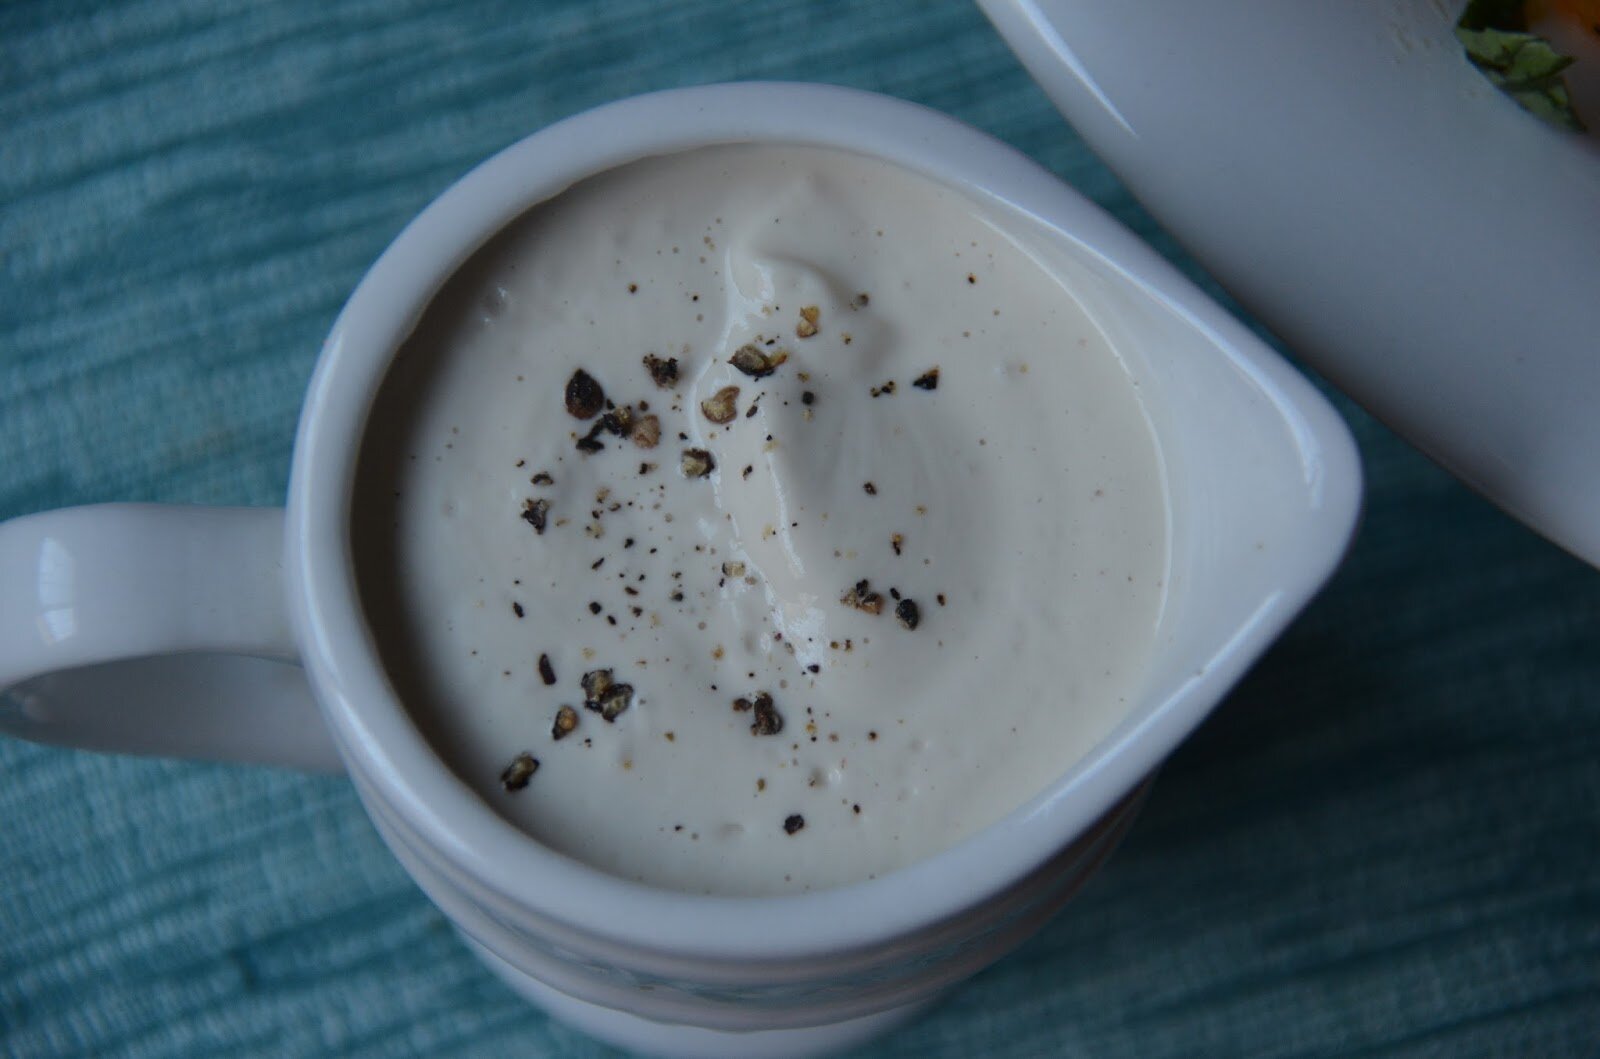
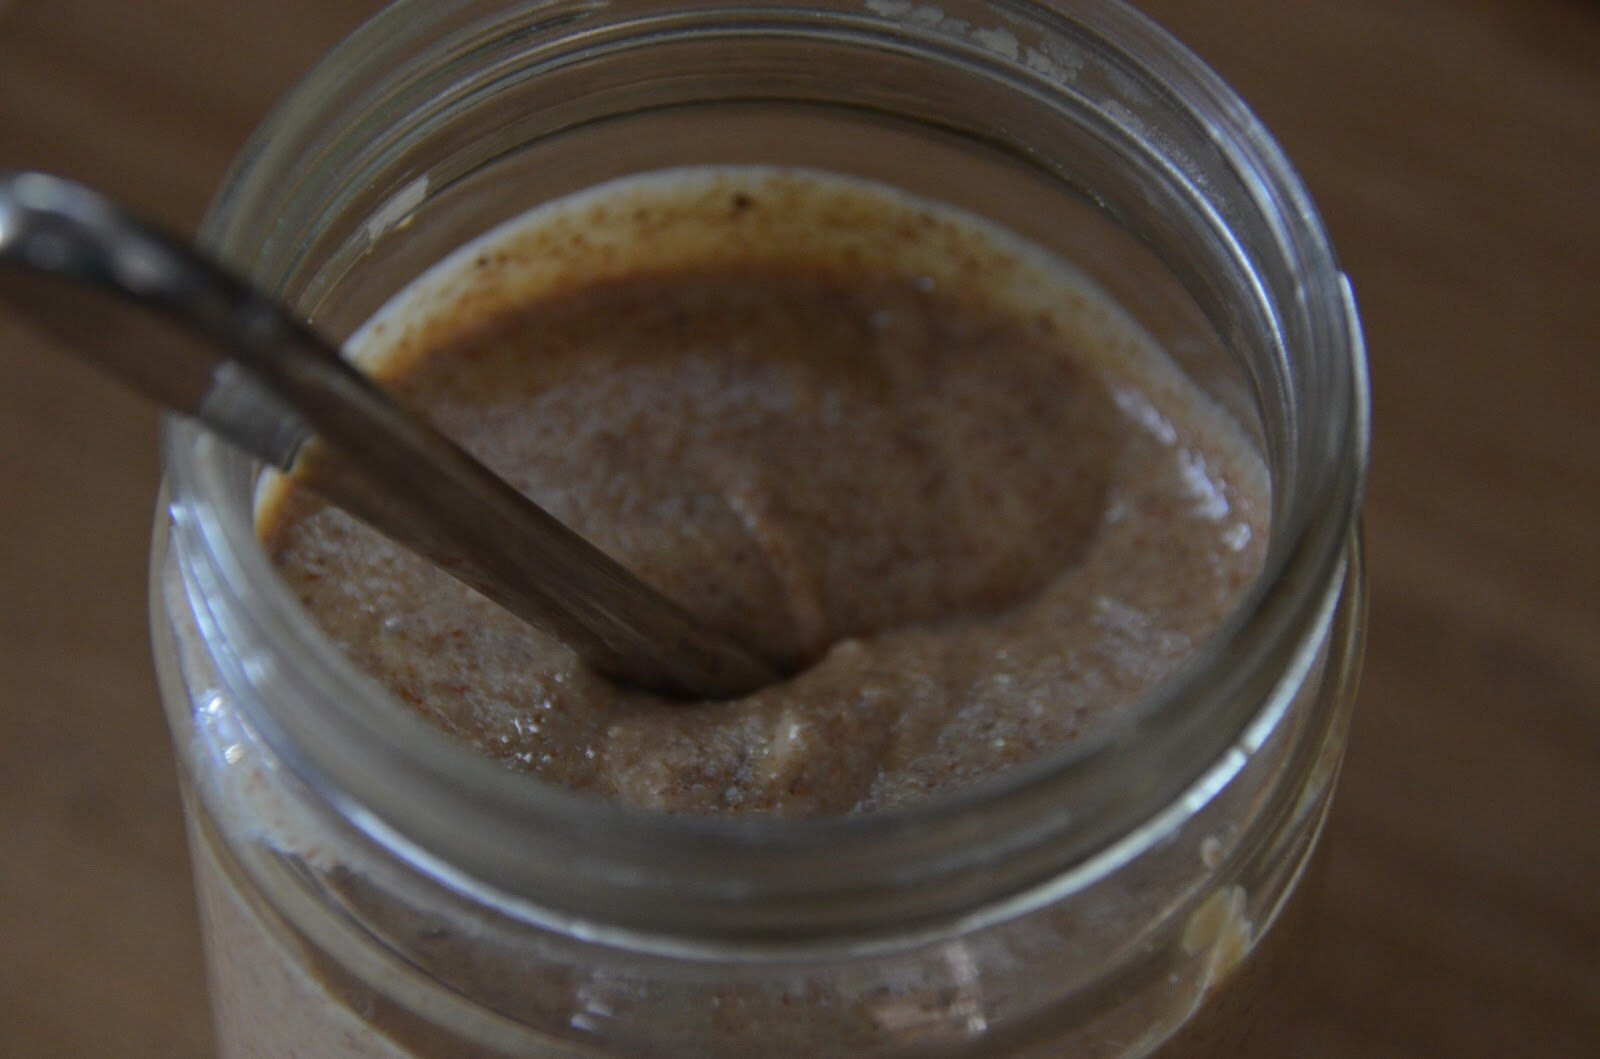
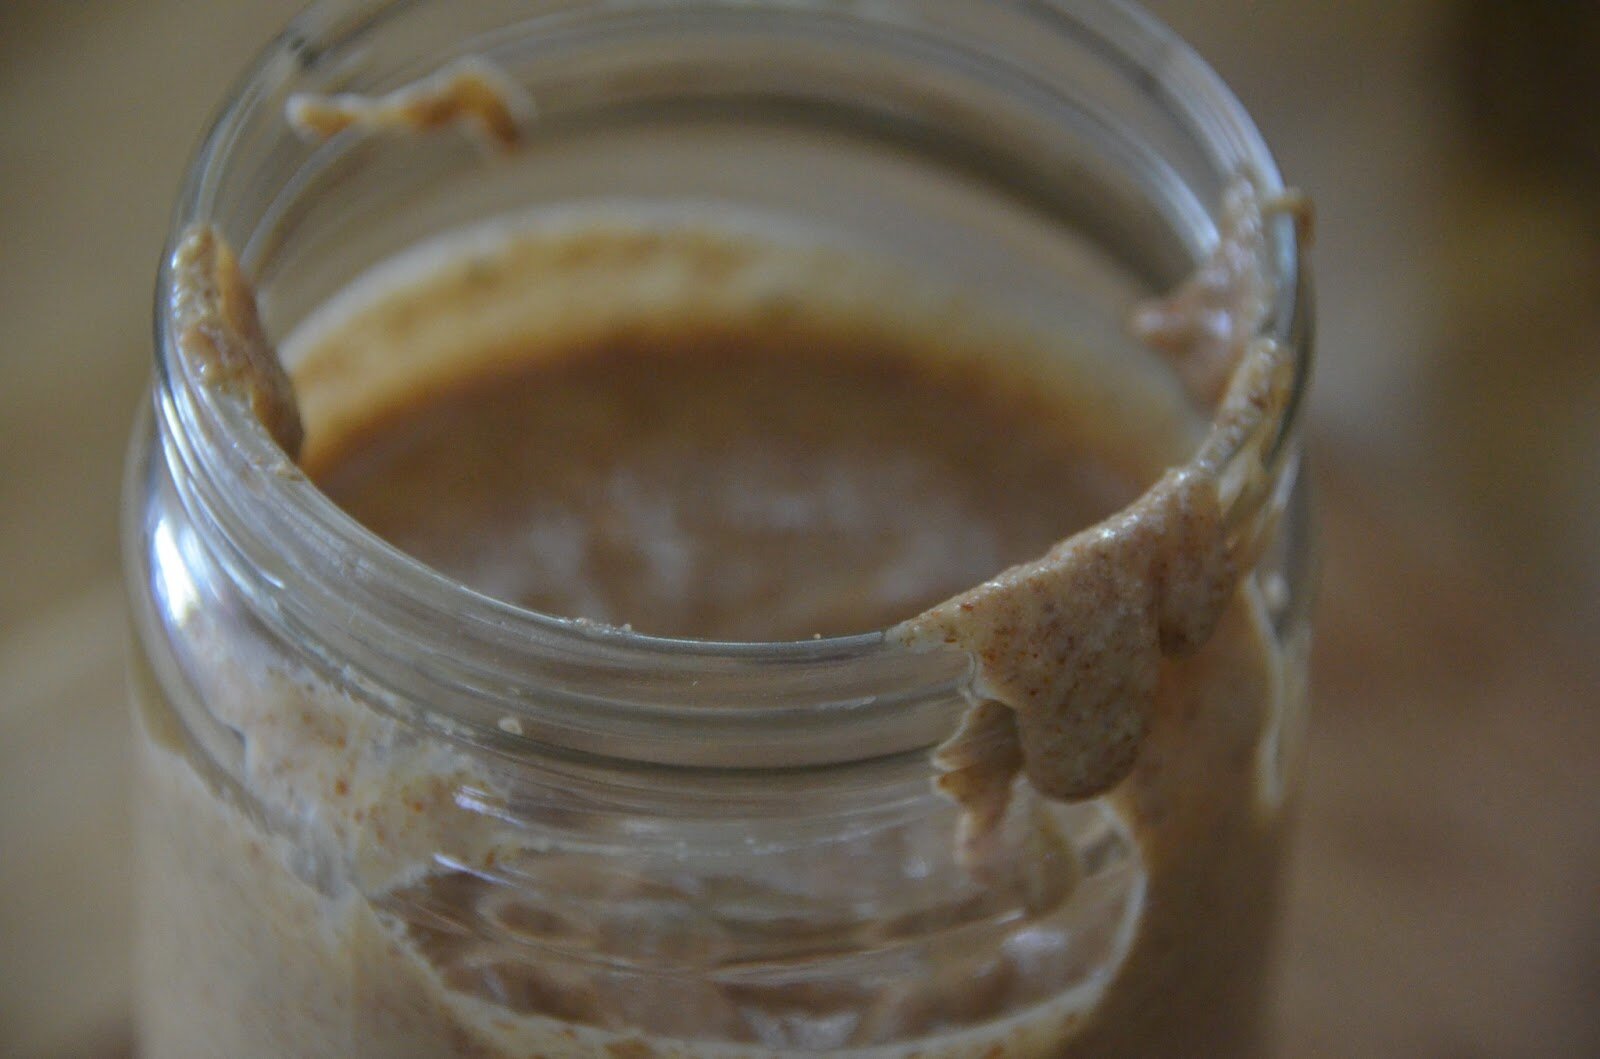
Lemon Garlic Cashew Cream Sauce
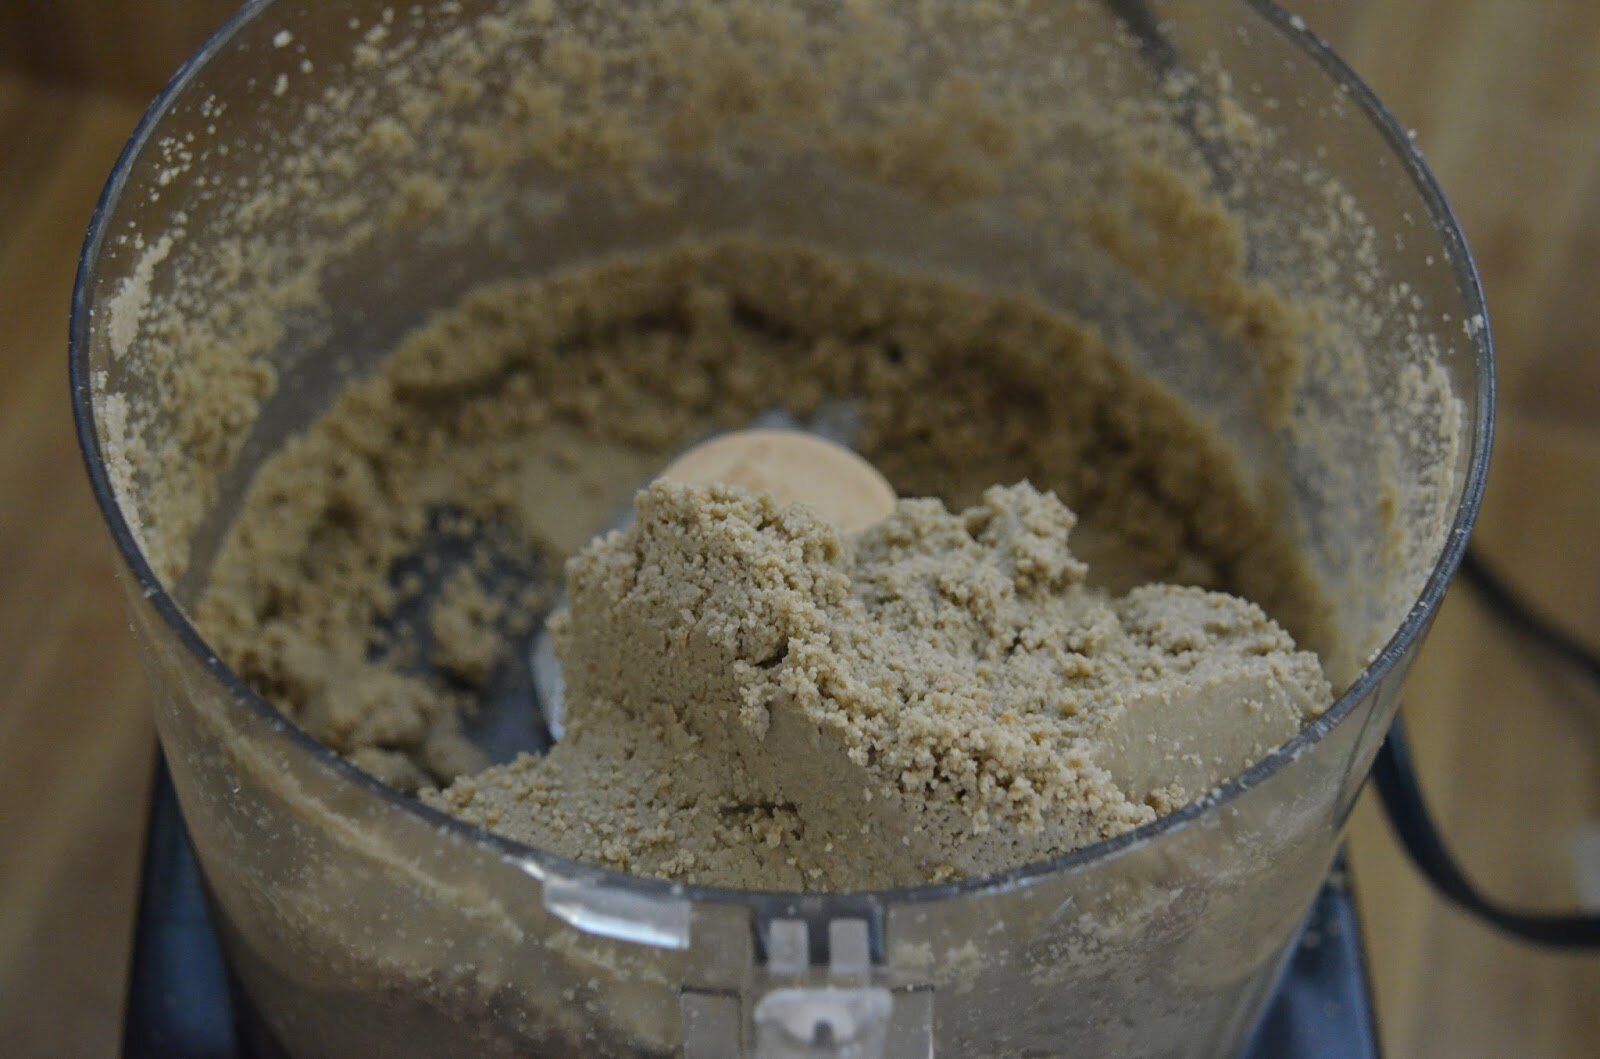
-2 cups cashews soaked 4 – 6 hours
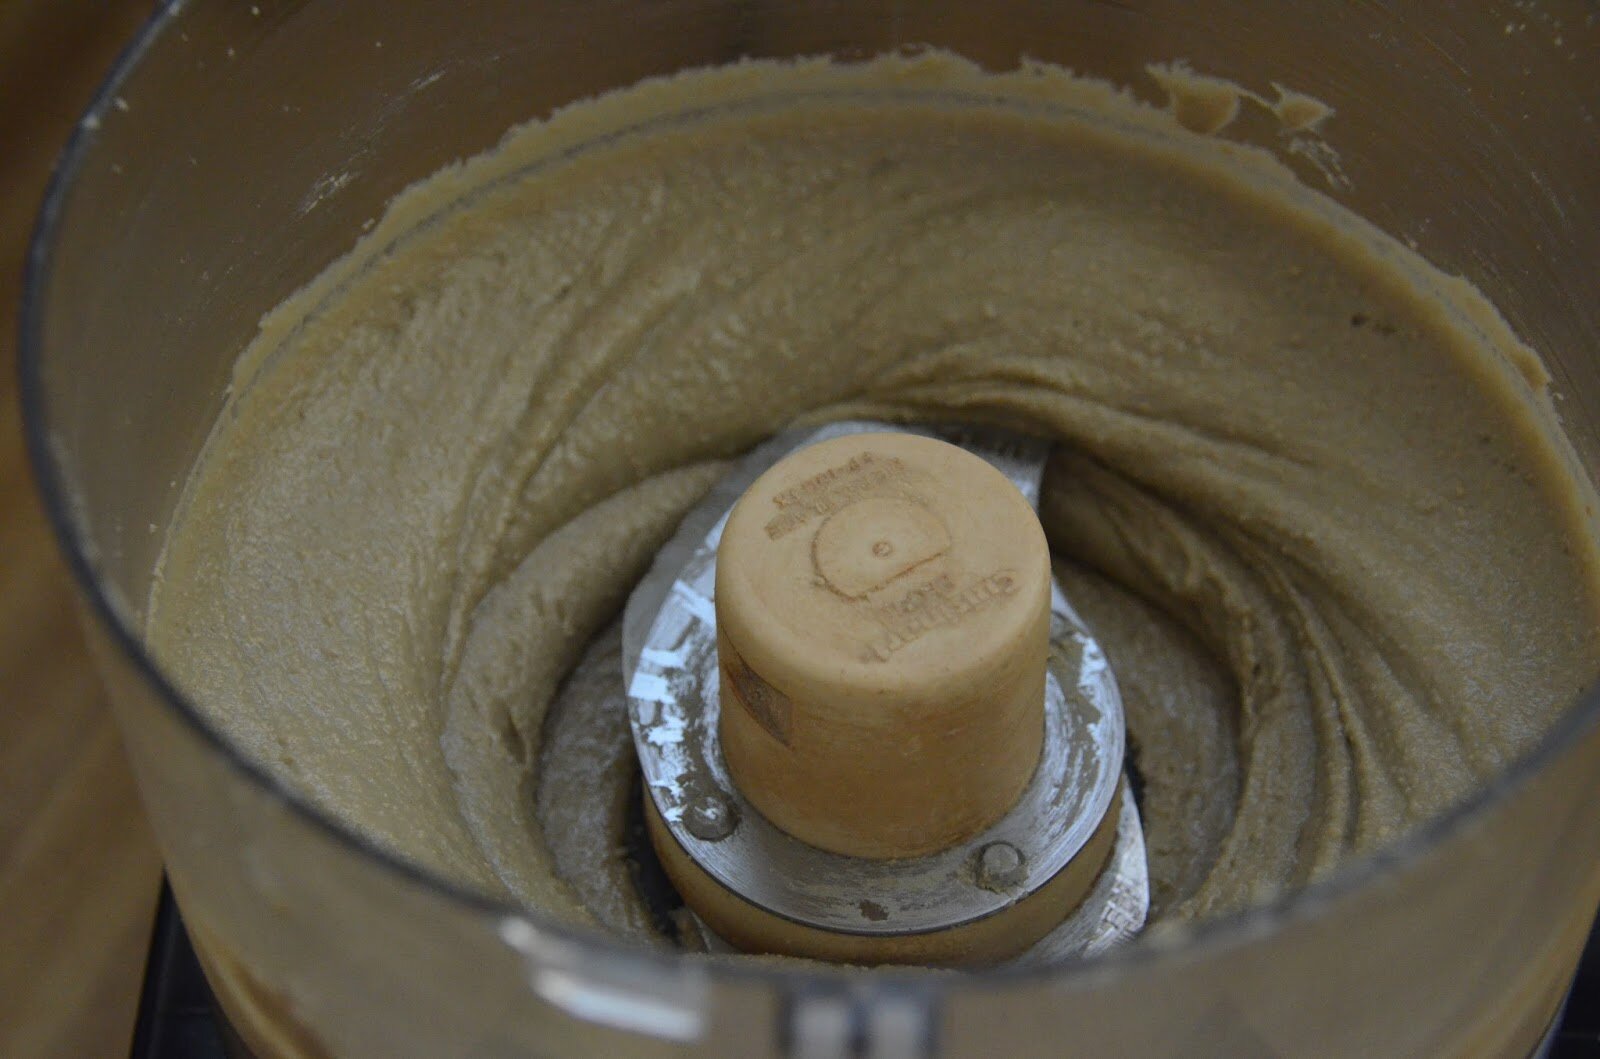
-1 1/4 to 1 1/2 cups filtered water
-1/2 teaspoon salt (or to taste)
-2 teaspoons garlic granules (or 1 fresh clove)
-1/3 cup fresh squeezed lemon juice
How To:
1. Preheat the oven to 400.
2. Prepare the butternut squash by peeling and cubing. Add to a baking dish with 1 1/2 tablespoons of oil and 2 teaspoons garlic granules (optional). Set aside.
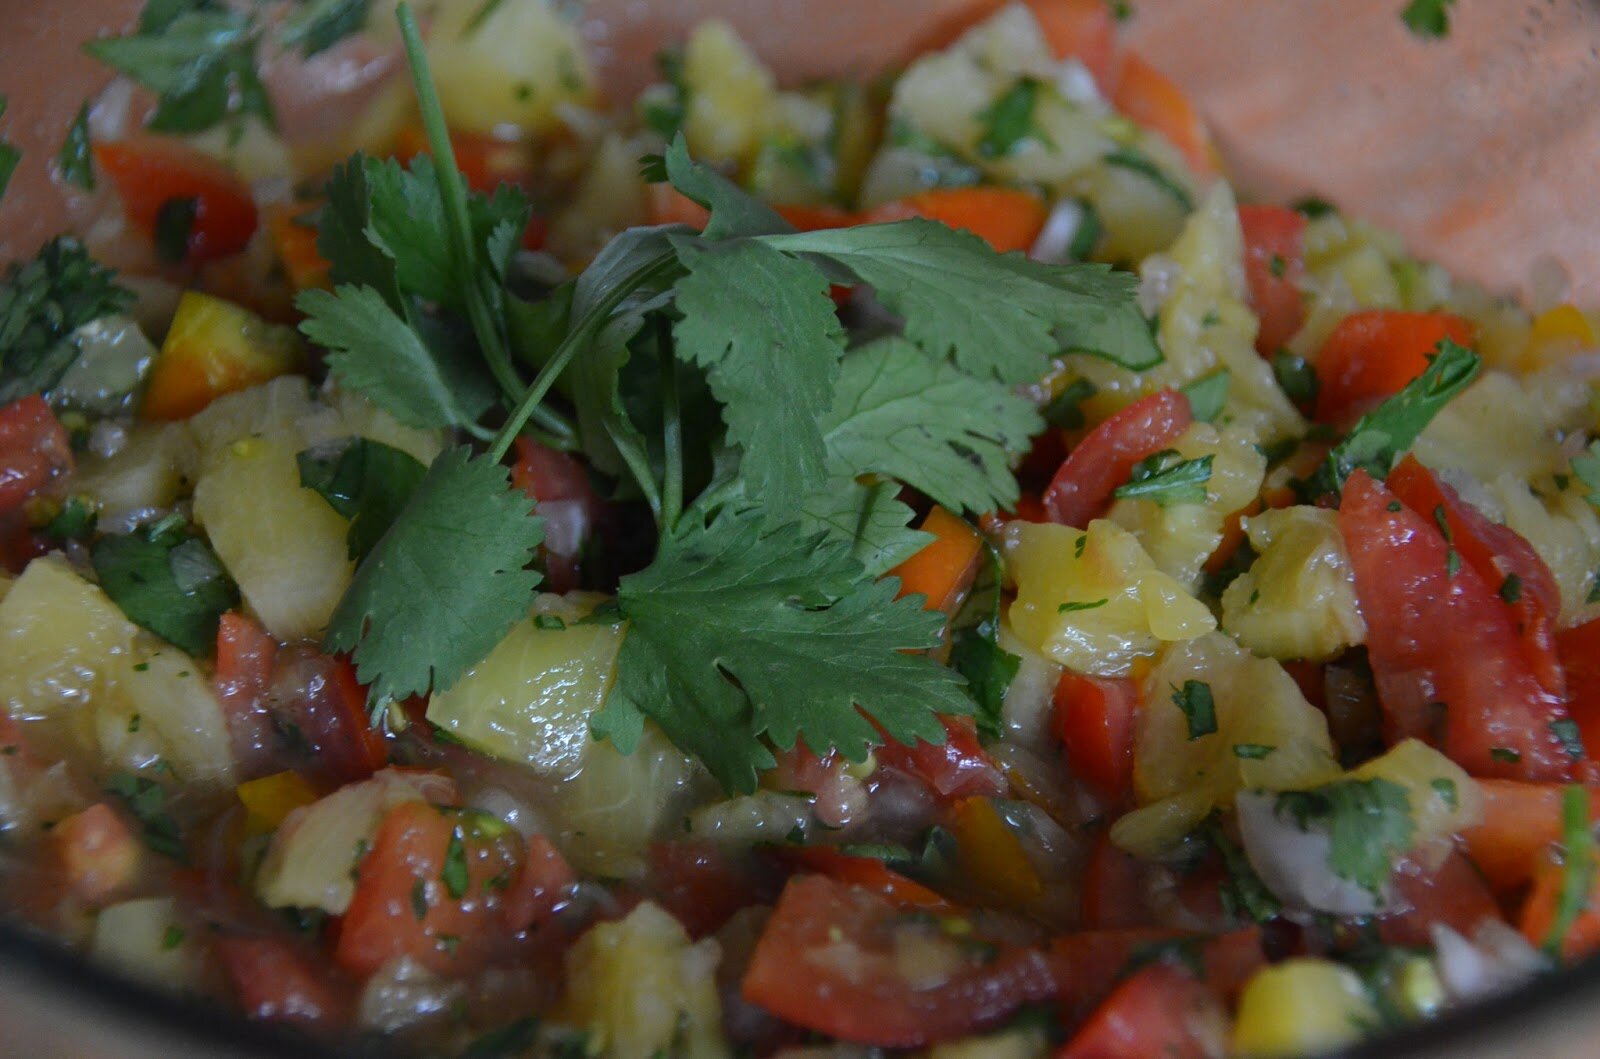
3. Wash the cherry tomatoes and cut them in half. Place them open face in a baking dish. Sprinkle with oil and salt. Set aside.
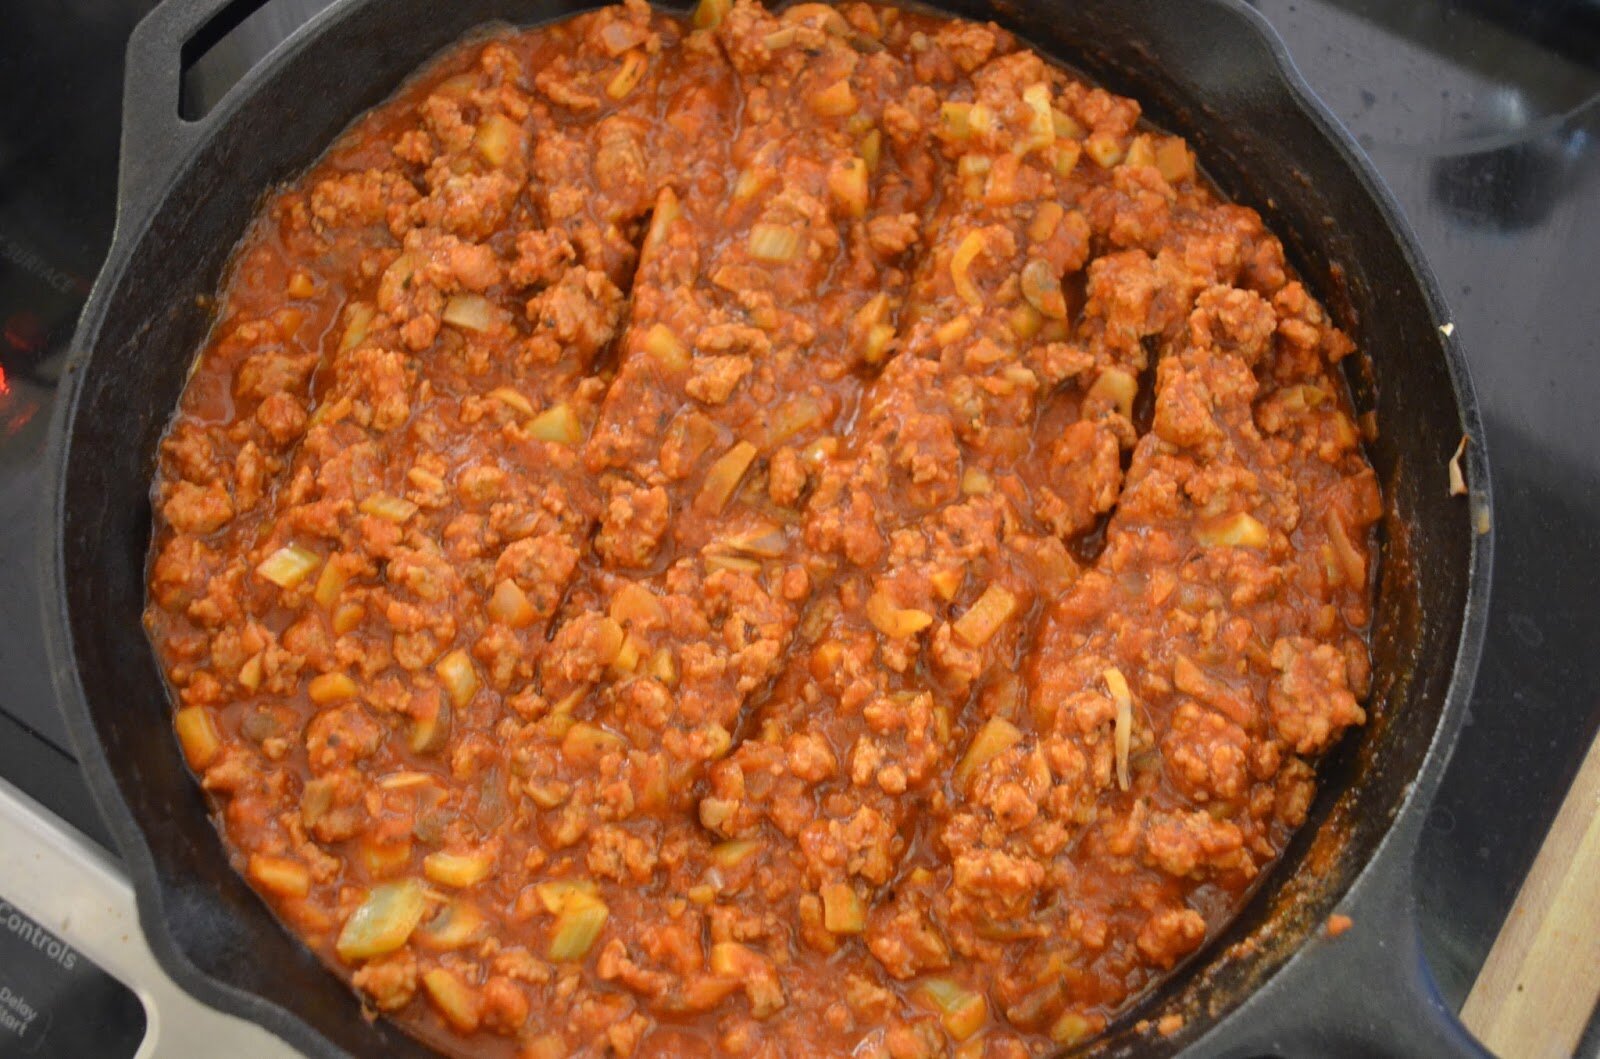
4. Add the chicken to a baking dish. Add in salt, onion granules and garlic granules (to your flavor preference, I do about 1 1/2 teaspoons of each). Add in 1/4 cup water. Drizzle with 2 tablespoons of oil. Set side.
5. When the oven comes to temp, put everything into the oven together (the butternut, tomatoes, and chicken). Set timer for 30 minutes. This should be enough time for the tomatoes and chicken to finish (check for chicken’s internal temp to be 180 degrees or more). The butternut squash takes about 45 minutes. So set the timer for an extra 15.
6. While everything is roasting and baking, make your zughetti and the cashew cream sauce.
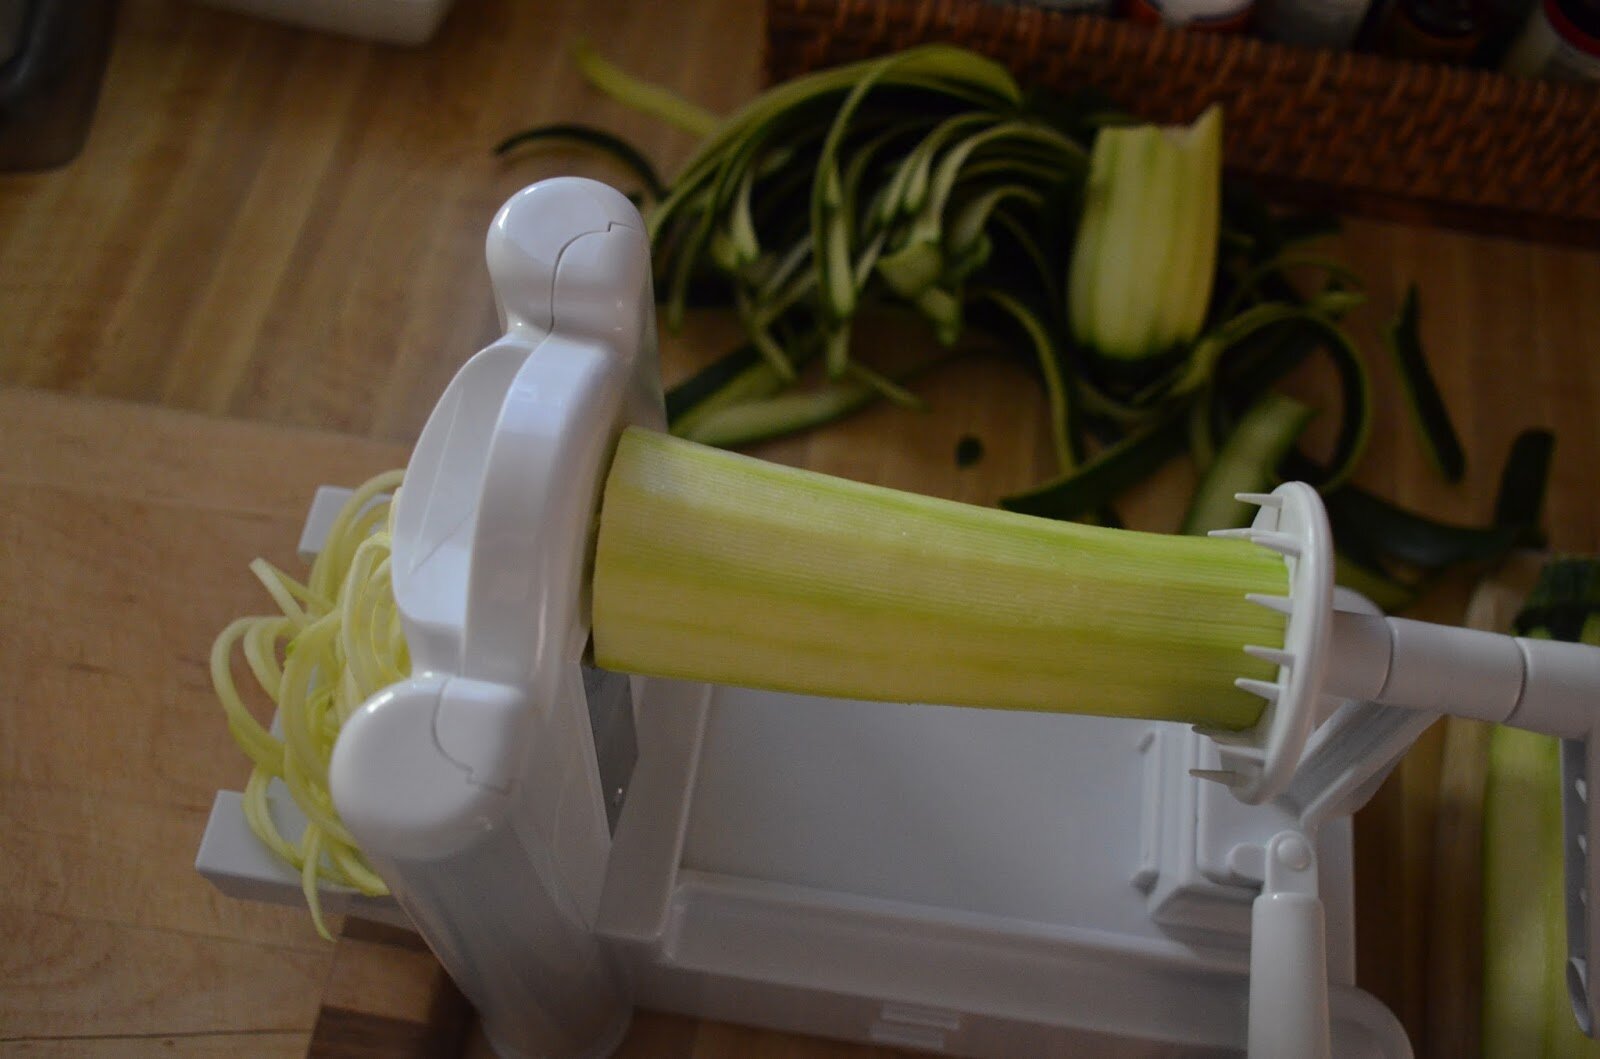
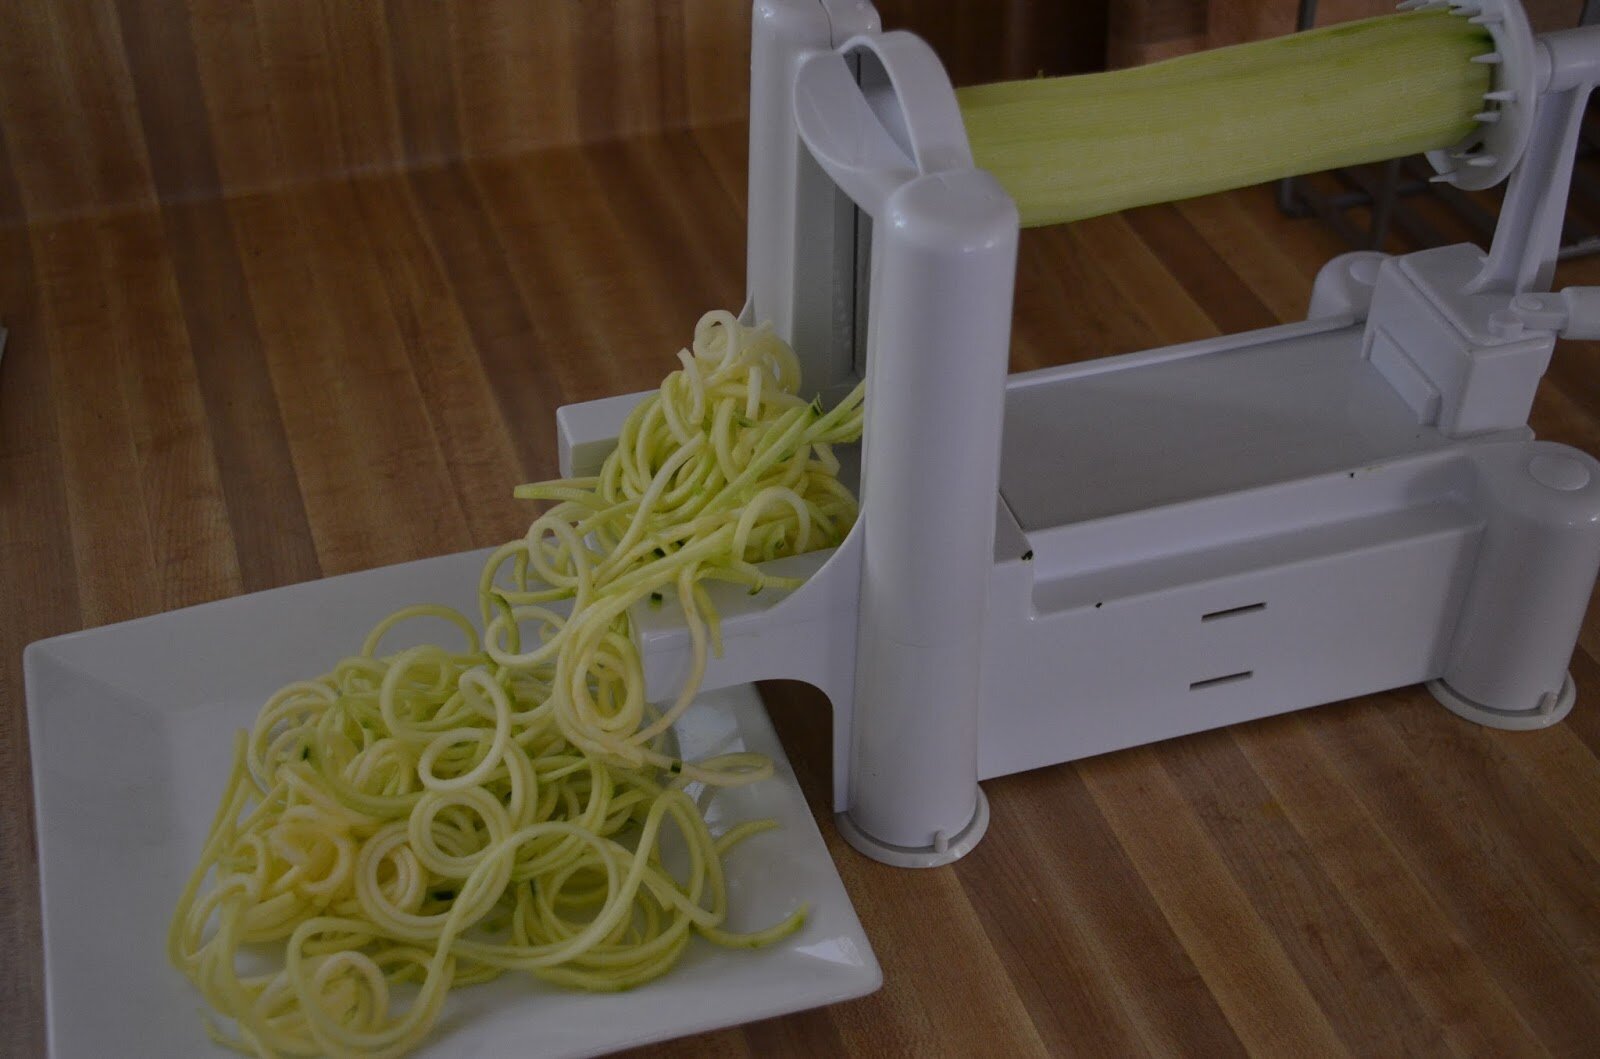
7. For the zughetti, peel, trim ends, and spiralize the zucchini. Boil for 8 minutes in water. Allow to drain while you make the cashew cream sauce.
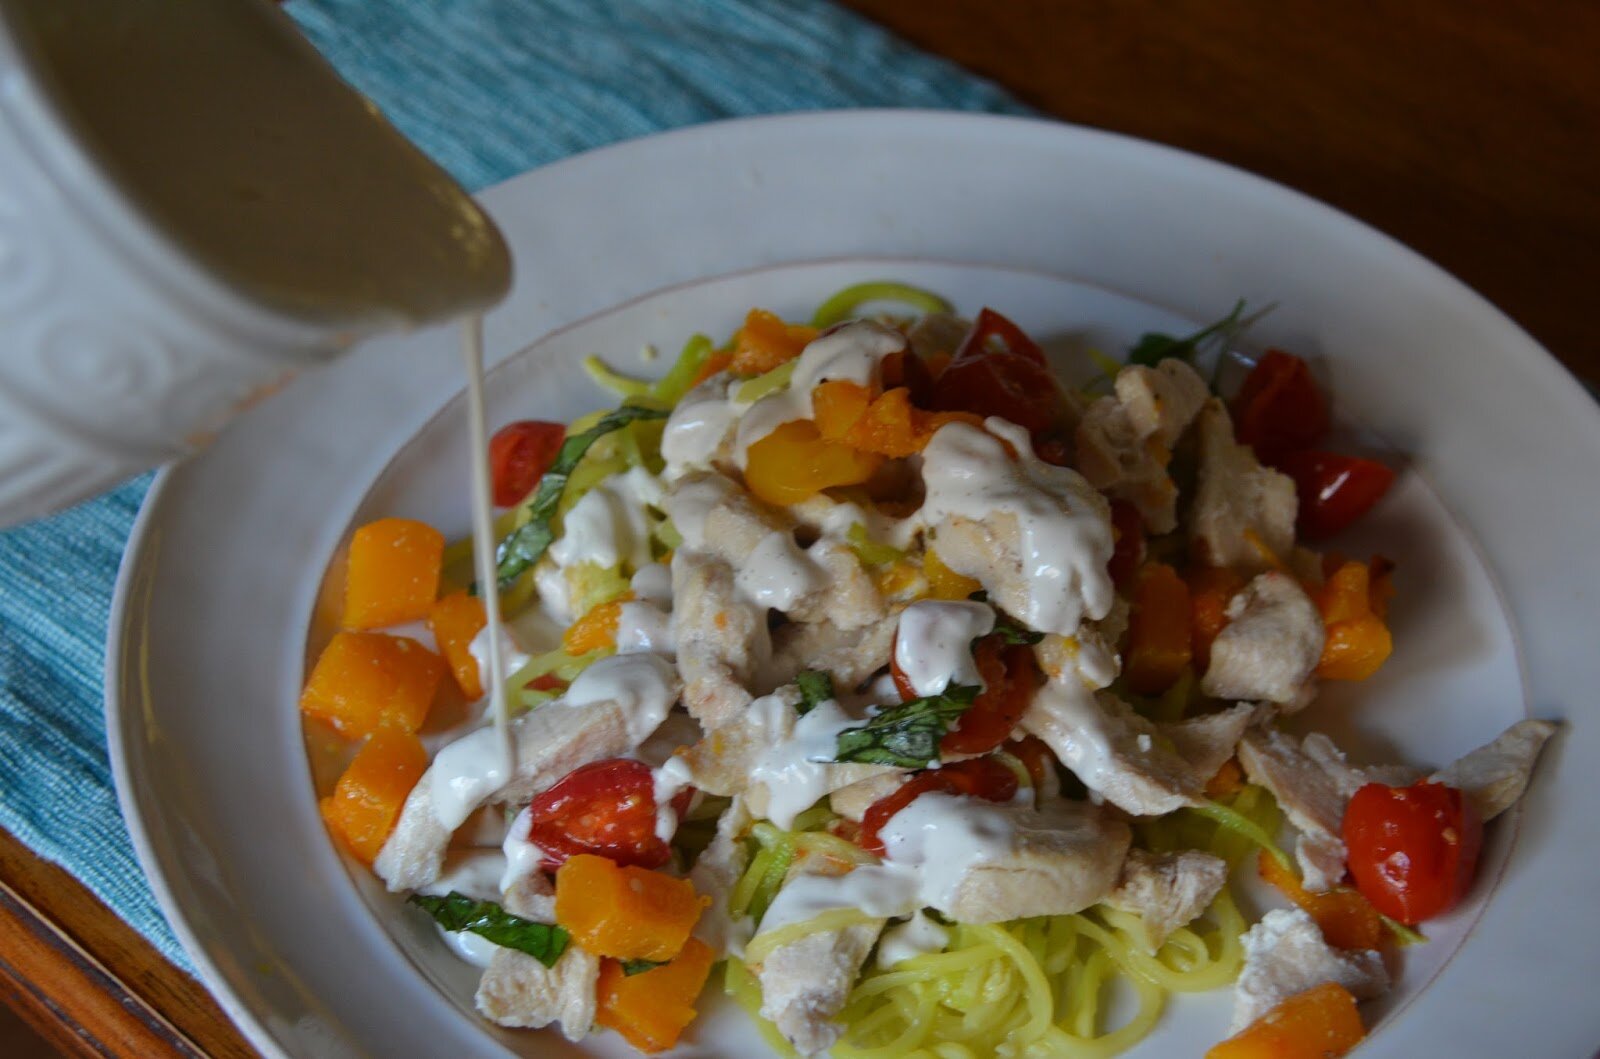
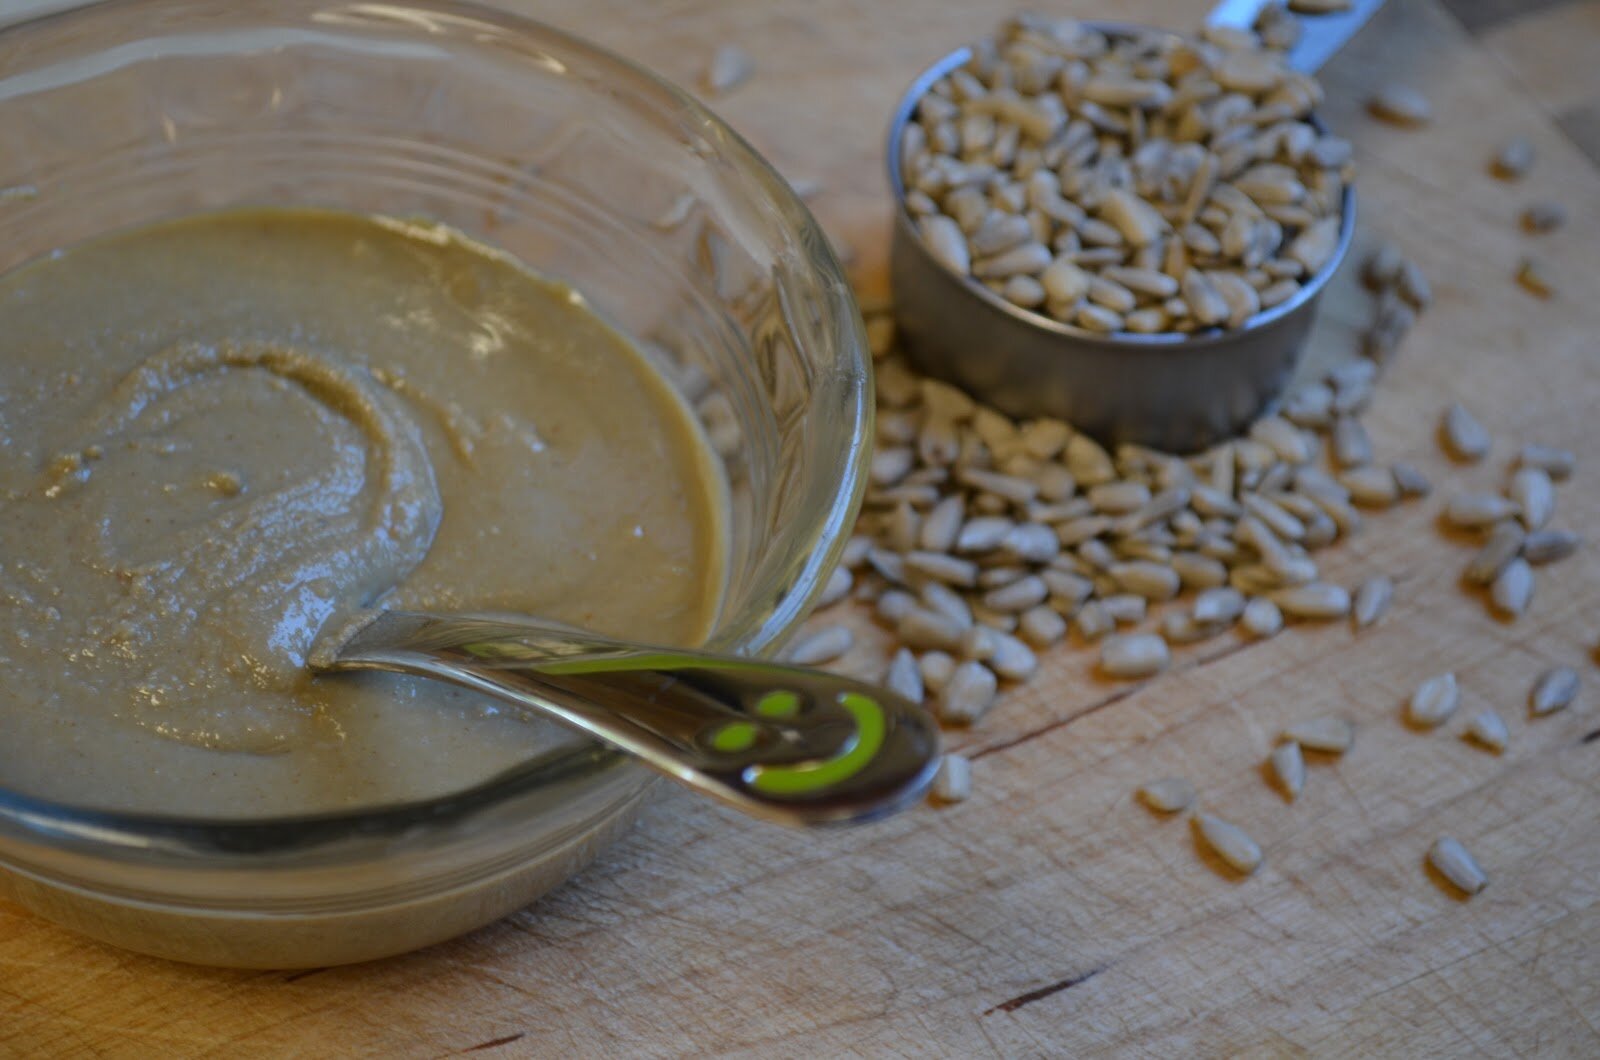
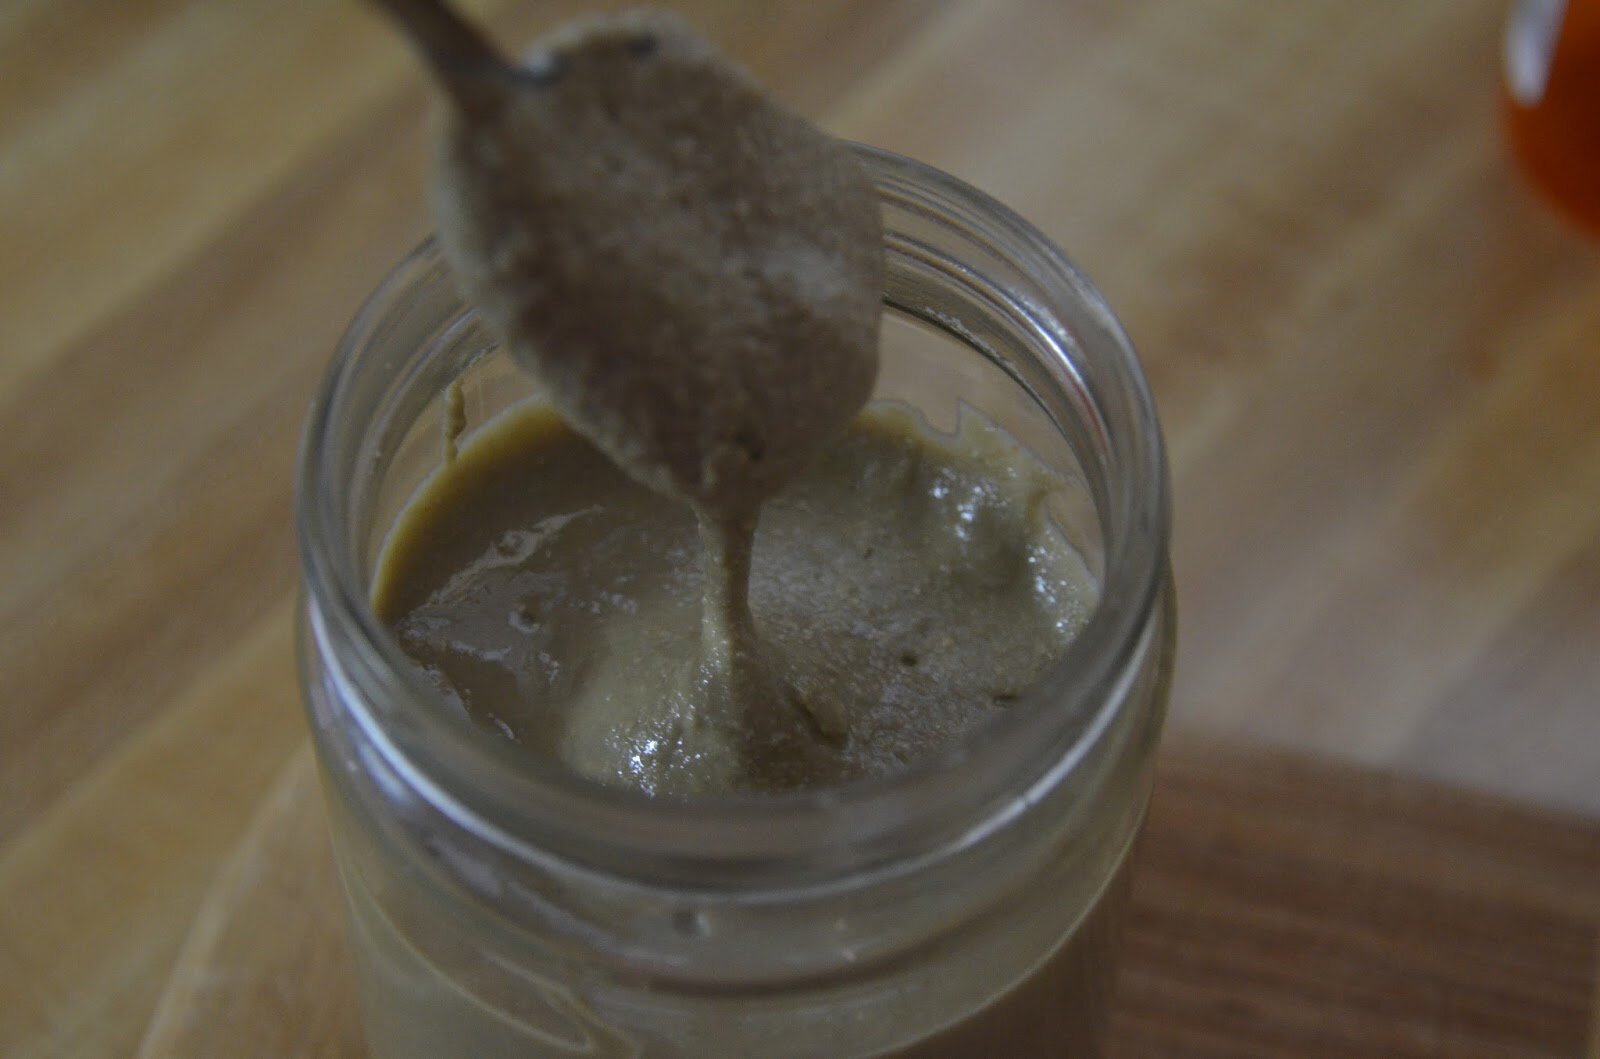
8. For the cashew cream sauce add the soaked and drained cashews to a blender along with all the other ingredients. Add in 1 1/4 cups water for a thicker sauce, and the 1 1/2 cups for a thinner sauce (as shown above).
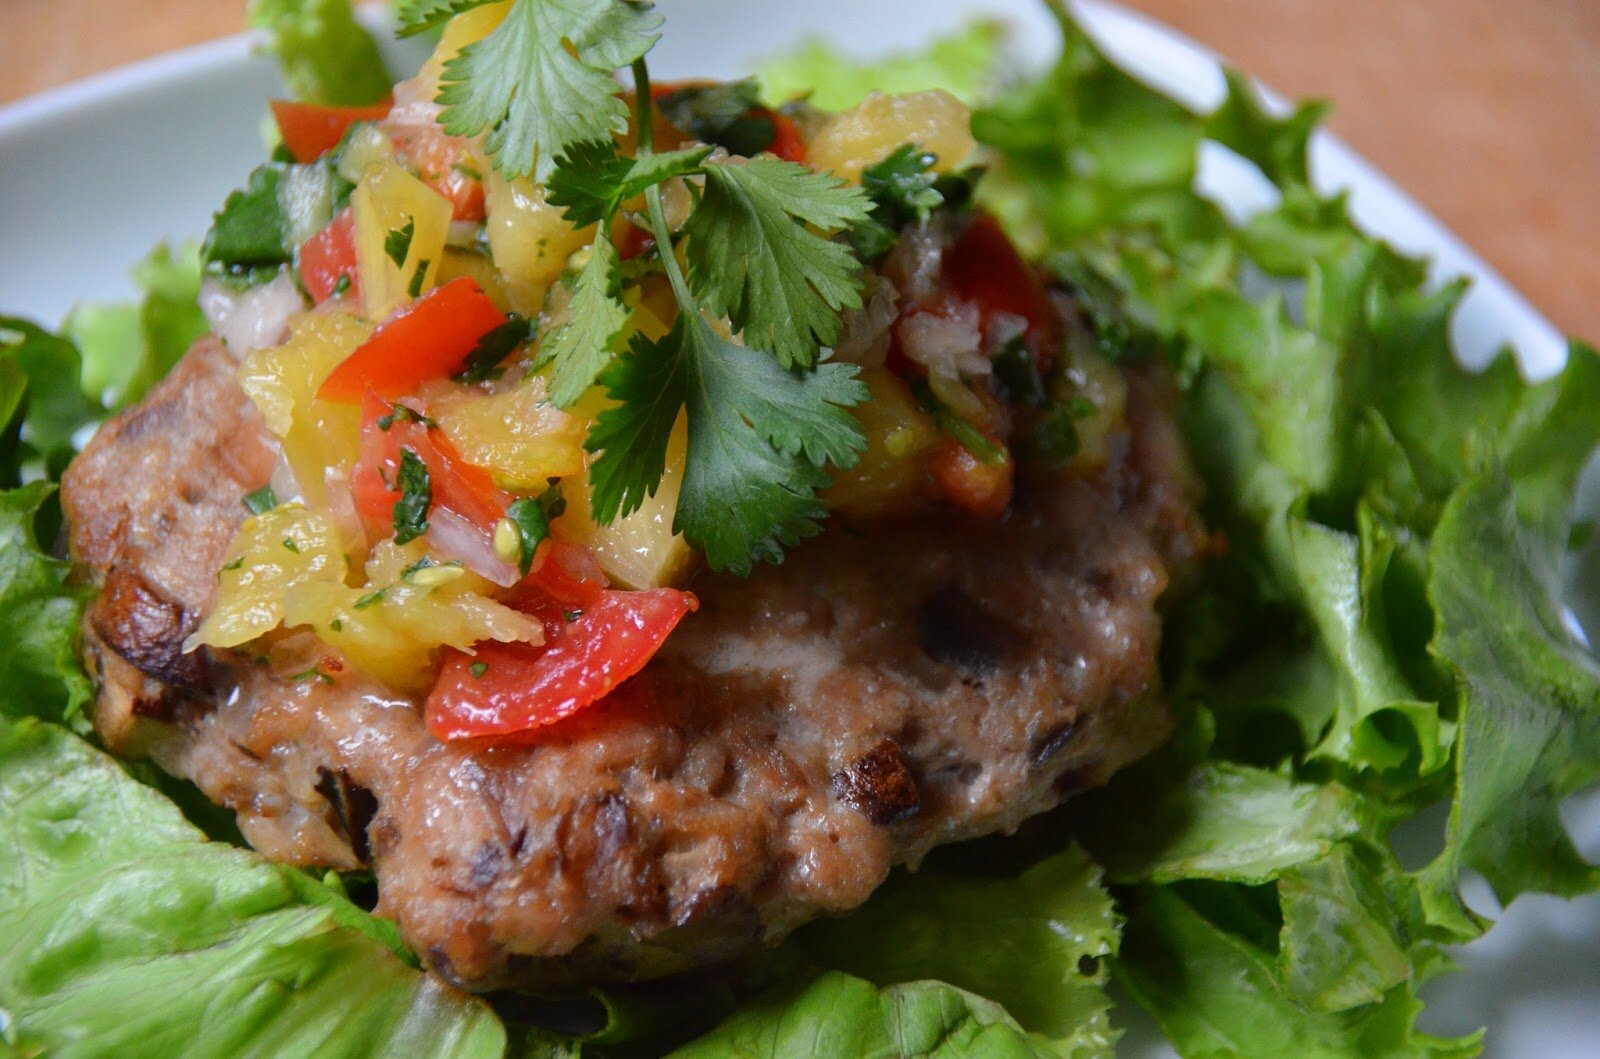
9. When everything is out of the oven, build the dish. Zughetti, butternut, chicken, tomatoes, fresh herbs, and drizzle on that sauce!


Shared on: Fat Tuesdays, Slightly Indulgent Tuesdays, Allergy-Free Wednesdays


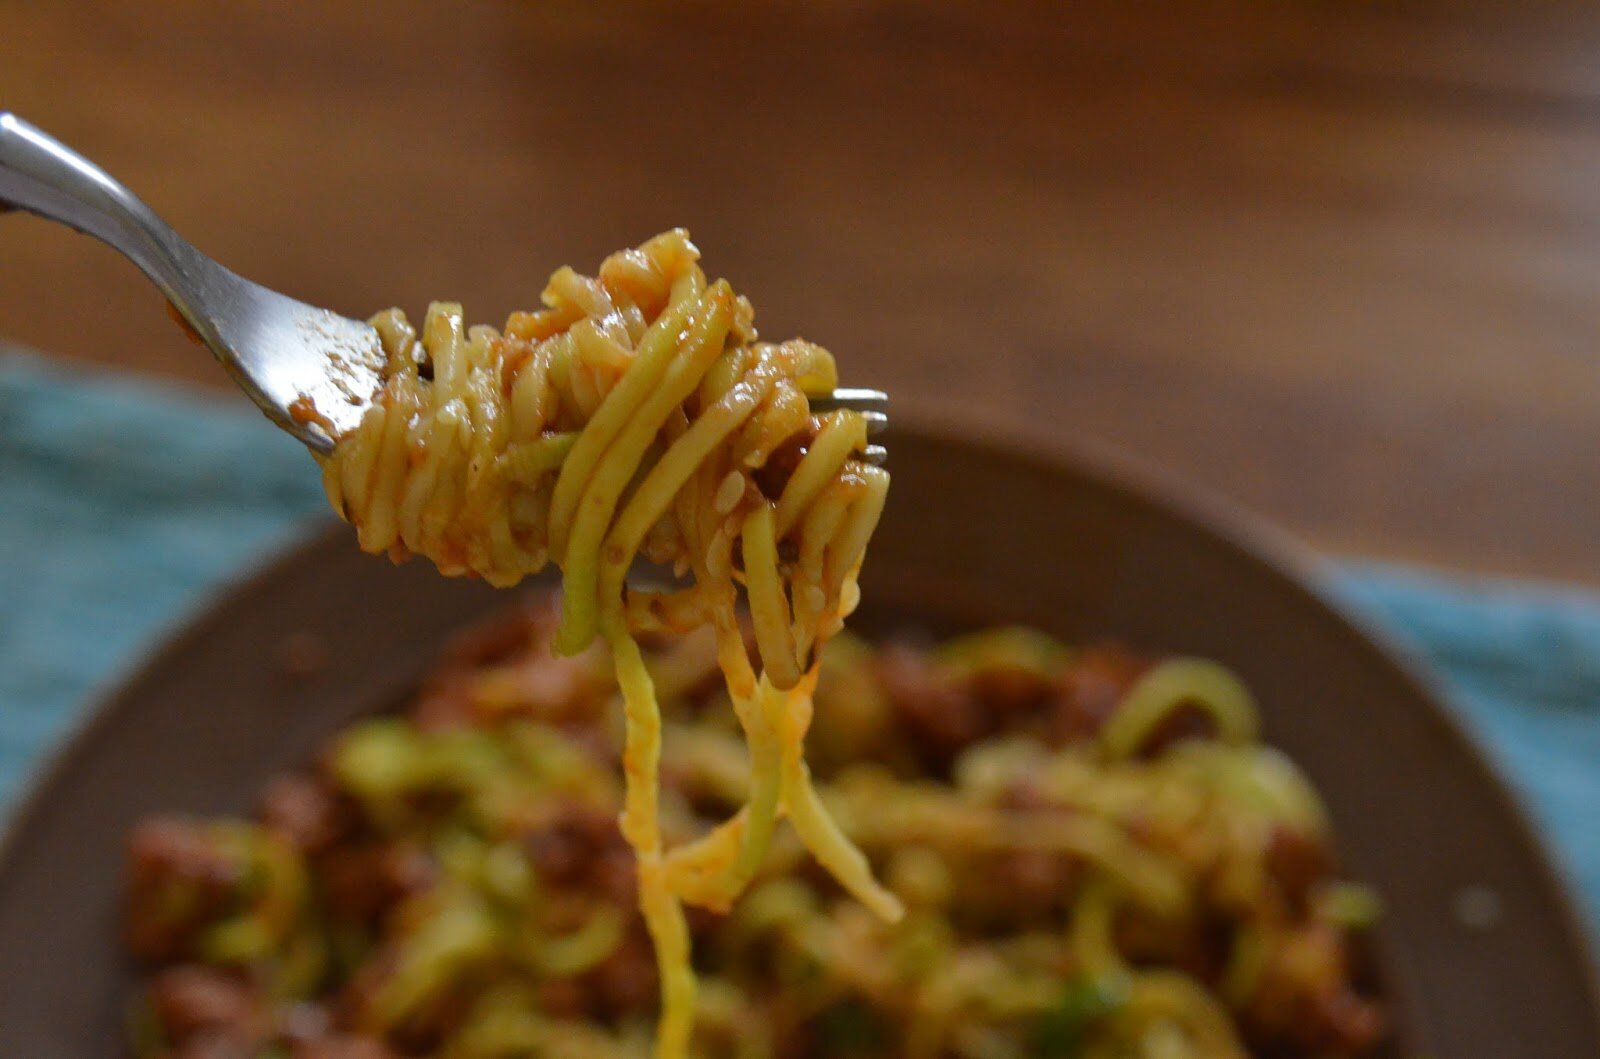


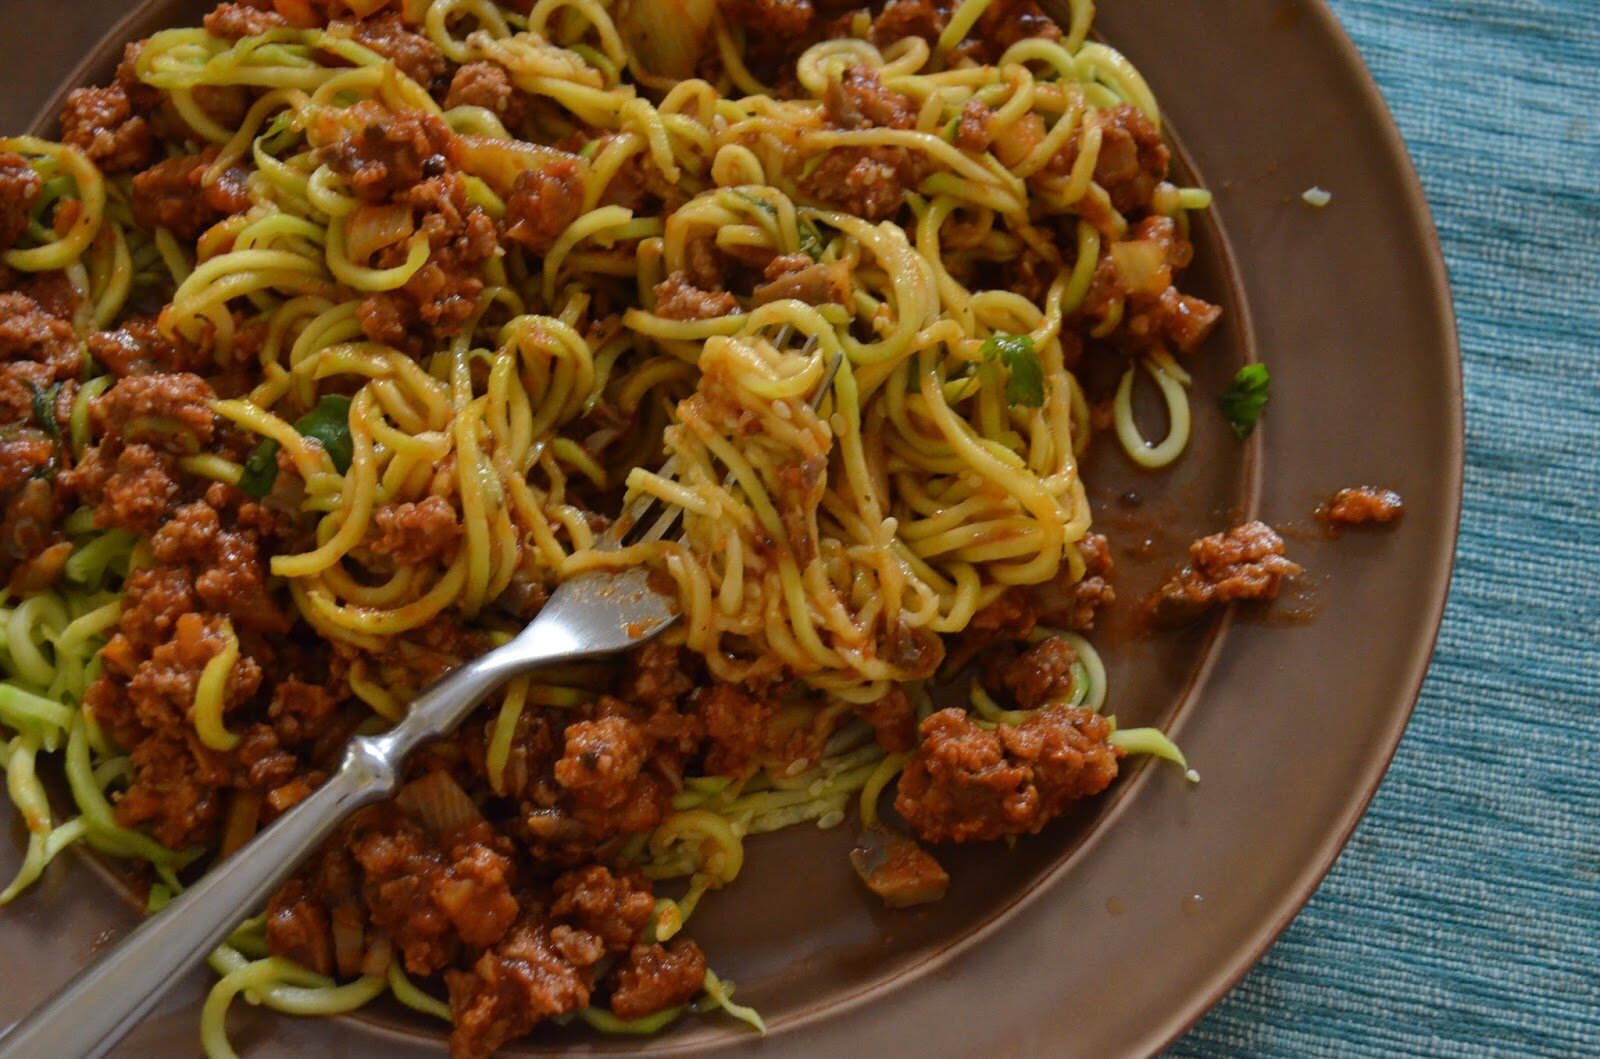


Love the lemon garlic cashew cream sauce paired with zughetti and roasted veggies…so savory and fantastic dinner recipe!
Have you tried BeyondMeat chicken-free strips? They are amazing. I <3 the sound of the lemon garlicky cashew cream.
This looks and sounds amazing. I love the use of all the veggies here. It’s like a big bowl of healthy. The added chicken is lovely and even better that it all bakes together on one baking sheet!
Love the sound of this sauce Amber!
I have been really lazy with recipes lately and I think that’s probably why I’ve been in a food funk. When I experiment and create new dinner dishes, I enjoy food so much more!
Thanks for the inspiration