
You may notice a few things about my nut milks. First, I use a lot of water. Why you ask? Well, I guess the obvious reason is it saves money but I also like the way it tastes, so why not. Another thing I do is scoop off the foam that forms from blending. I do this because I don’t like straining the foam through the nut milk bag. And lastly, I generally add just a teaspoon of vanilla for a little favor and a little sweet. I keep things pretty simple. I happen to love my nut milks, but I suggest you experiment with different water ratios and sweeteners. Macadamia nut milk is another family favorite. I used to buy store bought nut milks, then started making them in my Ninja blender years ago before I purchased my Vitamix. Making nut milk is so easy, and so satisfying. There are so many additives found in store bought. For example, many brands add what’s called carrageenan. Studies reveal that carrageenan can exacerbate IBD symptoms and flares. And I found this thread discussing the issue. So to make nut milks, you don’t NEED a high speed blender. I used my Ninja for years and it worked fine. Check out my other nut (and seed) milks that you can make in any regular blender (high speed just works the best at crushing and blending the nuts/seeds):

Ingredients
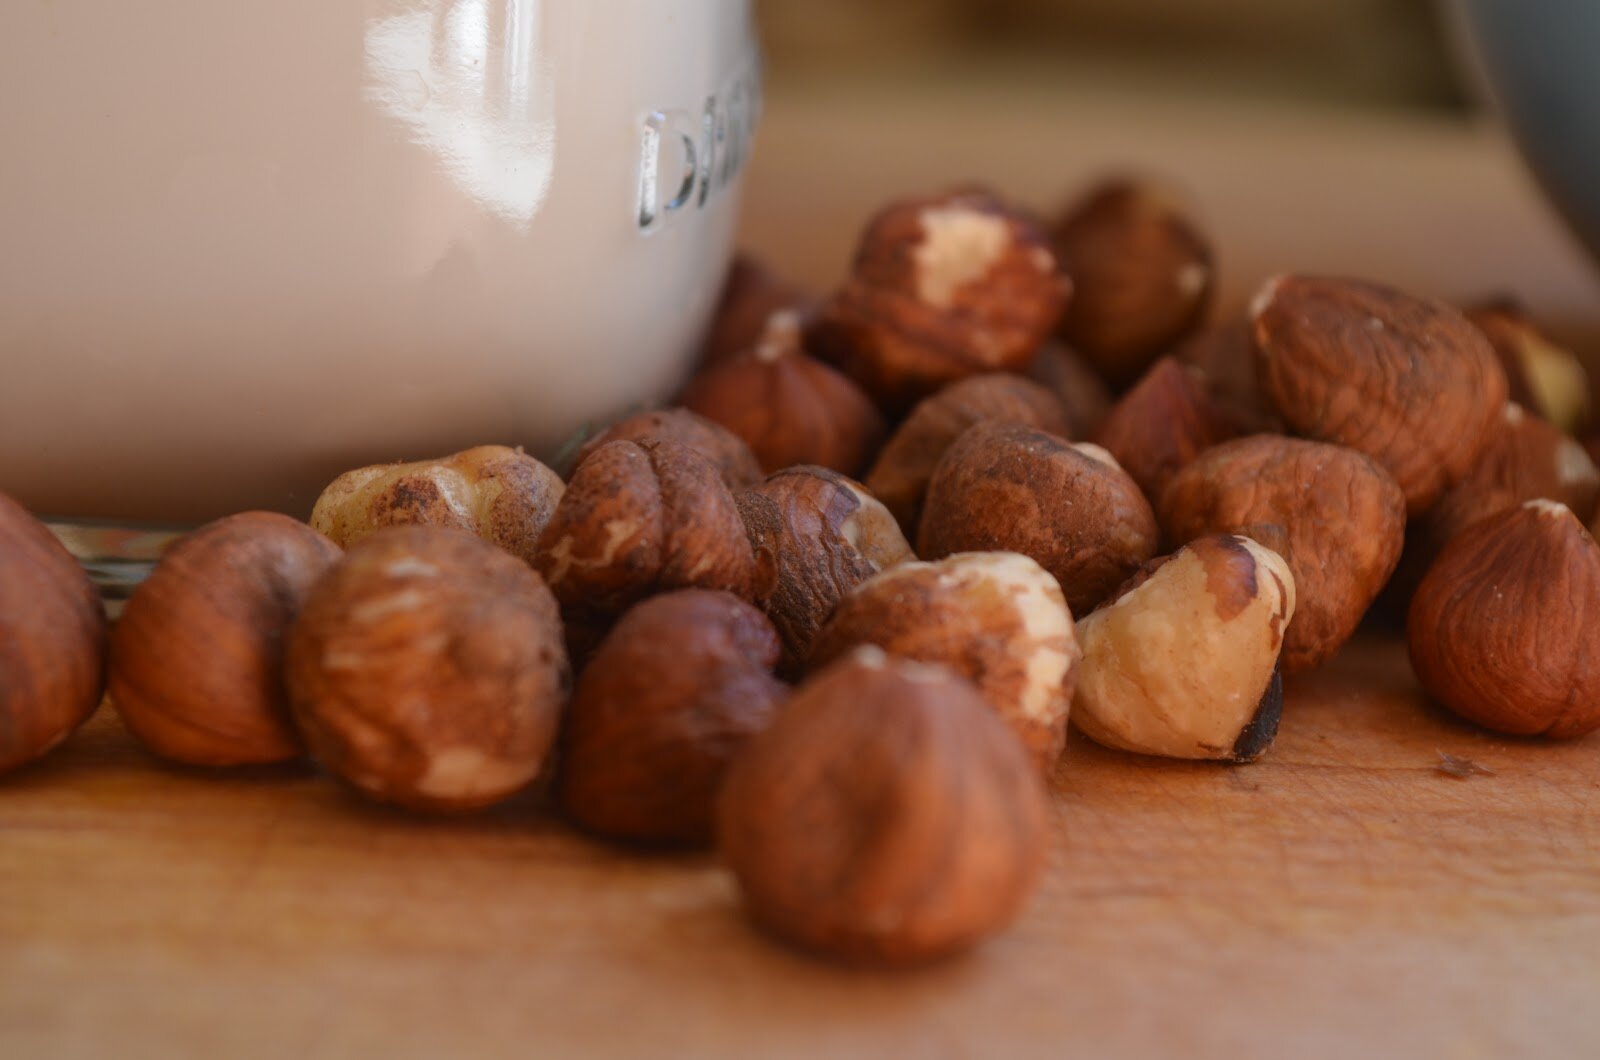
-1 cup raw, organic macadamia nuts
-7 cups filtered water
-1 teaspoon vanilla
How To
1. Soak macadamia nuts in filtered water for 5 hours.
2. Drain and rinse nuts with filtered water
3. To your high speed blender add nuts, 7 cups water and vanilla*
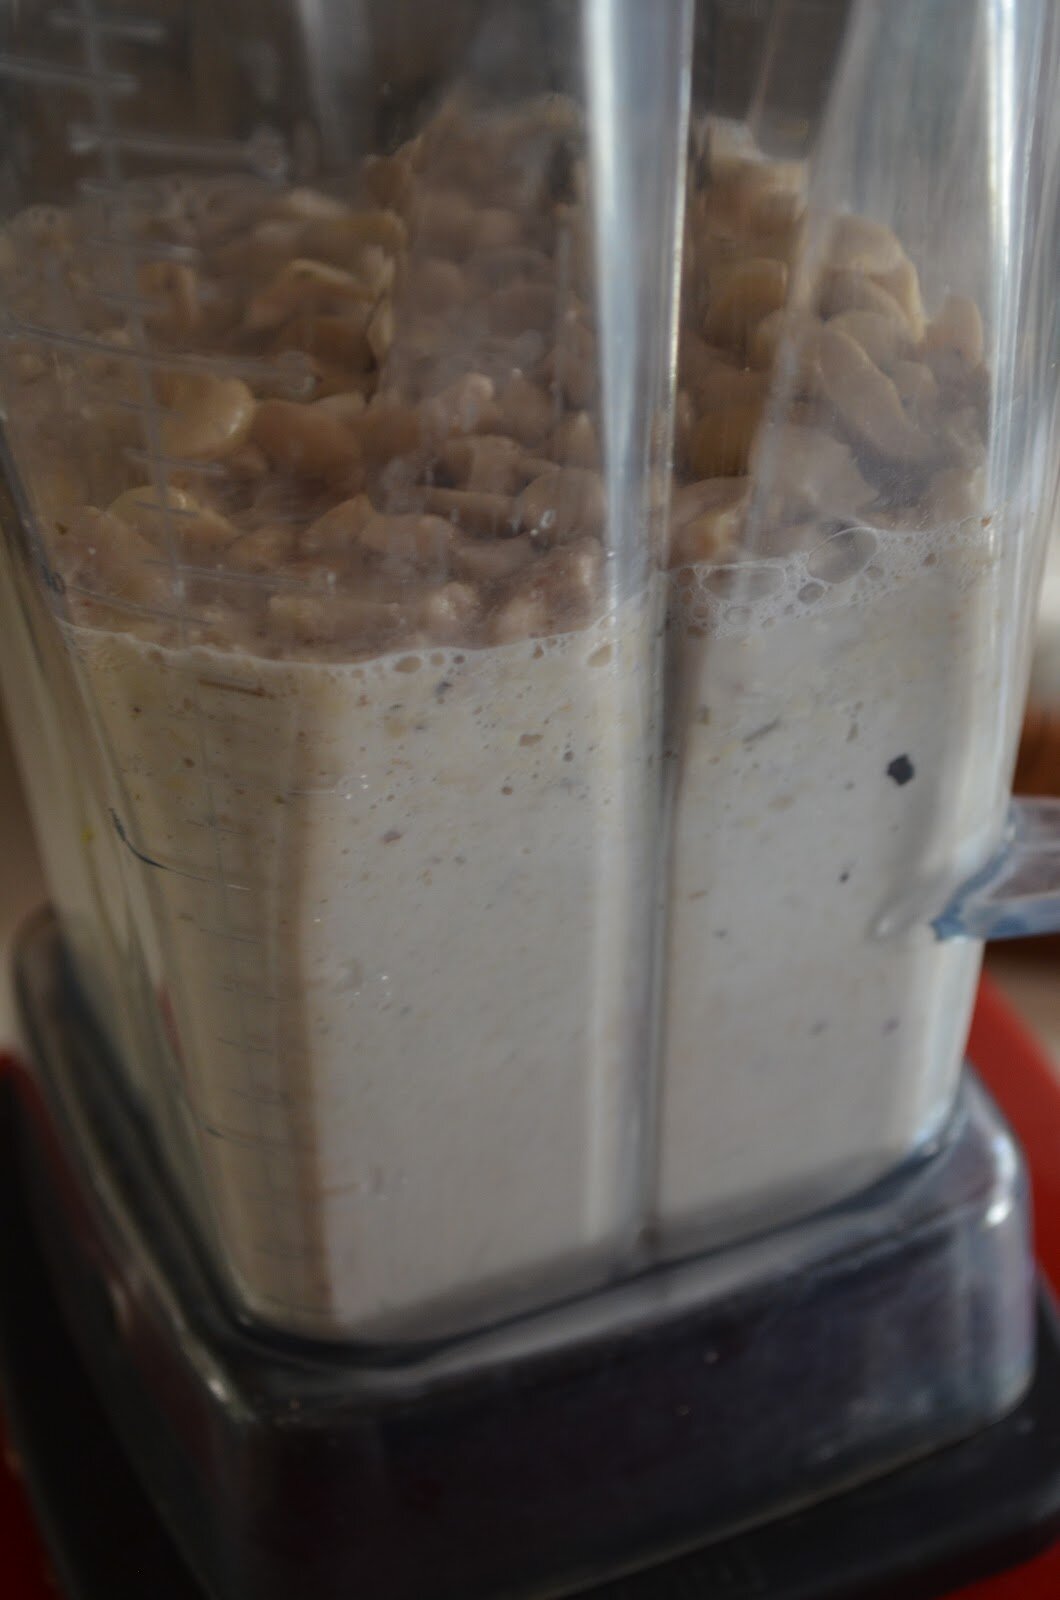
4. Blend on high for 90 seconds
5. Here’s a step in the process that might be different from most:
*After blending I let the milk sit in the blender for about 10 minutes. This gives the milk time to settle and the foam to gather on the top. After the 10 minutes I scoop off all the foam. After removing the foam my original 7 cups remain. I dislike straining foamy milk through the nut milk bag.
6. After you scoop off the foam (and discard into the sink), strain the milk through a nut milk bag. I strain the milk into an 8 cup glass Pyrex
7. Transfer to glass pitcher with lid and store in the fridge for up to four days
Notes:
*If using a “regular” blender (not high-speed), start with 4 or 5 cups of water and blend on high for up to 2 minutes. Add more water in future batches if you’d like.
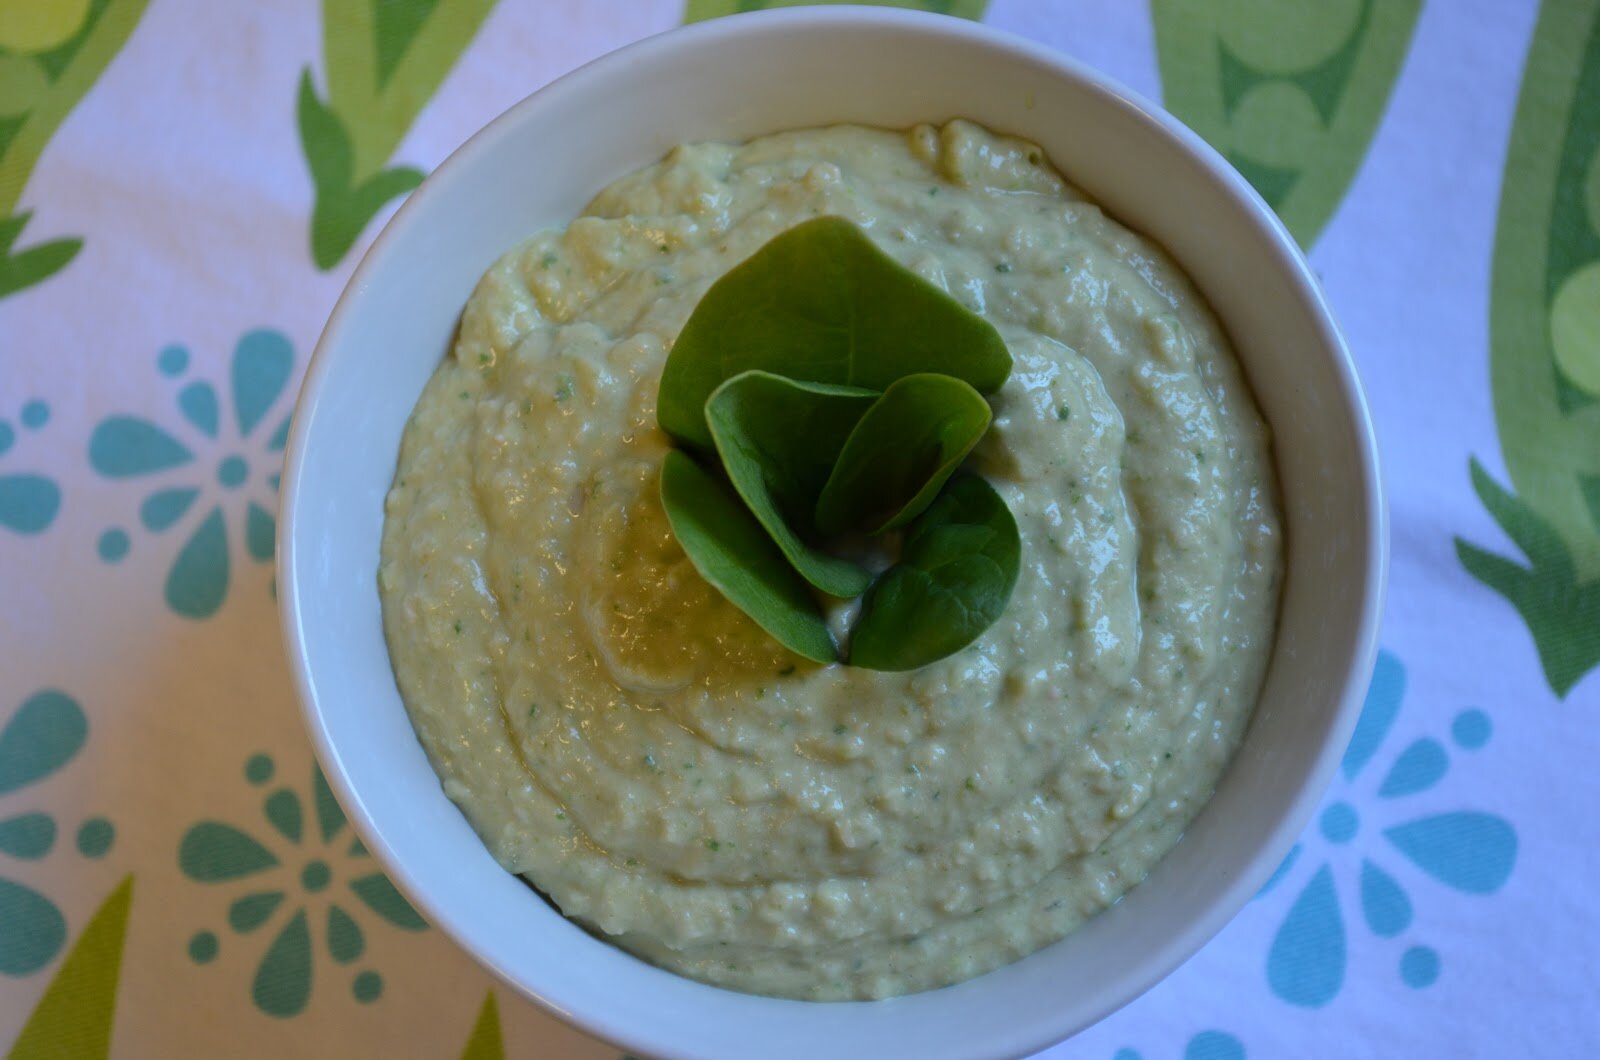
What to do with that macadamia nut pulp? How about make a raw hummus dip!


Shared on: Fat Tuesday, Slightly Indulgent Tuesday, Allergy Free Wednesdays Whole Food Wednesdays, Gluten Free Wednesdays, Real Food Wednesdays, Fresh Food Wednesday, Tastetastic Thursdays, Pennywise Platter Thursdays, Simple Lives Thursdays, Frugal Food Thursdays, Wellness Weekend, Fresh Bites Friday, Fight Back Friday, Friday Food, Show Off Friday, Potluck Party Friday, Healthy Vegan Fridays


I MUST make this..looks really lovely!
Thanks Vicky!
Mmmm, I can just taste that milk in my morning coffee I make a lot of almond milk and we LOVE it. Much better than the extra ingredients in the store bought containers. I need variety though, so I think I’ll try your recipe. I loved reading your tips. I totally get what you mean about the foam. I’m going to try letting my milk settle tomorrow (I have some almonds soaking as we speak). We like to add a pinch of himilayan sea salt and half of a soaked date.
Thanks Amber. I do wish we were neighbors so we could talk food all day long and share milks (and other tasty treats
Hi Maggie,
Finally, someone else that understands the foam! My recipes create a lot of foam (perhaps more than usual) due to the high water content. I love to add dates, such a wonderful, natural way to add in some sweet. Let me know if you like the foam scooping process.
And if we were neighbors I do believe it would be a non-stop food party Maggie. Can you just imagine! How fun would that be!
Have a great rest of your week lovely lady.
look at those beautiful pictures…good for you! One of my favs of yours!
Awe, thanks Tessa.
oooh amber — i am definitely going to have to try this! macadamia nuts are my all time FAVORITE nut — i bet the flavor of the milk is outrageous — buttery (?) rich and sweet! I’m totally making this today! hope you’re thursday is off to a good start! hugs!
Please let me know how you like it Caralyn. Start with less water and work your way up (if you are used to thick nut milks). I’m used to this high water ratio!
I love all your nut milks! Okay, I haven’t actually made one yet, but one day I will for sure, and then I’m sure I’ll be hooked. Great post, Amber.
xo,
Shirley
Thanks Shirley. I do believe that making nut milk is the easiest, and most satisfying thing I do in my kitchen.
That sounds delicious! Thank you for sharing on my blog hop.
Macadamia nuts have always been my favourite nuts!
Love this recipe. xoxo
Thanks Ella.
I make different nut milks but haven’t tried macadamia nut milk. Sounds lovely!
Let me know if you try it Stephanie and what you think.
i’ve never heard of macadamia nut milk! that’s a fantastic alternative to dairy – love it! i guess you learn something new every day!
…and your photos look great!
thank you for sharing with Fresh Foods Wednesday – hope to see you back next week!
[…] thetastyalternative.com […]
Is it a suitable replacement for cows milk for children?
If you are looking for a replacement to cow’s milk, I would suggest organic goat’s milk. It has very similar properties to human breast milk. But my two cents is that children do not need any milk from any other mammal than mommy, so after breastfeeding, water is great. If you are worried about calcium, make sure your kiddos get lots of calcium rich foods (remember that all milk is fortified with calcium) so you can also get chewable calcium vitamins. Good luck.