


Turkey is great, but a side dish can be the star of the Thanksgiving show! I love to see what people have lined up at their Thanksgiving meal…you know the turkey is going to be there, no big surprise, but let me loose on the buffet table so I can check out how the sweet potatoes are dressed, what’s going to shine in the cranberry sauce, what’s that awesome looking bread? Creating alternatives to traditional Thanksgiving cuisine is super easy. Check out my 5 very easy side dishes. There are endless possibilities for your meal, but my motto is to keep it easy, keep it fun and keep it super tasty!
***************************************************
#1
Roots and Fruits
(Roasted Parsnips, Apples, Pears and Walnuts)
Ingredients
5 medium parsnips, peeled and chopped
1 small red onion, chopped
2 pears, peeled and chopped
1 Granny Smith apple, peeled and chopped
1 1/2 cups of walnuts
Oil (of choice)
Garlic granules
How To
*Add parsnips, onion, pears, & apple to favorite baking dish
*Drizzle with oil
*Add 2 tablespoons garlic granules
*Roast at 400 degrees for about 35-40 minutes (check at 35)
*Lightly toast walnuts in saute pan
*Add to roasted roots and fruits
*Mix together
*Add salt if desired, I omit.
*Serves 4-5
***************************************************
#2
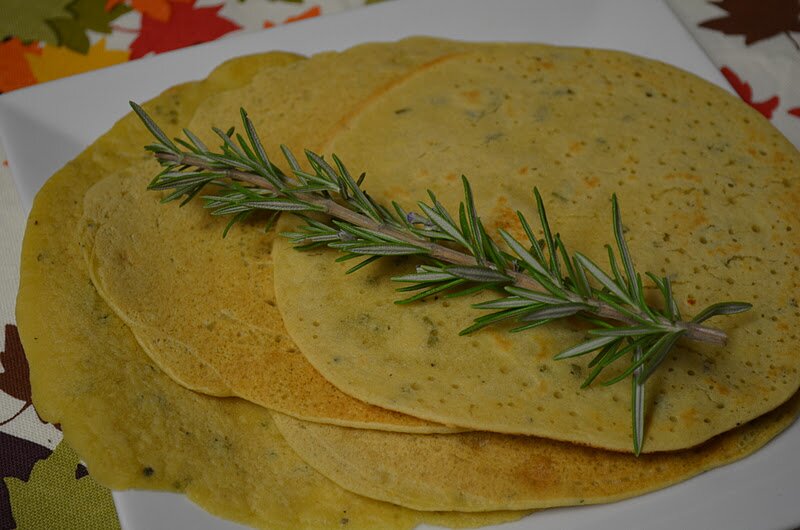
Socca Bread
Gluten free, Grain free, Sugar free, Vegan, ACD, Xanthan gum free, Yeast free, Egg free….absolutely AMAZING flatbread!!!
(recipe from December/January issue of Living Without Magazine, pg.41)
Ingredients
1 1/2 cups chickpea flour (garbonzo bean flour)
1 1/2 cups filtered water
2 1/2 tablespoons oil (I used grapeseed)
1 tablespoon chopped fresh rosemary (you must use fresh!)
3/4 teaspoon salt
1/4 teaspoon pepper
1 tablespoon minced dried onion (I used onion powder)
How To
*Whisk together chickpea flour, water, 2 tablespoons oil, rosemary, salt, pepper, onion (minced or powder). Let sit at room temperature for 30 minutes. This gives the batter a chance to thicken up a bit
*Coat a large round nonstick skillet with oil and heat over med until hot (add oil to pan after removing the socca and get it nice and hot for the next one)
*Pour 1/2 cup batter into pan and swirl around a bit (sort of like a crepe). use heat-safe spatula to loosen sides
*Cook socca until crispy on one side, flip and brown on the other side
*Serves 4-5
***************************************************
#3
Smashed Sweet Potatoes and Cauliflower
(this is really nice substitute for those of you who don’t want white potatoes at your meal; the cauliflower adds a nice texture and balances out the sweetness of the sweet potatoes – and best part, no boiling required!)

Ingredients
3 large sweet potatoes, chopped
1 head of cauliflower, separated
Oil of choice
Garlic granules (or 4 cloves fresh garlic)
How To
*Add sweet potatoes and cauliflower to your favorite roasting dish
*Drizzle with oil
*Add about 1 1/2 tablespoons garlic granules (or smash the fresh garlic cloves and add in)
*Toss ingredients with oil and garlic
*Roast at 400 degrees for 40 minutes
*Keep ingredients in roasting pan and use a potato masher to smash ingredients together. Add another drizzle of oil for some additional moisture
*Add 1/4 teaspoon salt
*Smash everything together well
*Top with a little cinnamon (optional)
*Serves 4-5
***************************************************
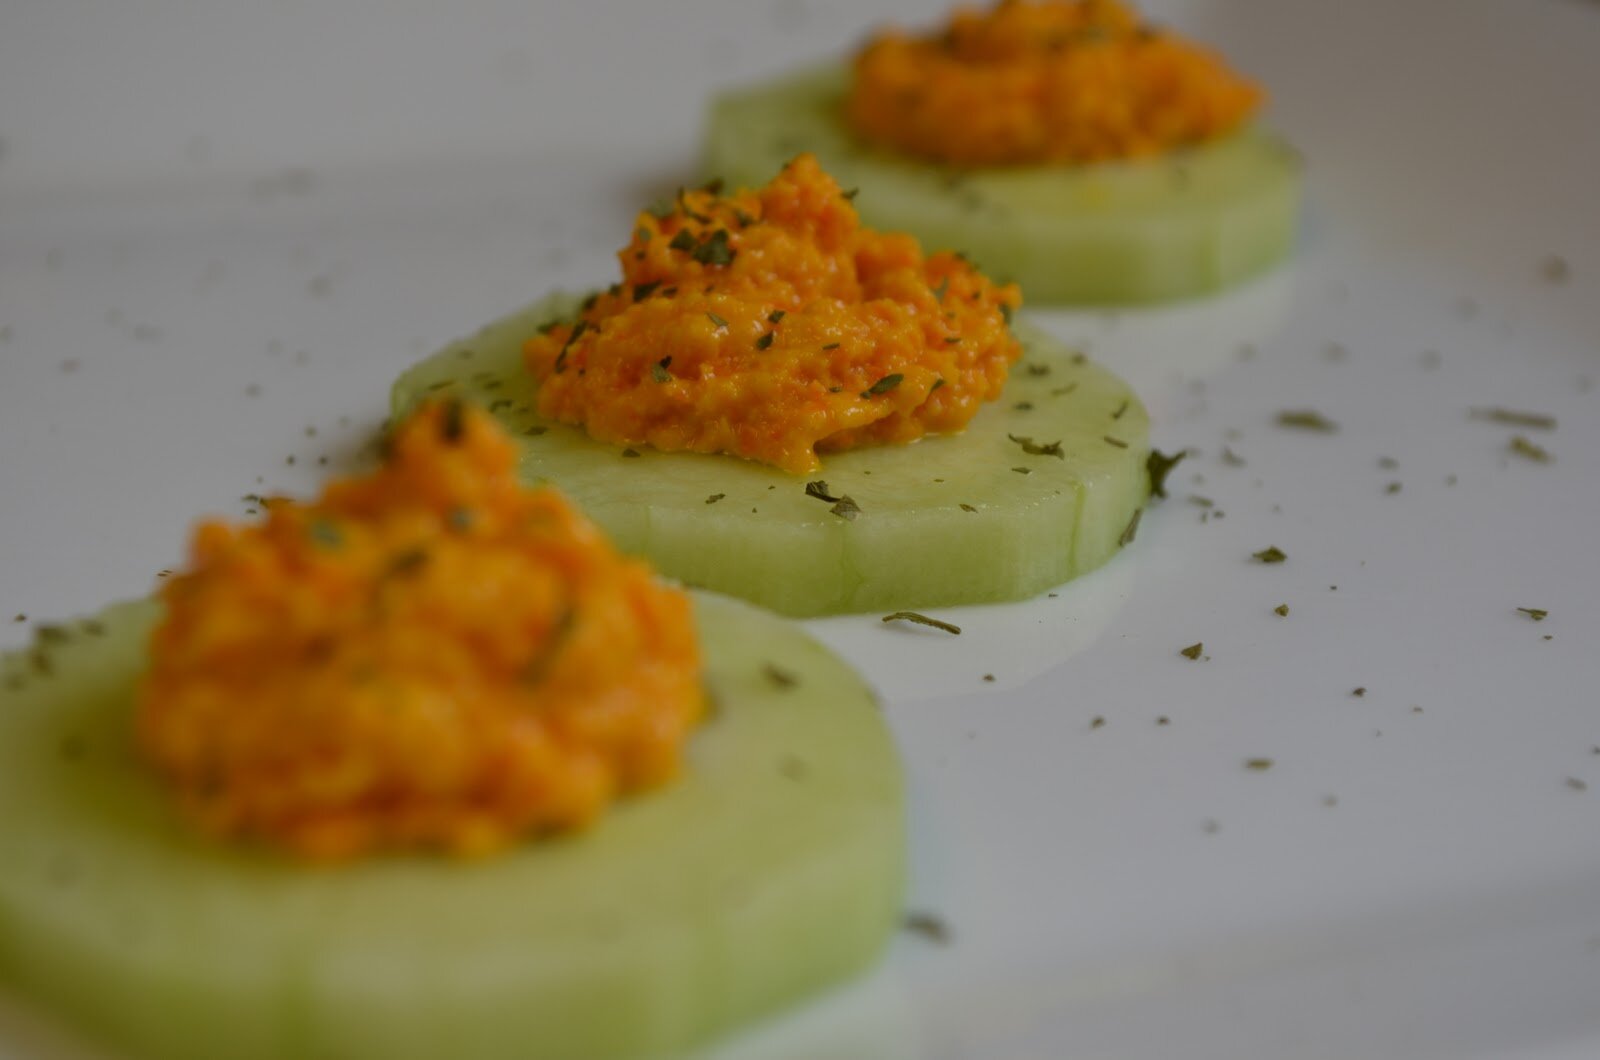
#4
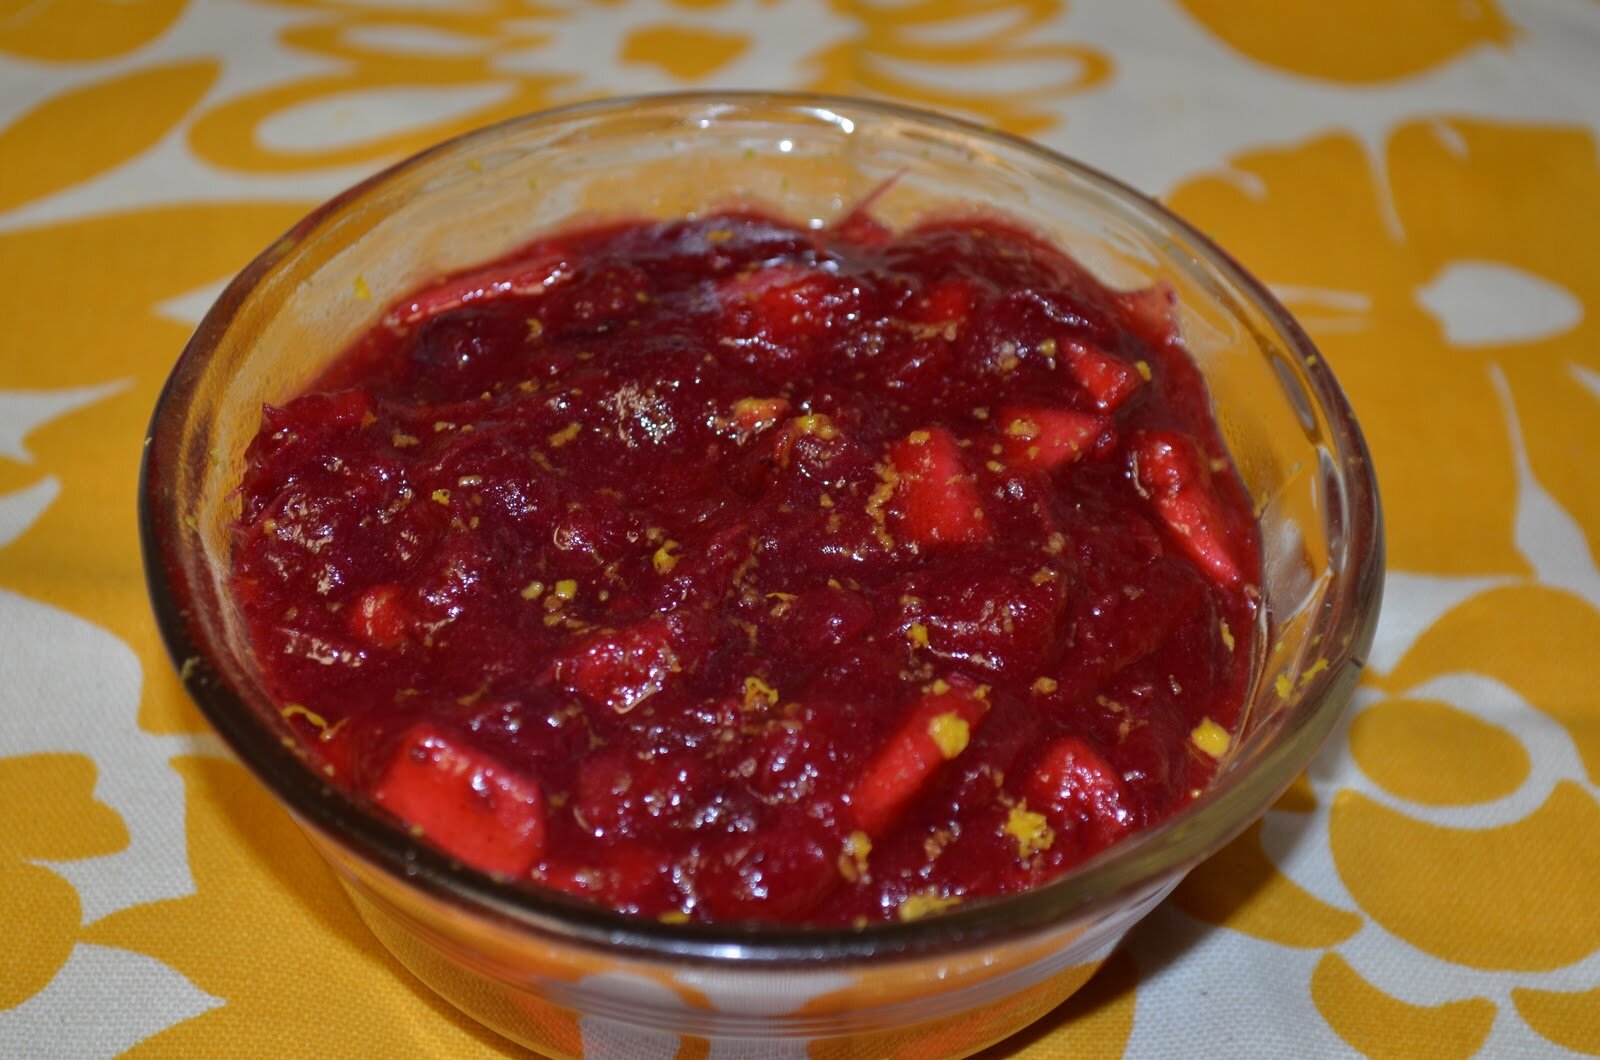
20-Minute Cane-Sugar Free Cranberry Sauce
(my kids ate this up like candy!)
Ingredients
4 cups fresh cranberries
1 cup filtered water
1 sweet red apple, small chop
3 dates, seeded and small chopped
1/4 teaspoon cinnamon
1/3 cup honey
1 large orange
How To
*In medium sauce pan bring cranberries and water to a boil, stir and turn down to a simmer
*Add apple, honey, dates and briskly stir
*Turn down to low and gently simmer for about 15 minutes
*Turn off heat and add juice of 1 orange and cinnamon
*When cool, transfer to fridge until ready to serve
*Top with orange zest
***************************************************
#5
Fig and Walnut Stuffed Acorn Squash
Ingredients
2 acorn squash
2 cups fresh chopped figs
1 Granny Smith apple, peeled and chopped
1 ripe pear, peeled and chopped
1 1/2 cup walnuts, chopped
Oil of choice
3 tablespoons honey
1/4 teaspoon salt
1/8 teaspoon cinnamon
1/8 teaspoon nutmeg
pinch of ground ginger
How To
*Cut squash in half and remove seeds, run oil around inside of squash
*Place face down in baking dish, coated with a little oil
*Bake at 400 for 30 – 40 minutes (check at 30)
*In sauce pan, add oil, apple, pear, & walnuts, saute or a few minutes
*Add figs and salt, saute for a few minutes
*Add in honey and spices, saute together and cook on low until all ingredients are soft and have combined juices and most of the honey and oil has cooked off. Turn off and allow to cool a bit before adding to baked squash
*Remove squash from oven when finished and turn over. Allow to cool face up
*Add mixture to squash
*Serves 4 very hungry folks or up to 8 if each squash half is divided
Wishing You a Health-full and Happy Thanksgiving
Be Well, Amber
Shared on: A Gluten-Free Holiday Week 2 – Thanksgiving Favorites
Shared on: A Gluten-Free Holiday Week 2 – Thanksgiving Favorites


No Comments